
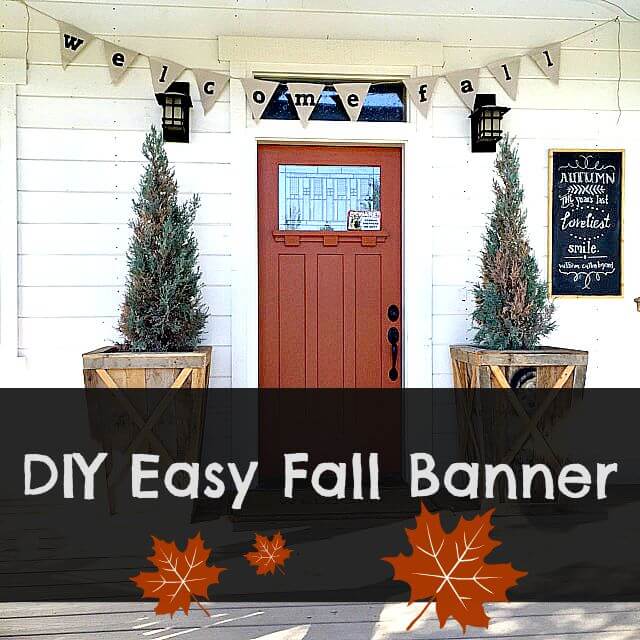
DIY Easy Fall Banner
Hey guys! Hope everyone is having a great day so far! The weather here has been getting brisk. There’s a feel of fall in the air, which is creating havoc in my head! Oh how I would like to get all my decorations out and go wild. I am taking it slow though. I want to easy into autumn slowly. Fall is my absolute favorite season. Pumpkins, hot chocolate, giving thanks, chilly autumn air….it seems like it smells different, no? One way I decided to slide into fall was to create this fall banner.
When I say this is easy, if you can cut fabric, and stencil or outline letters, you are good to go. You can even buy pre-made banners here form Amazon*
But, really its quite simple, and when I say that, it really is.
Here is what I used.
- canvas drop cloth
- twine
- black sharpie paint pen
- letter stencil
- sewing machine
Here is an easy picture of how I measured and cut out the bunting.
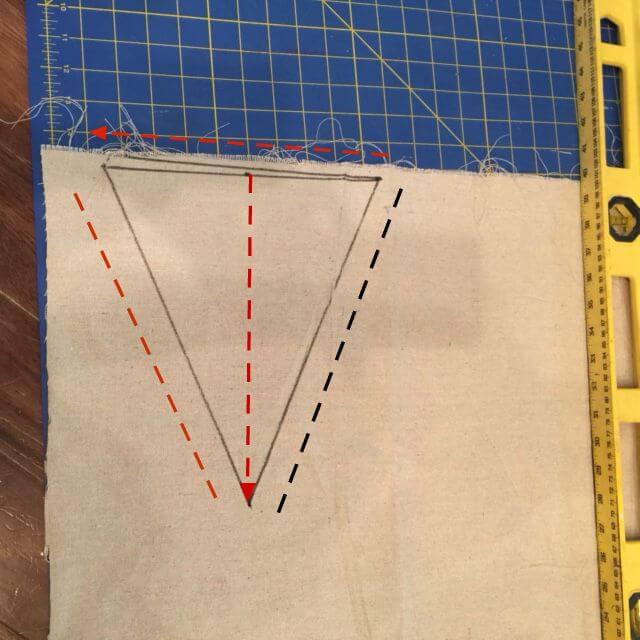
- Measure how wide you want your triangles to be.
- Make a mark where the center of that measurement is
- take a measurement from the center mark out to decide how long you want it to be.
- Make a mark at the length you desire.
- Draw a line to connect the bottom point to the sides of the triangle.
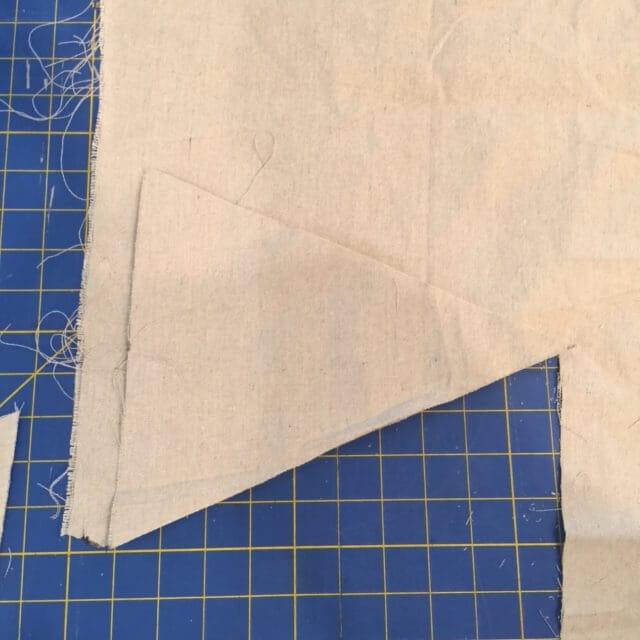
This will give you the outline of your bunting, now all you need to do it cut it out. I used a rotary cutter, but scissors will work just fine. Then I just used that one triangle as a guide and made all the rest of them.
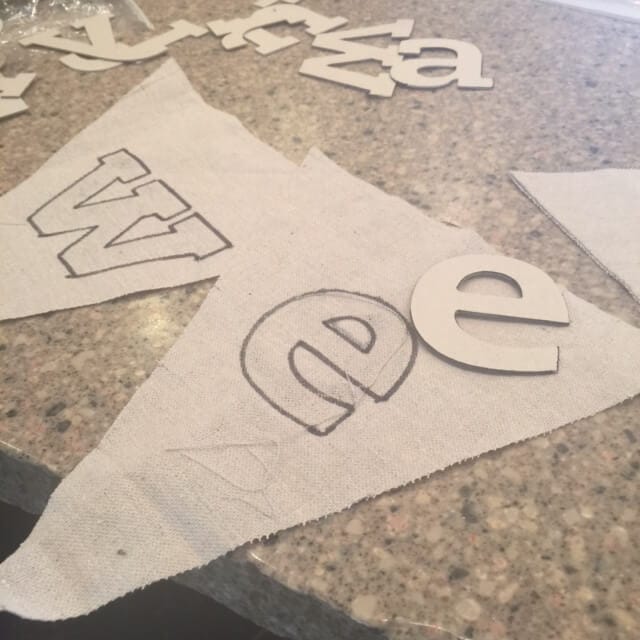
So, what I decided to do after I tried a few things, is to trace the stencil letters and then use a Sharpie Paint Marker, you can buy one here.
I trace the letters and used the markers to fill it in.

Once they were all done, I sewed the triangles onto the twine. My porch is really windy, so I wanted to make these withstand that. If yours is more sheltered you could easily just use clothespins, or even hot glue.
>
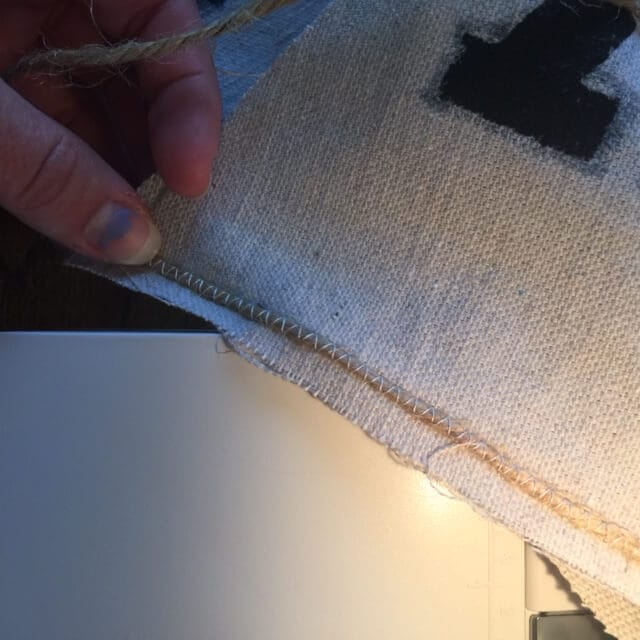 Nice Nail Polish Sara….

From the front and back views you can see how I did it. I used a zig zag stitch and just kept the twine anout 1/4 inch from the top and spaced each letter about 1-2 inches. Its really totally up to you.
Once that was done, it was finished! Make sure to leave about 12 inches of string on each end so that you will be able to hang it.
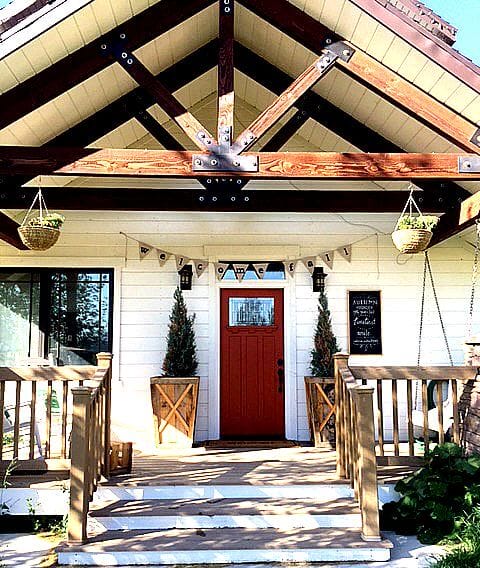 Here it is! It was so easy and I love the fun accent it adds to my front porch, easing me into fall, since its still not quite here.
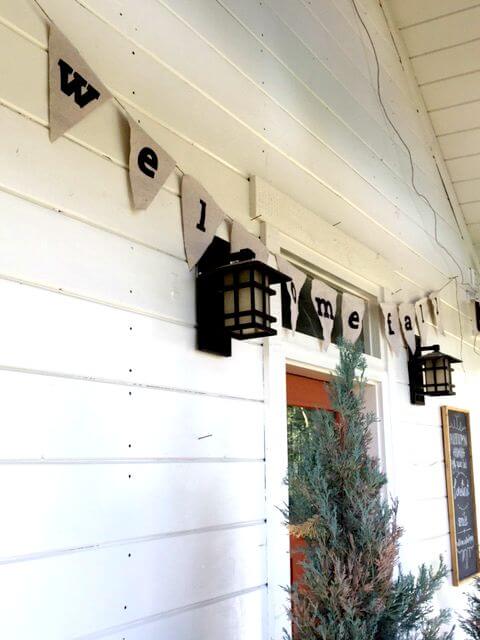
I hope you enjoyed this tutorial. I would love to hear from you! I am so excited for fall, and this banner just got me one step closer. Have a great Day
Hi, Sara ~ I love this banner! So cute and festive. I LOLed at your nail polish comment. :0) Do you know how many times I’ve looked at my blog pictures and realized I seriously needed a manicure? More than I can count! I’m pinning this project!
Hi Tiffany! Thanks for stopping by! Yes, it is true, about the nail polish! I look back at my pictures and a lot of things I am missing are brought to life! lol!
Hi Sara. Your banner is awesome! I love the look of a banner, but have not been very adventurous because many seem like so much work. But I think I could totally pull this one off! Thanks for the inspiration!!! 🙂
Im so happy to hear that! I would love to see it when after you make it!
Such a cute idea for the front door!! I’m a little bit obsessed with banners! I thought your nail polish comment was funny–I try to avoid having my hands in my photos because I NEVER paint my nails–but sometimes it just can’t be avoided. Thank you for sharing your uber cute banner on Merry Monday! Pinned.
Thank you! Isnt nail polish the worst?? 🙂 Thank you for pinning!!!
Hi Sara! I wanted to thank you for joining our Finding Fall link party. I really enjoyed your post. I featured you on my finding fall favorites post because I have never used a banner to welcome a season and I really look forward to creating a banner in the future.
Sandy, thank you so much! I am so grateful to you for putting on a great link party! I look forward to following your blog more and getting to know you!
Canvas signs really bring out that lovely autumn atmosphere for your front porch. This came out so great! I’ll have to try this when fall rolls around, thanks for sharing!