
DIY Mounted Craft Paper Roll
This week I am excited to show you one of my newest DIY projects. This mounted craft paper roll was a really fun projects for me. Now, I have thought about this project for a while and had done some research, trying to find a good option. I found some mountings that I could have purchased raging anywhere form 50-250 dollars. Yikes, I did not want to do that. So I pulled out my trusty drawing pad and figured out a design that would work for me and set at it.
DIY Mounted Craft Paper Roll:
Things I needed:
1 by 6 wood
screws
white paint
Compact Drill/Driver Kit![]()
3/4″ X 6′ Poplar Dowels 3/pack![]()
30 inch wide Brown Kraft Paper Roll![]()
1-1/4-Inch by 6-Inch Spade Drill Bit![]()
Electronic Stud Finder![]()
I bought my craft paper roll on Amazon*. I have a Prime account so shipping was free on this product. That is always nice. You can pick from a variety of sizes. I ended up buying one that was 3ft by 750 feet.
Since my paper was 3 feet wide, I measured my wood and added an inch to each side to make sure the paper had a little space, so I measured it at 38 inches. Then I cut the end pieces where the dowel will sit. I cut those at 7 inches. Like I said, I bought a larger roll, so I wanted to make the sides a little larger. You can customize to your desired measurements. You can also buy an 18-24 inches wide paper roll. The possibilities are endless.
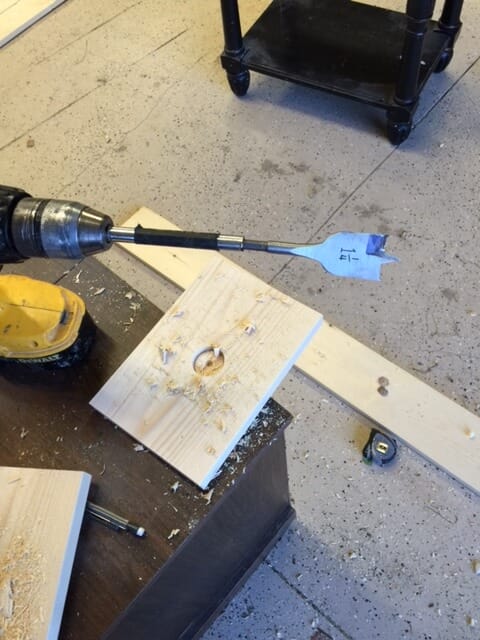
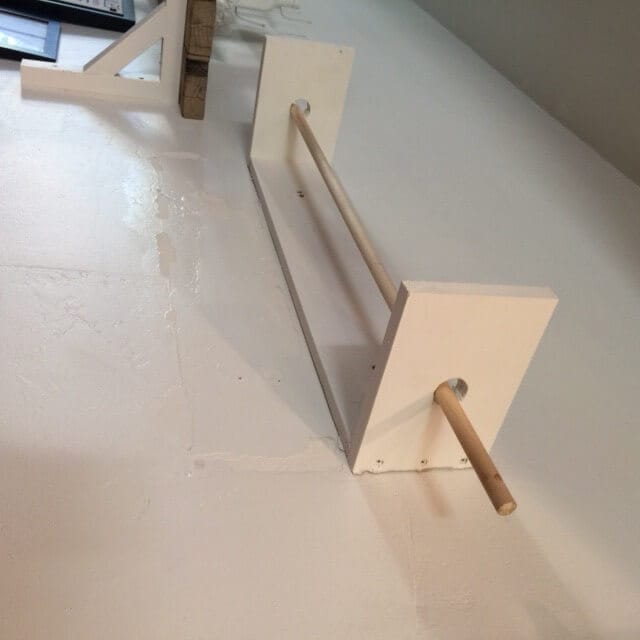
So here are my end pieces. Lance measured and found the center of the wood. We then used 1 1/4 drill bit to drill a hole in the end pieces.
Here the sides are once the holes were completed.
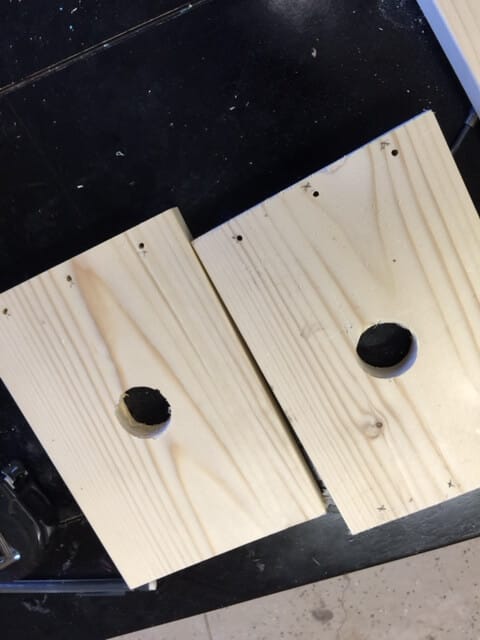
We also pre-drilled holes for the screws we were using to attach the pieces together.
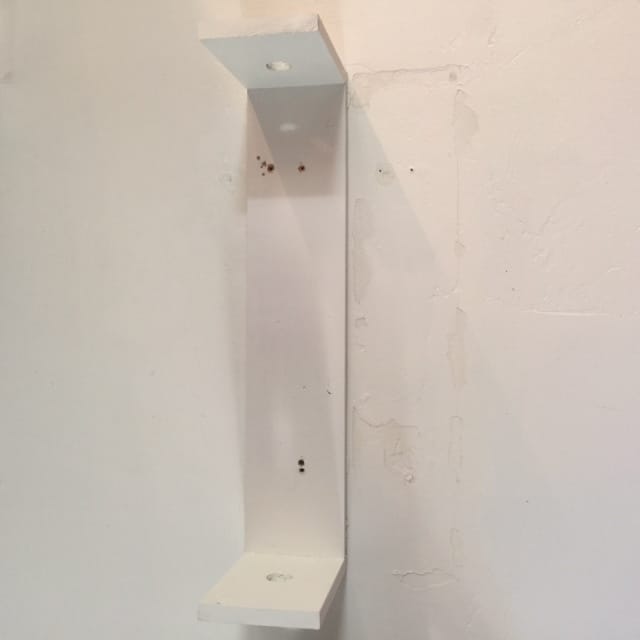
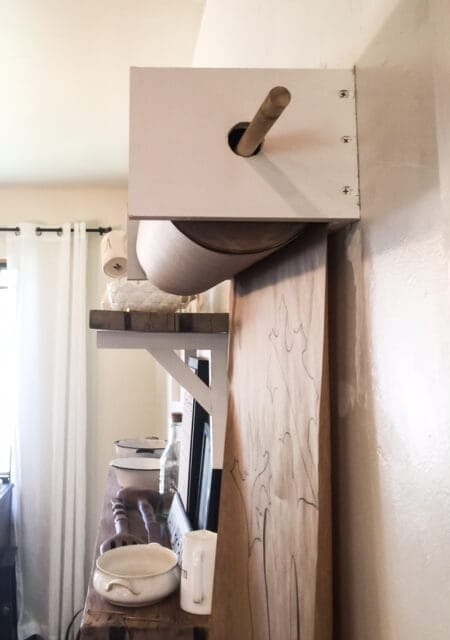
Once the 3 pieces were screwed together, I painted it white. Duh. Then I made sure I found some studs in the wall to anchor into. We love our little stud finder. Sometimes it finds studs in the wall, sometimes it finds my husband:) You bet we never use it without making some silly joke.
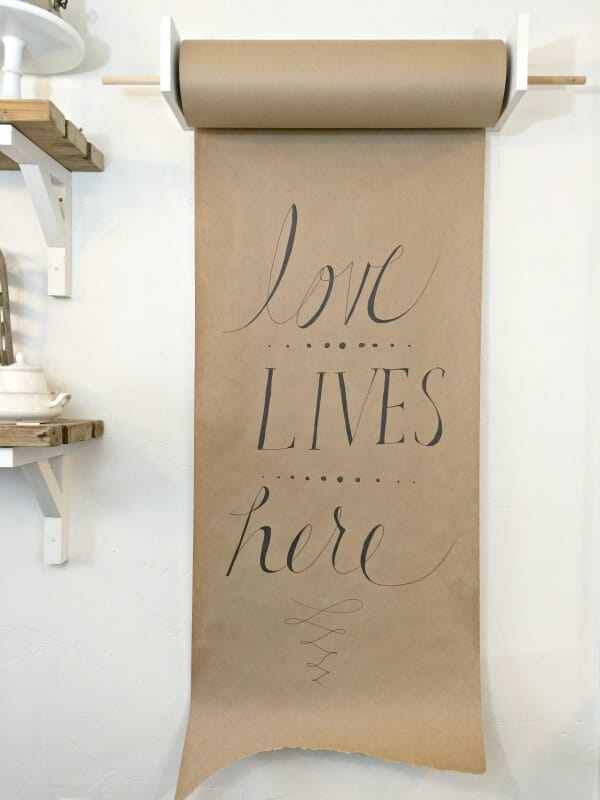
Once the mount was secured to the wall I double checked everything. Good to go.
Disregard the patches I had to make below the mount. We will not discuss that mishap. Lets just say, I installed it too soon, in the wrong place, and it stuck to the wall. Hey, nobodies perfect.
I then added the paper roll and grabbed my trusty sharpie to add a fun fall themed piece of artwork.
Now if you don’t like the screw holes, you could fill with wood putty and paint over them,. I don’t mind them. They are consistent with my love for imperfect wood.
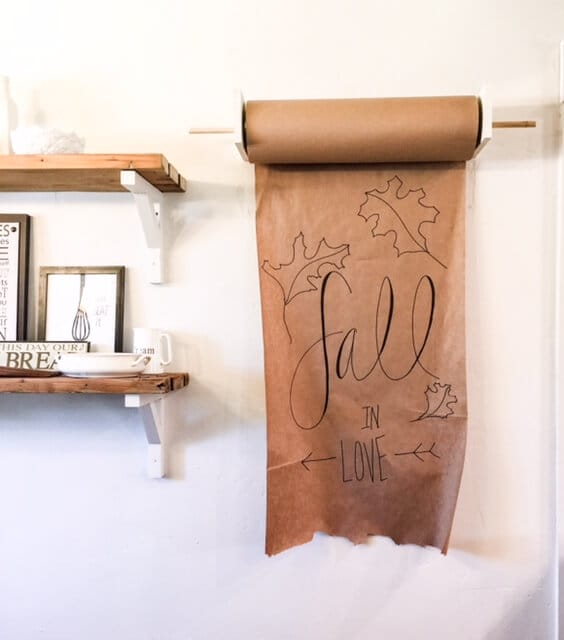

And there you have it! I think sometimes we just don’t start a project because they seem daunting and too hard for us. But, if you break it down, step by step, it can be an easy project you can finish and be extremely happy with. I definitely learn something each time I build something, maybe things I might do different or better, but there is always a new skill I have gained and my confidence to create another project is increased as well. I hope you enjoyed this tutorial. I would love to hear from you! Let me know what you think.
Thanks for stopping by and remember…


*This post contains affiliate links. I never advertise anything I have not tried or believe in. There is a chance of a small commission made on anything purchased through these links.
Sara,
This is still one of my favorite things ever! Thank you again for sharing with us! I’ve pinned your post!
Cat
You are too sweet! Thank you so much for checking my blog out! I am really trying to get some good exposure. It means the world to me!
Great project Sara! You have beautiful handwriting too:). I am pinning this for my kitchen in the future. Thanks so much for sharing this @ #Homeforthefallidays and Dream. Create. Inspire. Link. I hope you can join us again this Tuesday night @ 8 EST. I hope you are having a great weekend. Take care, Tara
Wow, thank you! I love the fun instagram challenges! If you ever want to collaborate on any I would love to! Thanks for stopping by my blog!
I LOVE this! It’s a perfect way to change up decor for the season easily; and something my boys can help with too (though it might not look as pretty as yours 😉 ) Thanks so much for linking up with us. I hope we see you again this week!
Thanks for stopping by! You know, I had all the best of intentions that this would be a great place for my kids to draw and create, but, I have come to realize that I want it for me! I don’t feel too bad though, they have a chalkboard wall they can draw on too;) Your link party is great, thanks for putting it on!
This is such a fun idea Sara! Thanks again for sharing it on the Dream. Create. Inspire. link party!
– Candle Junkie
Thank you! It was a really fun project! The link party is so awesome!