Grout Tile Like a Pro: ORC Week 4
Welcome to the 4th week of the Once Room Challenge hosted by Calling It Home. You know how I said I was hoping I would get my floor tile soon? Well, I did, and it is fabulous. I have to give a huge shout out to Lowes, who has been so amazing to work with thus far! They have been so gracious and willing to sponsor the majority of this room remodel. I am truly grateful for their help!
Week 4 of the One Room Challenge was a busy week. Not only was I working on my laundry room remodel, I had 3 research papers due for some of my online college classes. I am one of those that was almost done with college when I started having kids. 4 kids later, I decided to finish and I am oh so close!
Anyways, back to my laundry room remodel. I sometimes feel like I don’t have a ton to show you. We are working on so many things, but its just not time to pull it all together.
This week the main things we worked on was the tile and the butcher block counter top.
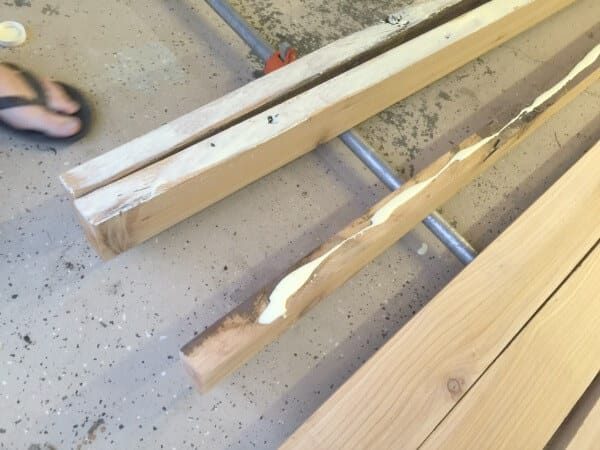
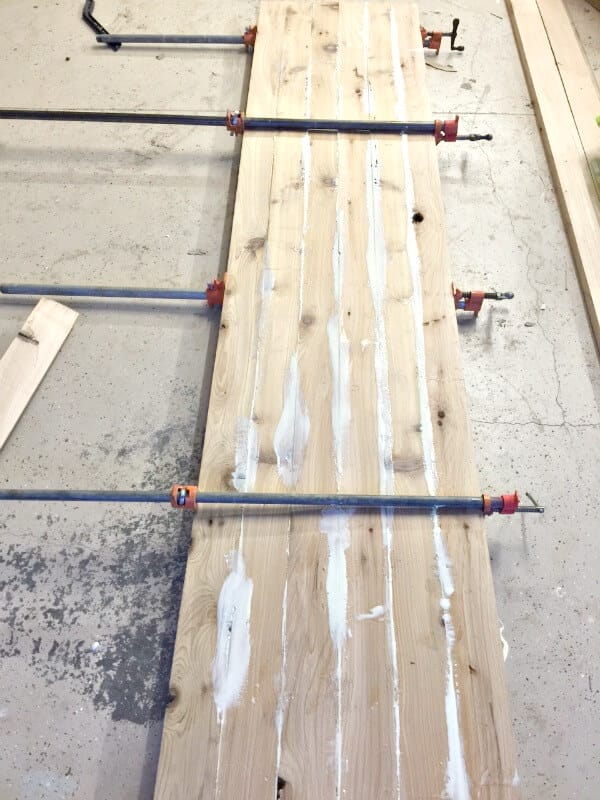
For the butcher block counter top we got all the pieces glued and clamped together. It is now ready for a considerable amount of sanding.
That sanding will happen this week, as we will be ready to install our cabinets and subsequent counter tops.
Now on to the next project of the week:
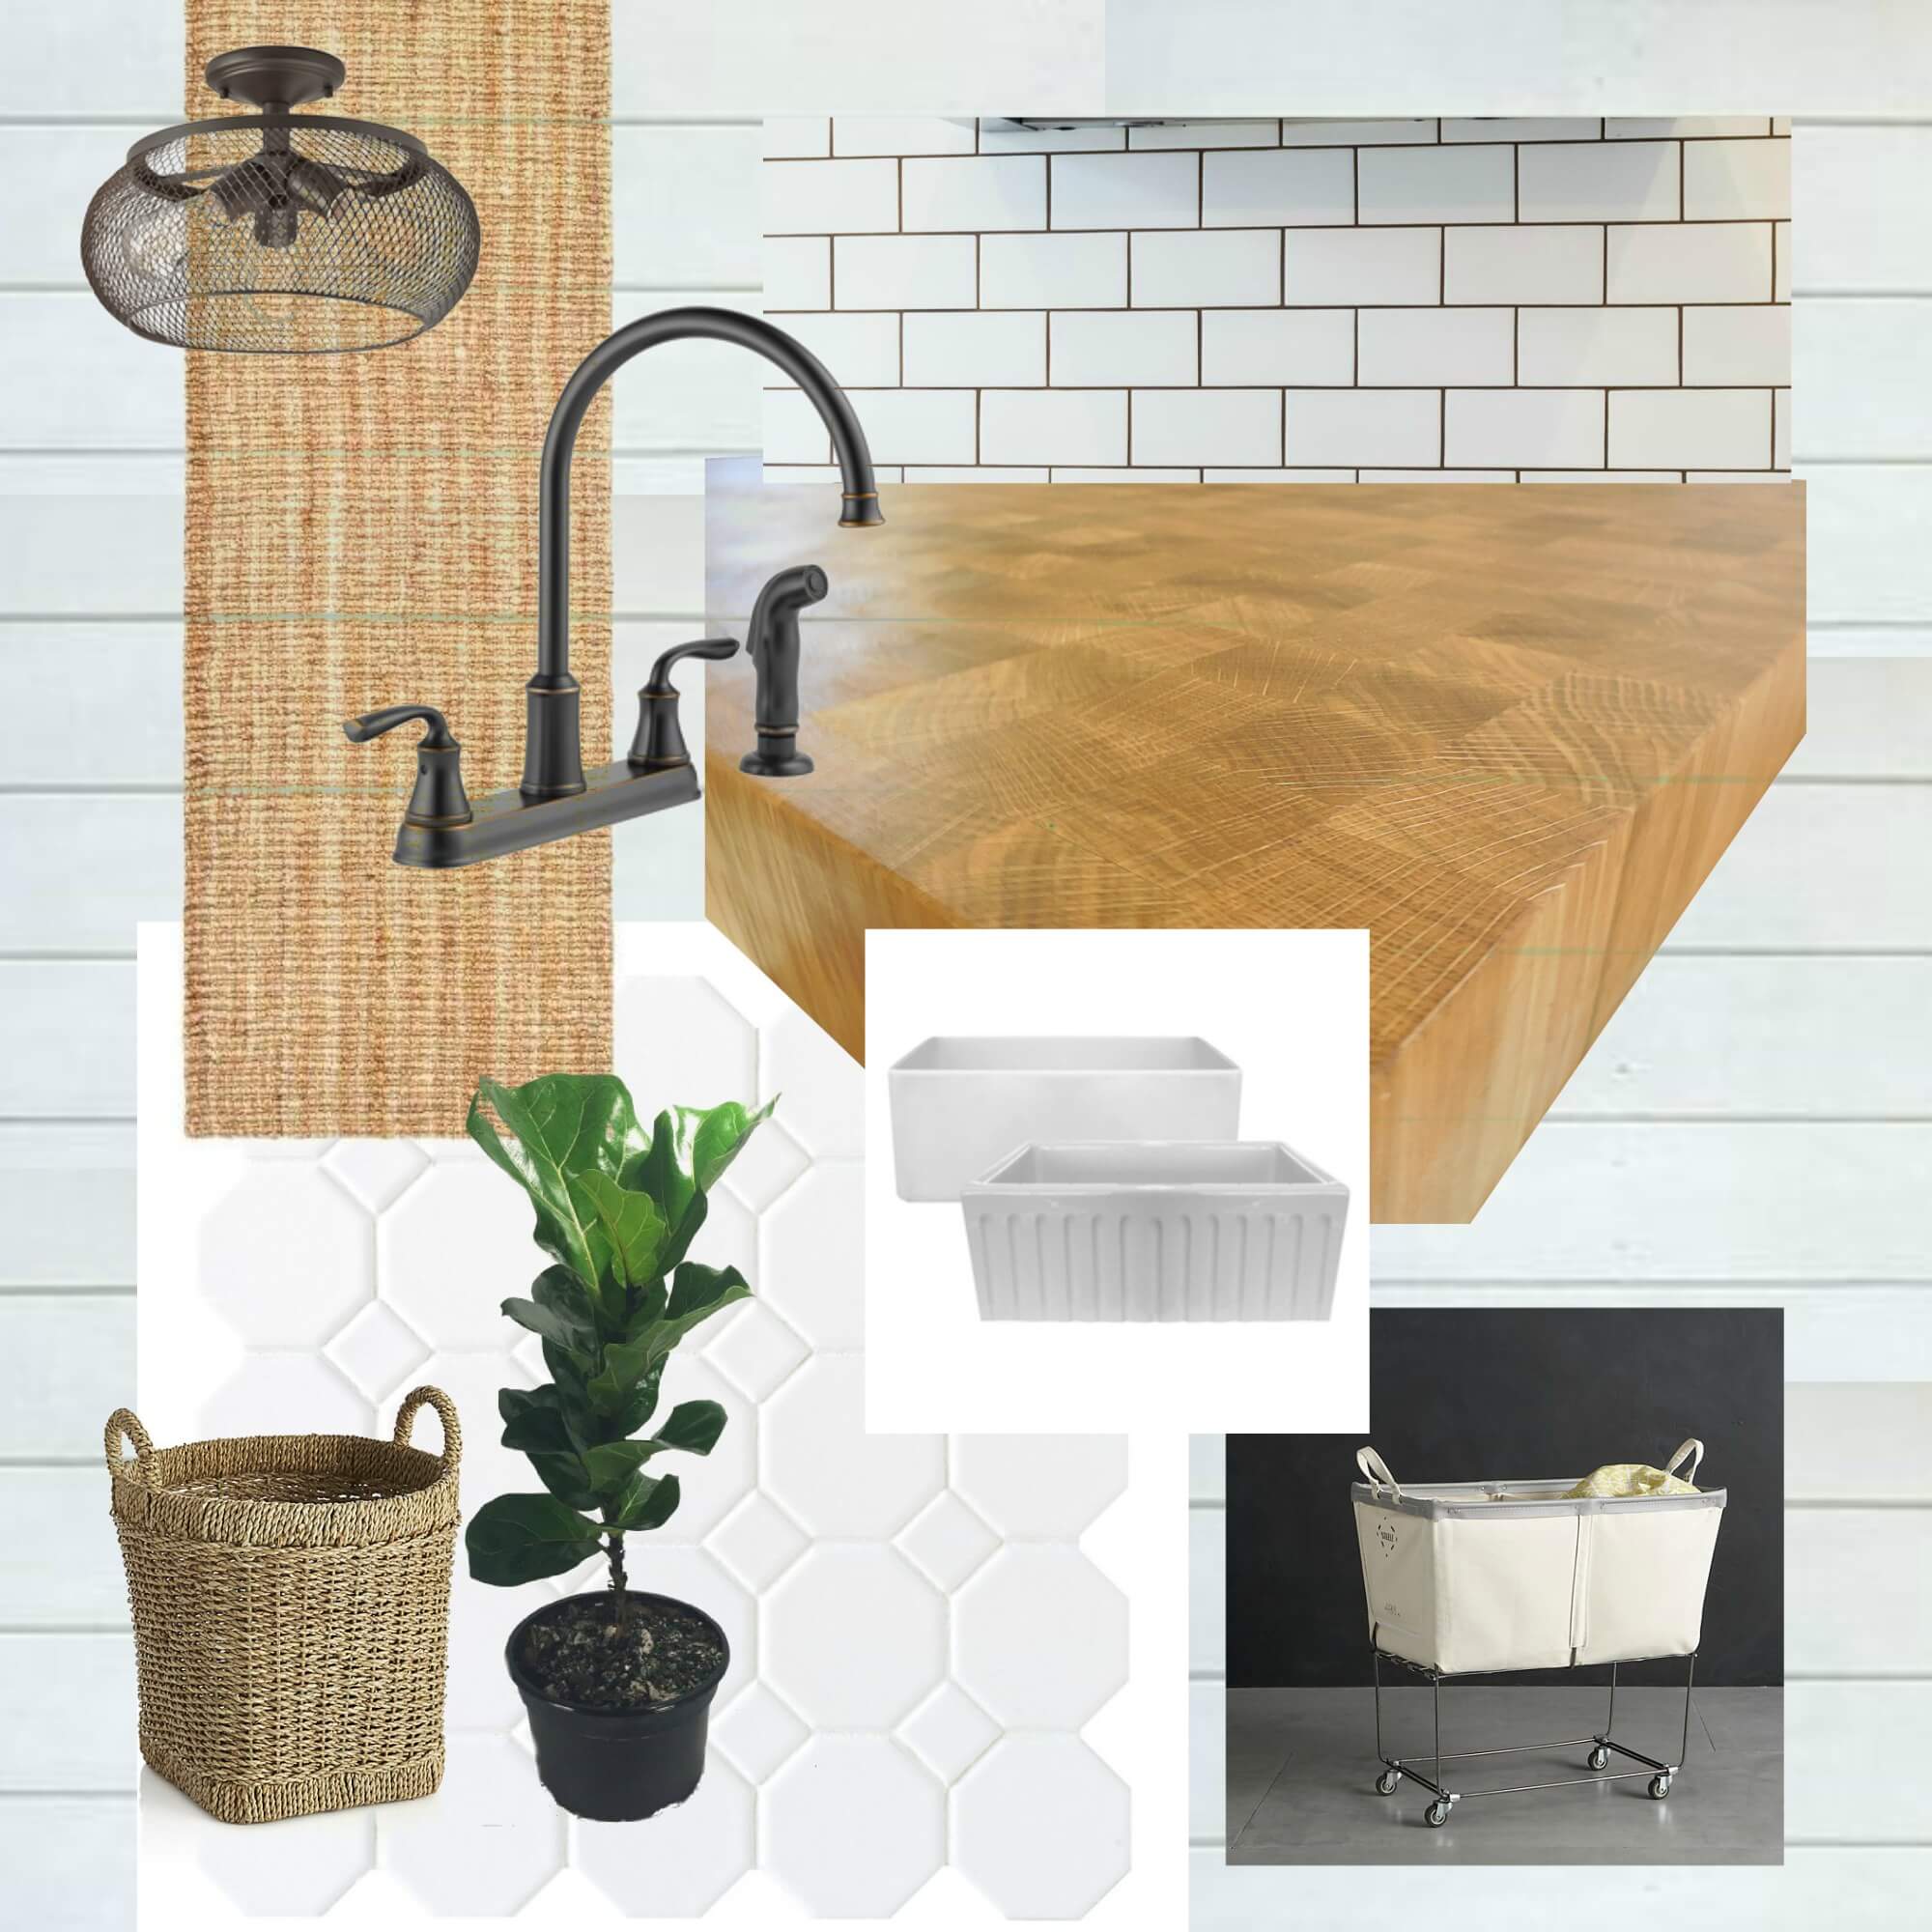
If you have not seen my first week of the One Room Challenge, this is the mood board I put together to show you what I am looking to incorporate. The floor tile is the one on the bottom left, behind the fiddle leaf fig tree.
Floor Tile | Wall Tile | Light Fixture | Farmhouse Sink | Sink Faucet| Jute Rug | Fiddle Leaf Fig Tree
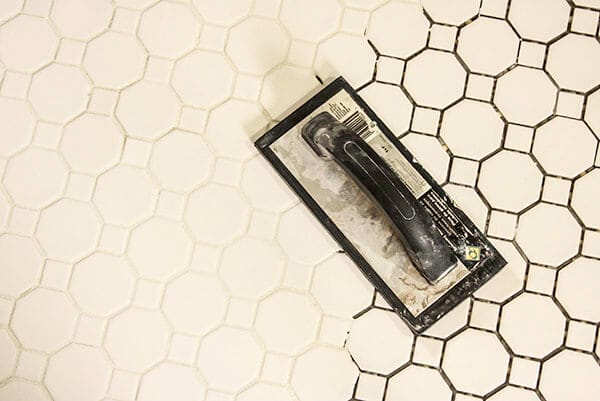
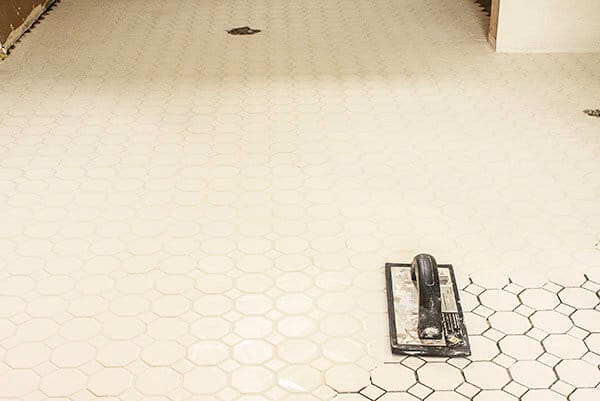
We installed the floor and then grouted it ourselves. We chose American Olean White Sausalito White Mosaic Tile from Lowes.
I wouldn’t say we are experts at laying tile floor, but we have laid our fair share. We laid slate tile in all of our bathrooms when we built our house. This tile was much easier than that. Grouting often seems like the least favorite among all the tiling to do’s. I personally enjoy it, even if it wreaks havoc on my knees
Here is a little video of how simple it is to grout tile like a pro.
You want your grout to be mixed to the thickness of peanut butter. We decided to used sanded grout after the sweet lady at Lowes convinced us. In all honesty, I wasn’t entirely sure which one to use, so I trusted her advice.
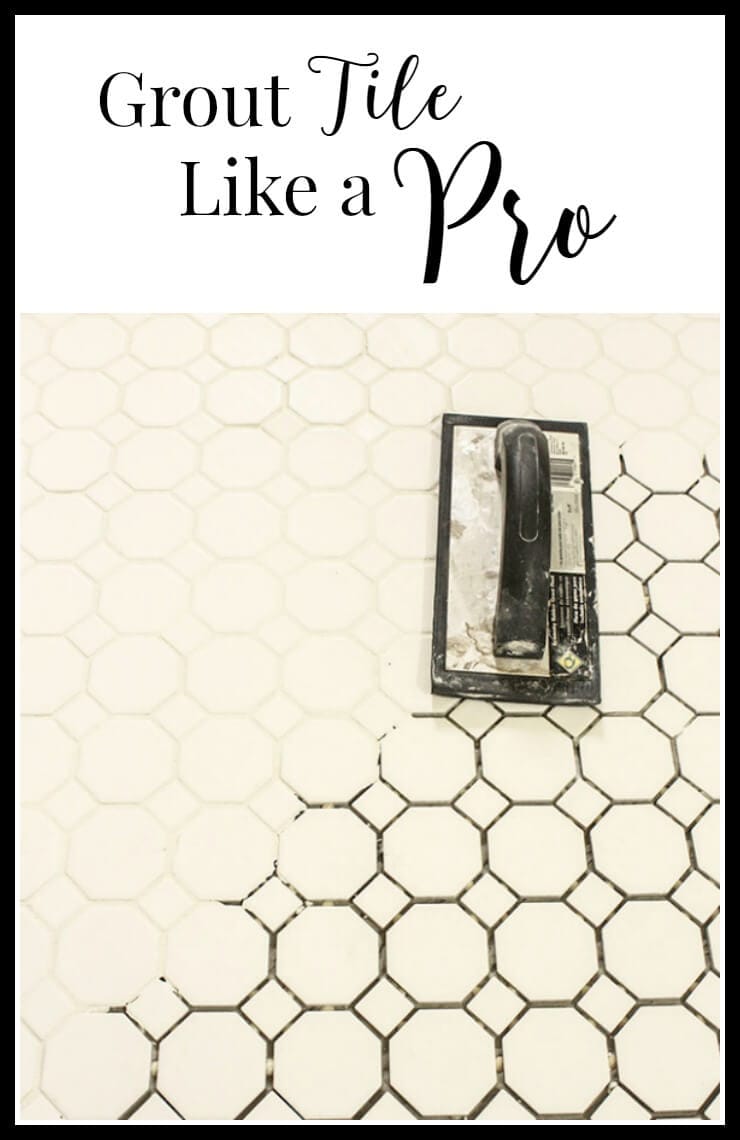
- You want to begin by scooping up some grout onto the corner of your grout float. When you begin to apply the grout, apply it with your float at a 45 degree angle. This helps the gout to get into the cracks and also helps to remove the excess. I like to work in one way first, like horizontally, then I work the same area vertically and then work a little semi circle action into it. This ensures that you are getting grout in all the cracks.
- Work in small areas. I like to work in manageable sized areas. Once I have an area completed, I will take a damp sponge and lightly wipe it down. Don’t wipe too hard, or else you will remove your grout This is mainly to smooth out any areas and wipe excess grout off the tiles.
- Once the grout has set for about 30 minutes I will go back and wipe it down again. I like to throw a towel down to rest my knees on so that I don’t mess with the grout.
- You must repeat the wipe down process a few more times to make sure you get the grout haze off the tiles. I found this tile quite easy to work with and I have had minimal grout haze.
I am going to seal my tile as well before we start installing cabinets so that it is protected from the wear and tear.
That is the long and short of grouting a tile floor.
I look forward to seeing what you all think!
And that wraps up week 4! Tomorrow I am heading out to gather up some of the last few things I need for the remodel. I can feel it starting to come together!
Thanks for taking time out of your day to stop by and see what was happening at Twelve On Main. Have a great day and remember…
If you like this post, you’ll love:



The tile looks great! I never thought of making your own butcher block, what a great idea! I can’t wait to see how it turns out!
Thanks Tilisa. Butcher block is a lot of work, but using reclaimed wood, I feel like we are giving it another purpose. Thanks for stopping by!
Love the tile you chose Sara! Good luck on your makeover. Sharing on Fb #merrymonday
Kim
I love all of the pieces on your Mood Board so I cannot wait to see the final results-it is going to be so lovely!
Thanks! I am excited too! More excited to me done already! Thanks for stopping by!
I like the floor tile you chose. If you use sanded grout, wouldn’t the floor always feel dirty? I guess the float is the applicator. What if you finish and later find gaps you missed? And what do you seal it with? If it covers the sanded grout, what is the sand’s purpose? I may be delaying my tile project out of fear!
Hey Jewell, I went with the sanded grout as per the advice of the person we talked to a Lowes. I have found that it is not my favorite, and I may have just gone with the unsanded to avoid the sand catching the dirt. We did seal the grout and that has definitely helped with this issue. The advised us that it depends on the size of the grout area for if you should use sanded or unsanded. Don’t be afraid, you will do awesome!
Thank you for the encouragement! That’s what I love about the Internet–you don’t have to look at the negative or hurtful parts. You can always find help, advice, encouragement, information, guidance, and a friend if you look in the right places. Twelve on Main, you rock!
You are so welcome! I wish you good luck in your tiling endeavors and would love to see a pic when it is completed!