
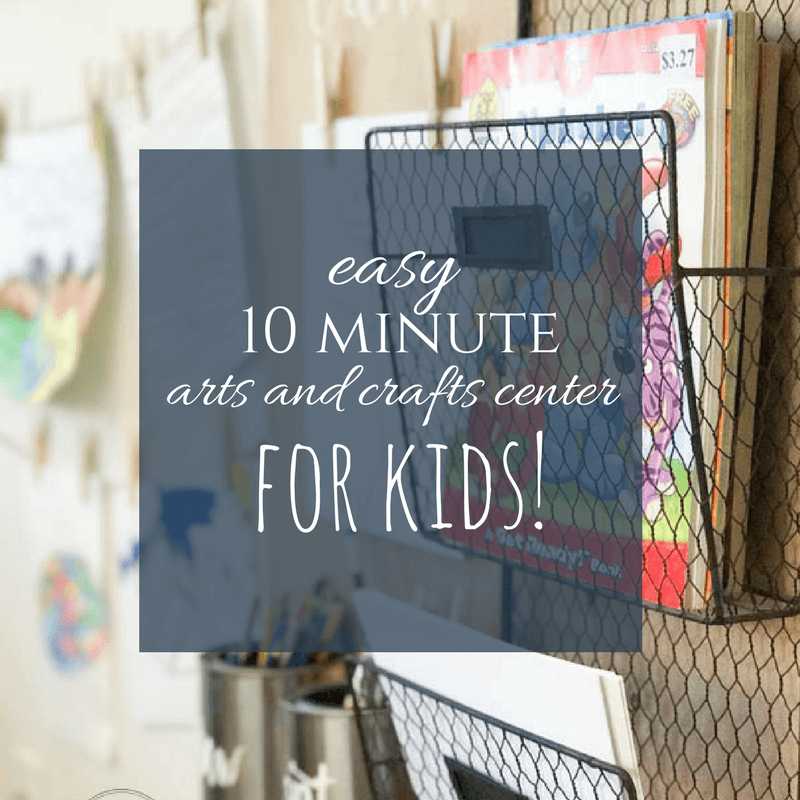
10 Minute Arts and Crafts Center for Kids
My kids love to create art. I’d like to think they get it from me. Just yesterday I had to promise my son he could finish his watercolor painting after we had dinner, to which he grumbled and protested. I could have worse problems, haha! Well, this project today could not come at a better time. With school starting next week, and having a desire to get myself more organized, I decided for this months 10 minute DIY project I would show you this fun and easy 10 minute arts and crafts center for kids.
This project is super simple. I let my daughter help, and she had so much fun. There are a few things that the kiddos can’t do, but for the most part, its good to include them when you can.
Here are the supplies you will need for this easy 10 minute arts and crafts center for kids:
This post contains affiliate links for your convenience
- 34 inch by 28 inch piece of 1/2 inch or 3/4 inch plywood
- Wire mesh wall organizer
- 2 – quart size paint cans
- handful of clothespins
- cordless drill
- clothesline (optional)
- paintbrush and paint or vinyl letters
- DIY weathered wood stain
Prepare the wood for the easy arts and crafts center for kids:
I started by staining my piece of plywood with my DIY weathered wood stain. My daughter helped with this.
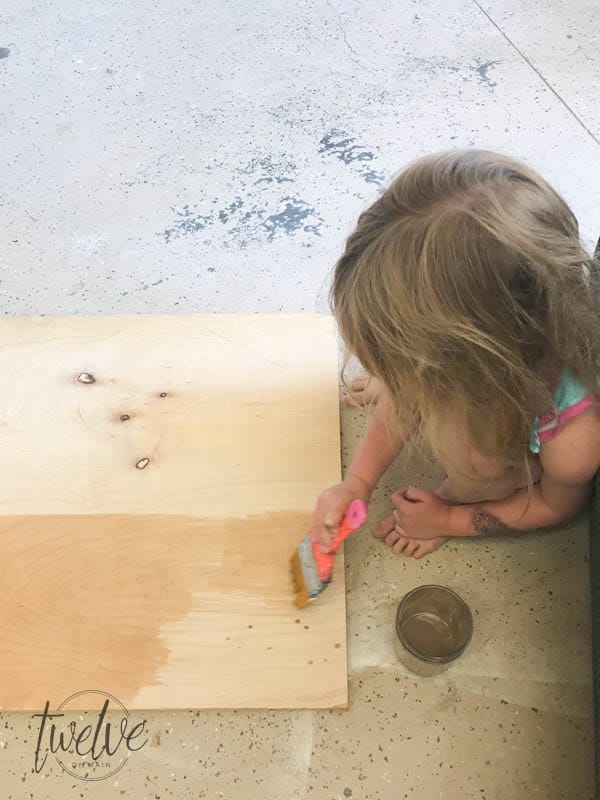
Since this stain is made with water based stain and paint, I felt okay letting her help. You could also use paint and paint the wood if you want to add color, or paint it white for a more farmhouse look.
Laying out the easy arts and crafts center for kids:

Once it was dry, I laid out my items. I set the wire mesh wall organizer on the right, and the two paint cans to the bottom left. The two clothespins will go above the paint cans. This gives a specific purpose for each space and it will stay well organized.
Once I had the wire mesh organizer in the right spot, I used 2 screws to secure it to the plywood.

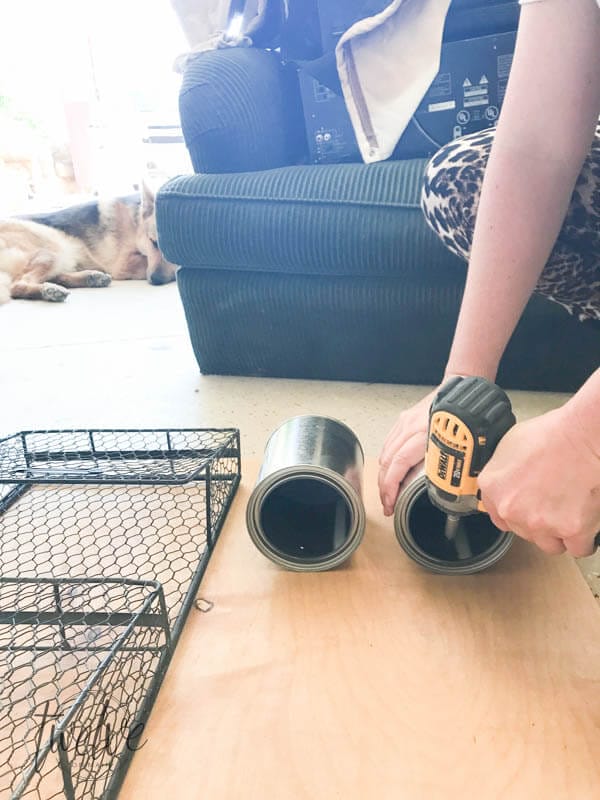
Now, its time to drill some holes in the paint cans. I marked where I wanted to drill the hole, and used my cordless drill to drill a hole in each one of the paint cans. This takes a bit of finesse. Once it starts to make a dent in the can, it will quickly drill a hole. This is important because it will make securing the paint cans to the wood so much easier.

Finish off this easy arts and crafts center for kids
Once they have holes drilled in it, its time to screw them into the wood. Using 1 inch screws will suffice.
Now, this part is optional…..
So, I decided to paint “draw” and “paint” on the paint cans before I installed them. I thought it would be fun and helpful for the kids to have labels and know where the supplies go.
These words were free handed onto these paint cans, but you could use vinyl lettering or even stickers. Use whatever you have!
We glued the clothespins to the top of the arts and crafts center. This is a great little spot to display your kids artwork.
I then painted “create” above the clothespins. Just a fun little addition.

Once again, if you don’t feel comfortable painting it, use vinyl lettering or letter stickers.
I used 2 inch long screws to secure this to the wall. You can install wire to the back if you want to hand it that way, but I wanted mine to be secured to the wall.

Now its time to fill it with supplies and let those kiddos get creative!
I added plain white paper to one of the baskets, coloring books and workbooks to the other. I then added marker and coloring pencils to one of the paint cans and paint brushes in the other.

Isn’t this a fun idea? My kids love it,! Especially my 5 year old, who loves to display here artwork with the clothespins.
I decided to add a piece of twine as a clothesline next to the arts and crafts center as another place to hang and display our kids artwork. You just need extra clothespins for this. You can easily use a thumbtack or nail to hold the twine to the wall.

Make yourself an easy arts and crafts center!
My kids love hanging their artwork on display, and I love to see all the amazing talent that they have. I encourage my kids to be creative, because, well, that’s how I got here! My parents encouraged me to be creative, my teachers were supportive, and my husband has been the best support system. He allows my crazy creative mind to flourish, even when it means that he may have to pitch in and help with whatever crazy plan I have.
Believe it or not, this really did take only 10 minutes to create! You can get your plywood already cut to size from the hardware store, and the rest just simple, it just gets screwed on! Do you have 10 minutes to create a space for your kids to foster their creativity?
I think this is a great solution for large or small spaces, and I have even thought about making one for each of my child rooms. That way they each have a place to store their art supplies, and a place to display them.
Make sure you PIN IT for later!


Are you interested in more easy 1o minute projects?
Try these out:
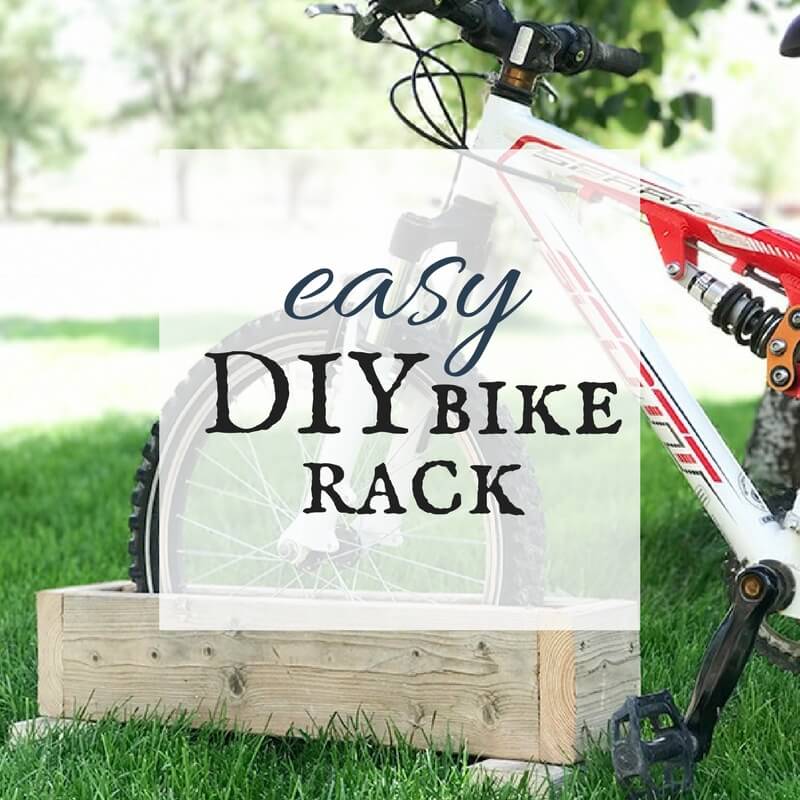
Easy DIY Bike Rack | 10 Minute DIY
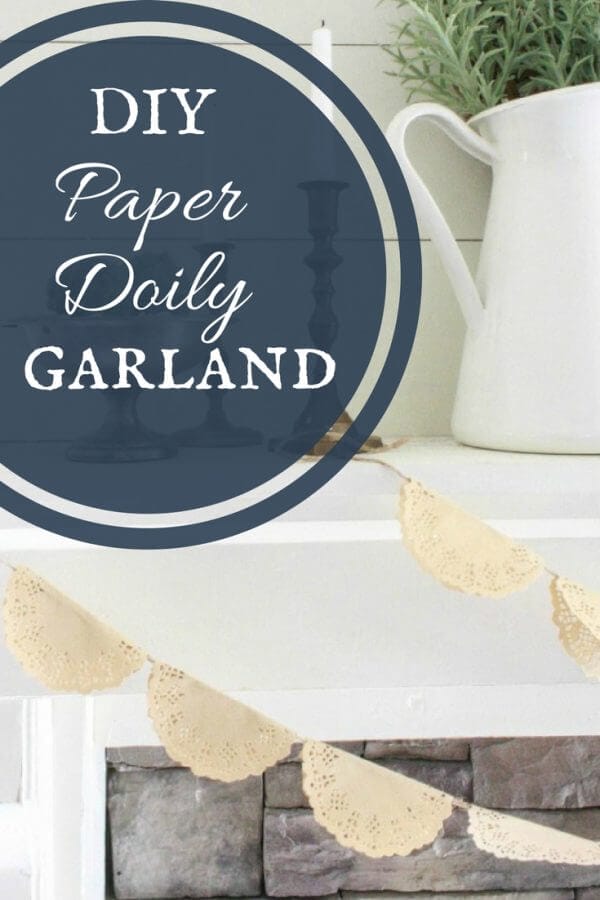
DIY Doily Garland | 10 Minute DIYs
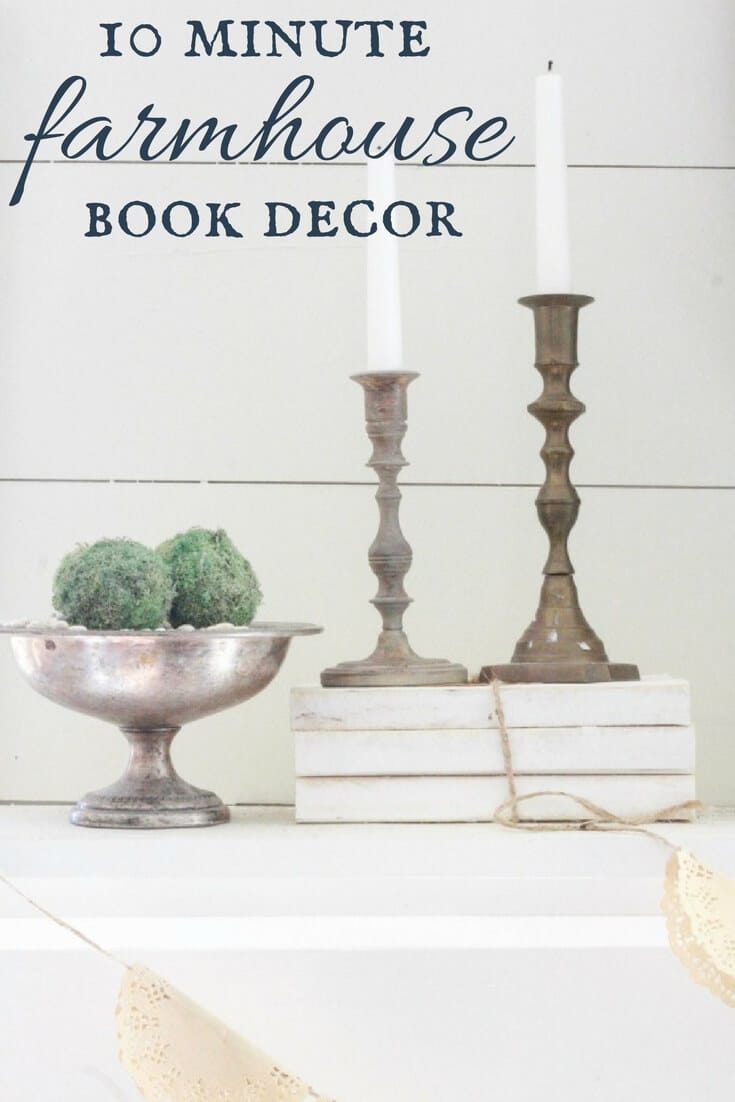
10 Minute Farmhouse Style Books
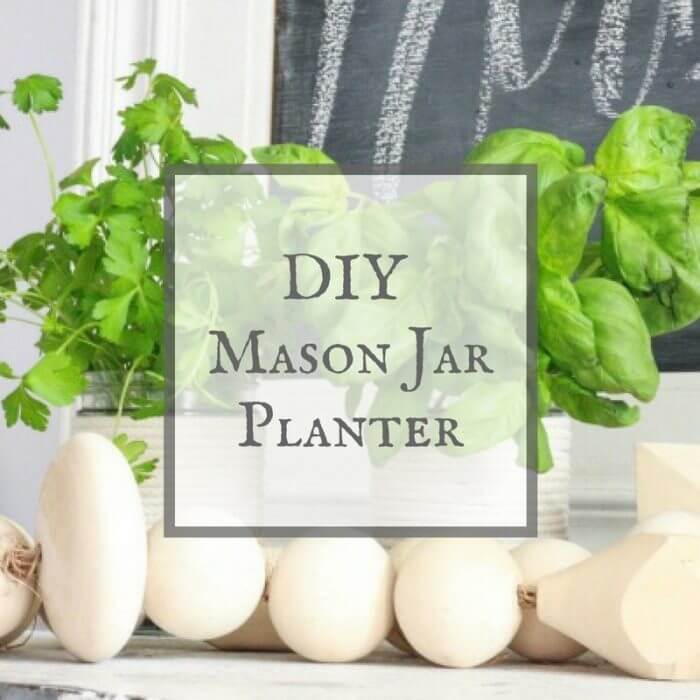
Mason Jar Herb Planters | 10 Minute DIY
Love that you included your kids in making this and passing on your creative gene 🙂