
10 Things to Know About the Cricut Maker Machine Before You Use It
This is a sponsored conversation written by me on behalf of Cricut. The opinions and text are all mine.
A few months go, I finally got myself a Cricut Maker machine. I had been holding off for so long, afraid I would never be able to learn all the ins and outs of owning one of these cool machines. It just seemed too daunting to me. But guess what? Yes there was a lot to learn, but it was easier than I thought and I found so many resources to help me learn.
With so many things to learn, I wanted to share some of the most valuable things I think you should know before starting and Cricut Maker projects. Using the Cricut Maker for the first time can be intimidating and daunting…so lets break it down a bit.
My first tip is the most important in my opinion…. but lets check them all out!
-
Watch the how to videos provided by Cricut
As a Cricut Maker beginner, I was so over whelmed with all the things I needed to learn. So I stopped myself right in my tracks. I decided to check out all the helpful information I could find first. Cricut offers very helpful videos that cover everything you need to know to use Design Space and your Cricut Maker. I found these very helpful because I really was not familiar with the machine at all. I had purposely avoided learning anything about them, and honestly I had no idea how they worked at all.
Whether you are learning how to use Cricut Everyday Iron-On, or their Cricut Premium Vinyl, they have tons of information. Perfect for Cricut Maker beginners.
I also found a ton of videos on Youtube on Cricut’s Youtube channel that gave me tons of ideas, inspiration, and know how on Cricut Maker projects. I would highly, highly recommend using these resources first thing.
-
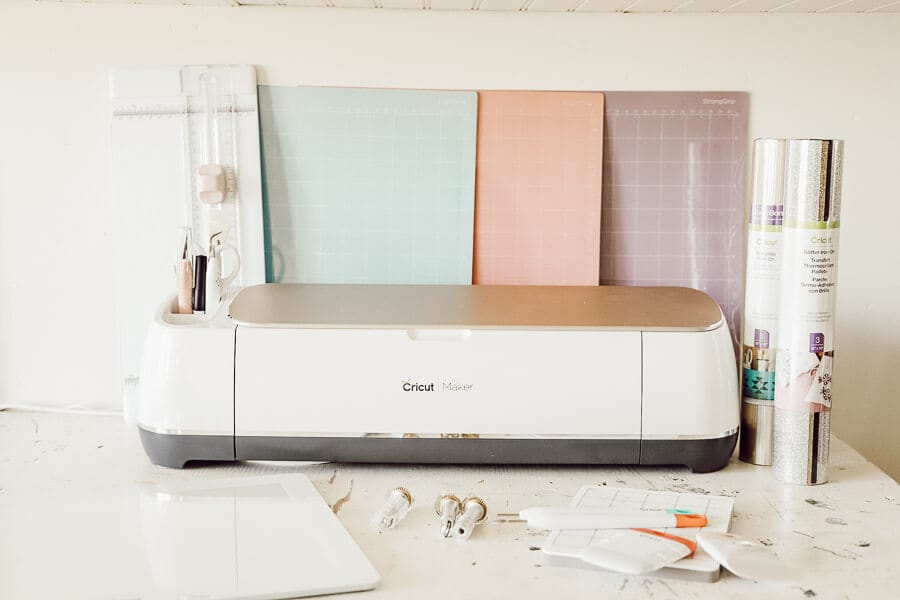
Sit down and look through everything. Know which tools come with your Cricut Maker machine…
I was so afraid I would miss something, that I sat down and went through the entire Cricut Maker box. Starting with Cricut, especially if you have never in your life used one, can be a bit of a learning experience. I wanted to be sure I knew what came with the Cricut Maker, and I read through the booklet that came with it. You also want to check out all the things that come with your Maker so that you will know what you need and don’t need in the future.
Here is what comes with your Cricut Maker machine:
- Cricut Maker with Fine Point Blade
- Let’s Get Started Box (Included URL for setup)
- Welcome Book & Rotary Blade
- Fine Point Pen
- Warranty
- USB Cord & Power Cord
- A Piece of Cardstock and Fabric (for your first project)
- 12 x 12 Light Grip & Fabric Grip Mat
- 50 Free Ready-to-Make Projects, Including 25 Sewing Patterns
- Free Trial Membership to Cricut Access™ (for new subscribers)

-
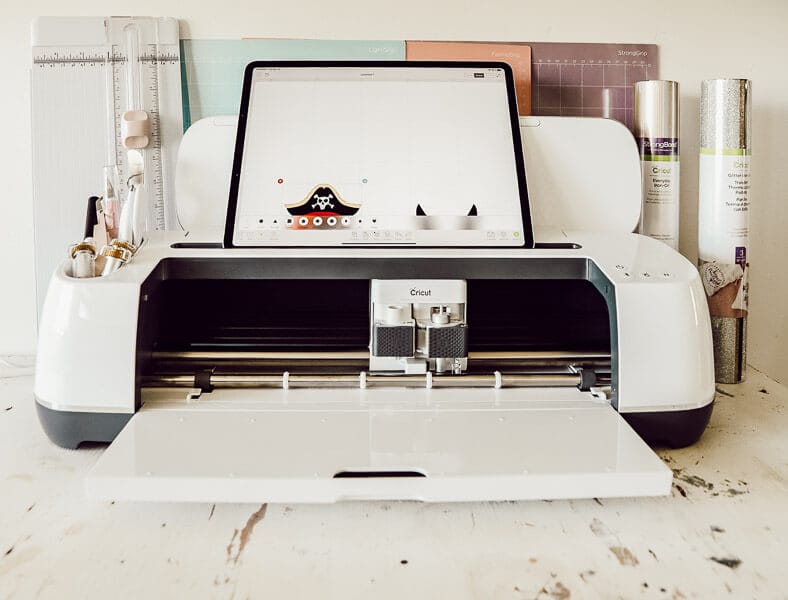
Download Design Space and set up your Cricut account:
How to start in Design Space….Design Space is the program that Cricut has provided that you can use to create designs and projects. You will need to download the program onto your computer in order to use it. There are so many cool things about Design Space and if you spent the time to watch the how to videos(I watched them in the bathtub) you will be more familiar with the program.
Design Space allows you to upload your own designs as well as fonts. As a Cricut Maker beginner however, you may want to stick with searching for already made designs. It makes your life much easier in the beginning.
You can also install Design Space on your Ipad and take your designs on the go! I love using my Ipad for all my projects. It allows me to create when I am in the car or waiting in an airport!
-
Have a dedicated space to keep your maker
Really, truly, if you can swing it, find a space where you can keep your Cricut out safely. I find it incredibly annoying to have to take it out of the closet every time I need to use it. This, of course, it totally optional, but if you can I would highly recommend it. I am able to hop on it at any given time, which makes it so much more convenient.
Mine is kept on my large workspace in my art studio. I keep it tucked away on one side and simple pull it out when I am ready to use it. It works great and stays out of the way when not in use.

-
Do the beginner projects that Cricut offers inside the boxes
This….all of this! Whether you are using the Cricut Maker or one of their Easy Press 2 machines, use the projects in the box as a way to learn hands on! I am a very hands on learner. I had never even touched a Cricut machine before I got my Maker. Being able to go through the process, step by step was so valuable.
Cricut provides the materials, and Design Space will prompt you and give you step by step instructions. It helps you to know how to install the blades, load the mats, and use different materials. Definitely do this step before your first project. It helps work the kinks out as well.
-
Know what materials you can use with your Cricut Maker
The Cricut Maker can cut so many different materials but it is important to know exactly what it can cut. Here is a list of the materials a Cricut Maker can use:
The Cricut Maker can cut various types of papers, vinyl, vinyl iron-ons, and many fabrics including leather, burlap and more! It can also cut woods such as balsa wood, chip board and so much more! Click here to get a full list of all the Cricut Maker Materials.
-
Know the difference between each mat and what they are used for
Before using the Cricut Maker I had no idea that there were even things called Mats that you used. I was that clueless. But not only are there specific mats, but there are multiple types of Cricut Mats.
The Cricut Mats are what you use to place your material on prior to loading it in the machine. The Maker then cuts the material on the mat. But, not all mats are created equal. Each mat has a sticky surface which helps the material to stay in place, and this is why there are different types, depending on the material you are using.
There are 4 different types of mats that I use with my Cricut Machine.
- StandardGrip- This is my go to mat. It is good for cardstock, iron-on vinyl, patterned paper and more.
- StrongGrip- This is used for heavyweight materials such as specialty cardstock, chipboard, and fabric with stiffener.
- LightGrip – This mat is used primarily for regular copy paper, light cardstock, vellum, and more
- FabricGrip- This mat combines increased strength, density, and quality plus a light adhesive to create beautiful cuts with a wide variety of fabrics. Use with the Rotary Blade or Bonded-Fabric Blade.
What must have tools do you need to purchase:
When I first started using my Cricut Maker I did not have a clue what tools I needed to acquire. Luckily for me, Cricut sent me a starter kit, which was amazing. So I want to talk about what essential tools you will need to get started using your Cricut Maker like a pro.
You get 2 mats(LightGrip and FabricGrip) with your Cricut Maker, but I would recommend getting a StandardGrip and a StrongGrip mat to round out your collection. I use each and every one of them.
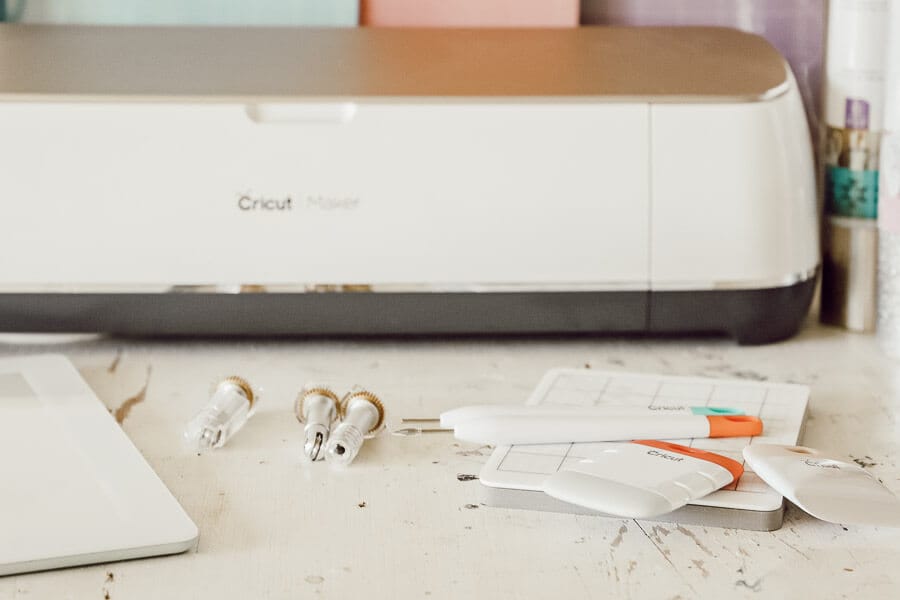
In addition to the mats, here are some of the tools I really love and use all the time:
- This is actually a great deal where you can get your Cricut Maker machine as well as a startup kit with tools and materials to get started. This Cricut Maker bundle is a great start up package.
- 18 by 24 inch self healing mat
- Essentials Tool Kit– This is a great kit to get your hands on! This kit has tweezers, a weeder, scissors with protective blade cover, a spatula to lift cuts off the mats, a scraper to burnish materials, a scoring stylus to add fold lines to cards and envelopes, a high quality trimmer, replacement blades for the trimmer, and a scoring blade. These are all essentials in my opinion. The weeding tool is used so often!

- Weeding tool set– this is a great addition to your weeding tools. It helps lift and move the most intricate and detailed cuts you have.
- Brightpad – I think this is definitely a splurge, but one totally worth it! I love using my Brightpad for weeding, tracing artwork, and so much more.
- Pen set – You do get one pen with your Cricut Maker, but I find that I use my pens so often so I purchased more. There are some great pen sets if you want to look at those. This one right here is one of my favorites.
- Ruler– These come in handy when you are placing vinyl, iron-on and much more..
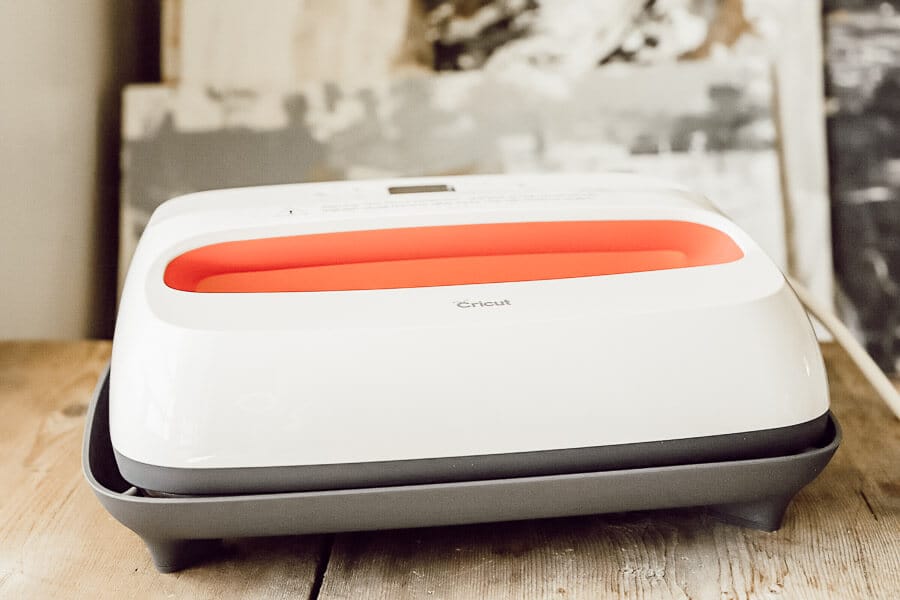
- Easy Press 2 10″by12″– If you plan to do any iron on projects such as shirts, pillows, or more this is a definite must have! There are three different sizes, but I would recommend the larger one so that you can use it on more projects without having to change and adjust things.
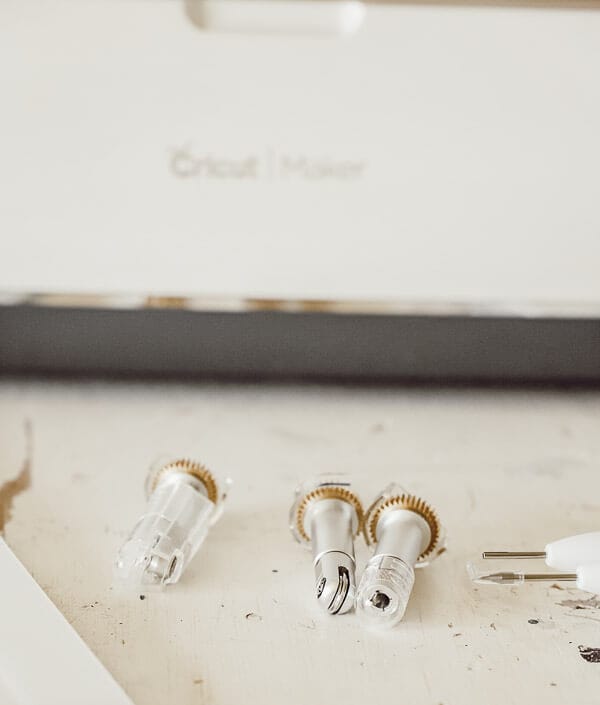
- Blades– Its a good idea to get a few of the blades that are not included in your Cricut Maker box. You get the Fine Point blade with your Cricut Maker. Getting the Deep Point Blade, Rotary Blade, Bonded Fabric Blade, Knife Blade, and the Scoring Blade will all be very useful tools. You can see what each tool is used for in my post about Cricut Maker materials.
- Easy Press 2 with assorted vinyl and tool kit – this is a great kit if you are looking to purchase iron on vinyl as well as a tool kit.
-
Use Pinterest as a resource for ideas, tips, tricks, and how to’s
I love using Pinterest as a resource for all things Cricut, especially when I am wanting to create something specific but need a few pointers on either how to make it or just to get some inspiration. I have even created my own Pinterest board dedicated to all things Cricut!
Follow this board if you are interested in anything that has to do with a Cricut Machine, especially the Cricut Maker.
-
It’s so much easier than I thought it would be!
The last point I want to talk about it how much easier it is to learn than I thought it would be! There is a good amount to learn, but Cricut is great about teaching you hands on with your “first project” as well as giving you tons of information on their website as well as their Cricut Youtube channel.
It may take a bit of time to get used to all the intricacies of the Cricut Maker, but once you learn the basics, the possibilities are endless! I love using my Cricut Maker and I think that if you try to follow these 10 things to do before you use your Cricut Maker for the first time you will have a much better user experience. You will save time and frustration and know that its so easy to find answers to any of your questions on Cricut.com
Have you used a Cricut Maker before? What things do you like about it?
I would love to hear!
If you want to learn more about my experiences with the Cricut Maker, check out these posts:
How to Use Cricut Pens to Make Custom Printable Artwork
How to Use the Cricut Easy Press 2 Like a Pro!
A Whole New Way to Create, A Cricut Maker Review
How to Make Easy Horse Art with the Cricut Maker
MAKE THE RIGHT CHOICE AND SHARE THIS WITH YOUR CRAFTY FRIENDS! PIN IT

Paralyzed when it comes to the cricut. A year later and it’s still in the box. Bought a Silhouette and gave it away – still in the box.
You give me hope. Maybe today. I really do want to do it but afraid of the learning curve! As I get older, I find I get less inspired to learn new things.
Thanks for your encouragement!
You can do it! If I can, anyone can! The videos are so helpful!