
How to Dry Orange Slices for Holiday Decor

Have you wanted to incorporate unique items into your Christmas decor? Maybe you want to try your hand at something handmade? Well, why not try dried orange slice garland? You can follow these easy steps to make your very own, and have a unique touch to your Christmas decor this year!
I really have to credit my good friend Megan with inspiring me to make these. We decided to try them out together. We dried our own oranges and then got together and assembled them. Can you believe that we even got our husbands to help? It was quite a sight to see! At any rate, these dried orange slice garlands have quickly become my most favorite part of my Christmas decor. Orange Christmas decor? Yes!
I think this had really spoke to the this year because I am really gravitating toward a Scandinavian Christmas decor this year and I find that using fruits in your decor is actually quite a popular thing to do in Scandinavian decor. Do not quote me, because I am not an expert. I am just going from images I am seeing around. Plus, oranges are such an iconic Christmas item, it only made sense for me to use them!
Adding a a few simple pops of color is also another way I am incorporating Scandinavian Christmas decor and this simple pop of orange from the dried fruit garland is a wonderful way to do that. I am really focused on having a handmade holiday this year, and these dried orange slice garlands are the perfect way to start this!
So, lets talk about how to dry orange slices for Holiday decor:
I am going to use these orange slices to create some Christmas garland.
Making dried orange slices is a simple craft…but there is a bit of time invested into making them. But, it is not active time. Its mostly inactive while you are waiting to dry your orange slices.
There are two ways you can dry your orange slices(or lemons):
Oven or Dehydrator.
And guess what? I tried it both ways, and I have a few thoughts on this. There is very little prep time to make these!
Drying them in the oven does seem to be faster, but the oranges will curl a bit more and they will darken in color as well as brown completely if left too long.
Drying your orange slice pieces in a single layer in the dehydrator is easier, in my opinion. You can set it and forget it. Your orange slice pieces hold their color better, and they do not brown like they do in the oven.
Now, after saying this….I think that either the oven or dehydrator will work out just fine if you want to try your hand and drying out orange slices for garlands or ornaments.
Now, here is a list of the things we used to make our orange slice Christmas garlands:
- dehydrator or oven set to 200 degrees F
- oranges cut 1/8- 1/4 inch thick ( you can cut as many or as few as you want. I generally get about 8 slices out of a decent sized orange.) I like navel oranges
- light gauge jewelry copper wire
- parchment paper if you are drying in the oven
I began drying my orange slices by first cutting the oranges in to 1/8-1/4 inch thick slices. Try hard to keep them at a consistent thickness so that they all dry at the same rate and this will make sure that they look the same, or at least similar to each other.
Now lets talk about both ways to dry your orange slice:
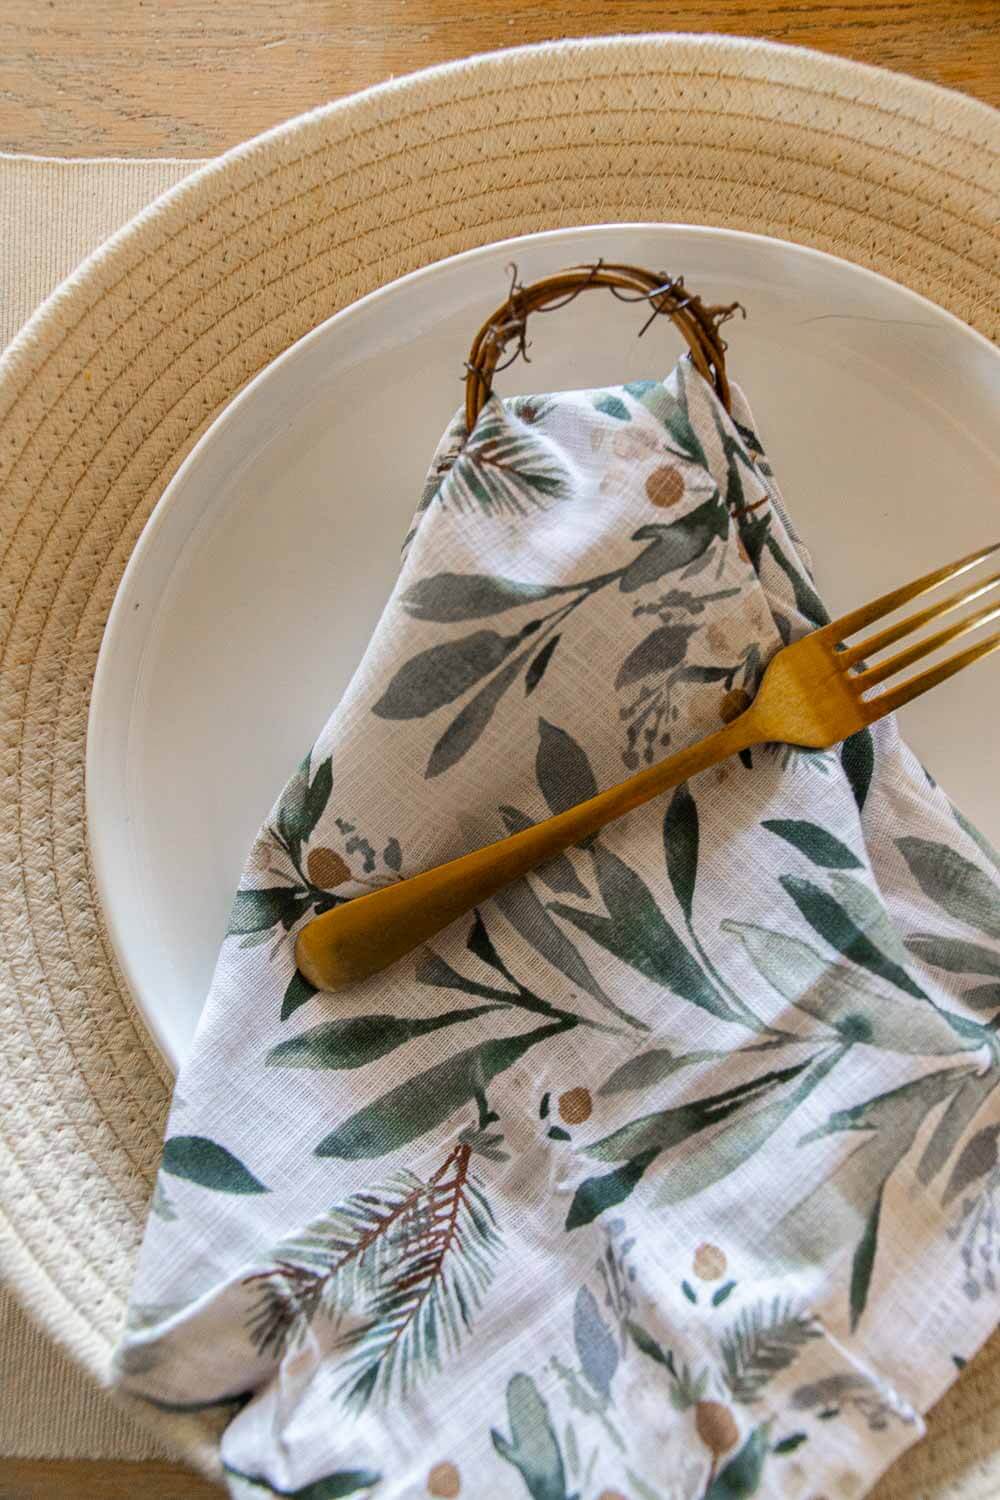
The goal is to eliminate the moisture from the sliced fruit so that they can be used in potpourri, as garnish on holiday plates and tables, and more.
Oven Instructions:
If you are drying your orange slice pieces in the oven here are my tips. First off, you want to make sure that you put down some parchment paper on your pans. I used large sheet cake pans, which allowed me to dry a lot at a time.
First, slice your oranges, lemons, or grapefruits, limes (any citrus fruits) using a sharp serrated knife. This will be the easiest way to cut them nice and thin.
Next, use paper towels to dry them well by patting them with the towel.
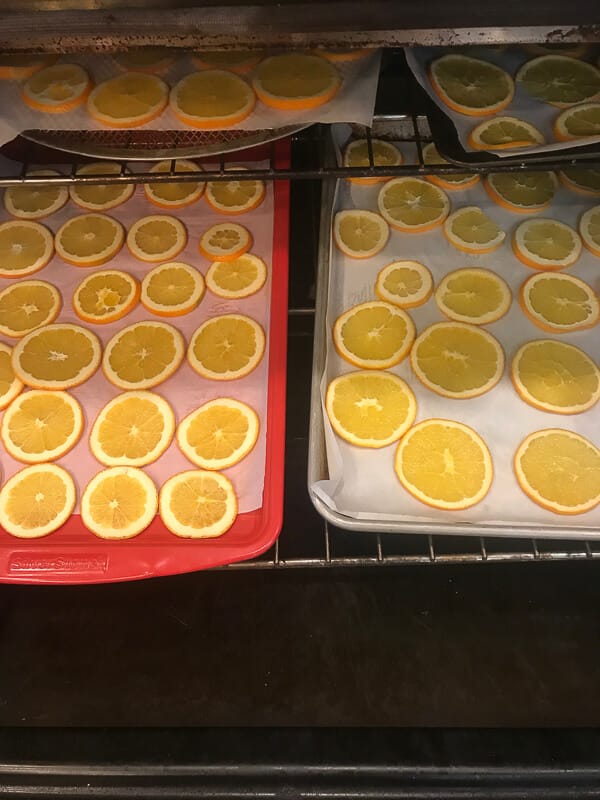
I lined my pans with parchment and then lined my orange slices on the pan in one even layer. Do not overlap them. Make sure there is space between each one so that they dry evenly. You could also use wire racks to dry them.
I heated my oven to 200 degrees F. You could go as low as 160 if you oven goes that low. My oven has a convection make setting where I can just turn the fan on for as long as I need. I find that this really helps the drying process.
It will take about 3-4 hours to dry your citrus slices. You want to check the about every 30 minutes. You want to flip them each time. This guarantees that both sides dry evenly.
By checking every 30 minutes, you will be able to tell if they are getting done faster that expected and adjust for that. Do not just put them in the oven for 3 hours and forget about them. You will end up with brown orange slices, which is not the goal!
You want to pull the oranges out when they are still just a bit soft in the middle. This allows them to air dry for a bit if needed. It will also make it easier to thread them onto the garland later.
Now let’s talk about dehydrated orange slices:
This is a much less hands on project. I have a dehydrator that you can set the amount of time and the temperature.
You want to lay out your orange slice pieces on the racks or trays. DO NOT use parchment paper.
I set mine at 160 degrees F and set them to run for 3 hours. I did check them once during the 3 hours to rotate the bottom rack and the top racks. Sometimes I found that the bottom rack dried a bit faster. After 3 hours if it is still not done, add another hour. The total time will vary depending on the heat of your dehydrator or oven.
Once they were done, I laid them out on a cookie sheet to air dry overnight. Technically you can consider them air-dry orange slices.
Now its time to use these orange slices to make some Christmas garland!
After brainstorming twine, fishing line, and thread, my friend landed on a light gauge copper wire used for jewelry. It ended up being the most genius thing ever!
You can use the pointy end of the wire to feed through the oranges, and once the orange slice garland is assembled, having that bit of control with the wire allows you to manipulate it once it is hung.
We decided to cut 3 foot long pieces of copper wire so that we weren’t feeding the oranges along the wire endlessly. We did not want to chance tearing the dehydrated oranges. You could add cinnamon sticks, wood beads, pine cones and more to make your garland more interesting.
You want to feed the copper wire through the top left of the orange slice, and then feed it down through the top right side. The larger the space between the two holes, the more sturdy the dehydrated orange slices will be. Can you see in the image below? It is a simple stitch.
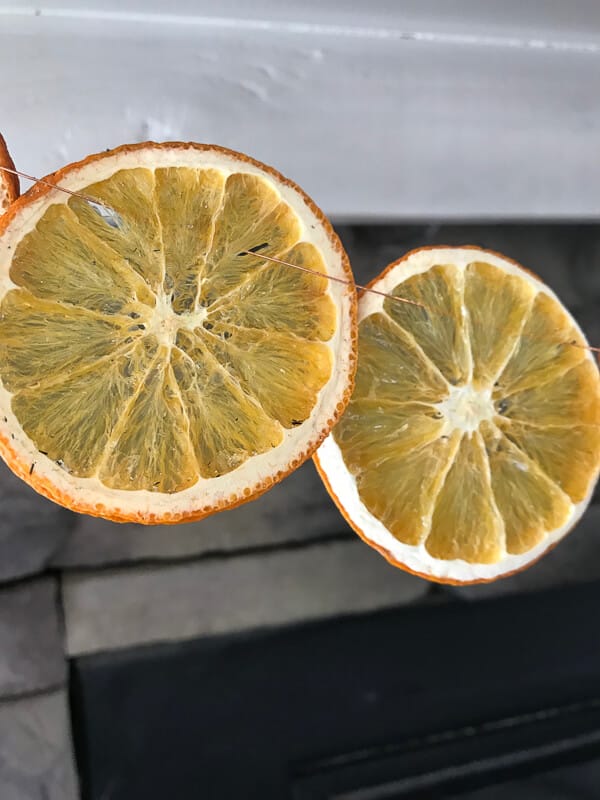
Warning, you hands will get a bit sticky because the dried oranges will not be totally and completely dry. But, once they are hung up, they will dry rather quickly. The orange slice garland that I hung on my fireplace dried completely in just a few hours.
I have now hung the rest up on my Christmas tree, and they look so pretty! Plus having that bit of copper wire on the ends gives you the perfect piece with which to secure your orange slice garlands to. Here is a sneak peek of how I used them on my fireplace mantel.
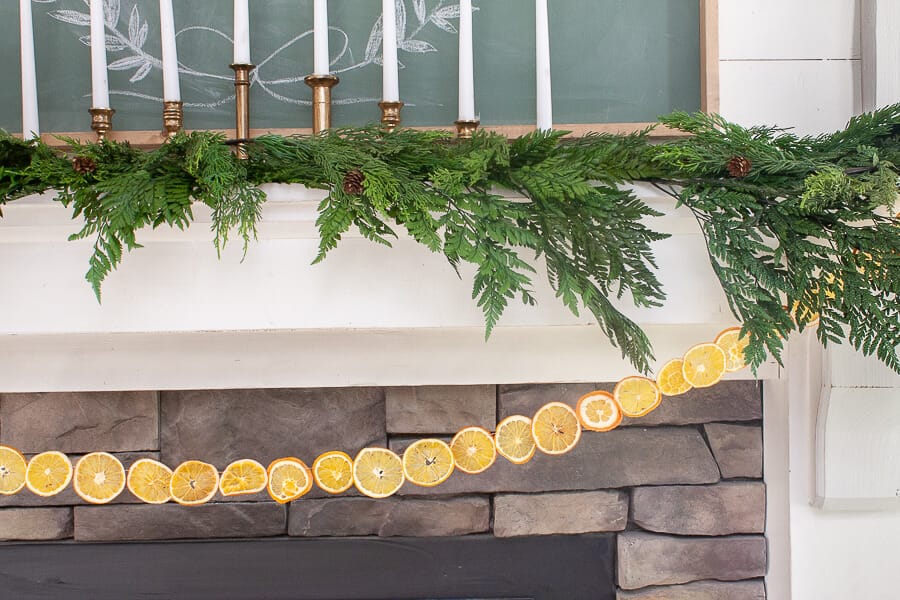
I am absolutely obsessed with this dried orange slice garland and I have used it throughout my home this Christmas….check them out:
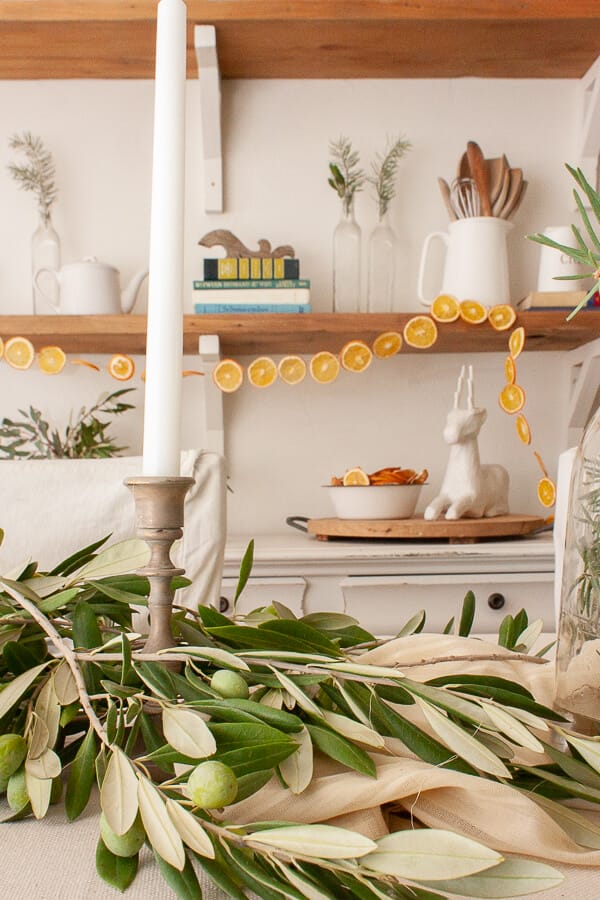
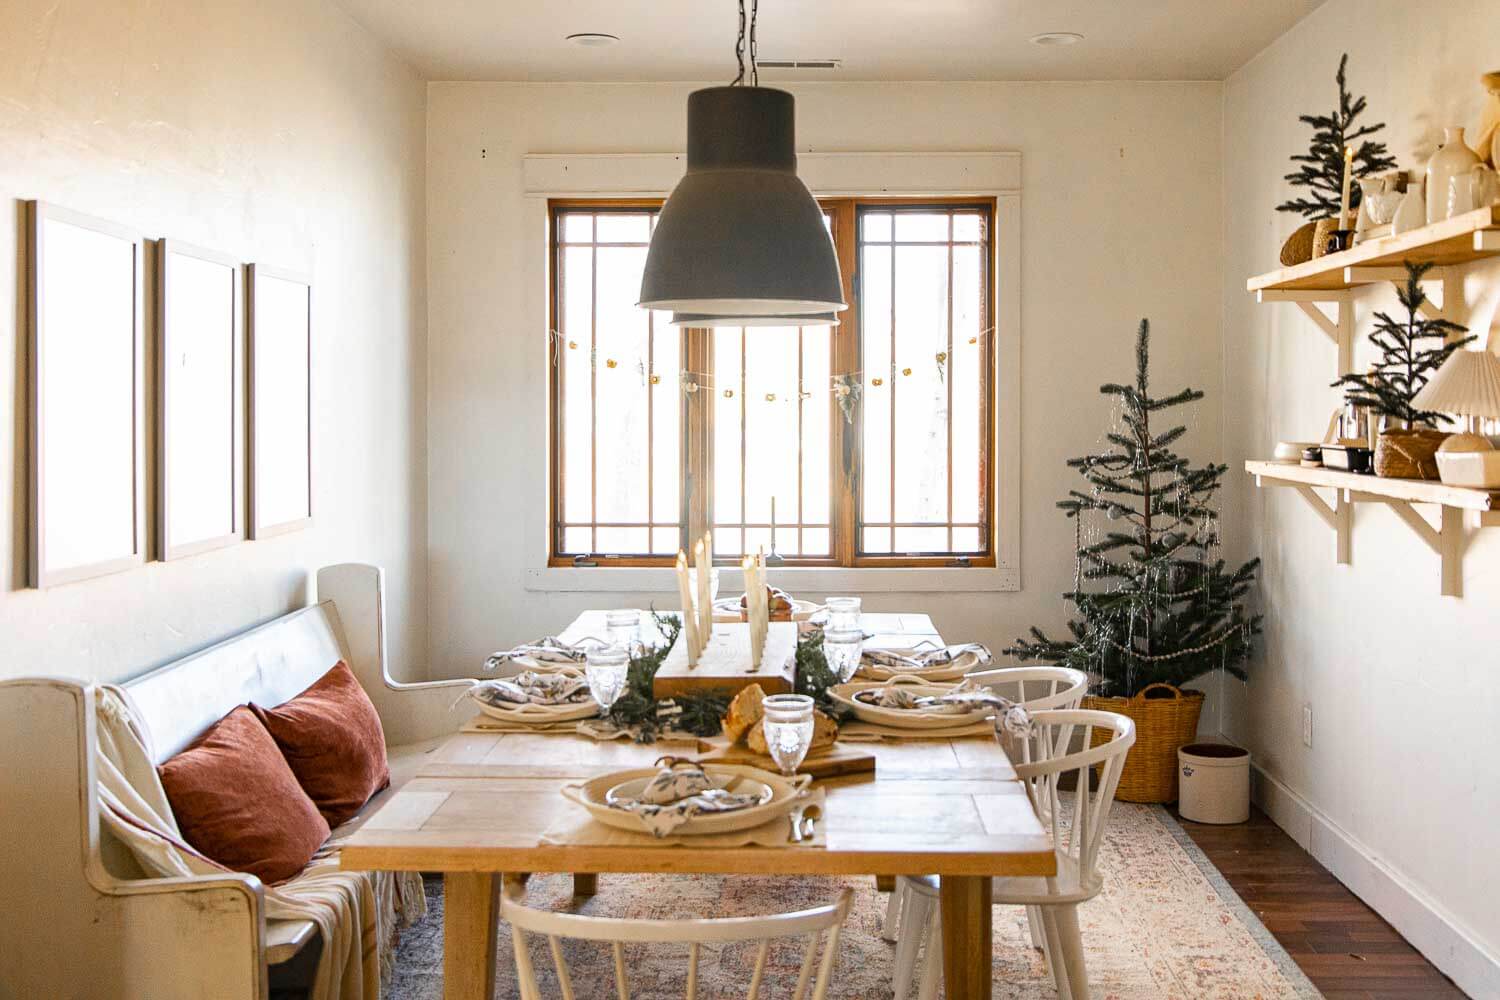
I used them in my Scandinavian inspired dining room and I also used them on my Christmas tree…however I am not ready to show you that yet!
UPDATE ON THE SHELF LIFE OF THESE DRIED ORANGE SLICES! I HAVE USED THESE SAME ORANGE SLICES FOR OVER 3 YEARS. AS LONG AS YOU STORE THEM CAREFULLY THEY WILL LAST!
You can also use these dried orange slices in wreaths, cocktails, recipes, as part of a gift and so much more! Here are some of the ways I have used them below:
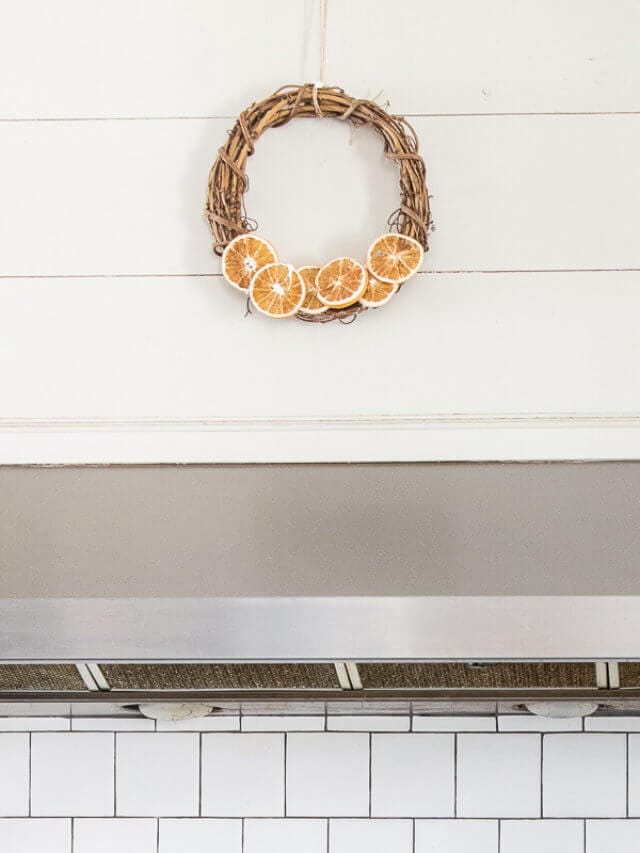
Easy Lemon Slice Wreath
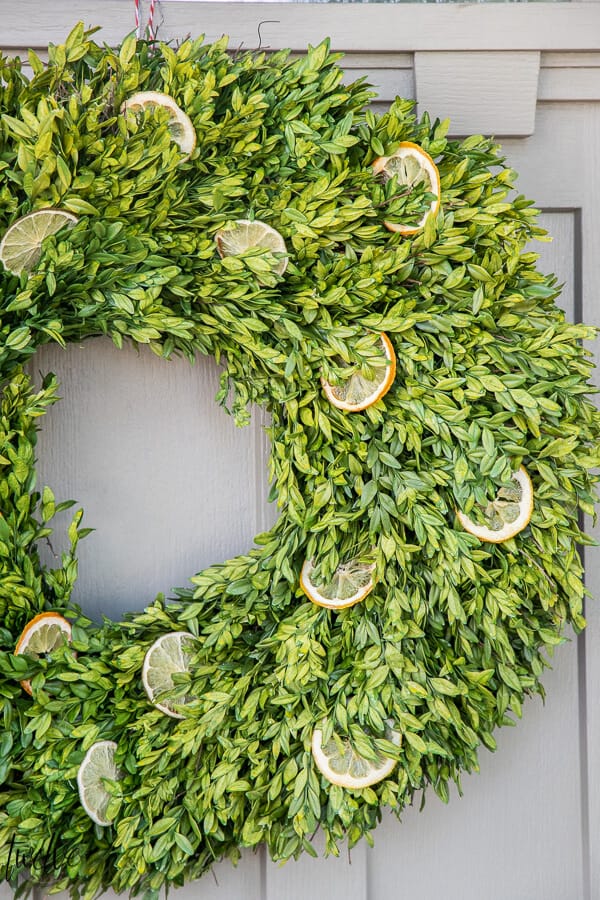
Boxwood and Orange Slice Wreath
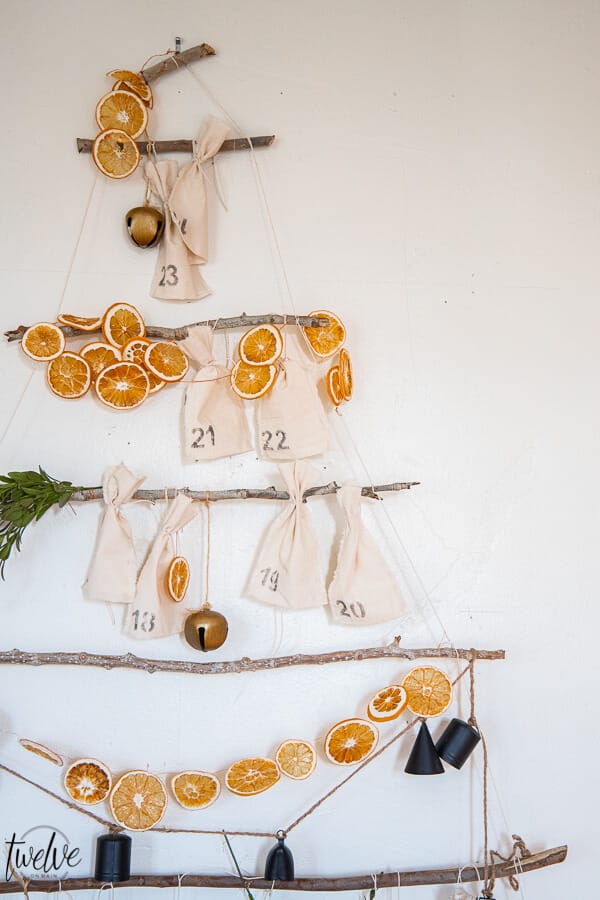
Scandinavian Advent Calendar
Now, I would really love it if you shared this with your friends and family by pinning it to Pinterest or sharing it on Facebook!


I absolutely love these garlands! So pretty. Going on the list for next year. I bet my kids will ha e so much fun helping too!
I am making these this year and although I did not buy any, wouldn’t it be lovely to also do lemons and limes for added color.
Hi Sara! I’m so happy to have found this post today! My daughter will be setting up her first home in January and we have been collecting all the essentials for months and the mom in me has hit overdrive making sure she is honing her home making skills. With the holidays upon us, she has been excitedly planning her own decor for next year and the top of her list begins with a style similar to this. Thank you for sharing your tips! I do believe you now have a new fan!