
How to Paint Stairs and Railings Like a Pro with Wagner Paint Sprayers
I know, you might be thinking, come on now, take a break and enjoy the holidays! Well, thats exactly what I intend to do…but I had one more project up my sleeve and I couldn’t wait to share it with you! This is something that has needed attention for sometime. Our staircase and railing have been tortured by our 4 kids and dog. I am not sure but somehow they have managed to pick off all the paint from the tops of the railings as they innocently make their ways up the stairs. This has been driving me crazy for a while now. In addition to that, when we tore out our carpet and did a bit of an update on the stair treads, we avoided finishing off the stair trims for quite a while . So, I took it upon myself to get it all finished and updated this past week, and now we are talking about how to paint stairs and railings like a pro!
I feel like I have the corner on this a bit. You see, I have been working on these stairs for years it seems. I have been testing and experimenting with techniques for these stairs for sometime. I have gone back and forth between adding tiles to the risers, some cool wood trim, stenciling, and more! But, in the end, all I really wanted was some simple steps, with a really pretty color that will last and some beefy trim that makes the stairs stand out a bit more.
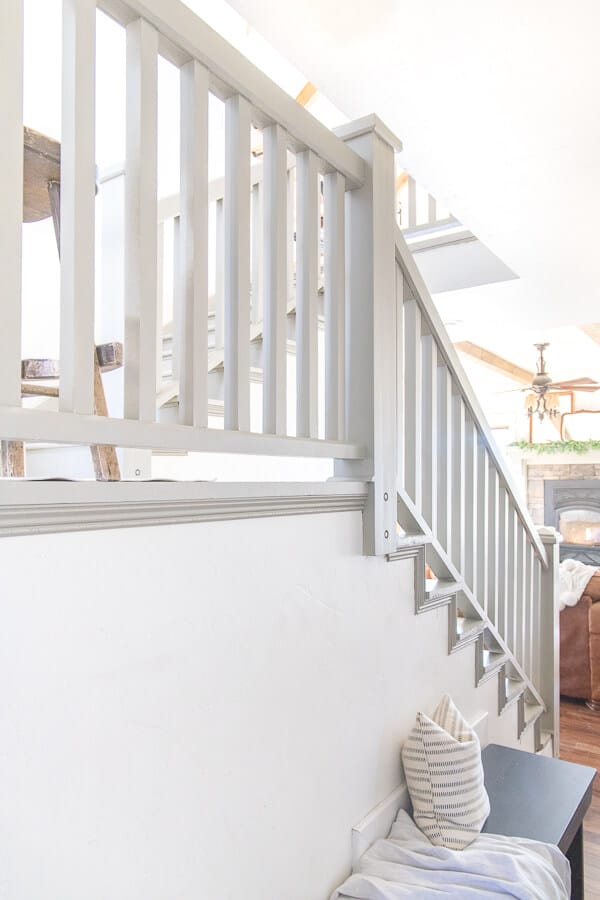
These stairs were a labor of love from the very beginning. My husband and his brother actually built these stairs when we built our house. It was so fun to create unique and one of a kind balusters for the corners of the staircase.
Also, at the beginning it was all carpeted. But, with a dog…and now that my kids are grown up, I wanted to tear that carpet off! I am the one that has to vacuum them, so I get to have it my way…right?
So, let’s talk about why we are here today. I am thrilled to be working with Wagner on this post today.
This is a sponsored conversation written by me on behalf of Wagner. The opinions and text are all mine. I only endorse and promote products I truly believe in.
So, when Wagner offered to send my the Flexio 4000, one of their paint sprayers, I knew this was the perfect thing to get my staircase finished once and for all! There was no way I was going to use a paint brush and paint each and every one of those balusters and stair treads. I needed a better way!
The Wagner Flexio 4000 is the perfect sprayer for painting stairs and so many others too! I have used a handful of other sprayers including many other Wagner sprayers and I find they do have different purposes…for the most part. I used one for my chicken coop and my tree house that blew my mind! But it definitely was not the right one for this delicate and detail oriented job.
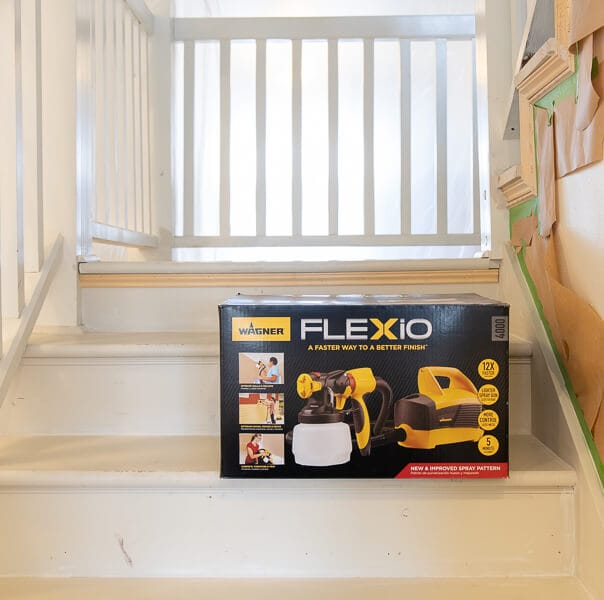
The Flexio 4000 is great. It is perfect for longer paint projects, since it is more lightweight with the motor in the base and not connected to the sprayer itself.
It has two different nozzles, one for painting multiple rooms, and the other for fine finishes like on cabinets and trim. You can use this to spray indoors and out, and it is so easy to clean once you are done!
I decided to use the fine spray nozzle for my stairs project since I wanted to avoid too much overspray in the house.
So, let’s talk about how to paint stairs like a pro!
I feel like I know a little too much about painting stairs, but you should take advantage of that! Before you get started you want to make sure you have all the tools and equipment you need:
- plastic painters drop cloth
- Painters tape
- Masking paper
- Wagner Flexio 4000 paint sprayer
- extension cord (optional)
- Paint Sprayer mask
- A good floor or porch paint
We used a floor paint in the color Gettysburg Grey by Benjamin Moore.
This is the state that our stairs looked like last year before I gave them a quick cover up with some temporary paint. It was like putting lipstick on a pig really.
Before I could do the real painting I had to do a lot of touch ups and add trim. When we put wood stairs up, we never added trim, and it was such an eyesore. I couldn’t decide what kind to use so that is why it stayed that way for so long. But, I finally figured out what I wanted and I think it looks amazing! And I do have to give myself a pat on the back because I did it all….even the hard to reach areas! lets just say mitering is not my strong suit…but I only had to recut one stairs trim! I’ll take that as a win.
Let’s talk about the process I took to paint my stairs.
The first thing I did was give everything a good cleaning. I vacuumed, dusted and washed my stairs and my railings. I wanted to make sure my paint got the best chance to perform.
Second, I spend a little bit of time masking off all the stairs as well as baseboards. I used masking paper to give a clean line and prevent the sprayer from getting overspray on the wall. Once that was all done, I needed to also mask off with some plastic painters dropcloths.
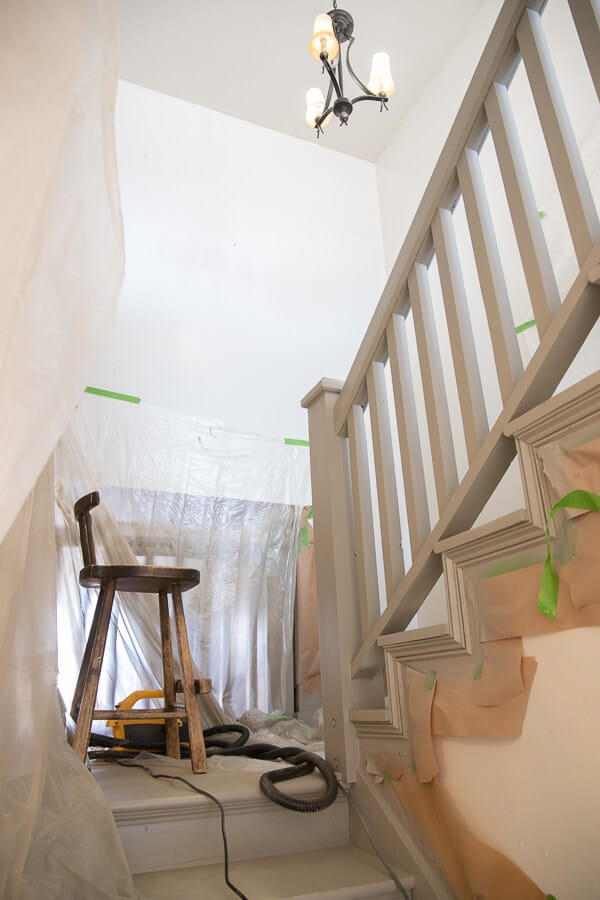
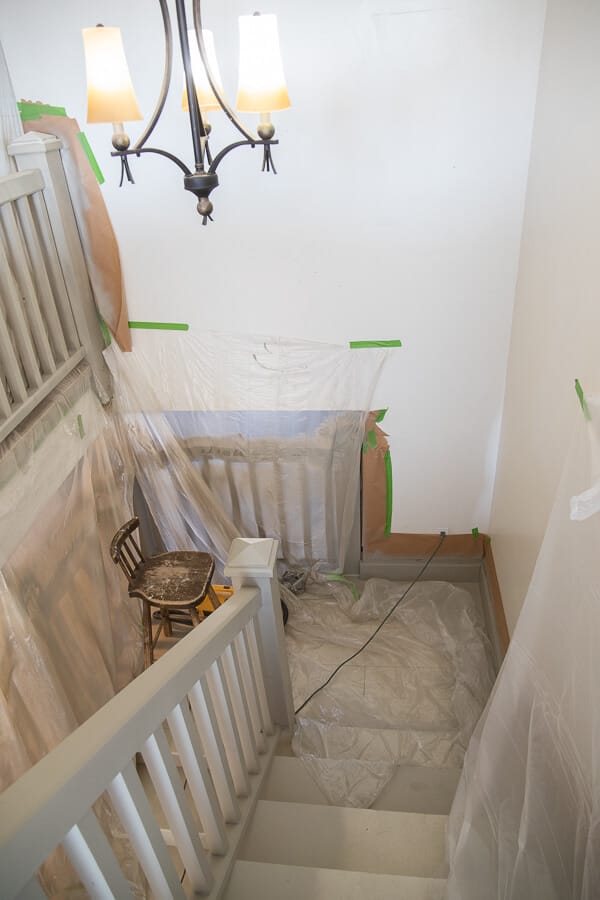
I chose these because they were lightweight and could tape them to the ceiling easily. I made sure to tape of and use plastic anywhere that the paint sprayer might throw some overspray. Since I was painting railings, there were plenty of places where the paint could fly, like between the railings!
Want to see how I did it all? Check out this video on how to paint stairs!
Get up close and familiar with this sprayer! I am showing you all I can about it and how fun it is to use, including how to clean and assemble it.
How to paint stairs and railings strategically:
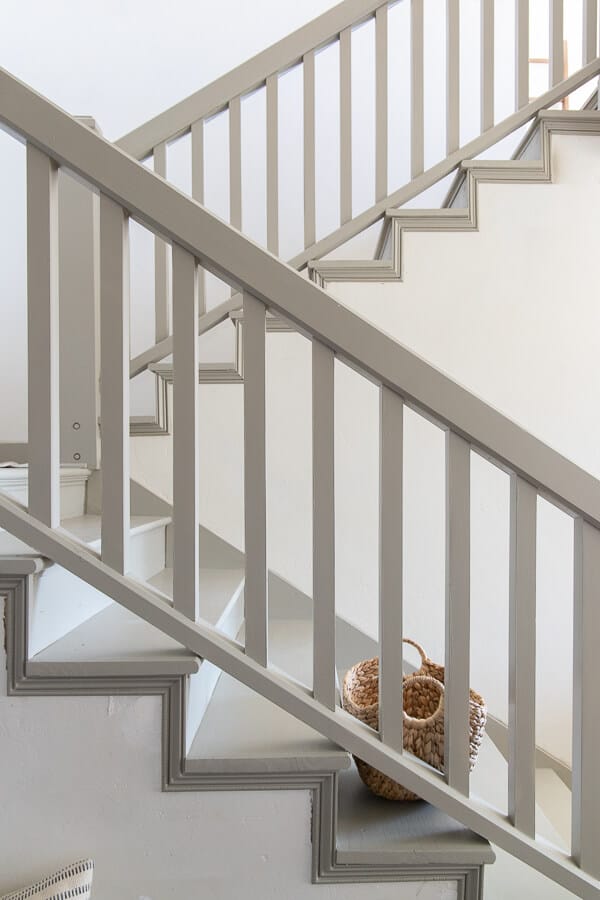
There is an important pattern I follow when painting stairs. I like to paint the railings first, especially if I am painting with a sprayer like the Wagner Flexio 4000. I cover the stair treads with plastic to prevent overspray on them as well. Once the railings are all painted I paint the stair treads.
Now, this is how you paint stairs without getting yourself trapped upstairs when you are all done!
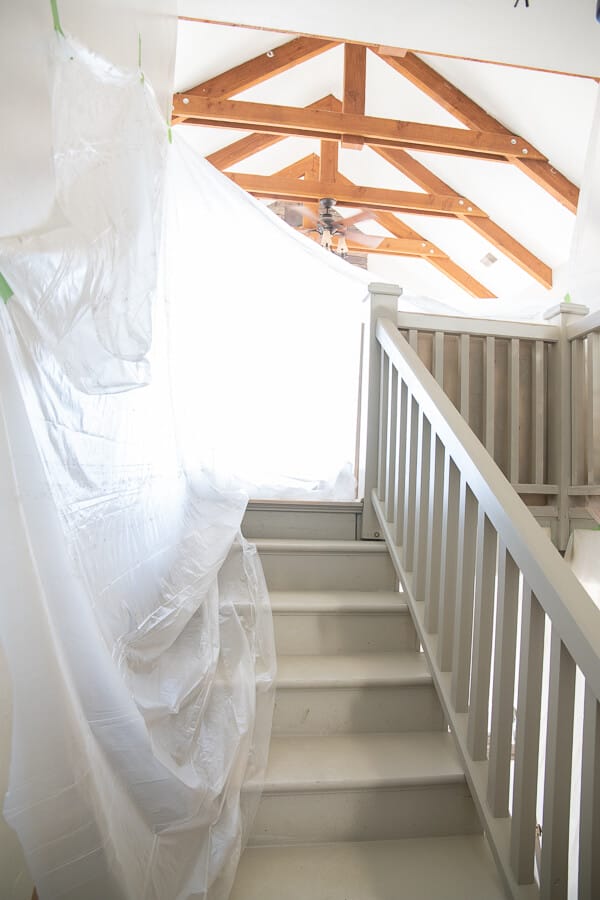
I start by painting one side at a time. I will paint the left side….about 2/3 of the stair, and do the same all the way up to the end of the stairs. Once I am done with that and it has dried completely I will paint the other side…the right side, painting again about 2/3 of the stair allowing the paint to overlap in the middle where the stairs seem to get the most wear and tear.
By painting them this way, you can still use 1/3 of the stairs to go up and down if needed until the stairs are done. I would still recommend staying off the stairs as much as you possibly can, so you can make sure they get cured as best as possible.
And finally, the best part, taking off all the masking paper and tape to reveal those gorgeous stairs!
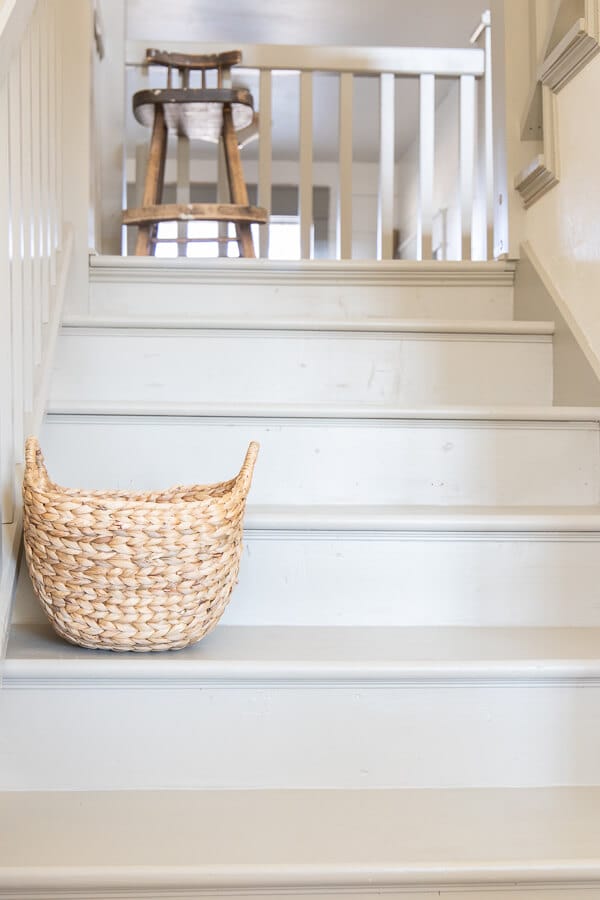
I kept the styling simple, adding one picture to the space, a couple baskets and a rug. My mom old painting bar stool also needed a spot. I love that chair.
In total, this project took me 2 days to complete, and that was only a couple hours the first day and about 6 hours the second.
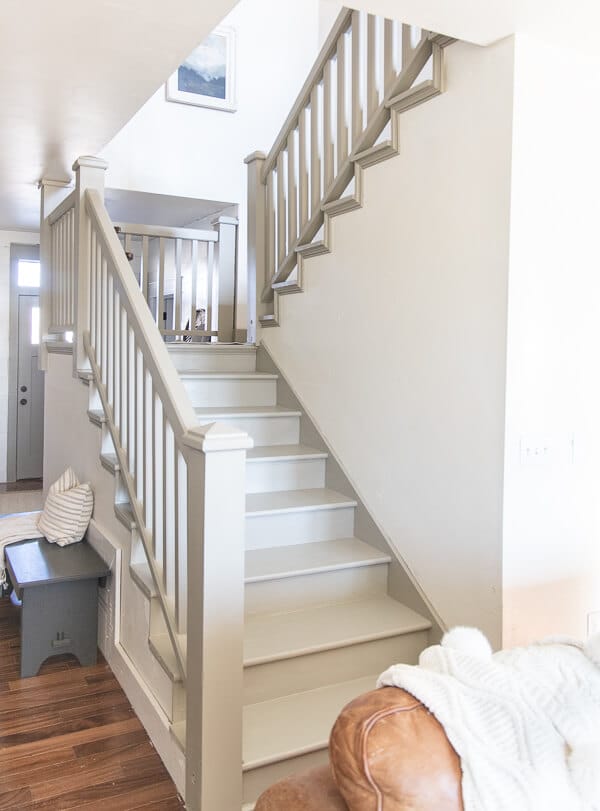
I am so thrilled this project is done! Those railings have been taunting me for a year now and I just had to get it done! And I cannot get over how gorgeous my stairs are now…and that trim I added to the stair treads looks pretty great if I do say so myself.
So. Very. Pretty.
What do you think? Is this a project you would tackle?
Make sure to watch my video up above! I break down how to use the Flexio 4000 sprayer and how I painted my stairs.
Have a great day friends!
xx
Sara
Check these other great painting posts out!
Painting and Distressing Furniture 101- Bringing Farmhouse Style Home
New Mudroom Design Updates! Our Breezeway From Drab to Fab
How to Distress Furniture Like A Pro!
You did an awesome job and I commend you for tackling such a job. The trim looks great and I love the color!
You did a wonderful job, but of course you always amaze me at all you do. The stairs and trim are so pretty.
Those look amazing. When you did these railing did you spray them all st once or did you do the soundless and then the top? Or the top then the spindles? I’m thinking of painting mine and I’m just worried of overlap and the paint running
We did the railings first, and then the stairs second. we covered with plastic to keep them protected.