My Budget Friendly Bathroom Makeover | Reveal
Budget Friendly Bathroom Makeover
Well, its reveal day here at Twelve On Main! After 4 weeks of brainstorming, searching, and working hard, I am finally ready to reveal my budget friendly bathroom makeover!
This bathroom belongs to my boys. And if you are here for the first time, you really should check out
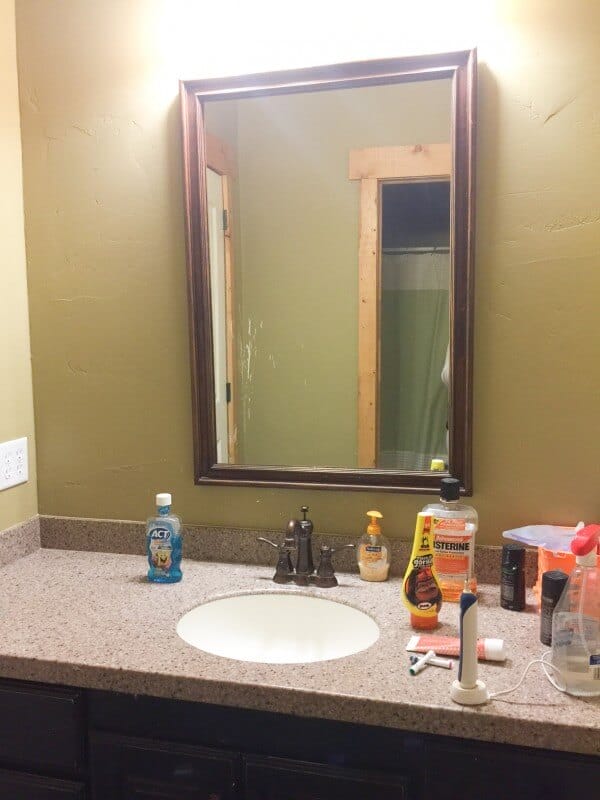
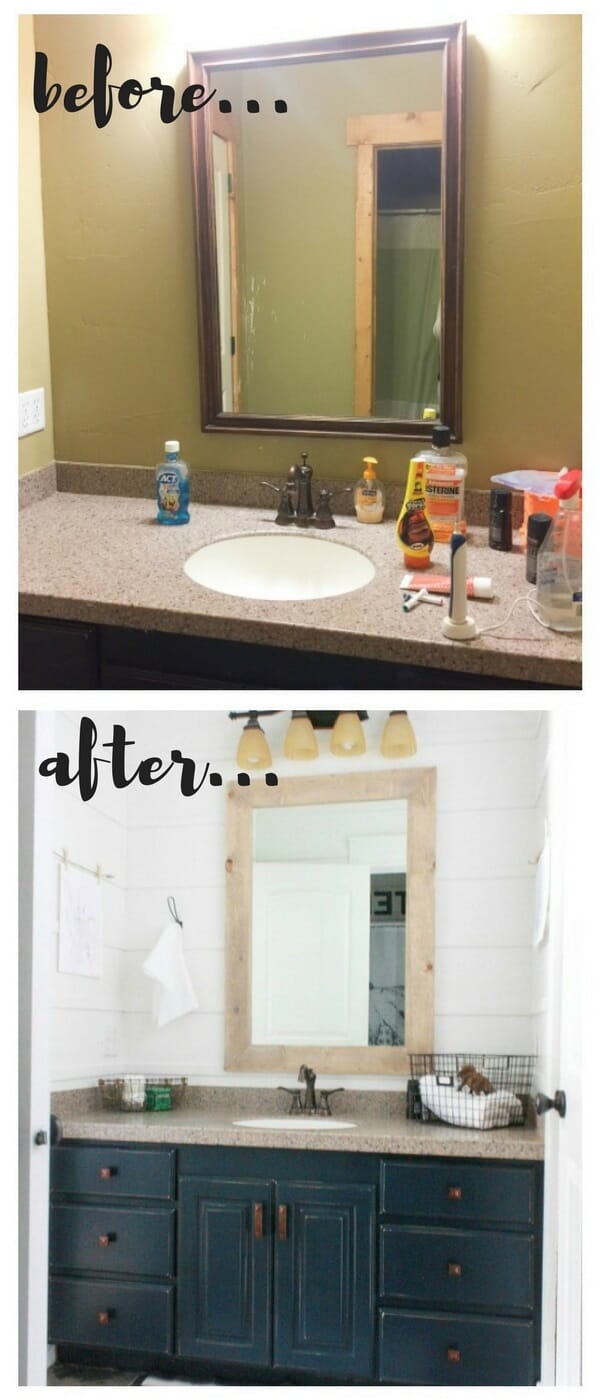
And here is a before picture if you have been here and dont remember what a mess it was to begin with!
This bathroom had seen better days! Two boys can really put their mark on a bathroom. Literally.
The bathroom was not pretty, stylish, or fun for kids.
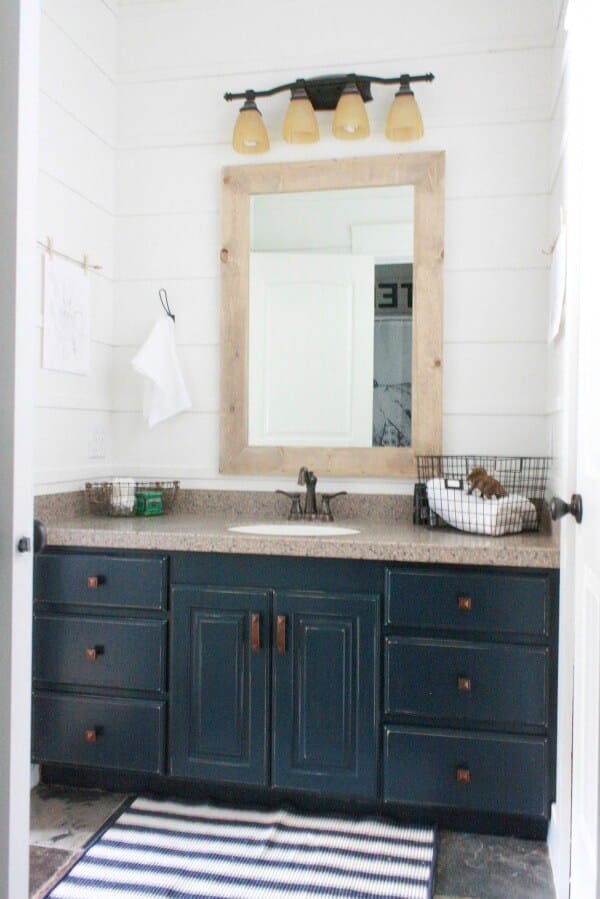
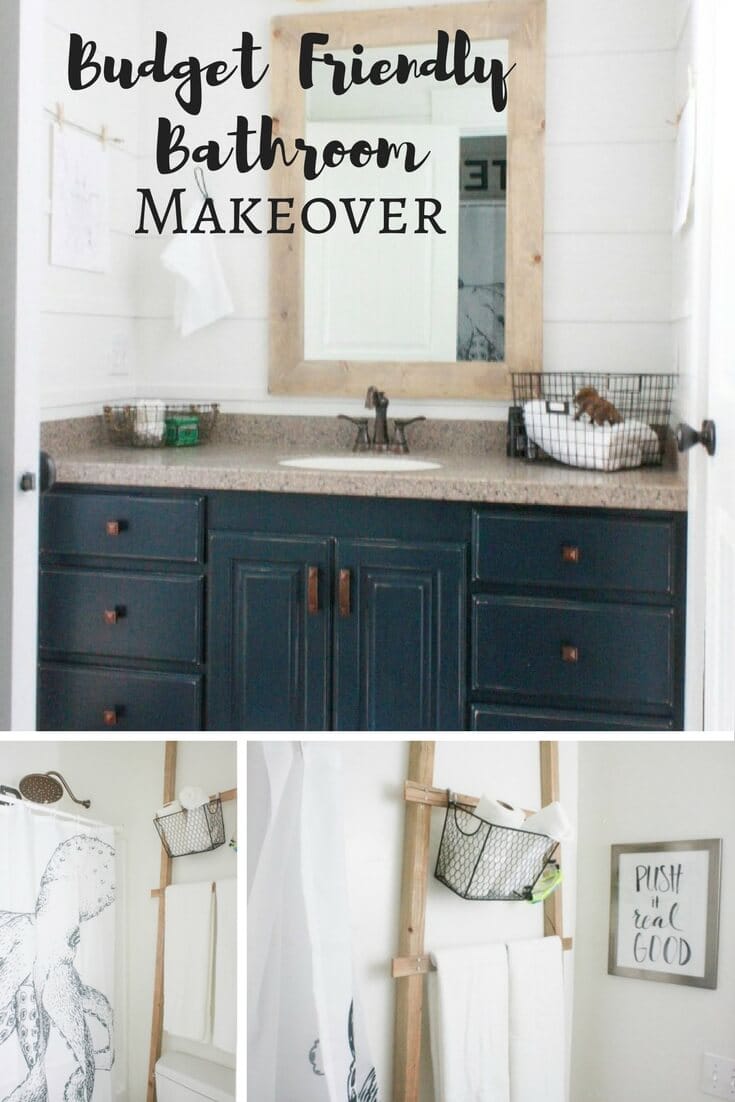
That was my goal. I set out to accomplish this whole bathroom makeover for under $100.00. My sweet friend Erin at Lemons Lavender and Laundry started this really fun series The $100 Room Challenge. She recently decided to include other bloggers and I was eager to attempt the challenge! And here is how this budget friendly bathroom makeover turned out:
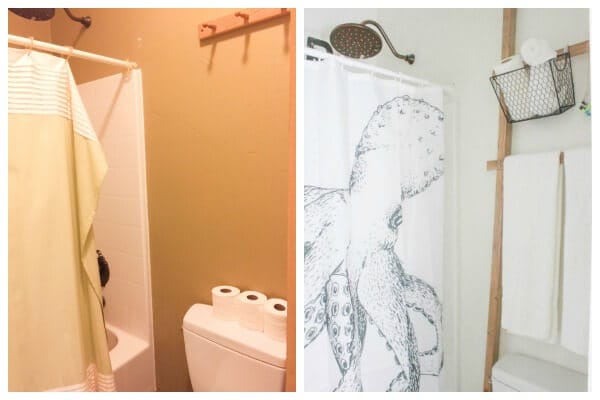
Before/After
$100 dollars goes pretty quickly when you are remodeling any room, let alone a bathroom. I however, was able to do it all, for under $100 dollars. I am still so excited about this budget friendly bathroom makeover. I of course wanted to implement some farmhouse bathroom decor.
I like to think that I have become more resourceful since establishing our life in a tiny town void of most conveniences that people take advantage of. We do have a small hardware store and its fantastic, but as far as home decor stores, or any convenience stores, we do not. I have to make a special trip or plan it out to make it to any of those kinds of stores. And this last week, we were kicked in the nuts with snow, snow and more snow! Any plans I had to add a few touches to this room by purchasing at a store were called off.
I had to get really creative.
If you saw my post about my week 3, I had started to hand draw shiplap on the walls, since the shiplap itself was not in my budget.
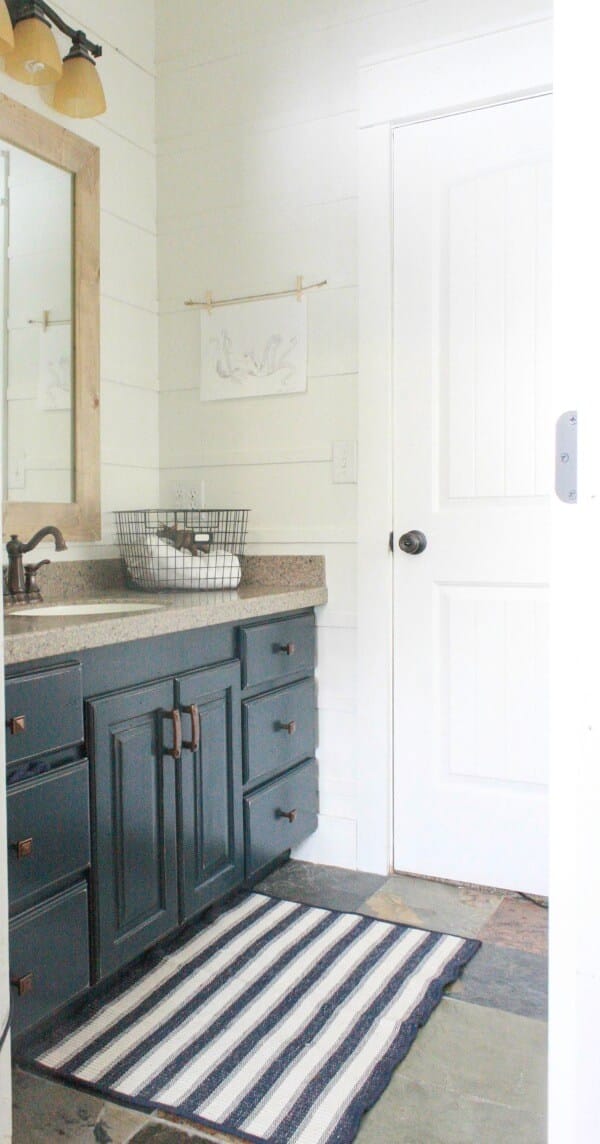
I was struggling though. I was not in love with it. I was stuck. Then I thought, what if I reversed the shiplap, and put a thin pieces of horizontal trim on the walls in a repeating pattern. This I could do! I had some 1/4 inch plywood that just might work! We cut it down to 1 1/2 inch wide and made a ton of strips.
This wall treatment was exactly what this room needed! It added the dimension and interest that I was looking for, and it cost a fraction of what shiplapping the whole room would have cost. And since I had these wood pieces as left overs from our master bathroom makeover, it really cost me nothing.
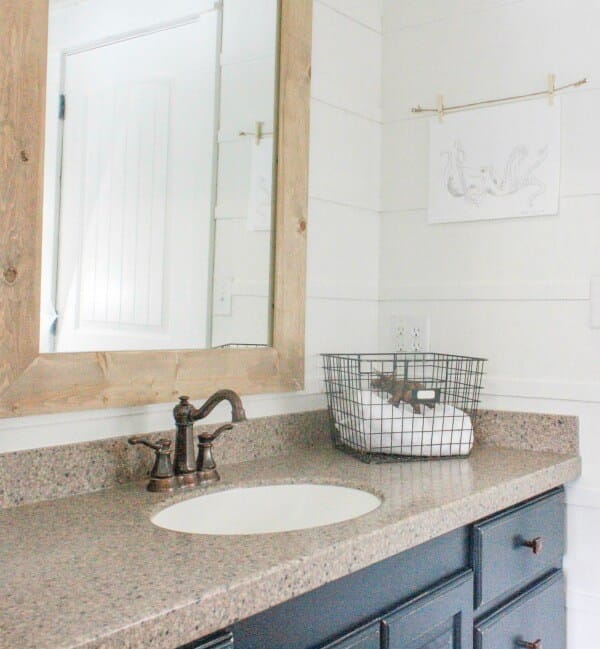
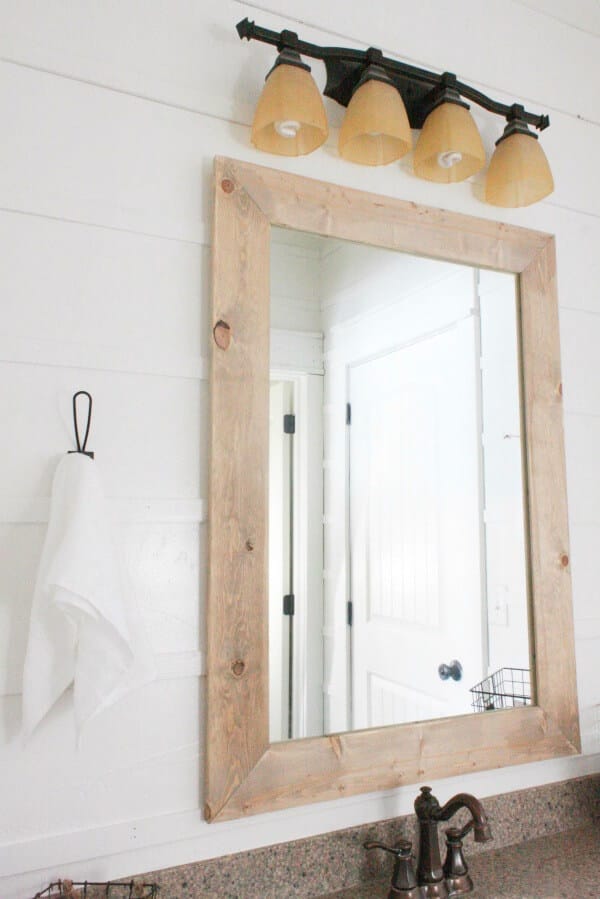
We used some 1 by 4 pine to redo our mirror and I used my favorite weathered wood stain to create the look.
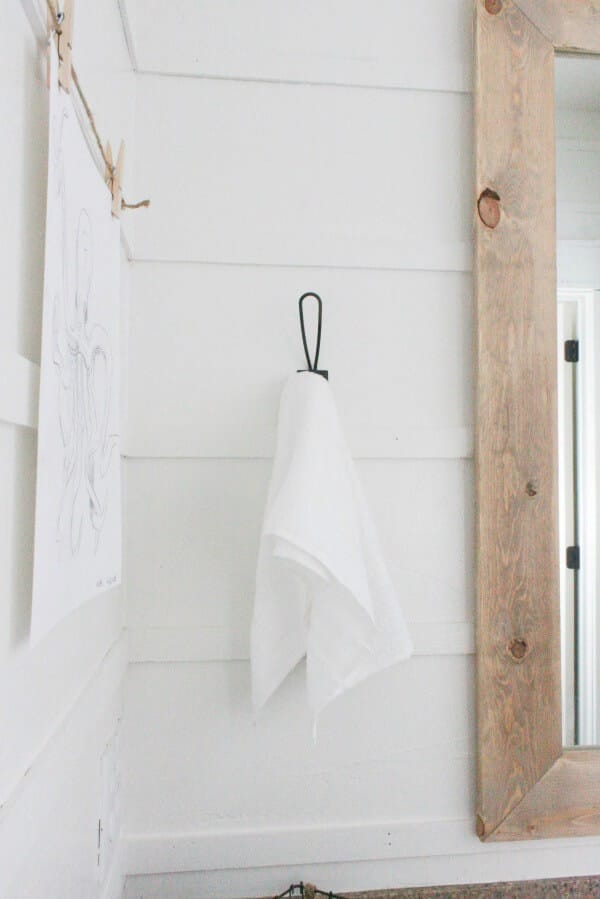
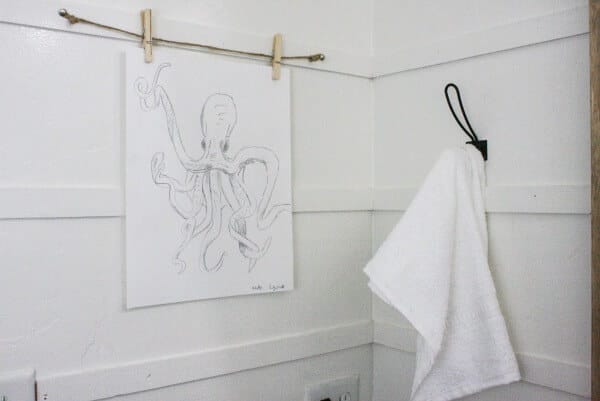
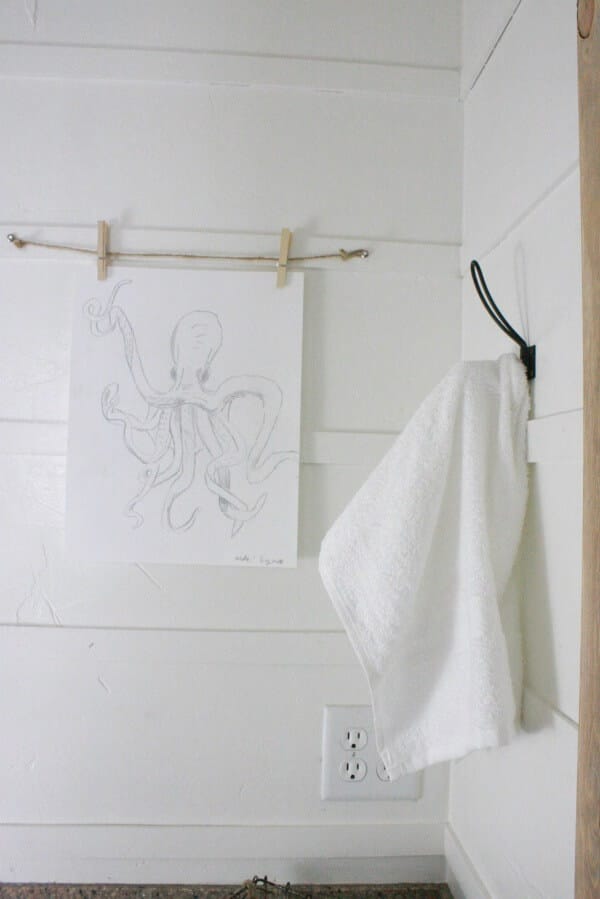
I had one last hook left over from my master bathroom makeover, so I hung it on the wall as a place to hang the boys hand towel.
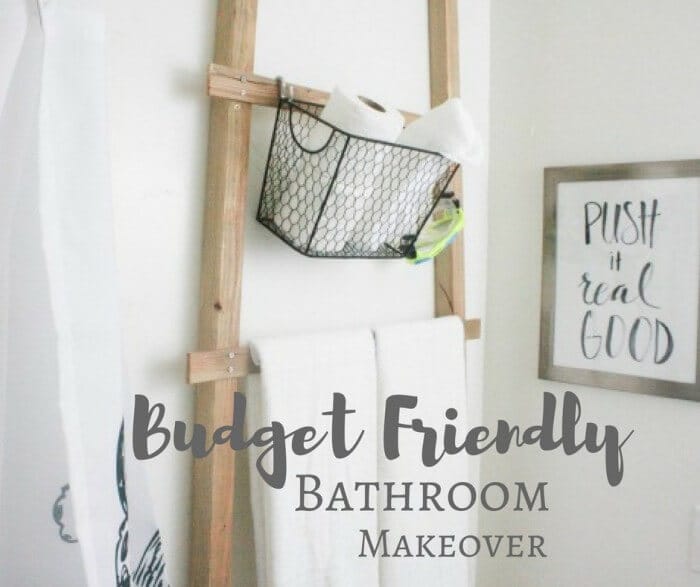
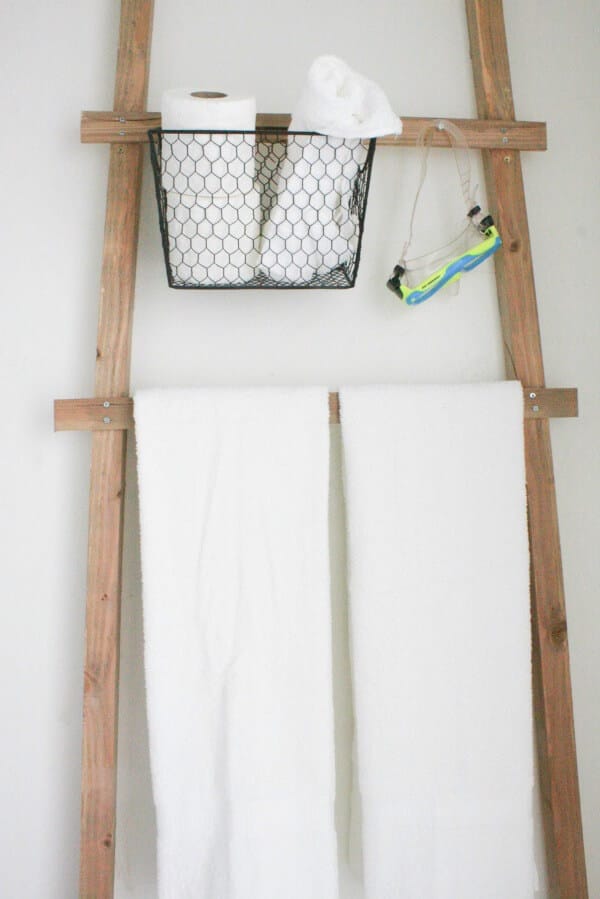
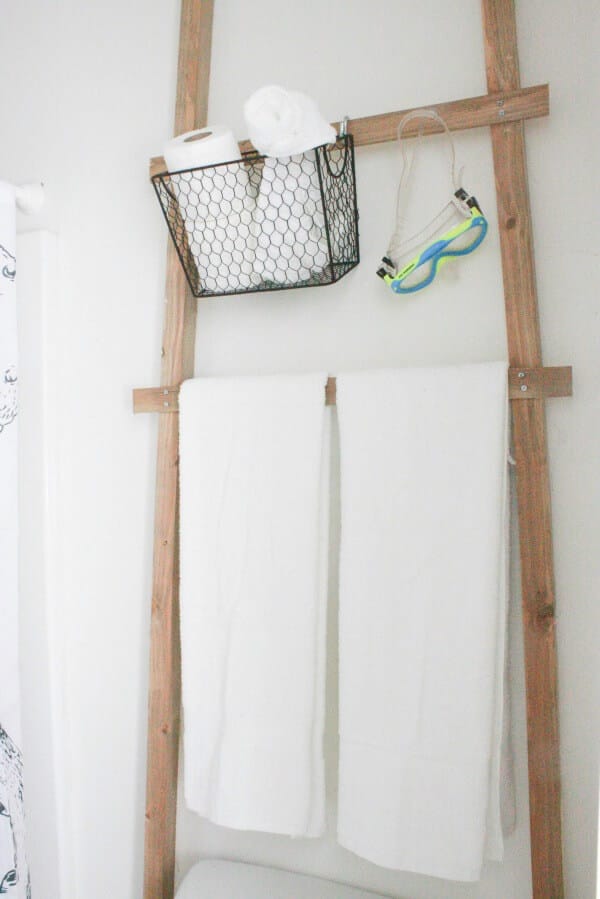
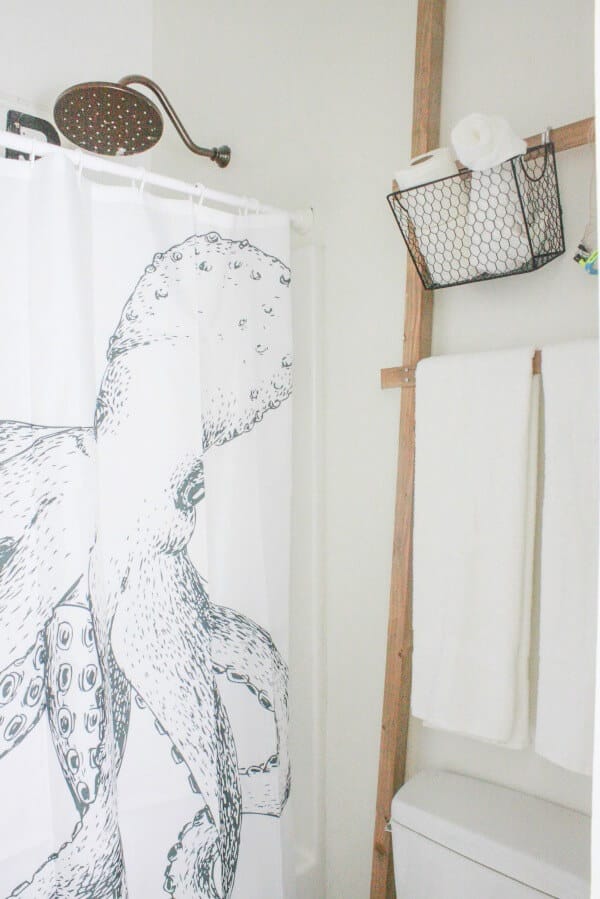
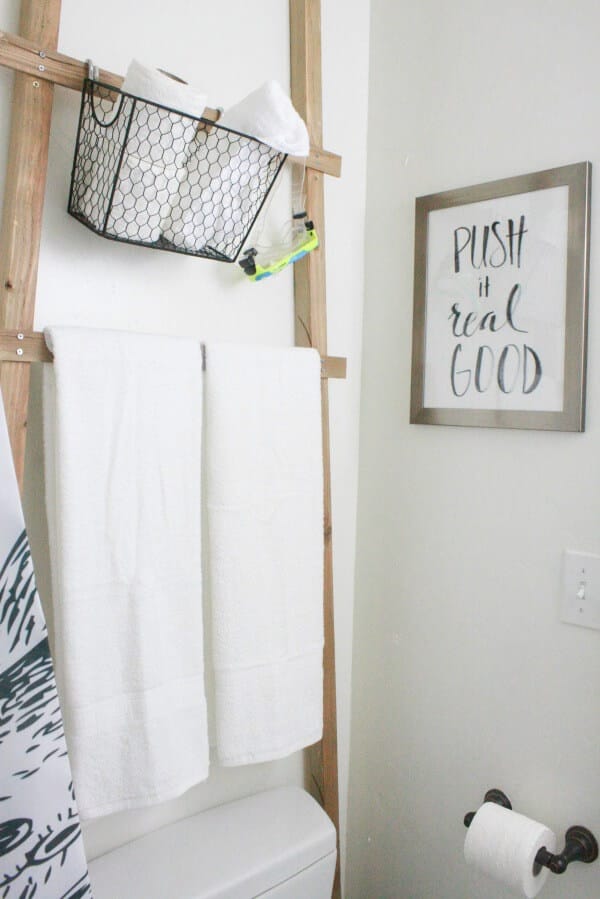
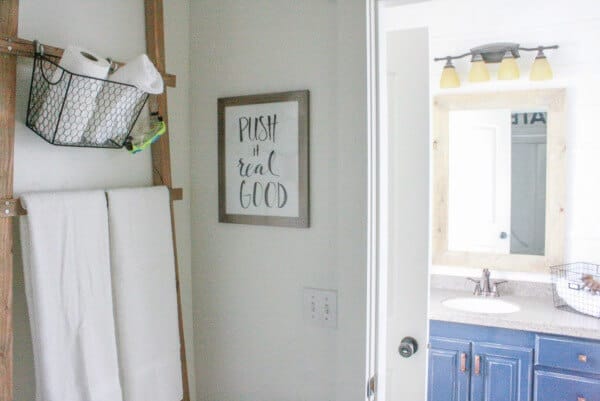
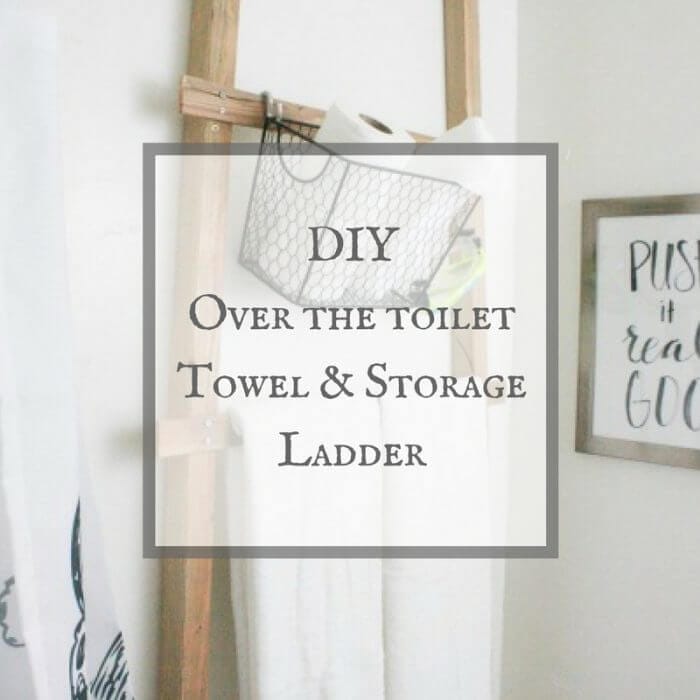
We also used some 2 by 2 inch wood pieces that you can get from Home Depot for under $2.00 to create a fun towel ladder behind the toilet. I used the same weathered wood stain here as well.
Check out my HOW TO video here:
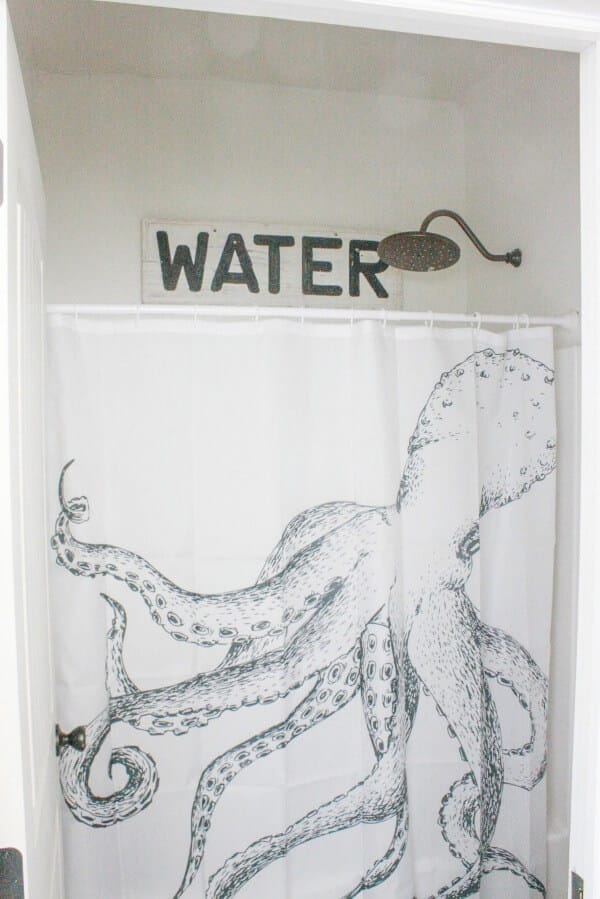
The biggest purchase for this bathroom was the shower curtain.
It was also the inspiration for the rest of the room. I wanted the bathroom to have a light and bright farmhouse feel, but I wanted to incorporate dome whimsical touches for the kids. This octopus shower curtain was perfect. I used this as a jumping off point. I wanted to add some more octopus touches throughout the room.
Did you see that “water” sign above the shower? I previously had it in my kitchen. It too was a re-purposed item. Check out its before here!
Next, I went straight to my 10 year old son, who is an amazing artist. I told him I wanted him to draw me some octopus pencil drawings to hang in his bathroom. He excitedly agreed!
I am blown away at the talent of this young boy. His drawings were hung simply in the bathroom with some twine and clothes pins. I thought having a movable set up would be best, since he loves to draw, it would be a great place to frequently display his art.
I decided to do a little art of my own and created a few funny bathroom signs last week. We have quite the sense of humor here at our house and my kids had to have this sign in their bathroom. Haha!
I finished off this room with a blue and cream striped rug that I got at Home Depot, for get this…..3.00. No I am not lying. Before Christmas they had this pile of small throw rugs for 3.00 on a random aisle! I grabbed a few, knowing that I could use them somewhere in the future! Score.
This budget friendly bathroom makeover was exactly what this room needed. While remodeling a room for under $100 dollars, it is actually more work. You have to be resourceful, creative, and think outside the box.
So, here is a rundown of all the things that were done in this room:
- Repaint the whole room white – $30.00
- Add horizontal trim – $5.00
- Paint vanity with leftover navy paint – 0.00
- Frame out the mirror – 0.00
- Paint door frame and trim – 0.00
- Create bathroom art – FREE
- Hang new shower curtain – 30.00
- Make ladder towel holder – $10.00
- Hang water sign – FREE
- New Towels – $10.00
- Hang sons artwork- FREE
- Striped Rug – $3.00
This bathroom was a monster to tackle! But it was all worth it. My boys are happy. They love everything about the bathroom and that makes me so very happy.
Now, we will see if they can take care of it;)
I hope you’ve enjoyed this tour of my budget friendly bathroom remodel.
For your convenience, I’ve gathered a few of the exact or similar products in case you are looking to create a budget friendly bathroom makeover for yourself!
*This post contains affiliate links for your convenience*
Now make sure that you check out these other amazing bloggers $100 room challenges!
Have a great day!
Check out these other farmhouse bathroom ideas:
Make an Easy Over the Toilet Towel Storage Ladder
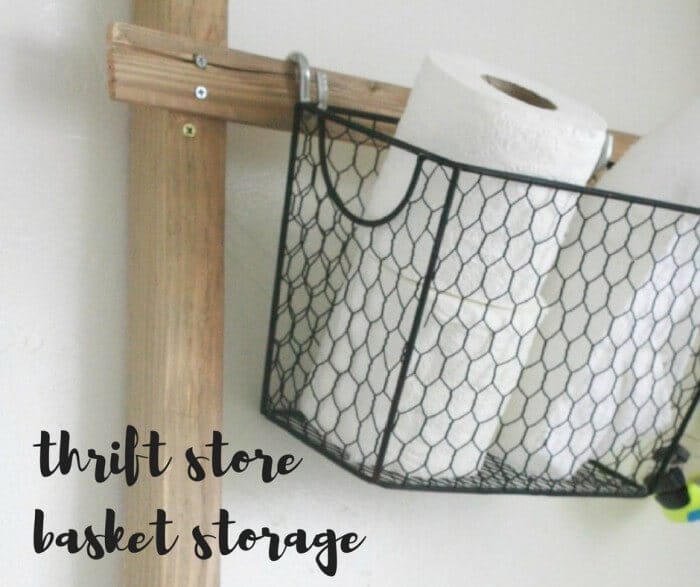
Create Thrift Store Basket Storage





Wow!!!! It turned out amazing! I love that you included your son’s artwork. He is very talented just like his mom. And the push it sign? I am dying laughing!!! ????
Sara! The reverse ship lap is absolutely brilliant! I love it and how budget friendly it is. I may have to do that in my new bathroom! Great job on the bathroom, it looks amazing.
Thanks so much Kristen!
What a great transformation! The “push it real good” sign is so freakin cute. haha still smiling about that one. Great work!!
Thanks! That sign was our favorite feature!
I love Valentine’s! You have some fun ideas here, thanks for sharing them with us!
Thanks for stopping by!
You rocked this girl! Love the idea of the strips on the wall – I think that took it to the next level.
This bathroom is crazy amazing Sara! Your idea of the reverse shiplap was perfect. It adds the right texture, but for $5 (who can beat that?!) Everything in here is just beautiful. Love that shower curtain (and your son’s artwork is incredible!). Adds the perfect touch of whimsy. I am so happy you decided to join the challenge.
Wow, Sara. It looks so fresh and updated. Really nice enough for any age but I bet your kids love it. That drawing is fantastic. What talent your little guy has.
The wood trim looks great! Congratulations on your young artist, too.
I love that octopus shower curtain!
Thank you!
Wow it looks amazing! Love the navy cabinets and the different whimsical touches. That octopus shower curtain is perfect and the artist in me is so impressed with your son’s drawing. I’m heading over to check out your wood stain so I can finish my mirror frame!
That’s a job to be proud of! Would love to see a tutorial on how you reframed the mirror
Thanks! And there will be a tutorial coming soon on the mirror!
agree… would love the tutorial as well!!
Love this bathroom! You are incredibly creative!!!
Having twin boys that share a one sink tiny bathroom, (that always stinks no matter how clean I get it)I needed this inspiration! Now I am off to search for what I can find in my stash of paints and wood remnants! 🙂 EXCITED!
Thank you so much! Have so much fun!
I absolutely love your wall trim! It adds such a nice detail. The octopus shower curtain rocks too. Awesome job! Now the boys have a gorgeous bathroom.
This is such a great idea for toilet paper! I had seen this in another post I think and commented! I want to create something like this for my bathroom. I had the worst luck with the toilet paper getting ripped of my wall. We have no studs. This would be perfect. Love the batten board too.
Maria
Awesome job Sara! And we used to have the same shower curtain in our old place. Now we have a shower door, and it’s soo hard to keep clean. I miss having a curtain!
Thanks Brittany!
How did you attach the boards to the wall?
I nailed them with my nomadic brad nailer.
Sara, it’s amazing! I’m so impressed by your creative solution for a shiplap wall. The hardware on the cabinets are perfect and you have quite the artist in your family!! What a great makeover!
Such a big difference. Your new bathroom looks amazing!
Thank you!
Your boys’ bathroom turned out so well! I’d never have guessed you only spent $100!
Thanks Angela! I definitely had to be resourceful!
Lovin the towel rack & the Push it sign is hilarious! Great job!!
Kim
Thanks Kim!
Your sons artistic ability is fantastic! I am blown away.
Their bathroom looks wonderful now modern and different and masculine.
I can not believe you did it for less than $100.
Thanks Leanna!
I absolutely love your bathroom makeover! The ladder is a great addition and the octopus shower curtain is my fav. (I think that anytime you can incorporate an octopus into your decor, you are winning. 😉 ) Great job, Sara!
Thanks so much Erin!
You did such an amazing job!! That ladder is the coolest and the wall treatment looks great.
Thank you so much Angela!
That wood trim is freaking genius!! I love it and am filing it away for later! And your son! Holy cow, I wish I could draw like that and I’ve got 3 decades on him! The push it sign is perfection! Just our sense of humor too!! Great job!
Thanks Natalie! Yes, my son is seriously talented! I am always amazed at how easy it comes to him!
Your wall treatment is gorgeous. I just love how the make over turned out.
Thanks for sharing at Funtastic Friday!
Thanks so much Kimm!
The reverse shiplap is so clever. What a way to save on cost and it looks fabulous. The whole room blows me away and even though I love it all, the fact that you let your little artist contribute is truly the sweetest part. Amazing!!
Thanks Amy! Im so happy with the final product!
Love this! What paint color is the cabinet?
Wow!!! I am so impressed with that bathroom on that budget!! I looks amazing! And your son is QUITE the artist! Congrats, it loos great
Thanks Megan!
This is amazing! I love the walls, the artwork and the painted cabinets! Tell me, what material are the cabinets made of? Are they solid wood, laminate, ? I have a guest bathroom I would like to make over but it has white builder grade, laminate cabinets. If I thought they would look half this good I will paint them!
Hi there! Thanks so much! The cabinets were wood. Its definitely possible to paint those laminate cabinets. I’ve never done it myself, but I know of others that have.
All I can say is that I’m in love. I can’t believe you accomplished this on $100!
Turned out great! The mirror is what I am wanting to do in my bathroom with the wood frame around it. My question is how did you get the mirror on the wall and have the frame around it. We have those little plastic clips or brackets holding the mirror on and are not sure how to get the wood to lay flat against the mirror because of those clips. What did you do?
We were actually able to install the wood right on top of the mirror. You can use silicon or liquid nails to adhere it to the mirror. Thanks so much for stopping by!
You did a good job for your son’s bathroom makeover! Plus, it’s budget friendly too. Thank you for sharing your helpful tips! It turned out great.
Serious inspiration for my upcoming bathroom project! Thank you!
You are so welcome!