
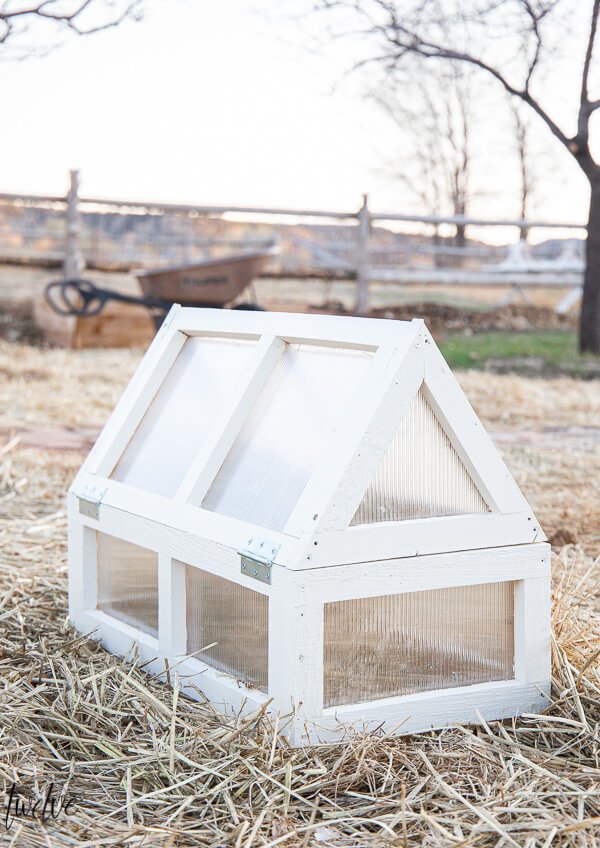
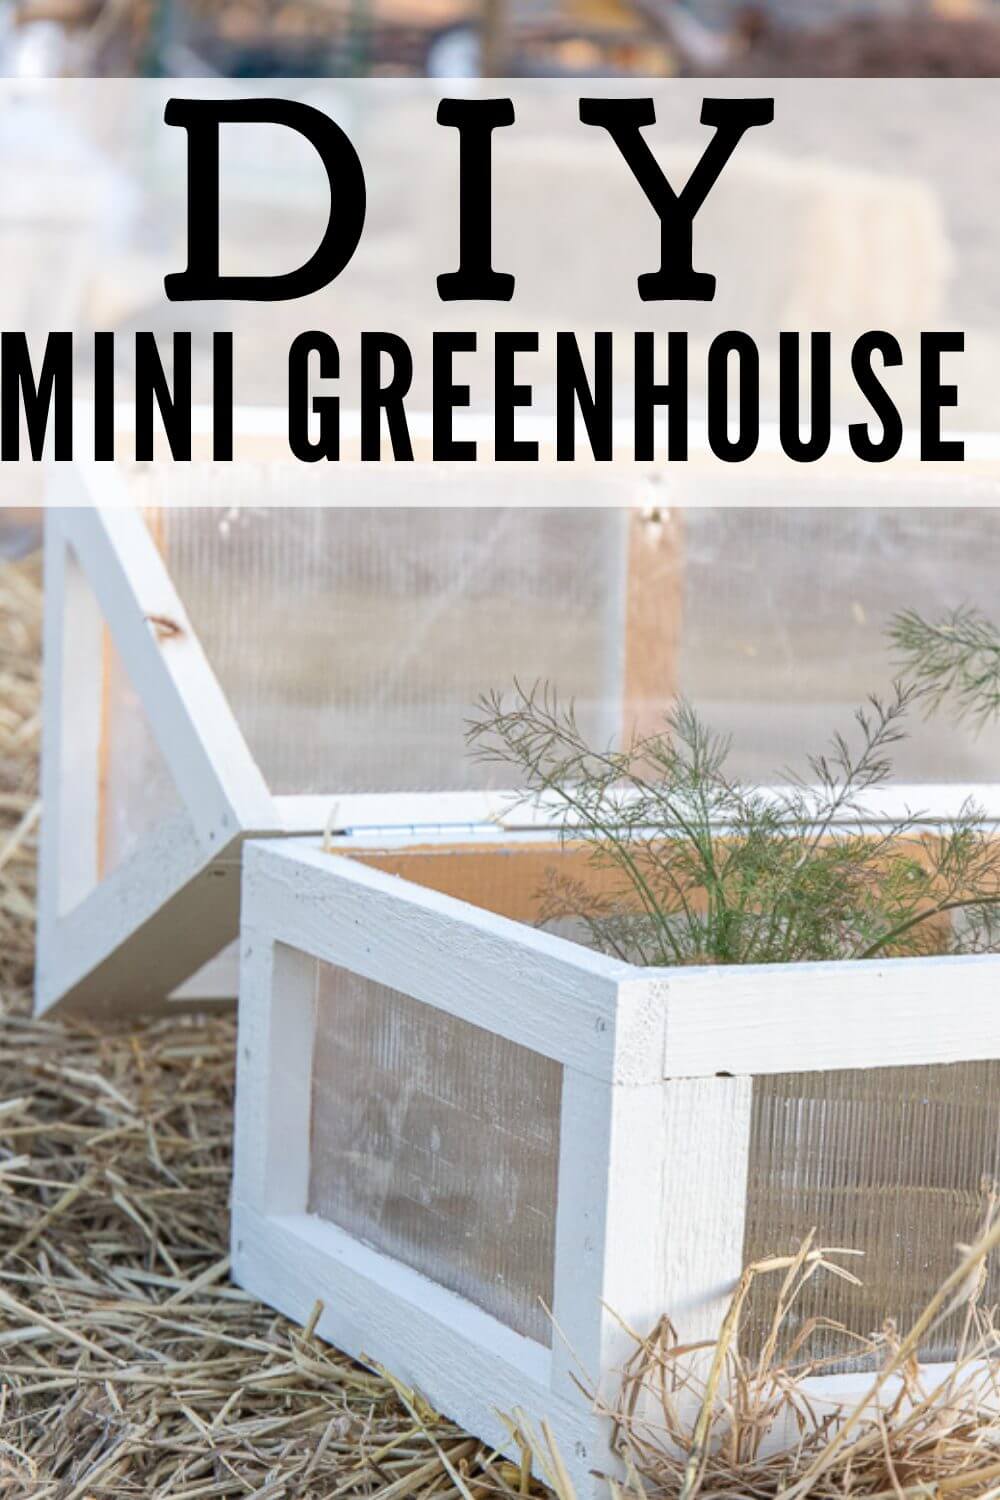
Super Cute DIY Mini Greenhouse Cloches
Hey friends! Today is a post that I am super excited about. I am sharing my super cute DIY mini greenhouse cloches. I am also sharing them with ten of my favorite bloggers and they are sharing a great gardening idea as well. Make sure to check out the end of the post to see them all! 
But, I have been working on something that might help transition some cold weather crops, or protect those summer crops at night when the weather dips below the temperatures we need to keep things alive.
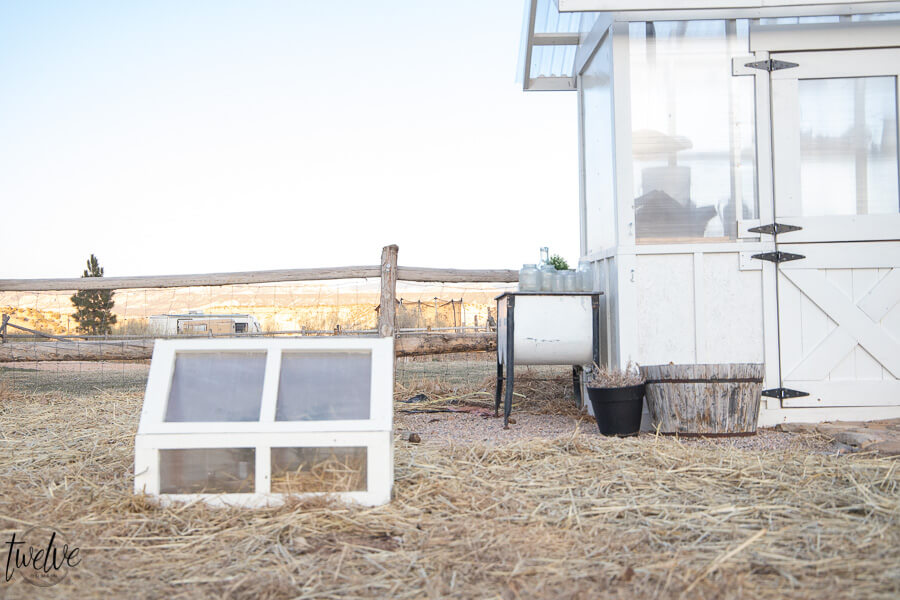
Last year we built our small but very efficient greenhouse and it has been fabulous. I currently have tomatoes, peppers, broccoli, cabbage, assorted herbs and so much more growing in there. I do however want to start planting a couple things outside soon, like lettuce, spinach and other things that grow well in the cold. But, I have been wanting a way to protect them at night, and also have it be something that looks cute in the garden.
We can and do use a low tunnel for large rows, but when I have a couple plants in a small area, having a simple mini greenhouse is the perfect thing to use. What is great about my mini greenhouse is that the roof folds back, and you can let the plants get air and sun during the day. It also prevents them from getting too hot during the day and burning up.
We used simple scrap lumber and some left over greenhouse polycarbonate wall material to make ours. I will link below to what we used. Its incredibly easy to work with and inexpensive.
Supplies you need to make my mini greenhouse:
We ordered these items online and picked them up at our local Home Depot. It is so convenient.
- Polycarbonate Sheet
- 1 by 1 1/2 inch strips of wood
- 1 inch and 1 1/2 inch, and 2 1/2 inch screws
- Miter Saw and Table saw (or access to one)
- Tape to use when cutting the polycarbonate
Here are some basic directions on how to build yourself some of these cute mini greenhouse cloches:
These are steps given by my husband, because for some reason I could not wrap my head around explaining it all….
Step one:
All of the wood parts are going to be made out of 1.5 inch strips. Get some common 1 inch lumber that comes in 1 X 6 or 1 x 8 widths. The 1 x 6 will almost always be cheaper. Sometimes you can find 1 x 1.5 inch strips at your hardware store.
Step two:
If you weren’t able to get 1.5 inch strips at your hardware store, “Rip” the boards on a table saw. Leave in longer lengths, like 5 or 6 feet as you will be cutting them into various lengths. Buying the 1 1/2 inch strips is easiest if you can find them. You can most often find this cut of wood, and also you can get them in many different lengths.
Step three: Make the longer pieces first. Cut these at 26 inches long. You will need 6 of these.
Step four: Cut the small vertical pieces at 6 inches. You will need 10 of these.
Step five: Cut the side pieces at 14 inches. You will need 4 of these.
Step six: Cut the polycarbonate in piece of 25.5 x 5.5 inches and 13.5 x 5.5 inches. You will need 2 pieces of each. (This is all for the bottom box of the mini greenhouse.)
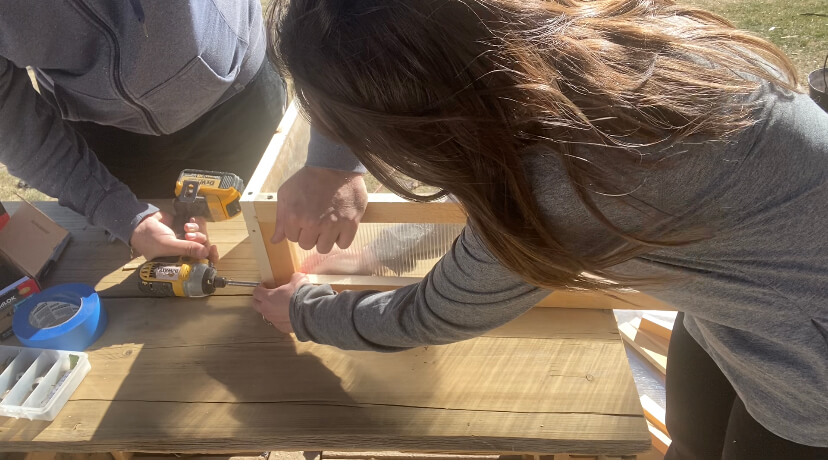
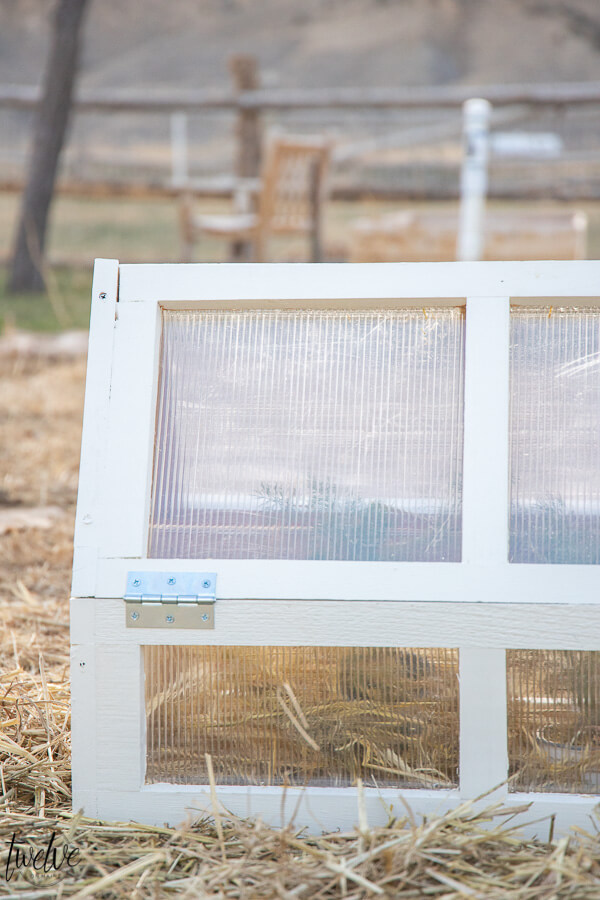
Step seven: Assembly… Pre-drill holes and use the 2.5 inch screws to fasten 6 inch verticals to the 26 inch horizontals. You are basically going to create each square frame for the 4 sides of the bottom part of the mini greenhouse and then assemble them. Use the longer screws to fasten together. Do the same thing to the end piece (14 inch boards) You should end up with four sides that look like picture frames.
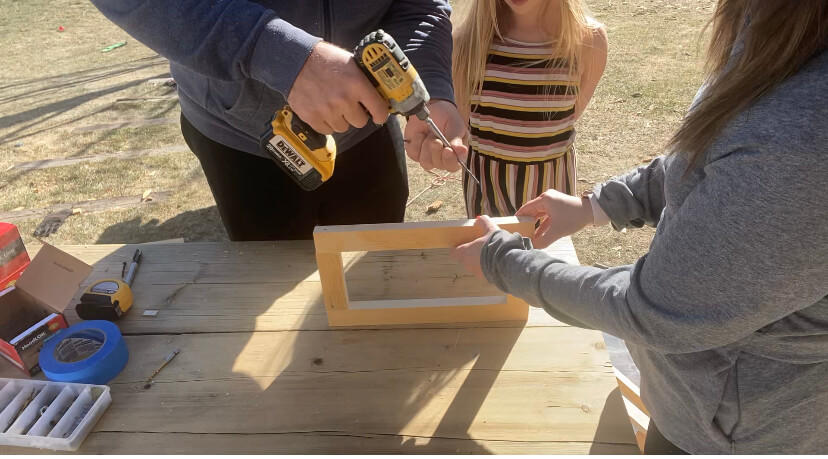

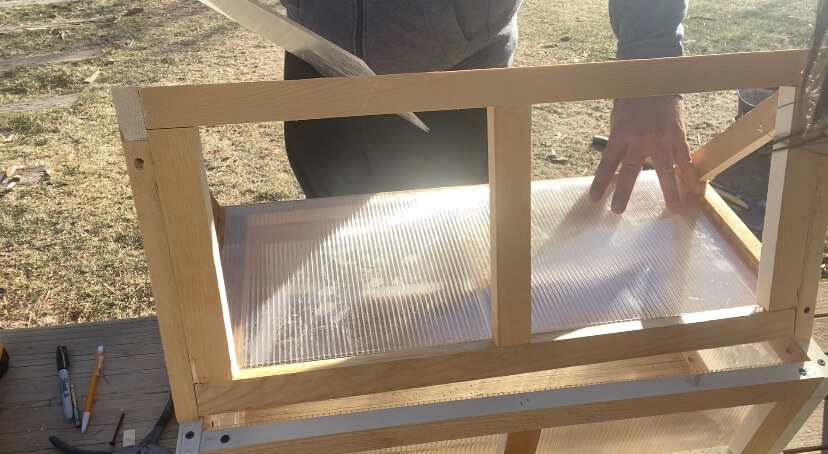
Step eight: Screw the polycarbonate to what will be the inside of the four pieces using the one inch screws. Don’t sink them too far as the screws will go through the boards.
Step nine: Assemble the four sides into a box. The short sides go on the ends of the long sides. Pre drill holes and use medium size screws.

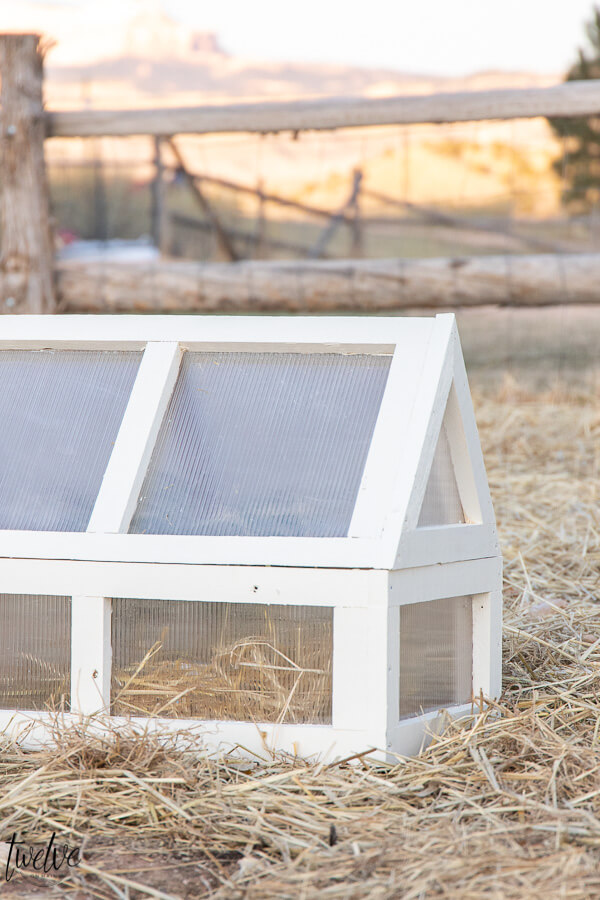
Step ten: The top is the trickiest part. I would recommend building the roof part according to what works for you. If you want to build it at an 8/12 pitch roof like we did, you will need to cut two pieces for the bottom of the ends. The length is 14 inches on the long side, but each side will need a 31 degree cut so that the top is shorter.

Step eleven: Cut two boards at 26 inches. To make them lay flat then you need to use a table saw and cut two of them with a 31 degree cut the full length of the board.
Step twelve: Do the same thing as step eleven, but hold the board on the short side when making the cut. This is very tricky but it will end up being a 59 degree cut. (Most saws won’t cut at that angle)
Step thirteen: Cut the “rafter” ends. These will have a 31 degree cut at the bottom and a 59 degree cut at the top. (See picture below)
Step fourteen: Cut the polycarbonate so that it will fit into each shape. Polycarbonate is really easy to cut using a table saw or a circular saw. Make sure to apply tape to the line where you are going to cut to prevent the polycarbonate from fraying. This will give you a clean edge. Do not secure the polycarbonate yet, just make sure your pieces all fit.
Step fifteen: Assemble the wood as shown. Pre drill the holes and use appropriate length screws. Pre drilling the holes will prevent the wood from splitting.
At this point I would paint all your wood before adding the polycarbonate pieces, I promise this will be easier than waiting and having to paint around the polycarbonate.
Step sixteen: Fasten the polycarbonate using one inch screws.
Step seventeen: Put lid on with hinges. I used simple hinges I found at the hardware store. You can use basically any kind of hinge that you want according to the look you want.

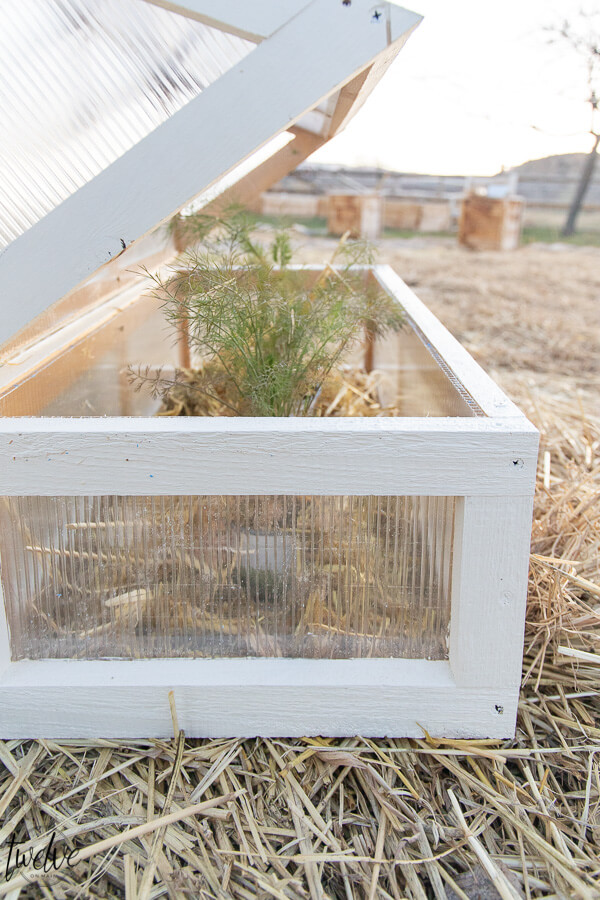
We want to be able to set these inside our garden boxes and have them fit right inside. Right now I am using it to keep some dill from freezing, and its working great! 


Want more great gardening ideas? Check these out below!
My 100 Year Old Home | How to Grow Tomatoes at Home
Finding Lovely | DIY Aged Terracotta Pots
Twelve on Main | Super Cute DIY Mini Greenhouse
Inspiration for Moms | DIY Planter Trellis
Maison de Cinq | DIY Raised Herb Garden Planter Box
Happy Happy Nester | Lady Banks Rose
The DIY Mommy | Tiered Herb Planter with Dollar Store Buckets
Zevy Joy | Gardening Tips and Ideas From Our New Yard
My Sweet Savannah | DIY modern pedestal planter
Interested in my large greenhouse or chicken coop? Check out my building plans here!
How about more great posts?
Swoon Worthy Greenhouse Designs to DIY or Buy
Easy DIY Garden Markers Using My Cricut Maker
How to Fill a Raised Garden Bed and Save on Soil
Sara,
This is so cool!
I asked our son to build one of these for my Fathers Day gift.
I explained I would take him to the local Depot to buy needed materials, etc.
After a look around my garage/workbench he tells me “It looks like we have almost everything here” my stash of leftover wood, etc. My request is a ‘coastal or nautical” type greenhouse to match our beach manor down the Shore here.
We will send y’all a pic when its done.
Kevin
Sea Girt, New Jersey 08642.