
Easy DIY Bike Rack | 10 Minute DIY
Do your kids drop their bikes in the driveway, or leave them on the grass? No, of course not, they never do that. Mine don’t either! Ha, yeah well, in a perfect world, this would never happen! And we all know we don’t live in a perfect world. Maybe this easy DIY bike rack could help.
Having bikes lying around my yard and garage has always driven me crazy, and I have been trying to think of a good way to store them, that would be easy and convenient. We have tried installing hooks and hanging them on the walls, but lets face it. Once they are up, they aren’t coming back down, and they for sure aren’t getting put back up after a long bike ride. They are just too heavy for me or the kids to do that, and getting my hubs to do that.
I wanted something movable, and easy done at that. This easy DIY bike rack is perfect to use for your kids bikes or for adult bikes as well. I have to confess, this bike rack did not take me 10 minutes, well, the first time. I had to get the perfect size, and length and proportions. And now, you can get the low down, and make one exactly like this, and it will take considerably less time than it did for mine.
Here is what you need to make this easy DIY bike rack:
- 2 – 2 by 6 , 5 1/4 inch
- 2 – 2 by 6, 23 inch
- 2 – 2 by 6, 9 inch
- 3 inch screws
- Cordless Drill/screwdriver
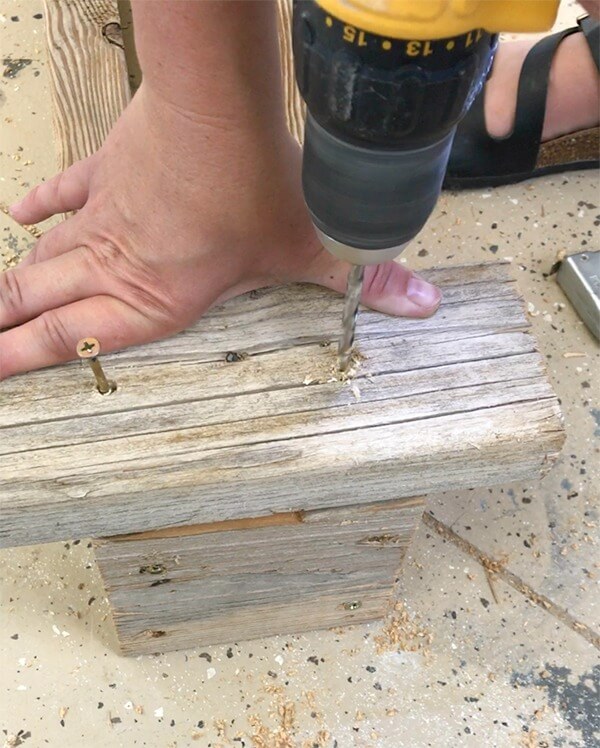
 The first thing you want to do is drill 4 holes in to the 5 1/4 inch pieces of wood. These are the end pieces to the easy DIY bike rack.

You will then line up the two long 23 inch pieces, and screw the end 5 1/4 pieces on the ends, making a rectangle.


Now that the rectangles are made, its time to add the base to them.
Use the 9 inch 2 by 4 pieces for the bases.

Line up your 9 inch 2 by 4 pieces at the end of the rectangle piece and drill 2 holes, one on each end, that will be screwed into the rectangle.

Make sure to measure on each side, you should have 2 inches on each side.
Now screw them in. Repeat the same steps to the other end. Now you have a base to your easy DIY bike rack.

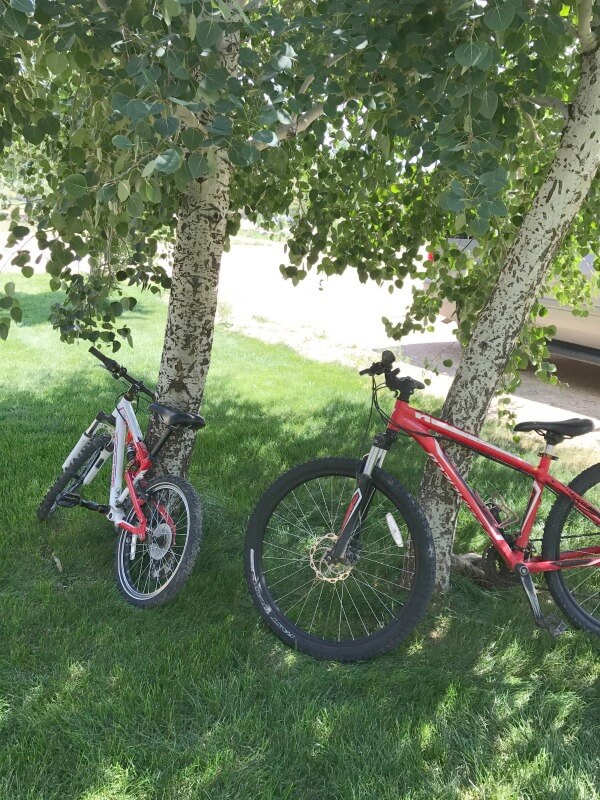
Flip it over, and it is ready for use.

It is the perfect size for either a kids bike or an adult bike.

The wheel fits nice and snug, but not too tight.

The wide base gives the bike rack weight which allows it to hold a much heavier bike. I love that I can move these around depending on where we want to store them. We plan on building a roof on the side of our garage where we can store our bikes, and our lawn mowers, but as you know, that all just takes time.
So, for now, we are storing them in the garage, where they can stay out of view, safe from the weather and other hands that may want to take them.

Are you ready to make some of these easy DIY bike racks?
If you’ve got 10 minutes, you may have all the time you need to make one of these. The bonus to this easy DIY bike rack is that it was made with lumber scraps, and cost next to nothing to make. Even if you have to purchase a piece of lumber, its not a big investment either.
Are you looking for some other fun DIYs for kids? Check out these other awesome ideas below! SImply click on the links below the image to be taken to the project.
Don’t forget to check out the other great 10 Minute DIY Projects for Kids!
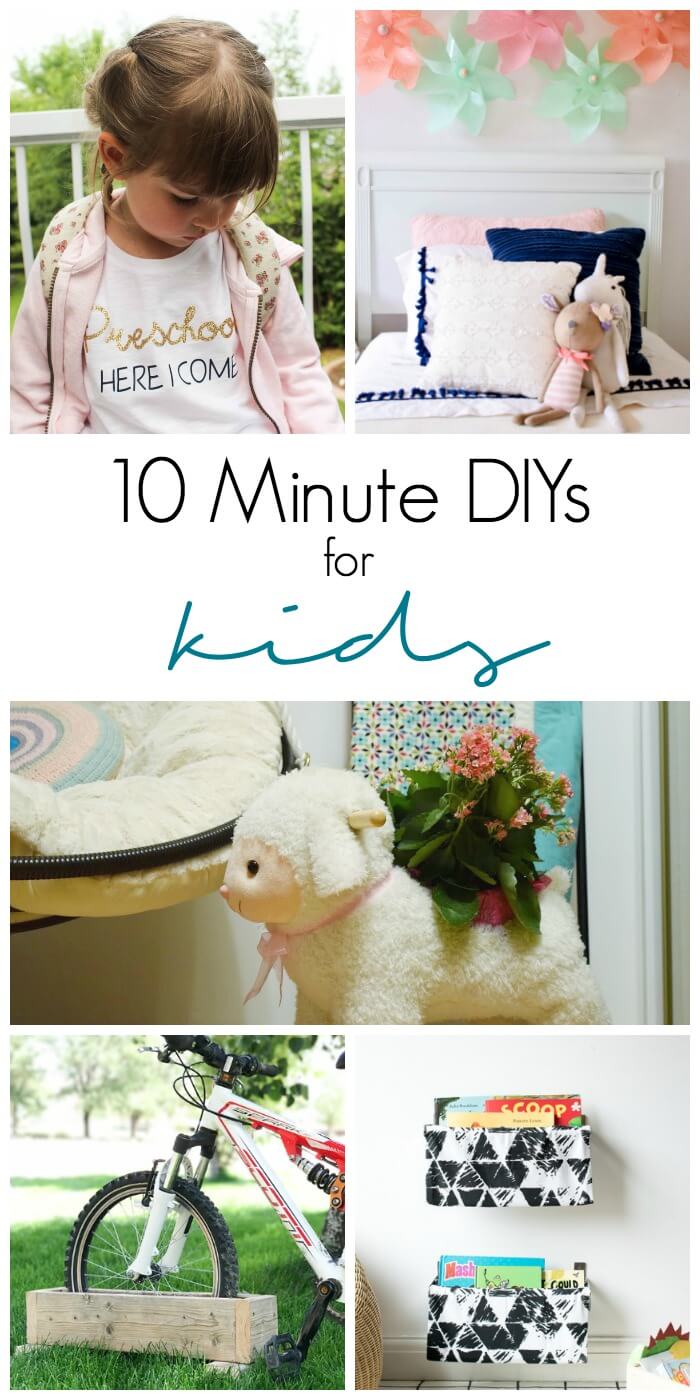
First Day of School T-Shirt by Love Create Celebrate
Pinwheel Wall Decor by Pocketful of Posies
Rocking Plant Stand by DNA Designs
Easy Bike Rack by Twelve on Main
Fabric Book Sling by Grillo Designs
If you are looking for other fun 10 minute DIY projects, check these out:
10 Minute Farmhouse Style Books

Mason Jar Herb Planters | 10 Minute DIY

DIY Doily Garland | 10 Minute DIYs
Such a brilliant idea. I bought my younger brother a bike and now we are planning a bike rack, it would be better if it’s a DIY rack. Anyways, thank you for this.
Thanks so much for stopping by!
My kids so need something like this so they will keep their bikes parked where I want them instead of taking up the whole carport!! We probably have the scrap wood laying around to make it too.
I really like this bike rack and I’m going to modify it just a little. I have a new storage shed and am going to add a hinge to the top rear of the bike rack and attach it to the wall. This way I can fold it up out of the way when it’s not in use. I’ll add a hook and eye to keep it in place. Thanks for the brilliant use of reclaimed wood too!
Thats a great idea! I may try this out on my next one!
hi,
take a bow how did you get this idea man 😀 i just love your article i am gonna try this foy myself you are a really helpfull. i just leave my bike on the ground from now that’s not gonna hapeen thanks man
Regards,
David
Awesome DIY, i need to change my bike first and after that, i’ll try to do it for myself
Such a great idea!
Loved this article on the DIY bike rack
I have three small grandsons who have multiple two wheeled vehicles thinking this would be a wonderful project but line three or several more in a row as well as attaching a lock link to leave them unattended with a lock chain when they’re away.
So simple yet affordable and natural.
Thank you for sharing
SO glad you like it! Thanks for stopping by!
I like the name of your website so I had to have a read up to see how the name came about Very original. I need a bike rack for myself let alone my son so it’s interesting to read the write up here for guidance. A project for us to work on next year when the weather gets a bit warmer.
Glad you checked it out! And I am so glad you found this project. Have a great day!
Wow! I am amaze this DIY bike rack I will certainly do this,A good addition to my newly paint garage.My kids will really like this. Thank you for sharing this lucky I got here. 🙂
They are a great way to organize and store your bikes!
Wow!! easy and cost effective, Really astonished to know how talented this world is.
Thanks!