
How to Distress Furniture Like A Pro!
When I paint furniture, I often distress it as well. Have you ever wondered how to distress furniture? What is the best way? Well, I’ve got you covered. Keep reading to see how to distress furniture like a pro!

Painting furniture is an easy and inexpensive way to update an old piece of unloved furniture. You can find ugly pieces at a thrift store and for the cost of a can of paint, you can have a whole new furniture piece that you can love!
A few years ago I posted all about how I painted our bedroom furniture, and it has been one of the most popular posts on my website! People are really passionate about painting wood furniture! I say you paint it if that is what you want to do, and if not…that’s great too!
So, since the fruition of my first post about painting and distressing furniture, I thought it time to post one that focused solely on distressing furniture.
Have you wondered how to distress furniture?
Lets talk about it.
- First, lets talk about what you painted your furniture with. There are many different paints out there and each ones has advantages and disadvantages.
If you choose to use a chalk paint or a milk paint distressing the furniture will actually be a bit easier. That is because they have a more porous finish, and is a bit “chalky” there is not a seal or film formed on this type of paint. You will need to seal this kind of paint once you have finished distressing and antiquing the piece of furniture. If you want to learn about how to make your own chalk paint at home read this!
Now, if you use a regular latex paint (which I have used multiple times) distressing will be a bit different because of the dried finish. If you use a matt or satin finish it will be a bit different. Try to use a mat finish if possible.
The problems you could have is that when you use sand paper to distress the edges, you may get some balled up paint. This is easily wiped away, but the paint just has a different finish to it. The advantage to this is you do not have to seal it…but it is still recommended just to add that extra protection.
How to distress furniture and what supplies you will need:
I often use a lot of supplies I already have laying around my house. Here are some that you may want to purchase or see if you already have:
- sand paper
- sanding block
- steel wool
- hammer
- awl
- chain
- dark antiquing wax(optional)
- pickle wash (optional)
How to decide where to distress your painted furniture:
Once you have all the supplies you think you will need, you want to look at the piece of furniture as a whole and decide where you want to focus your distressing.
I believe that it is really important to look at the furniture and find spots where the piece would naturally get worn down over the years. I firmly believe that you do not need to sand and distress the entire piece of furniture. If you are going for a more authentic looking distressed piece of furniture, you will want to take this approach.
So, you will want to look at the piece, be aware of the areas that would naturally get wear and tare.
Lets talk about how to distress different types of furniture:
- Chairs– Before you distress a chair, you will want to look a it. Where do you think that chair would get most of its wear and tare. Think about when people sit down, the surface of the chair is getting rubbed every time. The edge of the seat is getting a lot of use as well. What about the legs of the chairs? People often rest their feet on the cross pieces and wrap their feet around the legs. Does the chair have arms? Those will get bumped and dinged as well as worn from use. All these areas could be great candidates for distressing.
- Tables- What about a table? Is it a dining table or maybe a sofa table? Those will have specific parts that get worn as well. I will say that any table would naturally get worn around the edges, so this part of the table is good to go. The tops of tables also are a good place to distress, but I like to keep it to a minimum and change the type of distressing I use on the top. I like to make dents and dings in the tabletop, as if something heavy was placed on the table adding these dings naturally. The legs are also great areas to distress. I like to focus on the detailed parts of the table legs, where there is an interesting profile. The edges are where the distressing makes the biggest impact.
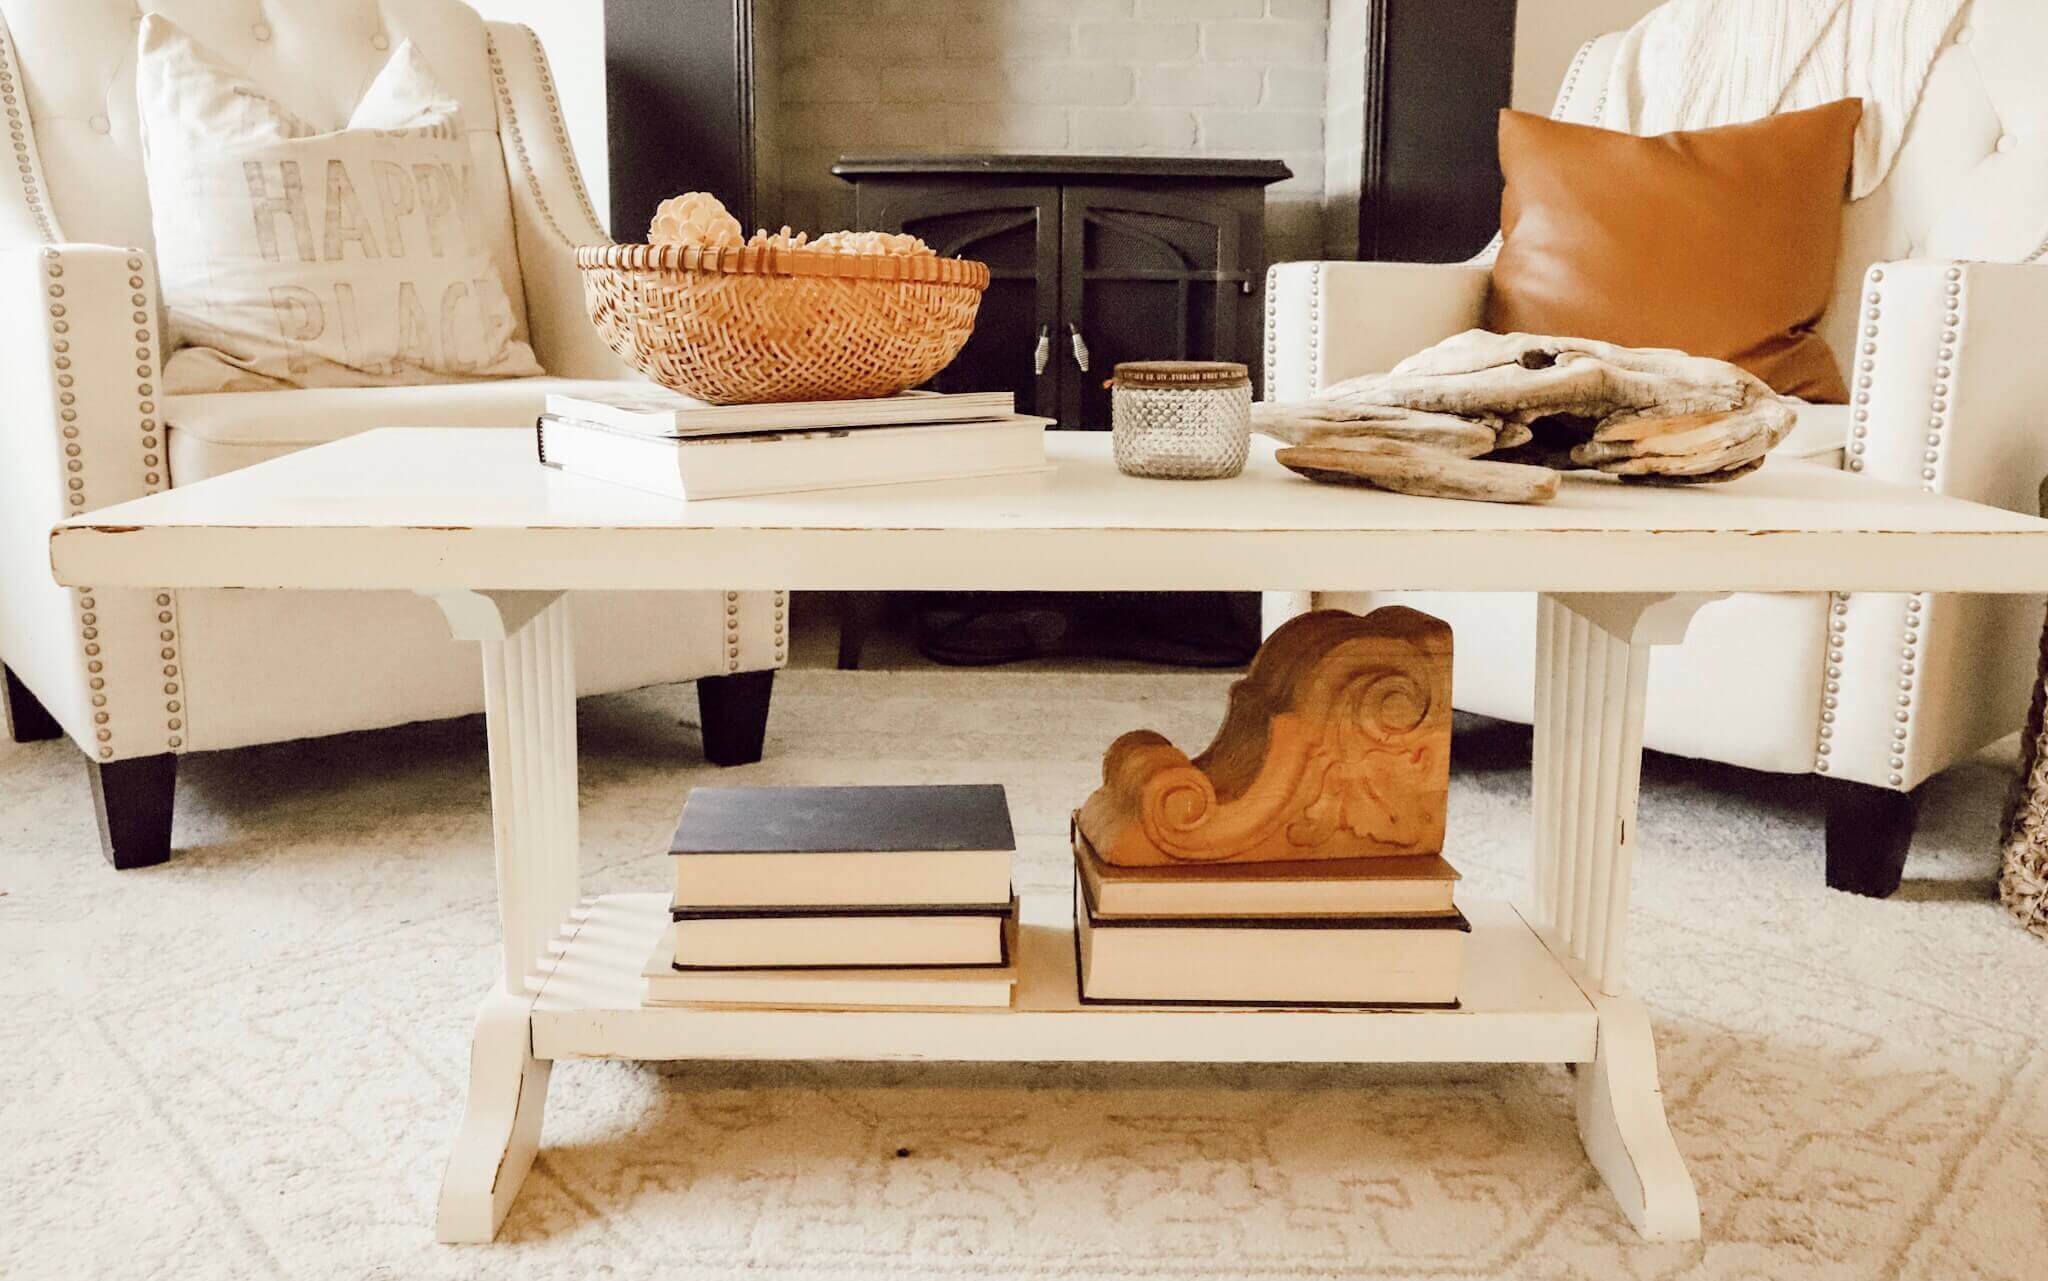
- Coffee Table- The same rule applies to coffee tables with the exception of the base. Say your coffee table has a lower shelf. That would be a great place to add some distressing.
So, to sum up, you want to make sure you think about where the piece of furniture would be getting wear patterns. Make it deliberate and do not just distress every surface you see. Less is definitely more.
If you want to see me talk all about how to distress furniture, you can watch this video here:
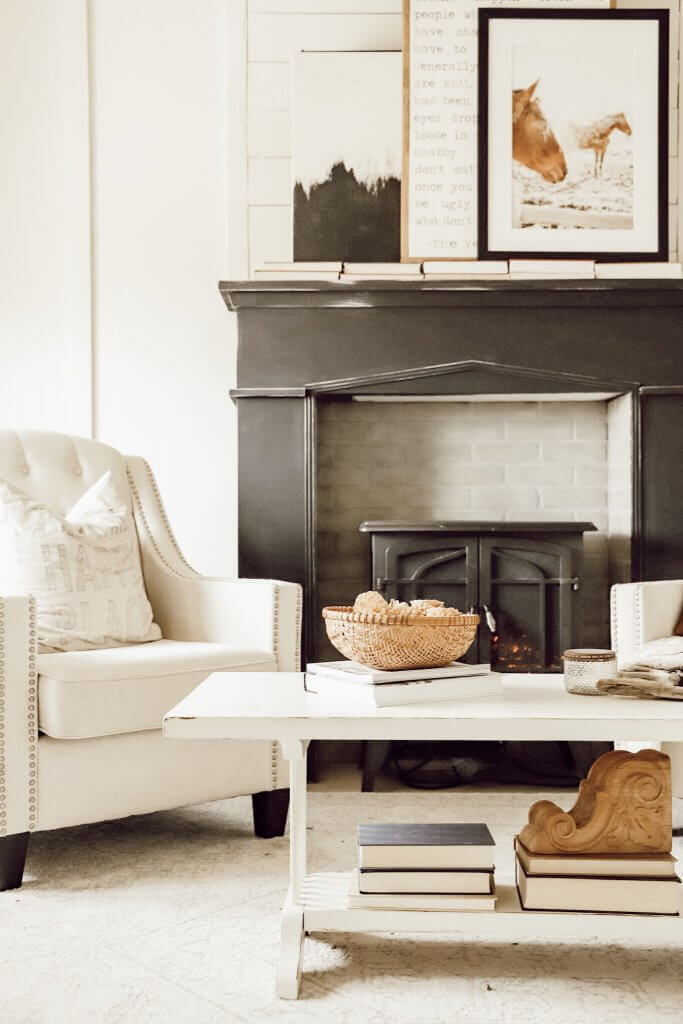
Here is the table I worked on that day:
Now lets talk about how to distress with different tools:
If you remember I made a list above of all the different tools you can use to distress furniture. Lets talk about what each one can be used for.
Sand Paper/ Sanding Block- I think it can be pretty obvious what the sand paper is for, and if you watch the video above, you can see exactly my method for using sand paper in different methods to create specific distressed looks on my furniture.
Hammer- You can use a hammer or other metal tool to create dents and dings in your furniture. I like to use these on a flat surface, where I just want to add a bit of texture and rough up the area. It gives your furniture a more lived in feel. Just make sure to avoid a repetitive pattern, which will look more obvious, and try to cluster the marks, so they aren’t all over the table or chair.
Awl– This is similar to the hammer but this gives a really cool effect. You can take your awl, use a hammer to make some indentations. The result will be small superficial holes. Again I would only add these in a few places so as to not overwhelm the piece. You can do them in small clusters as well, maybe atop the hammer marks.
Chain- You’re thinking what?? Yes a chain can really lend to some organic marks on your furniture. All you do is hold up your chain and let it drop right onto the surface. It will leave small random marks, which will give that same lived in feel.
Now that we have talked about the distressing of furniture, lets talk about adding some antiquing if desired:
You can use items like antiquing wax, pickling washes, and even an old water based stain to add some more dimension to your distressed furniture.
Depending on the look you want, there are certain things to keep in mind.
- You do not need to use the wax, wash, or stain on the entire piece of furniture. I think that is some thing people do, and then do not like the finished product. Sometimes it can look “dirty” instead of antiqued and distressed. I often will use a tiny bit at a time, working the solution into one area at a time. This is especially important if going over white paint, I believe.
- A little goes a long way. I like to use a thin rag to apply and rub in my finish. I will often dip a tiny corner of the rag in the solution, and them work it into the rag a bit to make sure it is not too saturated. You can always build and add more, but it will be more work taking it away if you do not like it.
- Be selective and put it only in some areas if you are a beginner. If you are unsure, start small and work in small sections, only choosing a few areas on the piece of furniture to work on.
- Make sure if you use a wax, to let it dry and then buff per the directions on the container. If you use something else, such as a pickling wash, you may want to seal the entire piece or the area you applied it to, just to protect it.
Times when you may not need to use a antiquing product:
If you begin with a dark piece of wood, that may have been previously stained, this is a great tip. (this is also how I painted and distressed all my bedroom furniture and my coffee table).

You can see the dark peeking through in the image above.
If you are painting something white and the underneath is dark, you can easily sand down and distress revealing some of the dark from underneath. In this instance, you will not need to add any wax.
If you are working with lighter wood, painting it a dark color and sanding the edges once dry will reveal a bit of the lighter tone which adds so much dimension to the piece. I used this method when I painted my faux fireplace in my bedroom recently.
You can then make a choice of whether or not you want to add a wax or pickling solution to give it more depth. I always feel that less is more, so I end up stopping here and keeping it a bit more simple.
If you watched the video above↑, you can see the coffee table I was painting and how I distressed it. I love how it turned out and I want to show you how it ended up looking in my bedroom. I have a post all about how to style a coffee table, along with a video too, you can see that here.

As you can see there are so many different ways that you can distress furniture without being a pro…but you can make it look like you are! I hope that this post helps you in some way!
Let me know what you think!
If you want to see more of my furniture posts all about painting and distressing furniture and more check these out:
Create Distressed Furniture Using an Orbital Sander
Painting and Distressing Furniture 101- Bringing Farmhouse Style Home
Farmhouse Style Painted Church Pew
And if you are looking for more inspiration, check me out on Pinterest where I am always pinning the best of the best!
Make sure you PIN this post so that you have it for later and so that your friends can enjoy it! Sharing is caring!

Want to learn more about other painting techniques? Check out these posts alla bout chalkboard and chalk paint!
Make a Fixer Upper Style Vintage Green Chalkboard
Make Chalkboard Paint In Any Color You Want!