
Installing Shiplap in the Entryway | $100 Room Challenge
Last month, while remodeling my boys bathroom for the $100 Room Challenge, I had nixed the idea of using shiplap because it was going to cost too much for our budget. Now that I am working on my Entry, I decided I really wanted to do regular shiplap on the walls. Since there was less wall space, I was able to manage it in my $100 budget. So we are installing shiplap in the entry!

I cant really describe what it is about shiplap that I love. I know some naysayers may think that shiplap is on its way out, but I wholeheartedly will disagree with you.
There are many wall treatments that have stood the test of time and have become a timeless fixture in our design ideas. Lets talk about board and batten and wainscoting as just two classic wall treatments that are just as popular these days. There are many other wall trim treatments that make installing shiplap a win/win for this DIY project.
I have some pretty good experience installing shiplap. We have used it in our laundry room remodel, above out fireplace, and master bathroom.
I know there are planty of tutorials out there showing you the many different ways of installing shiplap, so I am not inventing the wheel here, but I thought maybe it would be worthwhile to show our tips on installing shiplap after a lot of trial end error.
A few debunked steps on installing shiplap:
- You need to paint the wall white first before installing shiplap.
Okay, most of my walls were already white, but while I painted the walls in my laundry room prior to installing shiplap and sis not paint the walls in my bathroom there was not much of a difference in look between the two. My only note would be if you are covering a dark or bright color it may be a good idea to paint.
- Putty all holes
I cannot imagine puttying in every. single. hole. in our shiplap. In my opinion, I like having the holes. Since the idea is to make the space look more farmhouse, imperfect, and organic, having a nail holes are A okay in my book. I NEVER putty ours when installing shiplap. Its too much work, and lets face it….I’m lazy!
- Paint all the spaced between the shiplap first, then paint it all.
I tried this too while installing shiplap. So monotonous. Take a roller that is meant for smooth walls and paint horizontally instead of vertically and you can avoid this extra step.
We like to use 1/4 inch flooring underlayment for our shiplap. One 4ft by 8ft sheet costs 11-12 dollars at our local Home Depot. I needed 3 sheets for our entryway, so the total for installing shiplap in our entryway was a $35.00. So it was a big part of our budget, but I still had 65 dollars to spend!
Okay, back to installing shiplap. We cut our shiplap planks into 7 13/16 inches wide 8 ft long.
The reason we cut them this width is that you will get the most cuts from your sheet of plywood. It will vary slightly with the width of your saw blade, but if you try to cut them 8 inches wide exactly, there will be more waste and you will need more sheets of underlayment.
When we start installing shiplap, we start at the bottom.

Make sure your first row is level! If you do not, the rest of the rows will be out of level too!
We use our brad nailer, and our air compressor to install the shiplap speedily.
Once the first row is installed, use pennies to create the spacing between the next rows. I like to insert one penny on one side of the shiplap, add a nail, and then go to the other end of the shiplap, insert my other penny, and nail there. Then you can go back and secure the shiplap ever 12 inches.


***TIPS***
If you use a stud finder on this part, you can make sure to nail into the studs which will make for a very secure shiplap.
When installing shiplap in a smaller space, you will have to make more cuts to fit shorter walls. My tip here is to make sure none of your joints line up. Alternate them like you would hardwood floor or subway tile.
Once it is all installed, paint away and enjoy your newly installed shiplap. Here is mine painted with my church pew back in place.

Shiplap creates interest to walls. It is simple, and does not dominate the space. It is a great backdrop for artwork, shelves, and blank wall of shiplap is just so, so lovely.
So, now that I have showed you how we go about installing shiplap, I’ll show you what else I have planned for this room.
Well, some of it is still up in the air, but I have a few things going.
I found these amazing wire hooks on Amazon and had to have them. They were 29.99 for 4. So now I have spent 60.00 on this room. I want to build some sort of coat rack type piece for the wall, but I am still trying to decided what to do so I have nothing to show you there.

Another thing I am working on is my church pew. I do like the finish, but it needs a little TLC. So here is where I need your advice.
My thoughts on the subject are
A) Leave as is

B) Paint White or another color

Love this light blue from Shades of Blue Interiors Home Tour

I am in love with this white pew from @nellyfriedel
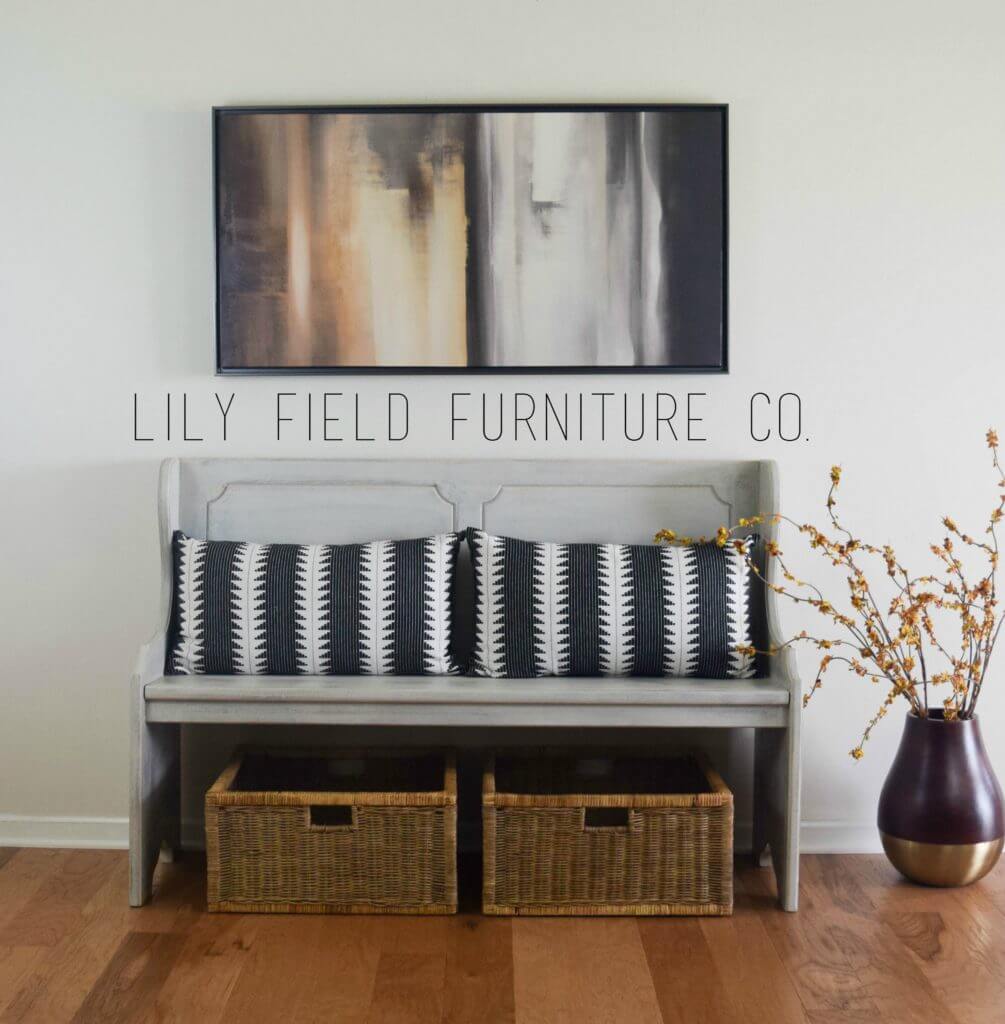
And what about this faded white/grey pew from Lily Field Furniture ? I love it too!
C) Sand and refinish with my DIY weathered wood stain, which will give it a more rustic look.

Love the color of this one from The Rugged Rooster

This is the DIY weathered wood stain I used on the mirror in my boys bathroom remodel.
So I would love to hear what you like best when it comes to what to do with my church pew. Leave me a comment!
I have one other space that is still undecided as well. When we were installing shiplap, we realized we were just a tad short, and did not have enough for the wall to the left of the entryway.

So my options are:
- Purchase more shiplap and finish it off the same.
- Paint the wall with a chalkboard paint and create a chalkboard wall. I’ve been thinking a navy or grey blue chalkboard wall would be pretty cool. My only concern is that this will make the room a bit darker or the room will look out of balance with it on there. I painted a bit to show you the color I have.

So, I think it is safe to say that I still have a lot of decisions to make. I am excited that we are done installing shiplap, and that it has been painted.
Once I make my mind up on the rest, I can move on and finish up the room.
Whew! I feel like that was a novel!
I hope I didn’t scare you away with all my questions and options. And I hope my tips on installing shiplap were helpful.
Thanks so much for stopping by and I look forward to hearing from you!
Make sure you PIN IT!

And check out all the other awesome bloggers participating in this months Challenge!
Have a great day!

If you want to see DIY projects, check out these posts:

DIY Reverse Shiplap Wall Treatment

The Perfect DIY Laundry Folding Table

really good tips! I have never tried ship lap but you are the queen!
Awe you are so sweet!
The chalkboard wall sounds like a really cute idea! I love the shiplap. I am going to have to copy your idea when I do my laundry room. We did shiplap in our powder room and it ended up being very expensive for just 1 wall!
Love the shiplap! Can’t ever go wrong there. I also love the hooks but can’t find them on amazon. Do you have a link? I would definitely leave the pew a wood finish. Either as is or sand and restain. I think there’s too much cool history there to paint over, just my opinion.
Yes, here is the link:wire hooks
Keep the natural wood beauty of your bench. You could stain it or at a protective coating if you want, but it’s beautiful as is.
I am loving the chalkboard wall idea in the grey blue color. As for the bench – while I absolutely love painted furniture, I would leave this as is. I love the look of the wood against the white. In my own home, I have actually started to strip painted pieces down to the raw wood and leaving as is – it’s just a look I am loving right now. Whatever you decide, it’s going to look beautiful!
I am so far from farmhouse in aesthetic but I absolutely adore the look of shiplap or “planked walls” like people called them before. It really is just as classic of a look as subway tile ????
Love shiplap! I want to put some up in our mudroom. Pinning this for all your good tips. I, personally, love the light blue for the bench, but I truly think all the options are beautiful. I like the idea of the chalkboard wall, and you could always write some welcoming quote that would add a lot of white so it wouldn’t be so dark… Those are my thoughts 🙂 Loving how this is turning out!
I vote to leave it in its natural state!!! It is such a great piece and obviously carries a lot of history. I think it looks great the way it is, and will contrast well with the colours in your space.
I agree with Sarah. I think the finish is beautiful as is. I just hate painting over the original wood when it looks good. I like the chalkboard idea.
Yes that is how I was feeling! I am very happy with the how it ended up looking.
Your shiplap wall is great- thanks for the tips. I would leave the pew as is- it’s really lovely. I like the blue chalkboard wall- you could put a mirror on it to help bounce more light around too. A mirror seems like such a natural for an entry.
Great ideas! Thanks!
That came out great. I think the white pew with the baskets for storage under it and the scroll above it would look great. I also like the idea of one chalkboard wall, it matches the door really well.
Thanks for your ideas!
Wow, what a great tutorial. I love shiplap, and you’ve made this so easy. I would love for you to link up over at our new link party #iDIYedthat. Head to my blog http://www.repurposeandupcyle.com to link up! Hope to see you there.
Lindsey
typed it wrong! http://www.repurposeandupcycle.com
Thanks Lindsey!
These are such great tips, Sara! You are definitely a pro at shiplapping (Is that a verb? Can we make it one?) Also, your entryway looks gorgeous! Pinned 🙂
Your entry looks great. You, however, planked the wall. You did not install shiplap. But, few people install real shiplap.
Yes, I am afraid that the term “shiplap” has become a universal word for planking the walls. Its like wearing levis:)
Great post! I want to do shiplap, but I tend to procrastinate. All of the options for the church bench are nice, but I think my preference would be a natural look. However, I can tell that whatever you choose will look great!
Visiting from Wonderful Wednesday Blog Hop
Thanks so much for your thoughts!
This came out great! Thank you for sharing this with us at Funtastic Friday link party.
Thanks Joyce!