
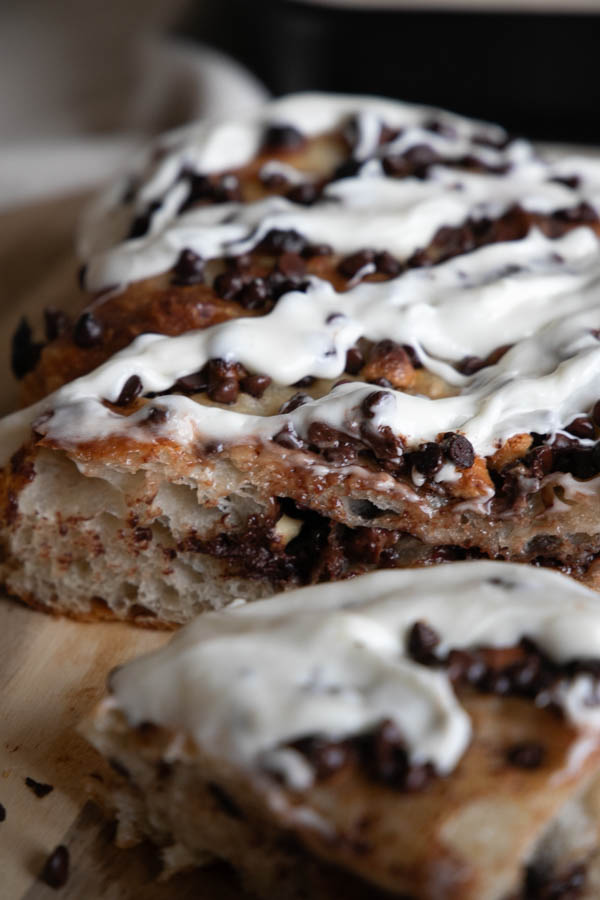
Sourdough Chocolate Chip Focaccia Bread
How many of us love chocolate chips? How about sourdough bread? Then this sourdough chocolate chip focaccia bread is perfect for you. It is easy to make and tastes even better!

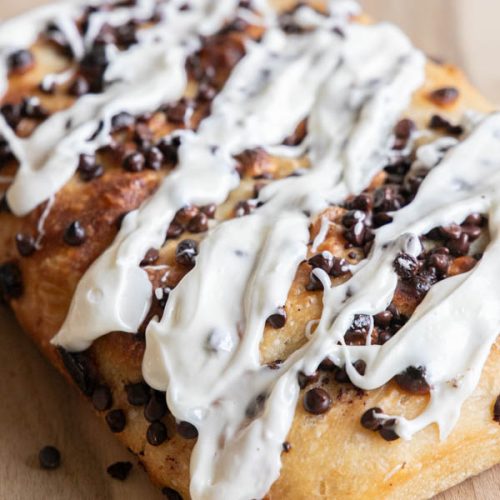
This sourdough chocolate chip focaccia bread is a huge hit in my house. My kids love the combination of the sweet decadent chocolate with the light and airy sourdough focaccia bread. The drizzle of icing on top just adds another note of flavors to the bread that cant be beat. You can see my main sourdough focaccia recipe here!
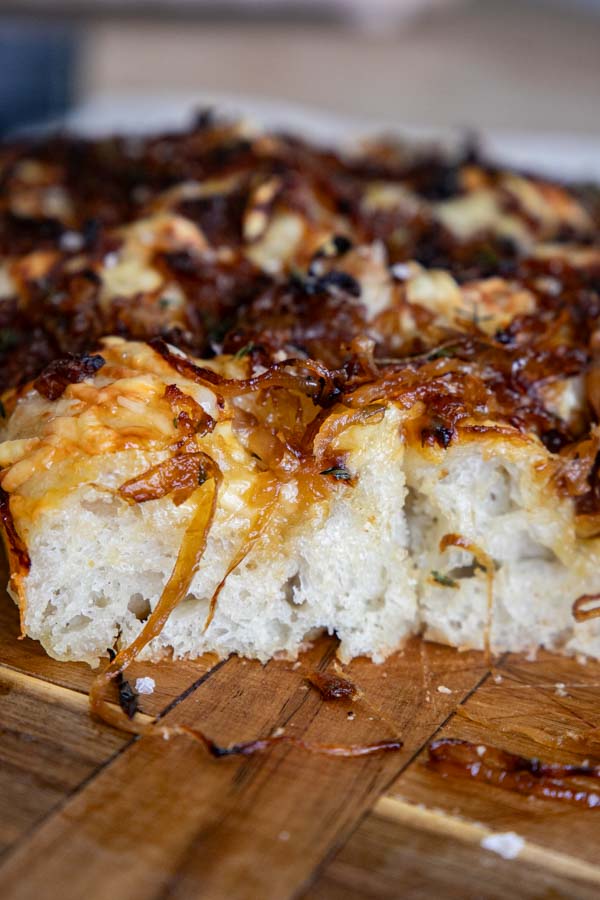
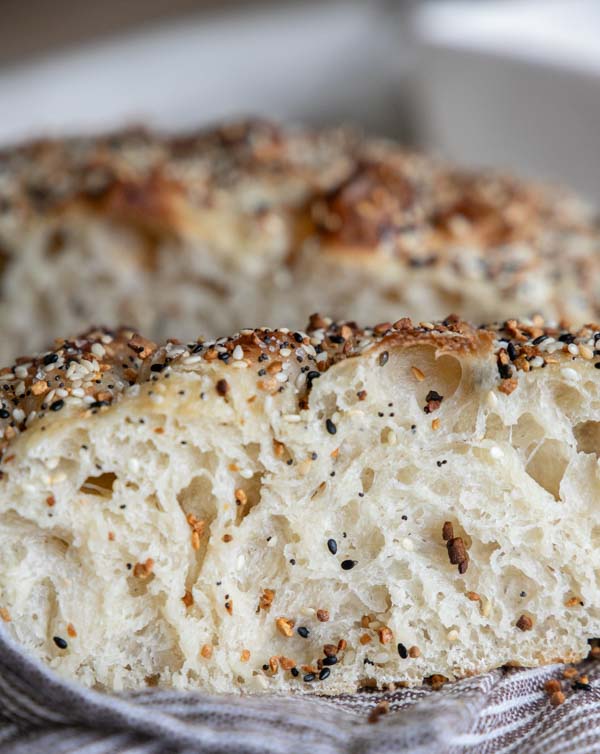
Focaccia bread has an uncanny texture, with a crisp exterior crust and a soft and airy interior, just about any ingredient is amazing with it~ I have created a handful of different focaccia bread recipes if you want to check them out below! Each and every sourdough recipe I create is created love and care. My true passion is baking.
More Sourdough Focaccia Recipes

Sourdough Chocolate Chip Focaccia Bread Recipe
Ingredients
- 100 grams active sourdough starter
- 400 grams water (plus 3 tbsp) also 400g
- 55 grams honey
- 15 grams salt
- 500 grams bread flour
- 1-2 cups chocolate chips of your choice I like to add mini semi sweet and regular milk chocolate for some variety.
- 3 tbsp melted butter
- 2 tbsp softened butter
- 2 tbsp softened cream cheese
- 1 tsp vanilla extract
- 1 cup powdered sugar
- 3 tbsp milk more or less depending on how runny you want the glaze.
Instructions
- First, you need to get a large mixing bowl. It can be plastic or glass but not metal. Metal can react to the starter. I like to use a glass bowl and transfer it all into my proofing container with a lid when its time for its bulk fermentation.
- Take your sourdough starter and water and mix them in the bowl(it does not need to be warm water). I like to use a digital scale to measure these out. Once they are combined, add your honey, salt and bread flour(you can use all purpose flour but i prefer bred flour). Mix this until it is well combined. I like to use my danish dough whisk but you can use a wooden spoon. At a certain point it will become easier to mix it with your hands, and this is exactly what I do.
- Once it is combined well, cover the bowl with a towel or plastic wrap and let it sit for about 30 minutes. After about 30 minutes, you want to do your first knead. With wet hands, take the dough from one of the sides of the bowl, lift it, and fold it over the dough. Repeat this, rotating the bowl and raising the dough and laying it across itself. I do this to all sides and then let it rest. This should be a very wet dough. If it is tough, add a bit more water to it. Only 1 tablespoon at a time.
- Its time to let the wild yeast do its thing. You can let it sit at room temperature to let it bulk ferment, but if I have time I will make sure to repeat the kneading process a couple more times. If I make it in the evening, I have plenty of time to do this since there is not a lot of active work, it only takes about 10 minutes of my evening to get my dough going.
- If you want to bake your bread the next morning I would recommend leaving it out on your counter at room temperature, covered.If you want to wait and bake it the next evening, I would put your dough in the fridge to allow the yeast to slow down overnight. I have woken up to dough that has burst the lid and it spilling over the side of the bowl. If you choose this route, you simply need to take the dough out a couple hours prior to baking
- So for ease with these instructions, I will be going with the first option which is what I usually do(bulk fermenting on the counter overnight). With either option you want to cover bowl with plastic wrap to prevent the dough from drying out.
- In the morning, the dough should have at least doubled in size, mine often quadruples in size. This is from the longer fermentation process. This long rise is what will give your bread its amazing flavor.
- Oil the counter and gently let the dough drop out of the bowl or container onto your countertop. You want to try to avoid popping all those bubbles. I gently spread the dough, pulling the corners to make it larger. I will then fold the dough over itself once or twice. Then I will make sure to oil my 9 by 13 cake pan with a 1-2 tablespoons of olive oil or use nonstick spray.
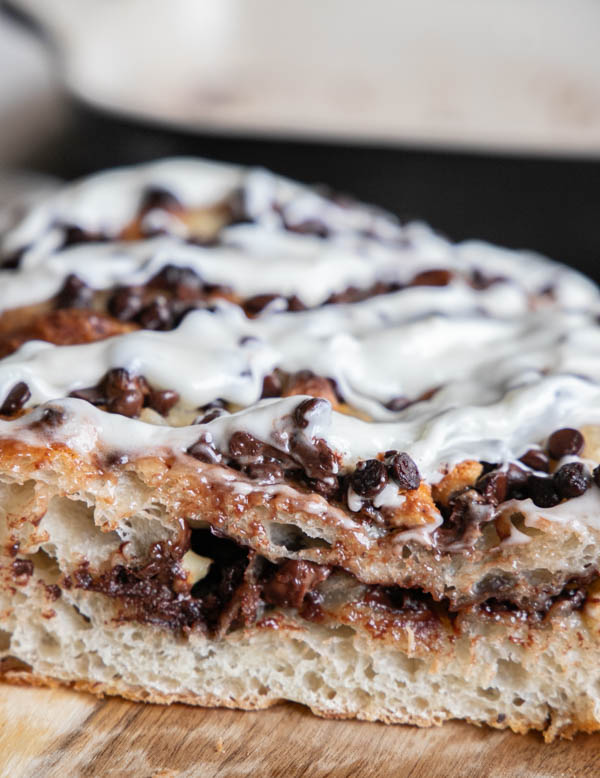
- Transfer dough carefully in the sheet pan and gently pull it so that it starts to fill the pan. Sprinkle chocolate chips on the entire piece of dough. Dont use them all as toy will want to use some on top of the dough as well.When you have as much as you want, take one short end of the dough and fold it over like a book.
- At this point I like to cover the pan with a towel and let the dough rise once again until it doubles its original size. This can take about 1-2 hours. It will totally depend on how active your starter was.
- PREHEAT YOUR OVEN TO 425 DEGREES F
- While the dough is rising in the pan, mix your icing ingredients together. Once it has doubled in size, carefully drizzle melted butter over the entire dough and carefully spread it around without deflating the dough. You can now sprinkle any remaining chocolate chips over the top of the dough.
- Now its time to poke those holes in the focaccia bread. Gently poke to create dimples in the bread. The chocolate chips will be somewhat pushed into the dough in those places.
- Put the bread in the hot oven and bake on the middle shelf for about 20-25 minutes. You are looking for a nice darker golden brown color on the top and the bottom will be nice and crispy.
- When it is done, take the focaccia out of the oven, drizzle the icing over the top of the bread.
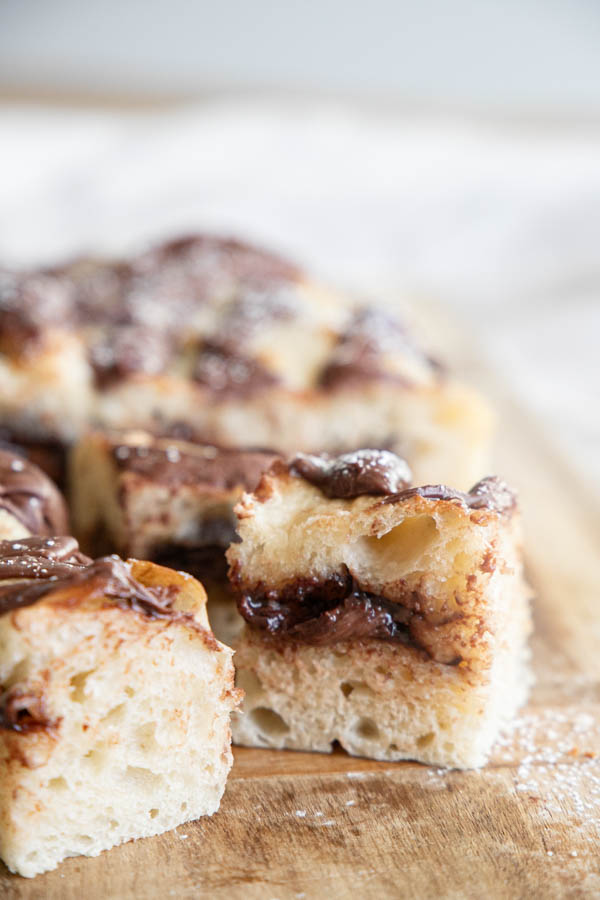
- Cut and enjoy! You can enjoy this warm or room temperature. Cover with plastic wrap to store. You can also store this in plastic bags. I will often cut it into slices and bag it up so the kids can grab it easily.
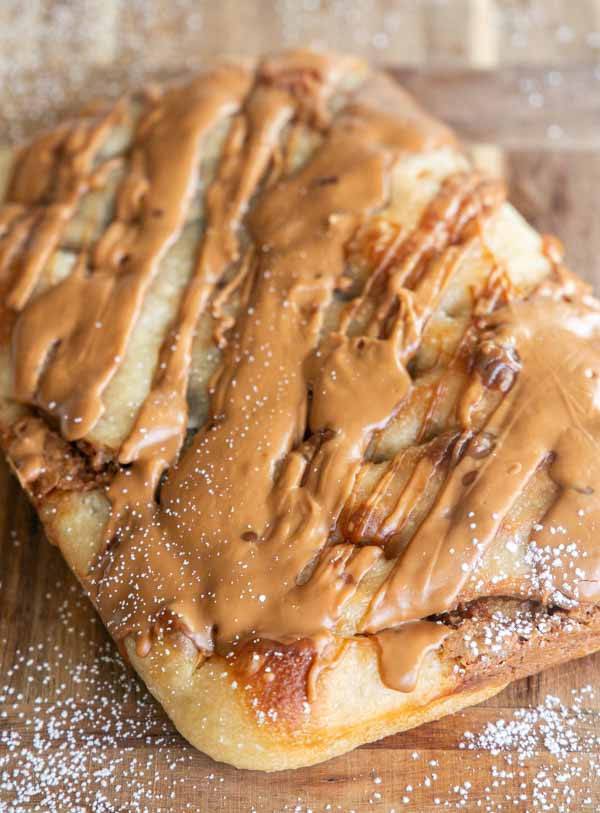
I love having a recipe that is so easily used in many different applications. This sourdough focaccia dough recipe is easily adaptable to just about any flavor combinations.

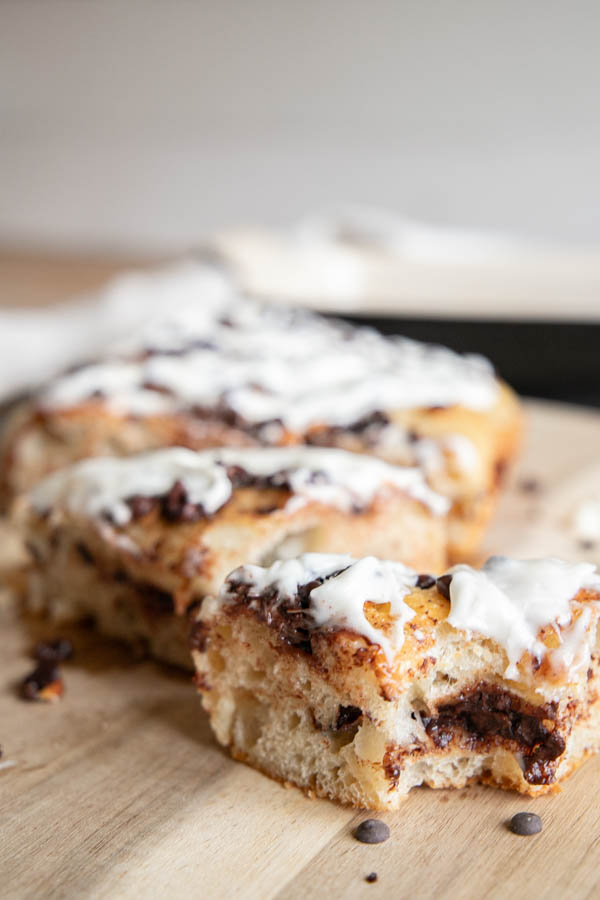
I love the balance of sweet and salty/savory. Since the dough is not a “sweet dough” it balances out the sweetness of the chocolate making it a “dessert” you can enjoy without going overboard.
Tips & Tricks
- Use a cast iron skillet to bake your sourdough focaccia bread in. It gives it the most amazing crispy crust you just cant get with a regular glass or metal baking pan.
- Allow your focaccia dough to rise in a warm spot. This will help it to rise faster.
- Do not pop all those amazing bubbles that occur during the rise. When you go to dimple the dough prior to baking, do it with care. The bubbles will move around as you gently dimple the dough with your fingers. You want all those air holes as that gives it the light and fluffy texture you want with focaccia. It also is the perfect places for your sauces and ingredients to make their home.

Don’t forget to pin this for later!
