DIY Tobacco Baskets for Ultimate Farmhouse Decor
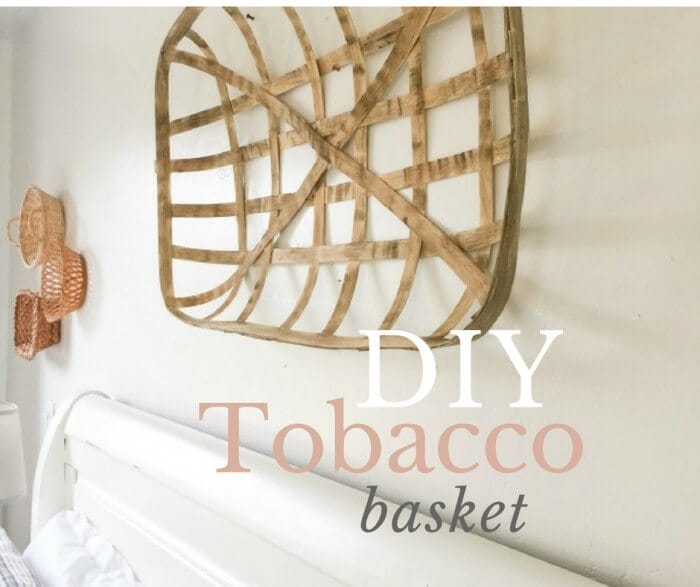
Did you know that you can make your own tobacco baskets? What if I told you that they could be made with a super inexpensive material, and that you probably have the tools you need sitting in your office! Try this super easy DIY tobacco baskets tutorial. Make them for a fraction of the cost that they are in the store!
I was sitting in the bathtub the other night, late. This is a regular occasion these days. After the kids are in bed, and things have calmed down, I like to spend a little time in the quiet. This is the time that I feel the most inspiration. I was perusing Pinterest to come up with some more fall decorating ideas, when I noticed a picture with tobacco leaf baskets and I thought, what if I tried to make one of these.
Tobacco baskets, or tobacco leaf baskets are so popular right now. They are popping up at many retailers with reproductions, and finding an original and authentic basket is practically impossible to find, especially in my area.
Tobacco baskets were used up until the 1980s to take tobacco to market. They have a huge history in North Carolina and with them rapidly disappearing, there is not much else to do but either buy a replica, or make on of your own.
So, of course, making one myself could satisfy my desire to work with my hands. I bought a few reproductions in the past and I love them, but I think making one can be so gratifying, so why not try.
Being one that never shies away from creating things of my own, I started to brainstorm. I started looking online to find items that I could use to make one of these tobacco baskets.
In my searches, I found some flat reed on Joann.com and could not believe that they sold this. So I ordered 2 coils of it. It cost 5.85 a coil and I had a 25 percent off coupon, so for less than 10 dollars I was able to get started.
DIY Tobacco Baskets
*This post contains affiliate links for your convenience*
Here are all the supplies I needed for this project:
- Flat Reed 1inches 1 Pound Coil Approx 75
- Stapler and staples
- Wood Stain or Plaid Barnwood Finish
- Binder clips
- Gluegun
Now to make your own tobacco baskets:
Okay, so after some trial end error, I think I figured out the best way to make one of these tobacco baskets. When you get the coil of flat reed, you have to unroll the wood, and I found it best to spray a little bit of water on the wood. The reason being, otherwise it is a bit harder to work with because it will have a lot of tension and they wont lay right.
I sprayed them with water and laid it out on my table with a book on top of the ends to help them lay a little more flat. Once they dried, I started to cut the reed.
You can easily used scissors for this. I wanted to make a large basket to hang above my bed, and sadly I did not measure out what size I wanted, so I will give you the measurements of what it ended up being.
Measurements for your DIY tobacco baskets:
- cut 6 pieces at 24 inches
- cut 4 pieces 40 inches long.
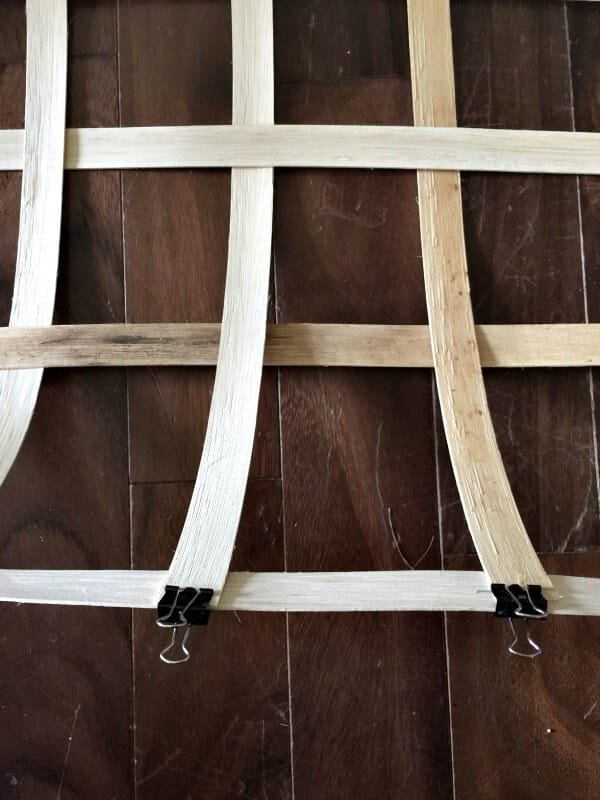
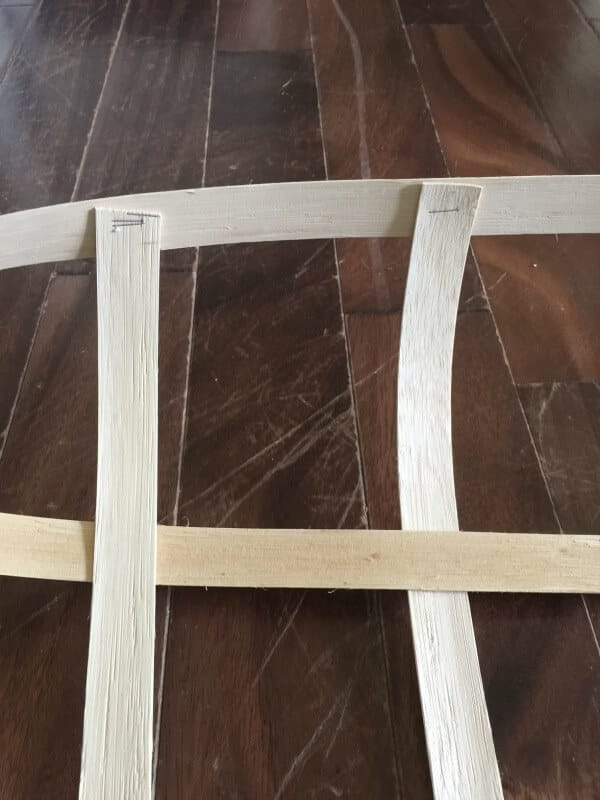
I started by weaving the short pieces with the long pieces.
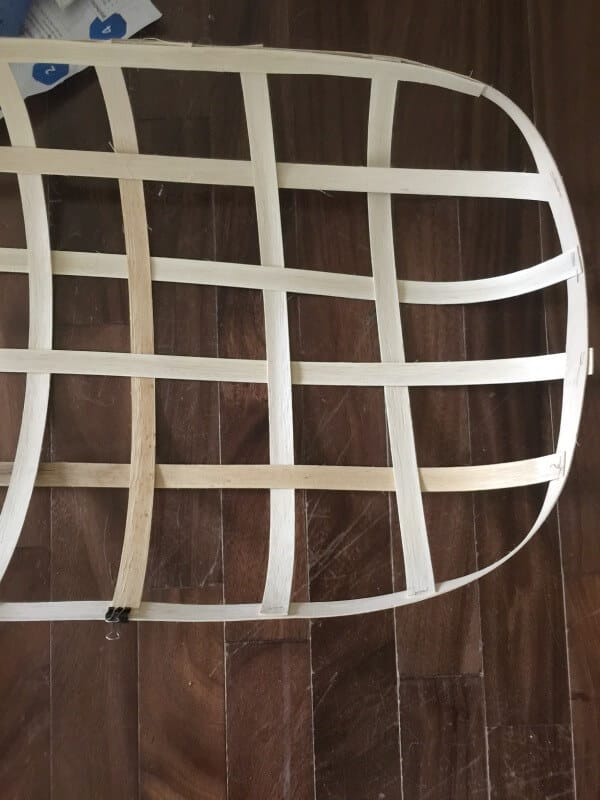
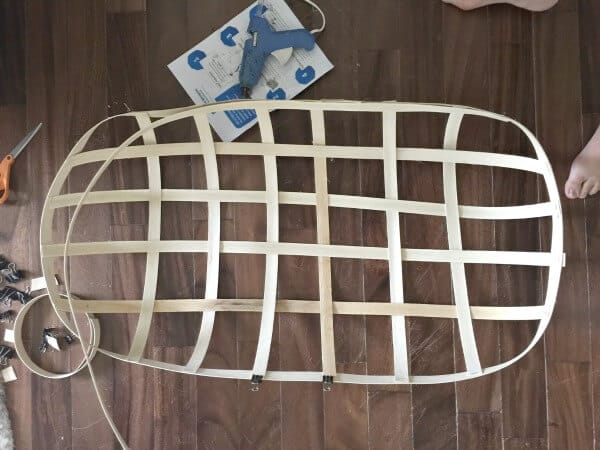
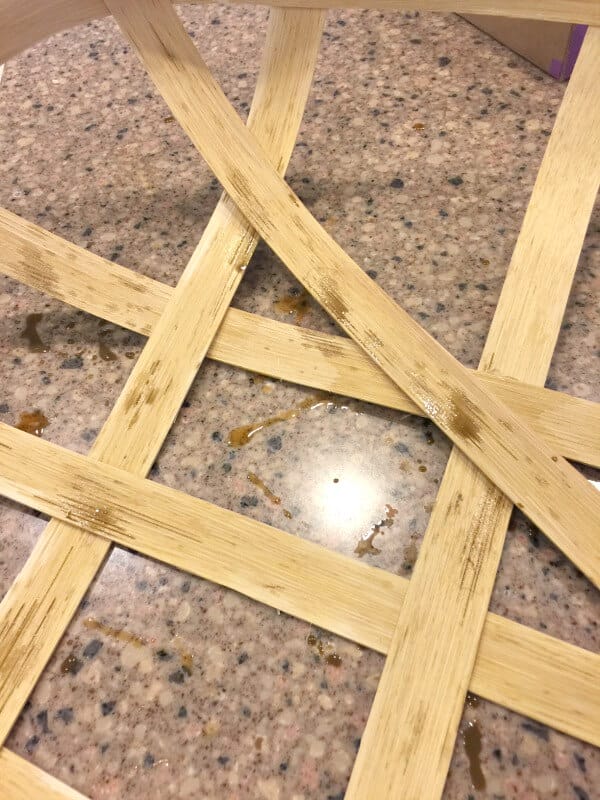
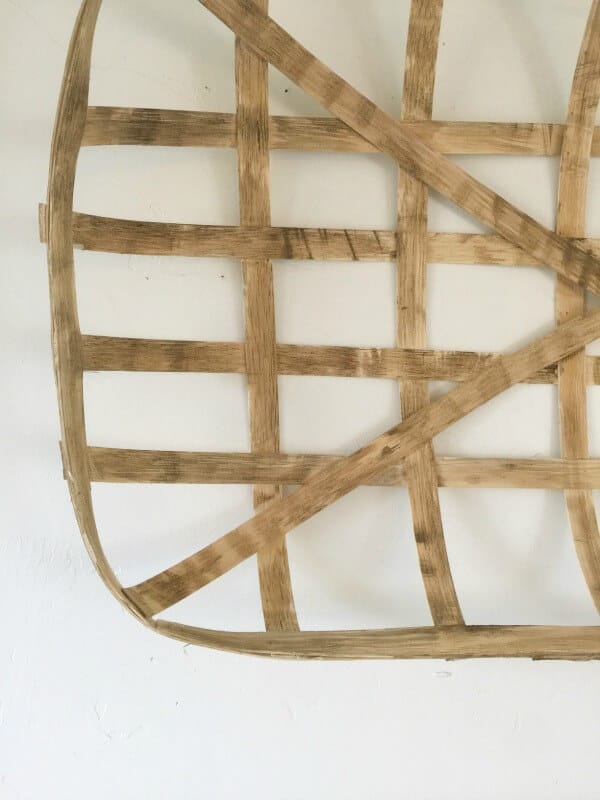
Once that was done, I took a long piece of the reed, and started to wrap it around the pieces that were weaved together. This is where the binder clips come in handy. I clipped the ends of the weaved section to the border pieces.
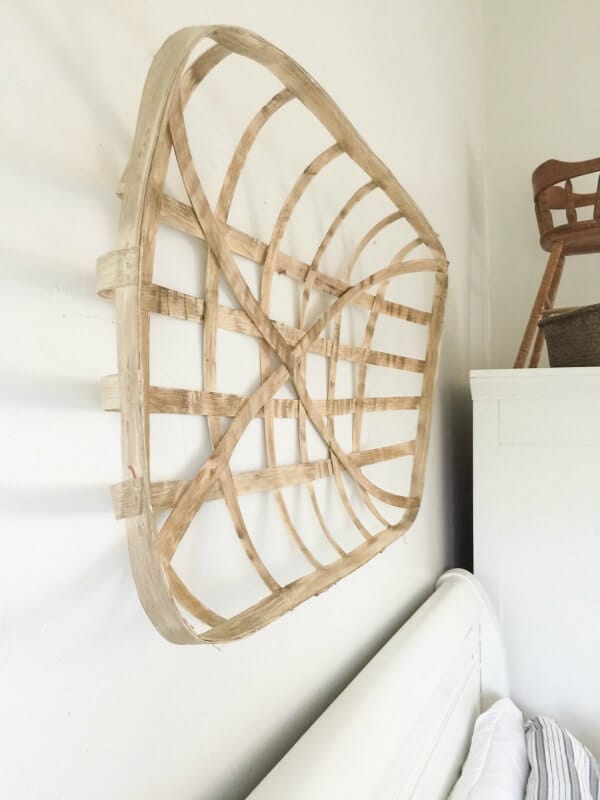
I worked around the entire piece clipping each end piece to the border piece. The secret here is to tighten the corners, which will start to create a bowl/basket style appearance.
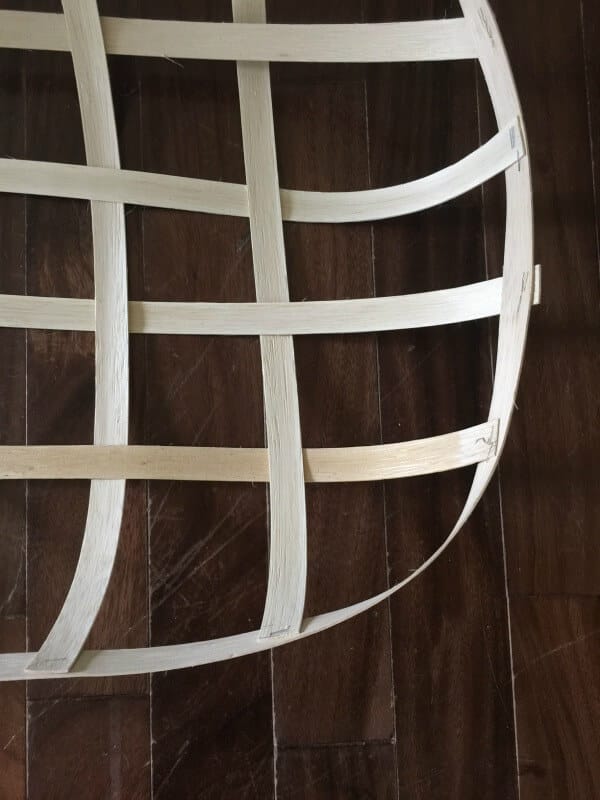
After they were all clipped together, I worked around it a bit, adjusting some of the pieces here and there. It will not be perfect at this point so don’t expect it to. I admit, I kind of panicked at this point. It was not looking as good as I expected it to. I took a deep breath and continued to figure this thing out. I started to staple all the intersections that had been secured by the binder clips.
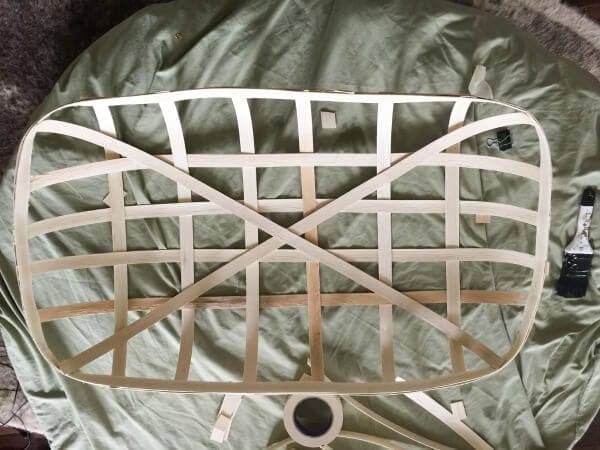
The next step after they were all secured was to take two longer pieces of reed and secured them in an X across the front of the basket.
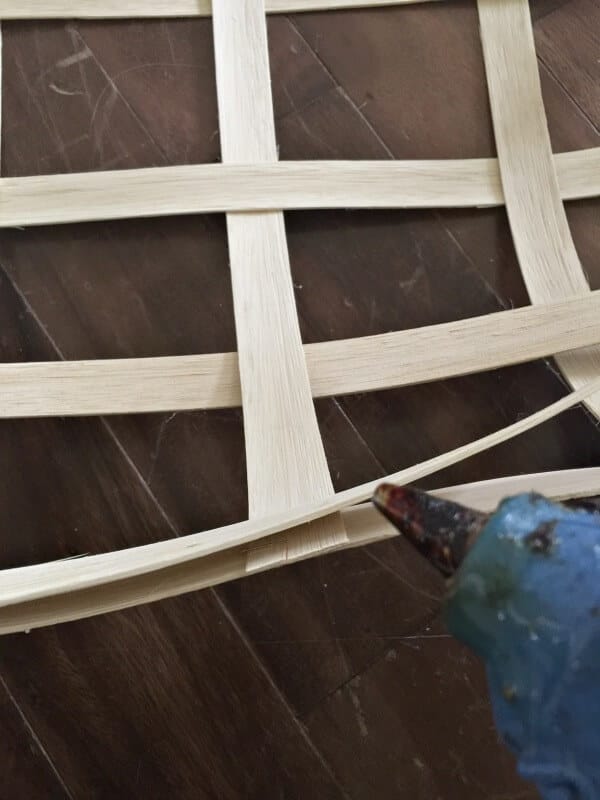
I took another long piece of reed and began securing it with the hot glue gun to the inside of the basket, covering the joints that were stapled. This extra layer of reed gave the piece more strength.
Once this done, it was time to stain the piece. You could stain it at the beginning, but I felt like it might be easier to control it once it was assembled. Overall I think it was.
One extra step that I took to create a more sturdy basket was to hot glue the spots together where the reeds overlapped in the basket.
How to stain your tobacco baskets:
I started with a light stain, you can use whatever shade you want, depending on your homes decor.
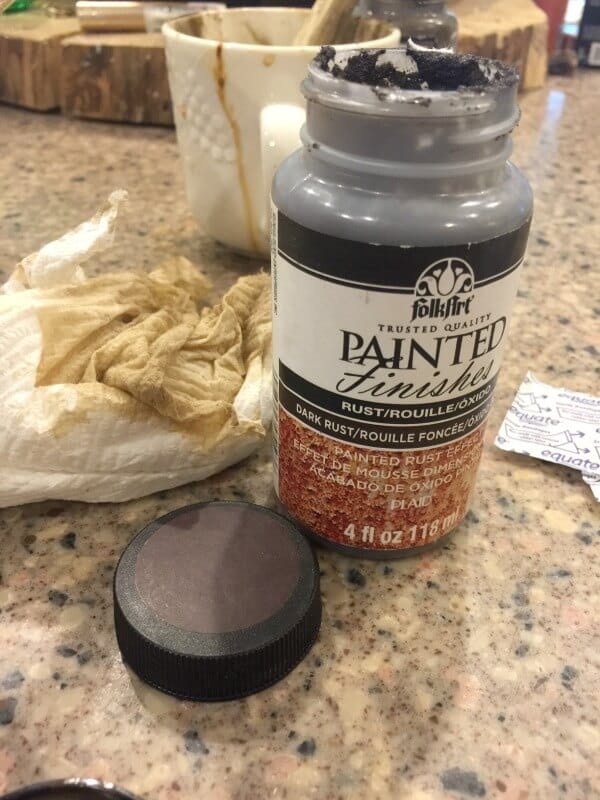
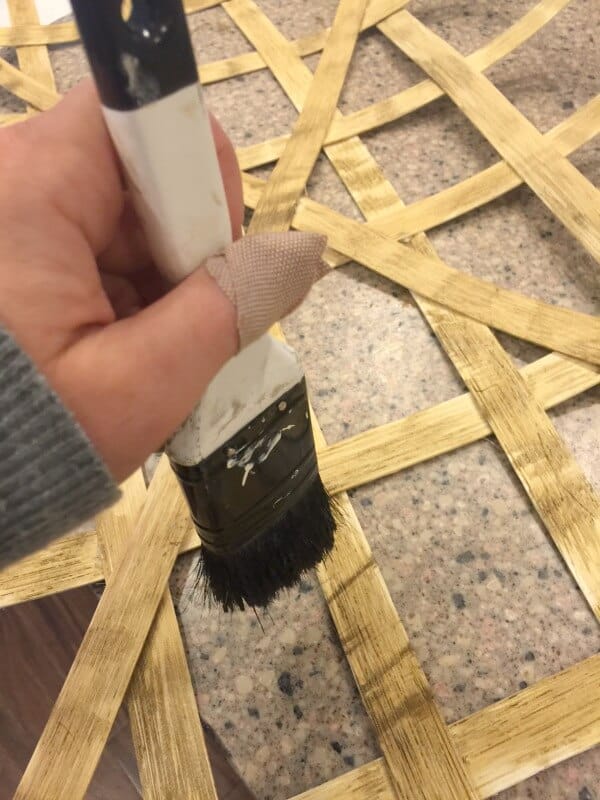
Once the light stain was applied, I took some of my Plaid Barnwood Tint and watered it down just a little bit so it wouldn’t be too thick. This was dry bushed onto the tobacco basket going against the grain giving the basket an aged look.
Now, if your basket isn’t exactly square or needs a little coaxing, you can bend and mold the reed pieces while they are still slightly wet from the stain. You can also spray them with water before you stain them and do it then.
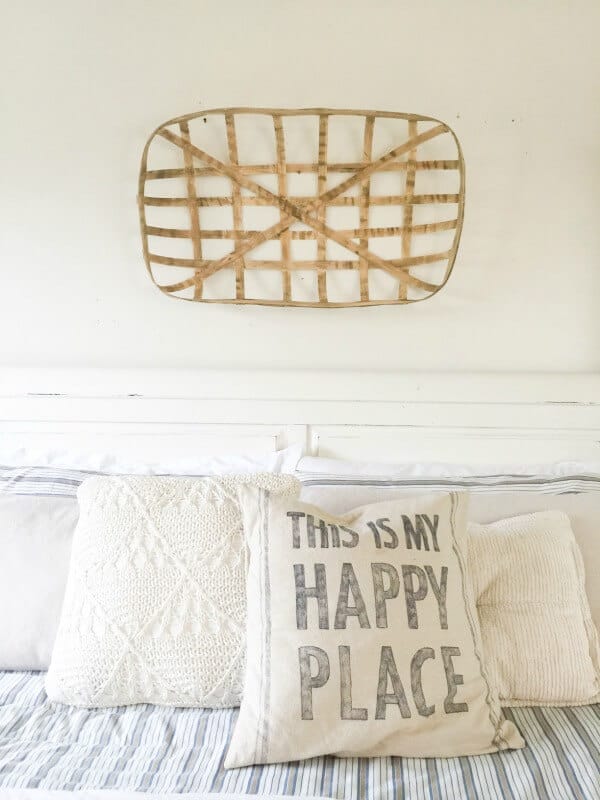
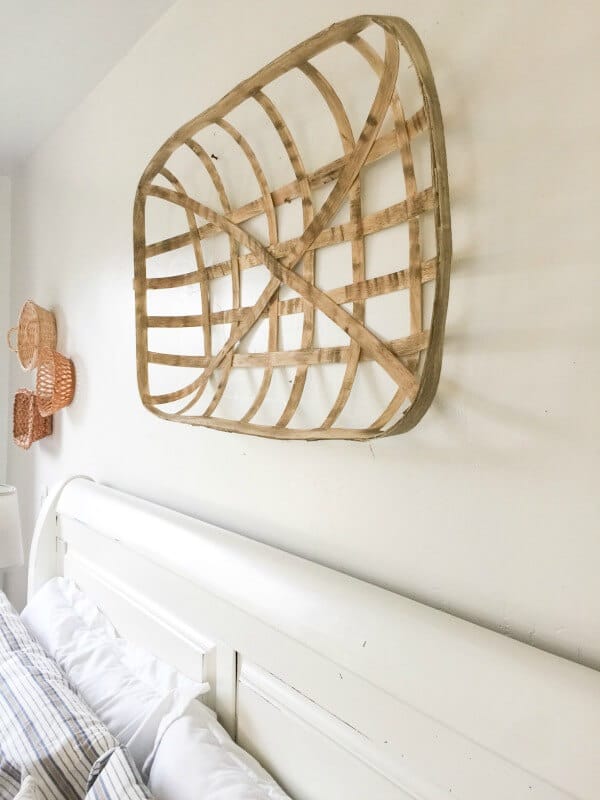
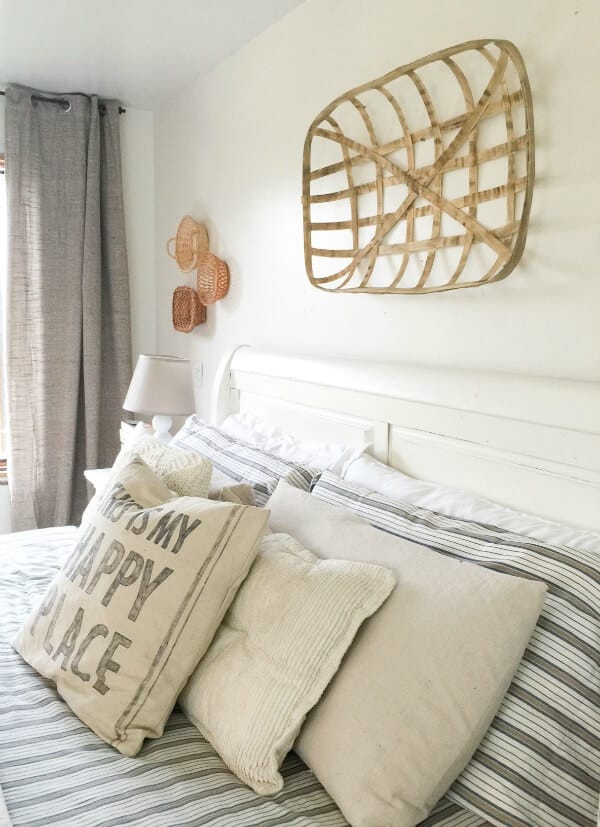
The last step was to hang this baby on the wall.
Now that I have the general idea of how to make one of these, I have plans to make more. I want to make a square one, with a slightly different design. It’s such a liberating feeling to accomplish something that you set your mind to. When it is actually easier than you think it might be.
Don’t get me wrong, this project took some time, and some finesse, and maybe a little bit of patience but I am extremely happy and excited with the result!
What do you think of this tobacco basket? Would you try making one of them?
Do you like what you see? I’ve hand picked exact and similar items to create this look. And if you aren’t ready to make a tobacco basket yet, I’ve got a great source for those also.
Thanks so much for stopping by and remember…..
If you like this post, check these out:
DIY French Vintage Mirror from Old Thrifted Picture Frames
The Ultimate Farmhouse Master Bedroom | ORC Reveal
How to Incorporate Farmhouse Artwork into your Home

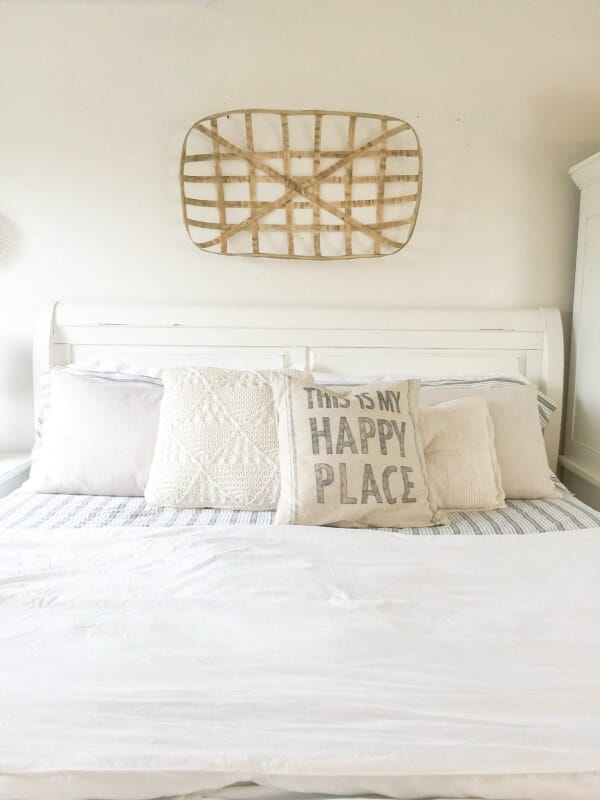


This is such a great idea, I may need to try and make one! Yours looks fantastic, and I love how you have it above your bed!
hanks Alysha!
Sara,
Your tobacco drying basket looks great. I did make one back in May (after seeing one on Craftberry Bush blog.) I got my “reed” in a large sheet of veneer and had to cut the strips out individually. Wish I’d know about the round of reed you got. I looked on amazon, ebay, etsy, Michael’s, etc. and found the best deal on ebay, but it was a lot of work cutting the strips out. I plan on making another one, too, and will also glue each “crossover” and also staple the ends like you did. My corners did not turn out well – they have separated a little (there are 3 layers of veneer there) Anyway, I like it well enough to make a square one also. Mine is about 27″ x 16″ and I have it hanging “vertically” in my spare room with a wreath inside it.
My ancestors from Surry Co, NC, and Carroll County, VA were tobacco farmers and I am just learning some of their history, so making the basket was very fulfilling for me. You’ve done a superb job!
Barbara thanks for the kind words. I had never thought to use veneer. The one thing I found the basket was lacking a bit was the sturdiness like the store bought ones. By gluing the crossovers it made such a big difference. That is so cool that your ancestors were tobacco farmers!! I am fascinated by their history!
Love this tutorial! It’s easy and inexpensive!
Kate | The Organized Dream
I’ve never considered the tobacco baskets, but I do love the look of it in your room. As to that, I love that bed decor!!! The basket ties in beautifully. I need to know where you found your big fluffy pillows! 🙂
Wow! I have wanted to get my hands on a tobacco basket but hate the price tag! I never thought about making my own. Great job!
I can’t believe that’s a DIY! Way cool! Thanks
This is crazy that you made this! You are so talented! I saw this picture on Pinterest and figured it was a tobacco basket you found and hung up. So impressed!
How creative and I love that reed roll, I’ve been looking for something like that! Pinning!
This is awesome! I need to make one ASAP. Pinned!
I would never have thought you could buy the reed! Great idea and looks amazing!
Oh my goodness thankyouthankyouthankyou!! I’ve been trying to brainstorm how I might make my own tobacco basket, but did not know what material to use. This is perfect!
You’re so welcome! It was a really exciting moment to figure it out!
I love how your tobacco basket turned out. It looks so beautiful!
Great idea thanks! I will try making one and put a link back on my blog!
Sounds great!
Love This!! I might offer this as a class! What was the finished dimensions of your basket?
This one is about 2ft by 3 foot.
I’d love to make one of these for my daughter who thinks they are great. I am an eighties baby and I think that’s why I’m not that much on them. I wish I could find that price you found the reed for. It’s like $13.99 now on the link that’s attached. Do you know anywhere else it where it may be less expensive?
Thank you!
I believe that is the regular price, and I found a coupon for them. That is the cheapest I have found them.
Love this idea and will put this on my to-do list, and I thank you for sharing! One thought, if I may: “weaved” should be “woven”! Thanks!
Thanks for putting this out in your email! I love it and want to make some. I will have to pray for patience because it looks like you need 3 hands to get the reeds to cooperate. Love it!
Love these! I searched online. Can’t find the cooks for less than $19.99 plus shipping . I’ll keep looking. But this may be too expensive to make