
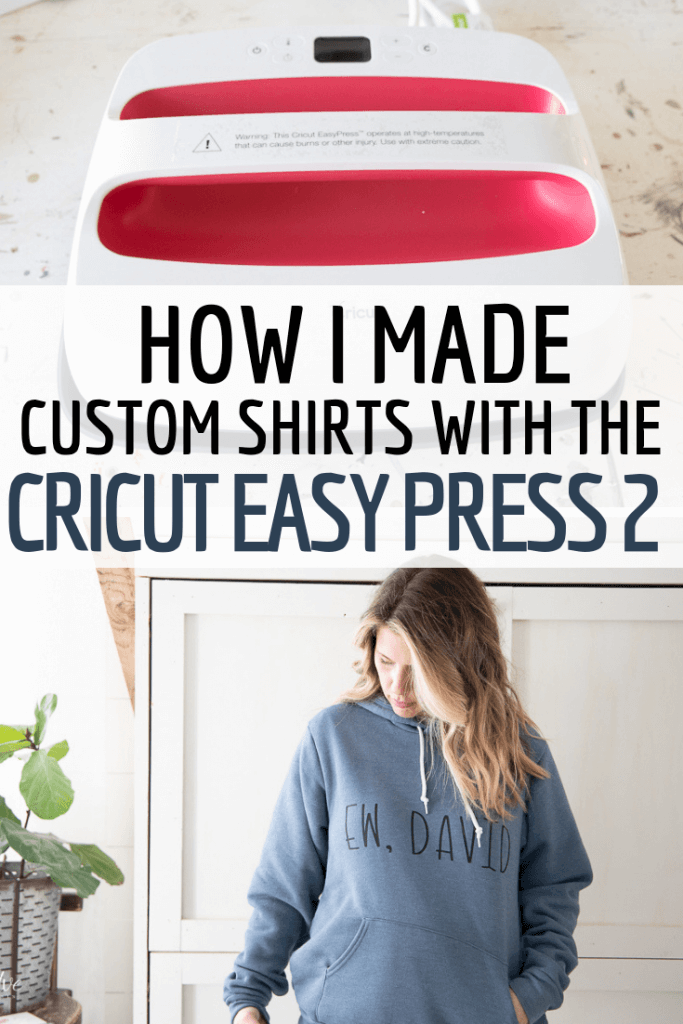
How to Use the Cricut Easy Press 2 Like a Pro!
This is a sponsored conversation written by me on behalf of Cricut. The opinions and text are all mine.
Last week I posted all about my new toy, my Cricut Maker. Man it is the most fun machine! I have been truly missing out in the creative department, which feels odd, since I spend my days creating. But, as I said in my previous post where I reviewed my Cricut Maker, it was a product I never knew I always needed.
And so today, I want to discuss my second favorite item from Cricut…the Cricut Easy Press 2. Now, as of a week ago, I have never created anything with heat transfer vinyl. I have never created any fun shirts, hats, pillows, nothing! I feel a bit ashamed to admit that.
But, just after a couple weeks of working with my Cricut Maker and my Cricut Easy Press 2, I feel like I need to start my own t-shirt company!
We know in all reality I won’t be spending all my time making snarky tee shirts…which is what I feel like I was born to do. I have too much going on for that. But, I am completely obsessed with shirts with funny sayings, snarky quotes and relaxed tees that can give my family a heads up of my mood. My husband often jokes he can tell what mood I am in by the shirt I am wearing. Well, challenge accepted.
So, when I received my Cricut Maker and my Cricut Easy Press 2, I knew I would have a blast using both to make some pretty fun shirts. But before we get into that, lets talk about the Cricut Easy Press 2.
What comes with the Cricut Easy Press 2
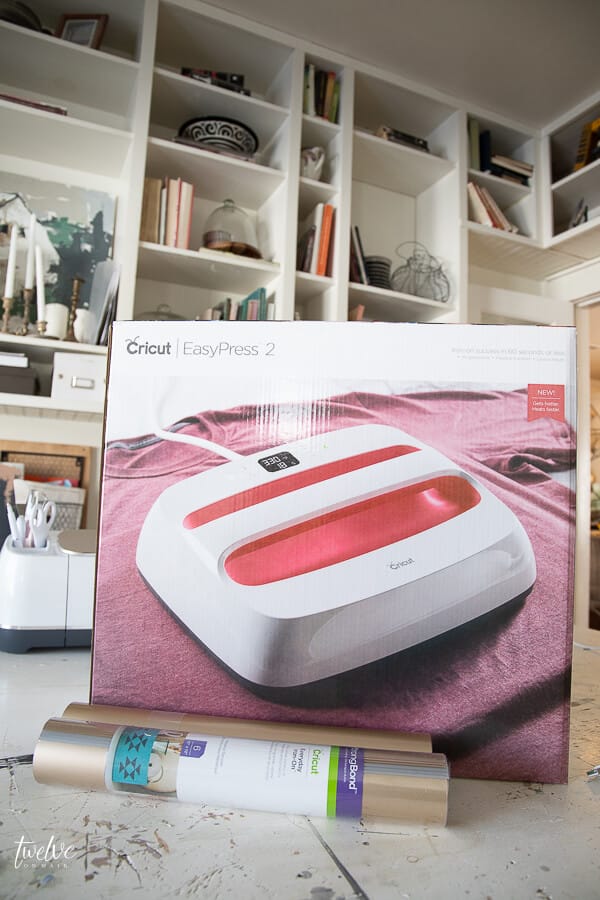
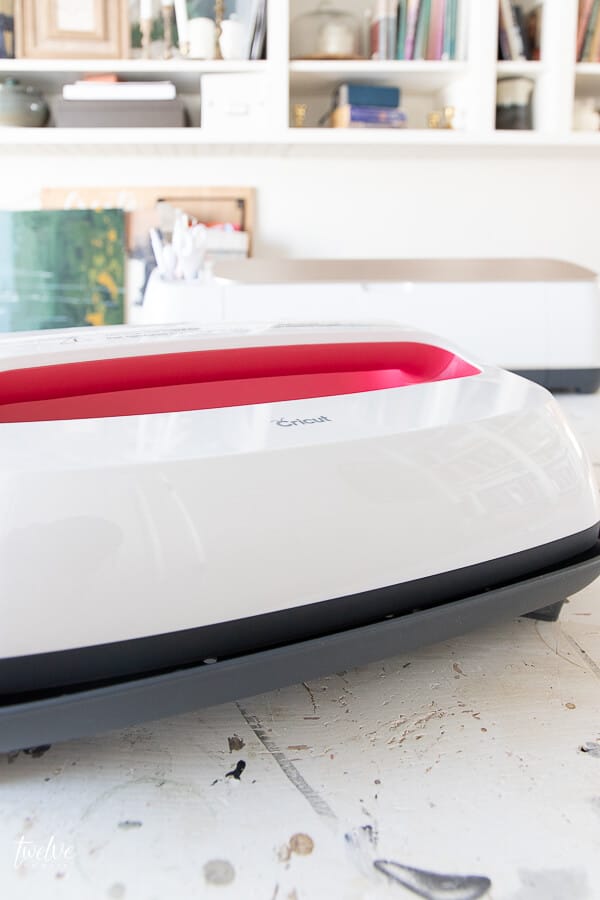
First of all, what is the Easy Press 2? Its a big heat press that you can use to bond heat activated vinyl to shirts, pillows, hats, and more! I Was thrilled to try it out.
Now, until this baby came into play, using a iron was the standard way to adhere your vinyl. But, this is a total game changer. You can secure an entire shirt design with one step. Its truly a machine you should own if you are a Cricut machine user.
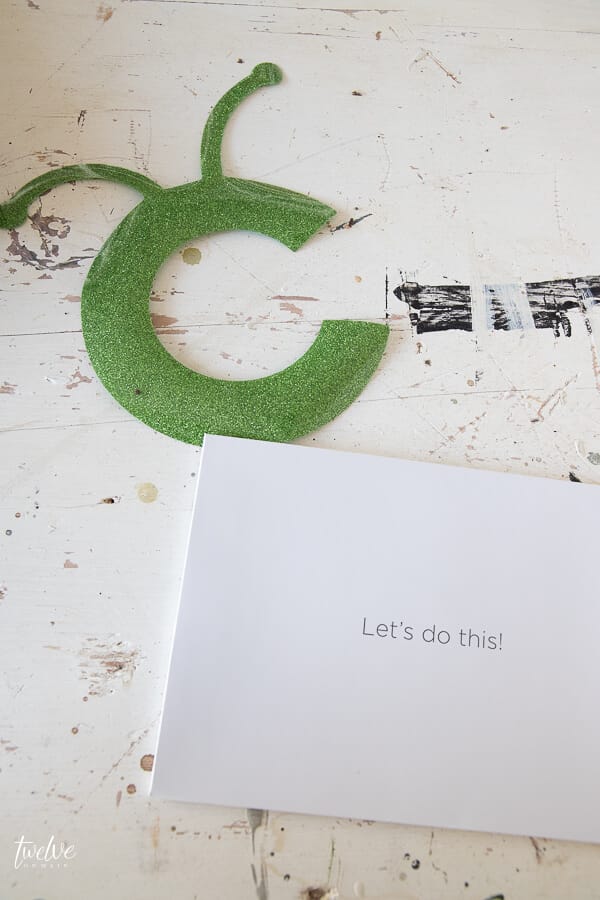
When I opened the box, the first thing I saw was a cut out of the Cricut logo, which was on the heat activated vinyl. I knew there must be a reason.
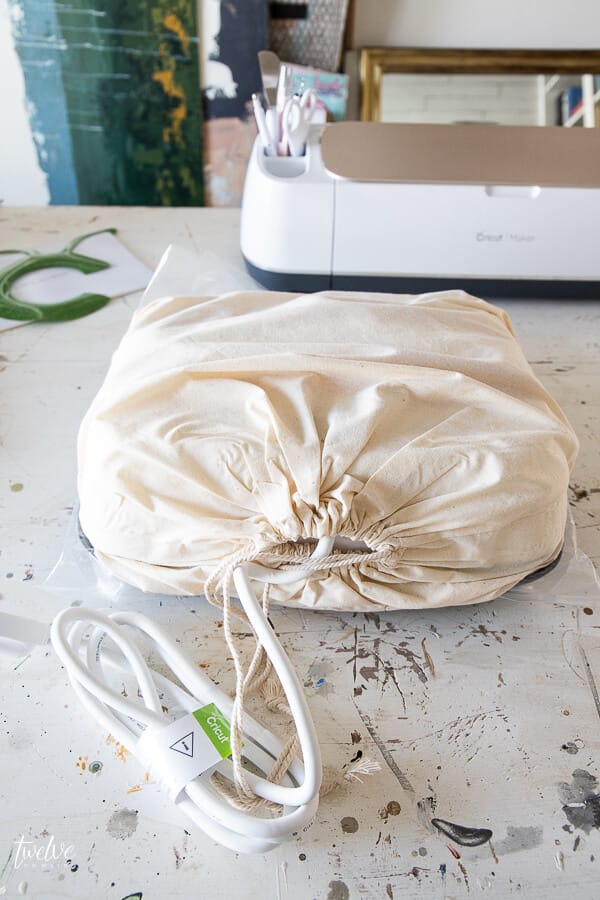
Your Cricut Easy Press comes in a drawstring bag, with an instruction booklet and registration card.
The Easy Press 2 comes with a heat protectant base where the Easy Press 2 rests while not in use. It has an adjustable digital timer and temperature setting so that you can adjust your Easy Press for whatever project you are making.
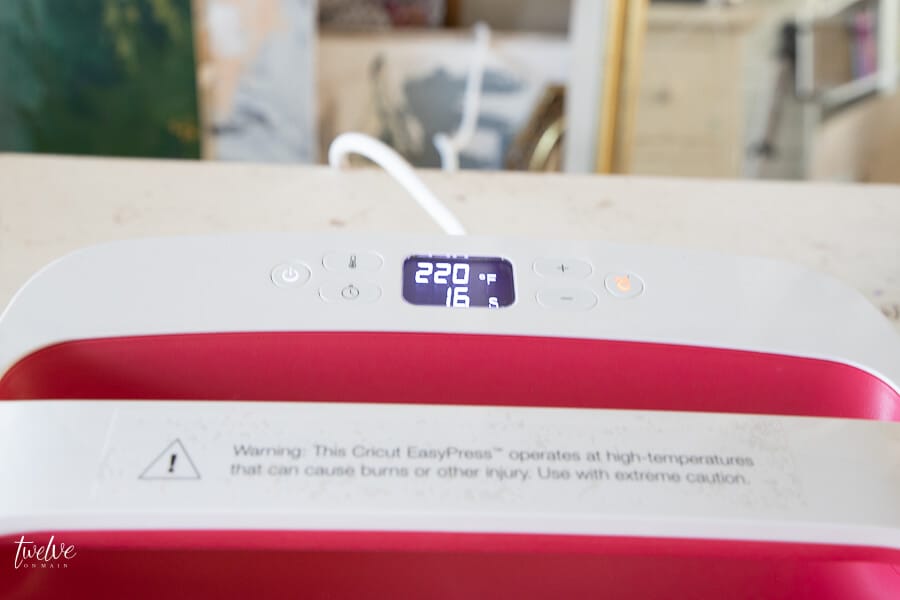
Each type of fabric that you use will have a specific heat setting and Cricut has created a helpful resource where you can easily find the recommended settings for your fabric type. I found this resource so very valuable, especially as a newbie that has never used a heat press before. I definitely wanted to make sure I did it right.
How to learn to use your Cricut Easy Press 2
Now, I am sure this is no accident. In the box you get a Cricut logo that is cut out and ready for you to use. You also get a drawstring bag that you can use for your Cricut logo. In the instruction pamphlet, you can find the instructions on how to use the logo on the drawstring bag.
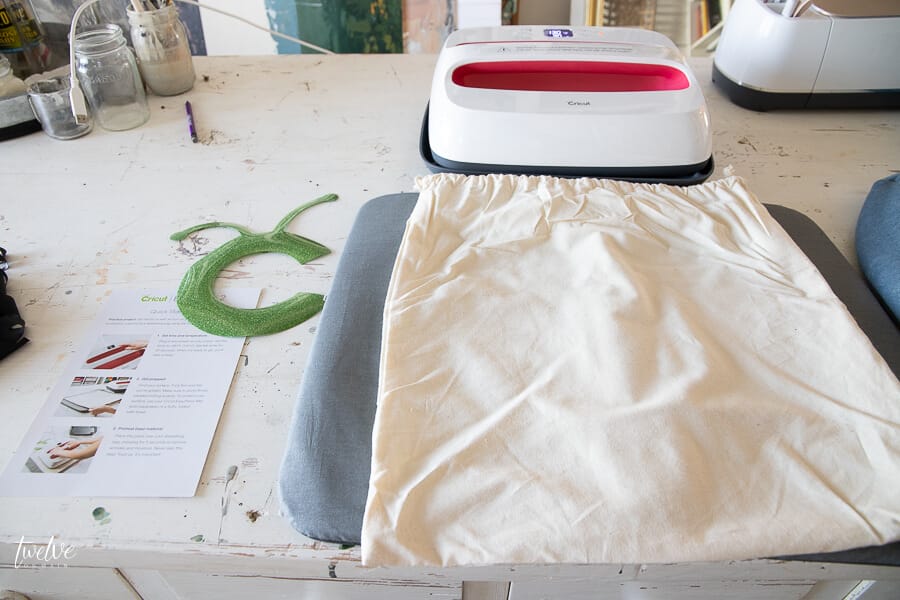
This is something I love about Cricut. In my experiences thus far, they have provided a small project to get you started and become familiar with the product. It was really nice to have this Cricut logo project as a starter for me. I was able to become familiar with the Easy Press 2 and work the kinks out a bit before I used it on my first shirt project.
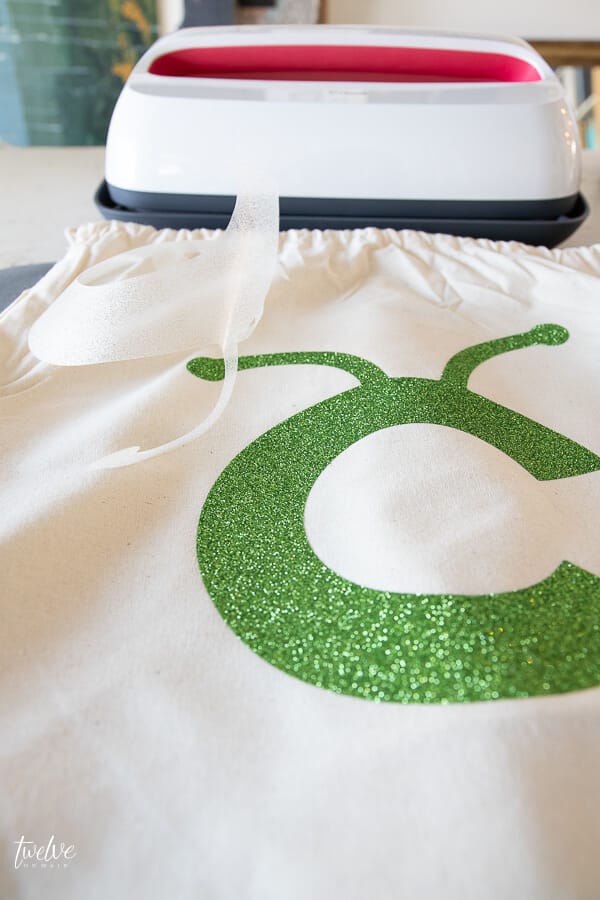
Once I had completed my Cricut logo project using all their instructions, I was ready to move on to more.
Using the Cricut Easy Press 2 is quite easy and straightforward. You really need to make sure that you first, check the recommended settings for your fabric type.
You also need to cross check it with the type of iron-on material you decide to use. From my research I found that there are a few different types which I did not know to begin with.
- Everyday Iron On
- Foil
- Fusible Fabric
- Glitter
- Holographic sparkle
- Iron On Designs
- Patterned Iron On
- Sport Flex Iron On
When checking your fabric type, you also will select which type of iron on material you will use. They will then give you the temperature you need, the amount of time it needs to be heat pressed, and whether or not it needs to be cold peeled or warm peeled.
What is “cold peel” and “heat peel”:
According to the Cricut website:
The “Peel” refers to removing the clear iron-on liner after applying the iron-on material to your project surface. For the best experience, check out Cricut’s recommended settings on their website. Here is what they say about the two different methods.
- Cold Peel: Allow to cool completely before removing liner. Removing liner while still warm or hot may cause your iron-on design to stretch or warp.
- Warm Peel: Remove liner while your design is warm to the touch, but not hot. If you allow it to cool completely, you can still remove the liner, it will just take a little more effort.
I was not familiar with this part at all, so I really loved that they helped me with that information.
Creating your first project with Cricut Easy Press 2
Now that I was familiar with the Cricut Easy Press 2, it was time to use if for something fun!
I had spent a little time purchasing a few different t-shirts, sweatshirts, and tank tops for various projects. I have always loved Bella Canvas brand shirts and found a great resource on Amazon if you are looking for super soft, well fitting apparel to use for your clothing projects.
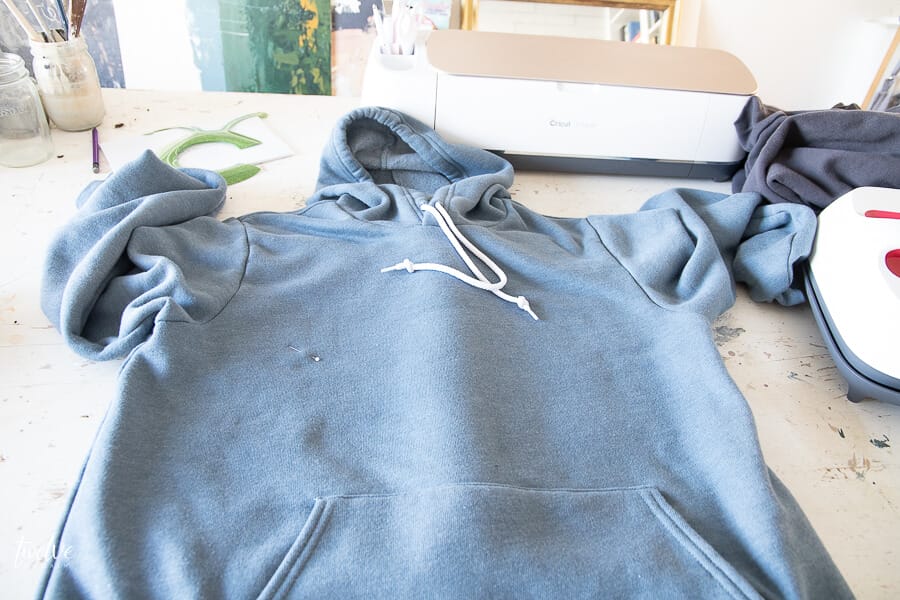
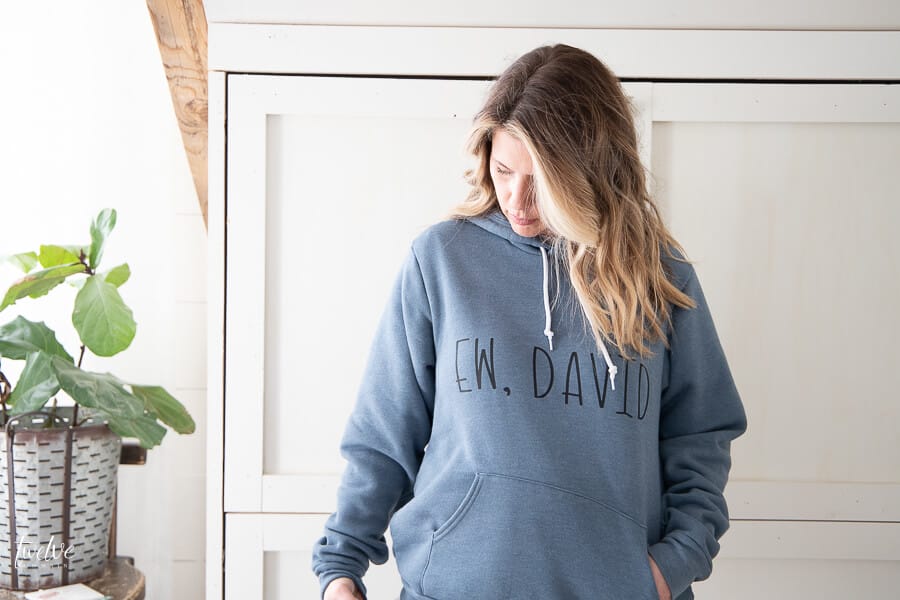
I decided I wanted to create a fun sweatshirt for my first project. Mainly because I currently live in my sweatshirts with the freezing weather we are getting. And second, because I am all about a funny shirt. The sweatshirt I bought is a Bella and Canvas brand and it is the softest sweatshirt I have ever owned.
I chose a saying from one of my favorite shows, and since it was somewhat obscure, I knew that only specific people would really get it. It would kind of be like an inside joke!
Creating your design:
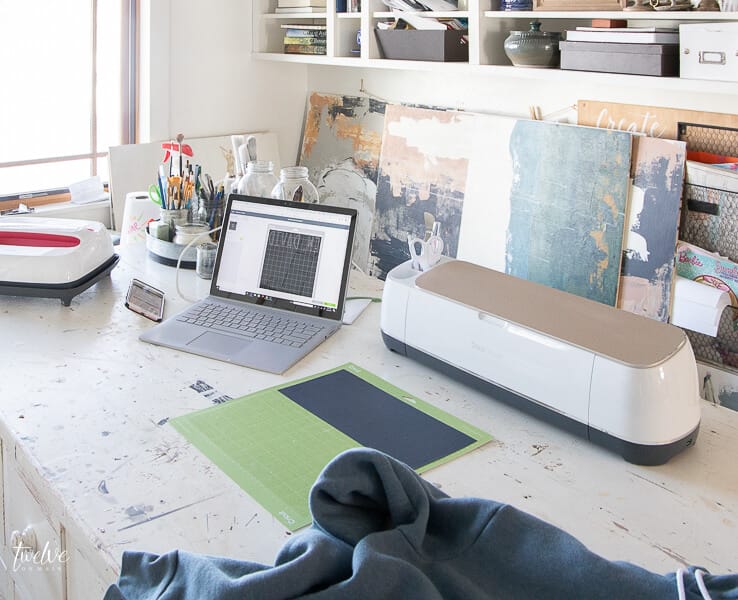
Once I knew what I wanted to put on my sweatshirt, I needed to design it. I used my Cricut Design Space to design my iron on project. I love that Design Space has tons of fonts to work with, so I was able to find just the right one for me.
I wanted to start with a simple project that would be easy for me, a beginner to create.
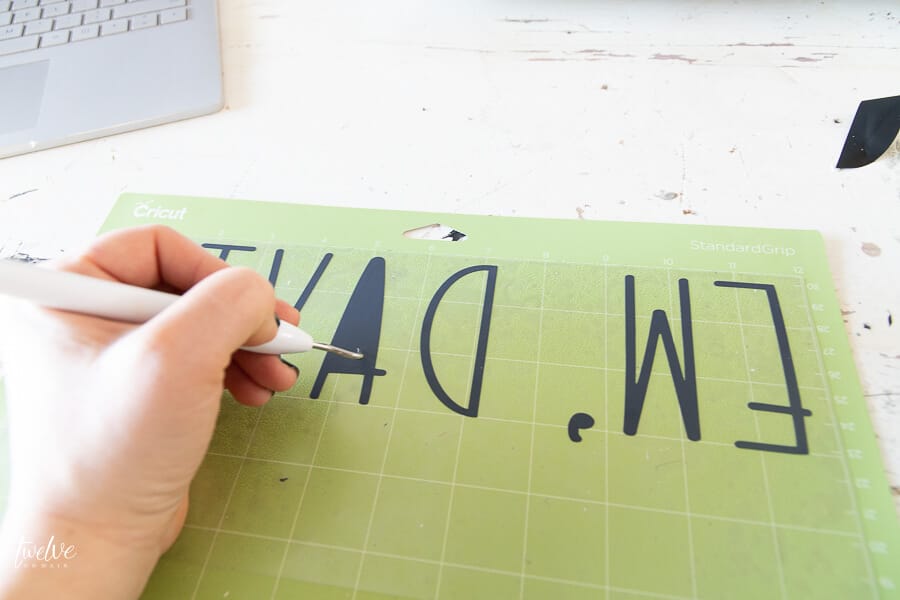
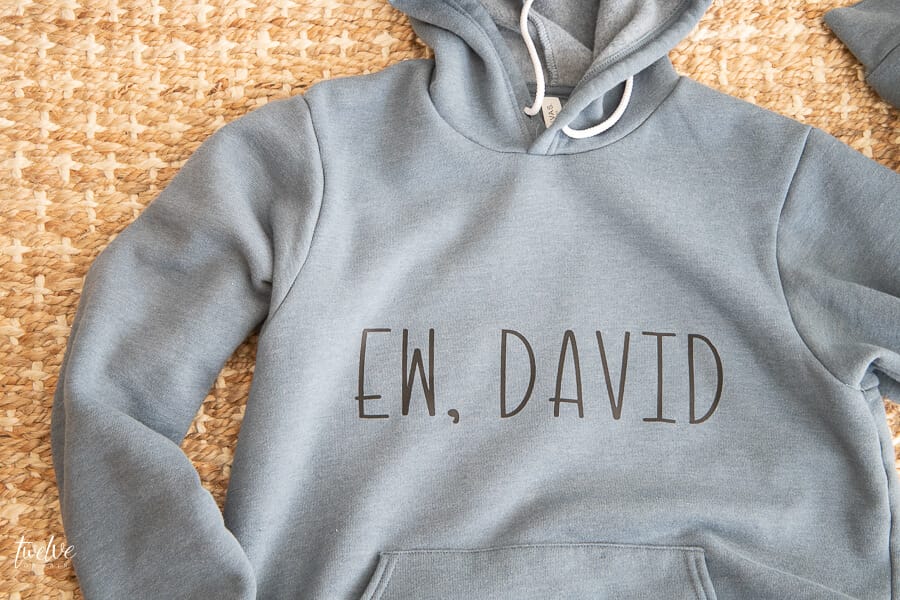
“EW DAVID” that is what I wanted to use as my iron on design. Do you know what show that is from? Let me know if you do!
Prepping my material and cutting out my iron-on design:
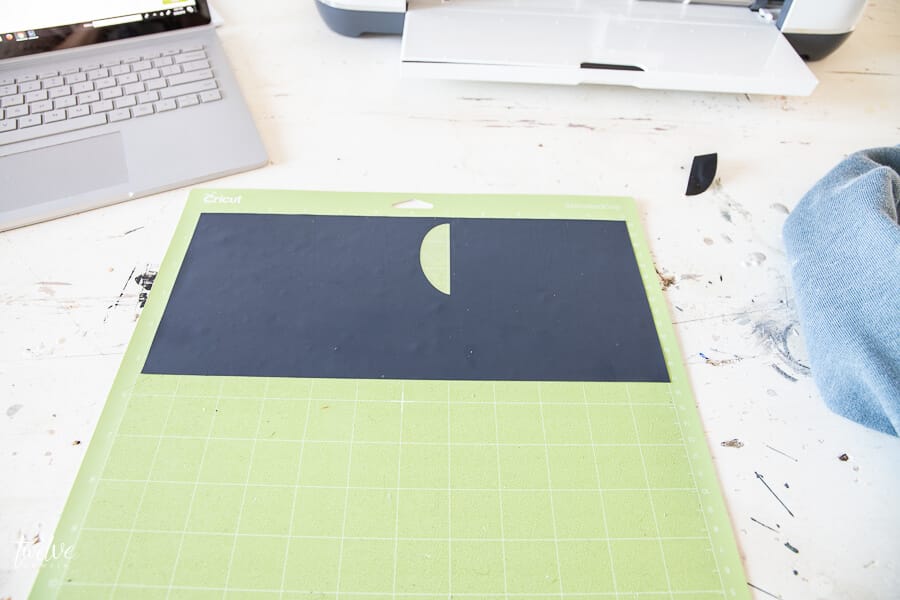
I used the same steps that I used in my Cricut horse art to cut out my iron-on vinyl design. I made sure to select the appropriate material, load the mat with the vinyl and away it went. In not time the design was cut and I was able to use my weeding tool to remove the pieces that I did not want.
***A few tips***
- Make sure that you lay the iron-on with the plastic side up down the cutting mat.
- Make sure to mirror image your design so that when it is applied to the shirt it is going the correct direction. I would not have figured this out on my own!
I also made sure to cut down my material so that I did not waste an entire piece of iron-on.
The Easy Press 2 recommends using their mat under your shirt or other material. You need something to absorb the heat and send it back through the fabric. I love this mat. I think it made the whole process that much easier.
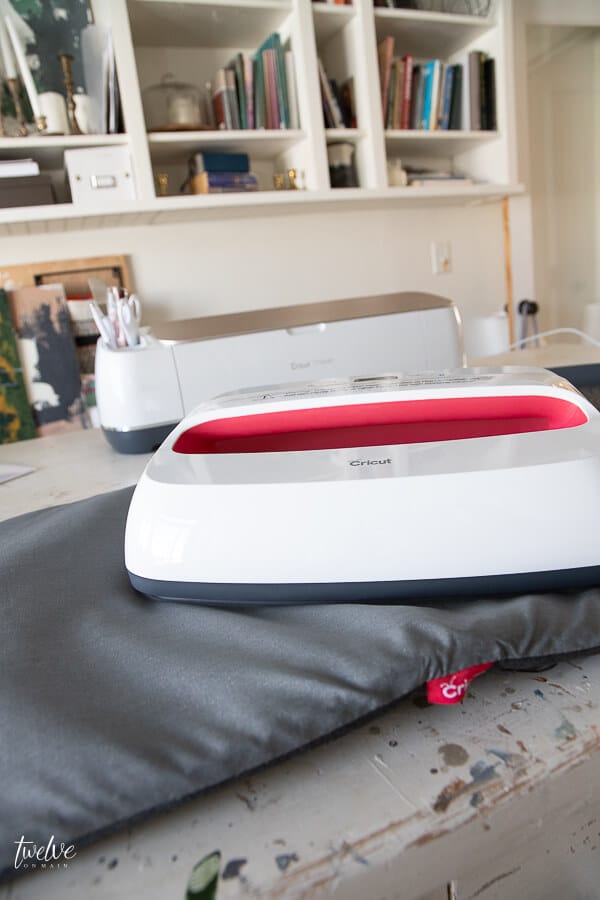
One thing that Cricut recommends is to heat up your Easy Press 2, and then use it to iron your material before adhering the iron on. This ended up being a great tip! I would have definitely regretted not doing it. It gets all the wrinkles out and preps the fabric so it is ready to go.
Once the material is pressed, it is time to apply your iron-on material.
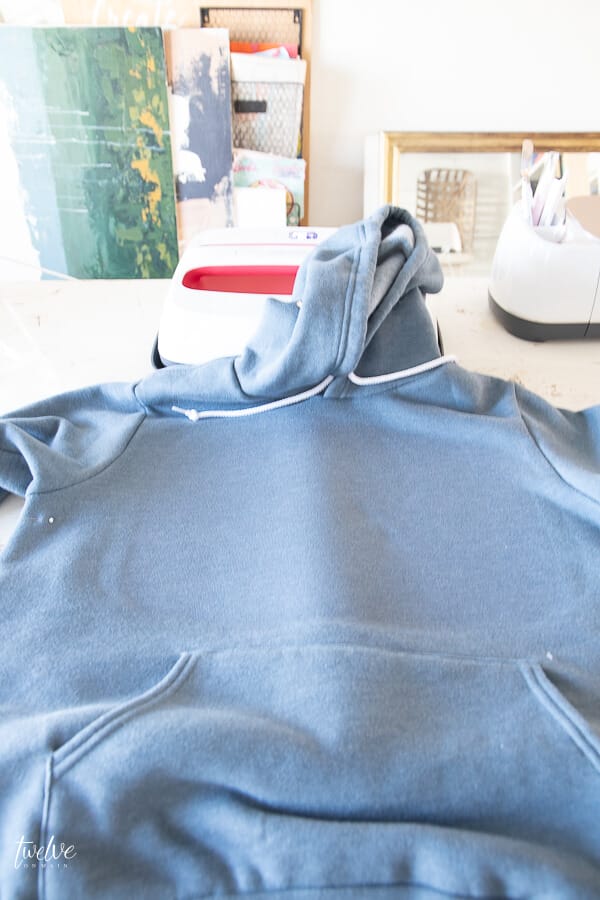
Before I did that, I tried on the sweatshirt, decided where I wanted the words applied and then marked it with a pin.
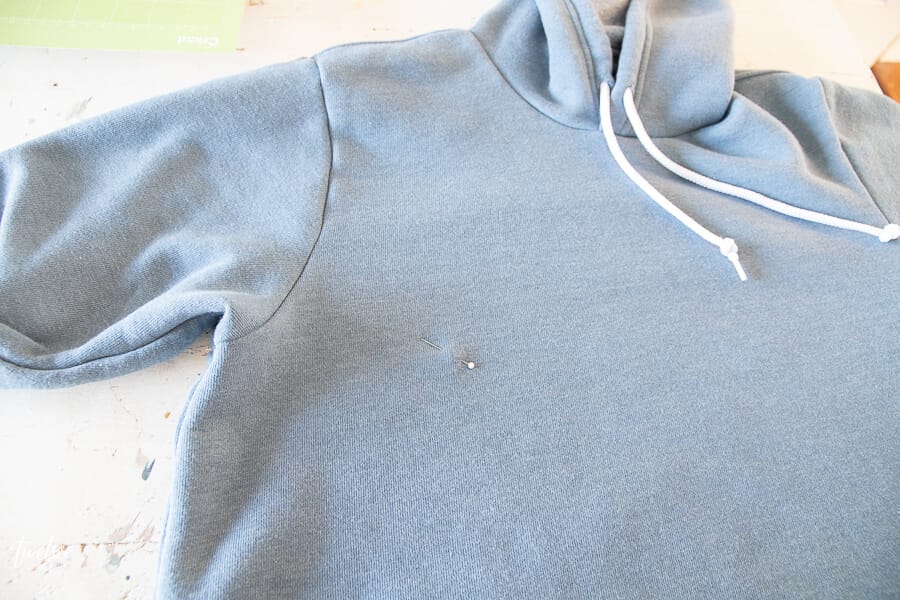
That way, when I laid it down on the mat, I could easily see where I wanted to apply it.
I took some quick measurements to make sure that it was straight on the shirt. I made sure the Cricut Easy Press 2 was heated to the correct temperature and then I set it on the sweatshirt directly over the iron-on material.
I pressed it for 30 seconds, and then flipped the sweatshirt over and heated the back for 15 minutes.
I let the shirt cool until it was just warm. I then carefully peeled off the plastic.
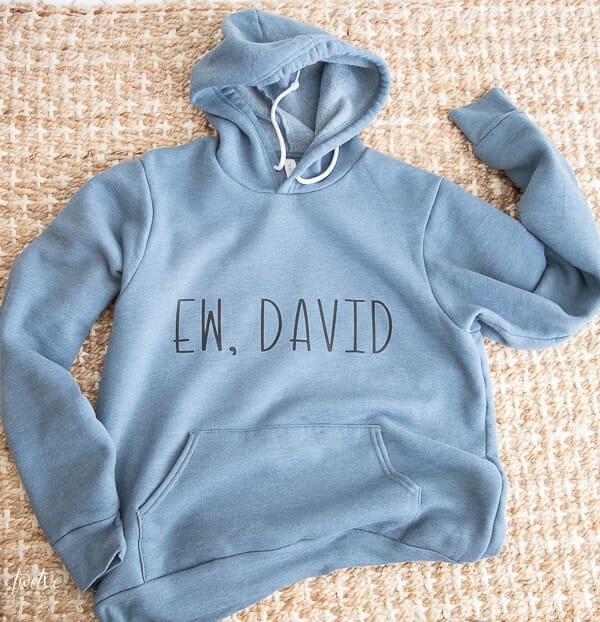
Guys, I made a shirt! It was so easy! I still cannot believe I have waited this long to try any of these products.
What I love about the Cricut Easy Press 2
I feel that if you are someone that plans to create multiple iron on products, this product is the best thing you can purchase.
I love that it allows you to adjust the heat temperature and that you can create a custom timer for your project. The fact that Cricut provides a thorough guide for fabrics and their temps, this takes the guesswork out of it!
The Easy Press 2 is compact and can be stored away in its canvas bag and stacked neatly in a closet.
It is easy to use and super user friendly! As someone that had never done any iron-on projects, Cricut made the learning and using of the Easy Press 2 super simple. This has so much value to me.
Would I recommend this product to others?
Absolutely, yes! I definitely think that if you are someone that will create a lot of iron on projects, this is well worth the money!
The options are endless! I feel so lucky to have been able to review and try this product out and would highly recommend it to others.
What next?
Well, if you do not have the Cricut Easy Press 2, go grab yours now! They have three different sizes to choose from
- 6″ by 7 “
- 9″ by 9″
- 12″ by 10″
For this project I used the 12 by 10 inch. Click here to check it out….and guess what? Its on sale right now!
Now, I cannot wait to create so much more! I have plans to make some workout shirts, funny t-shirt for myself and my family and even try my hand at some pillows! I mean, I plan to do so much more than this…but this is just the beginning.
But for me…this sweatshirt is perfect. It may not seem like much, but it was so fun.
It was the perfect starter project for someone like me who had never done anything this these tools.
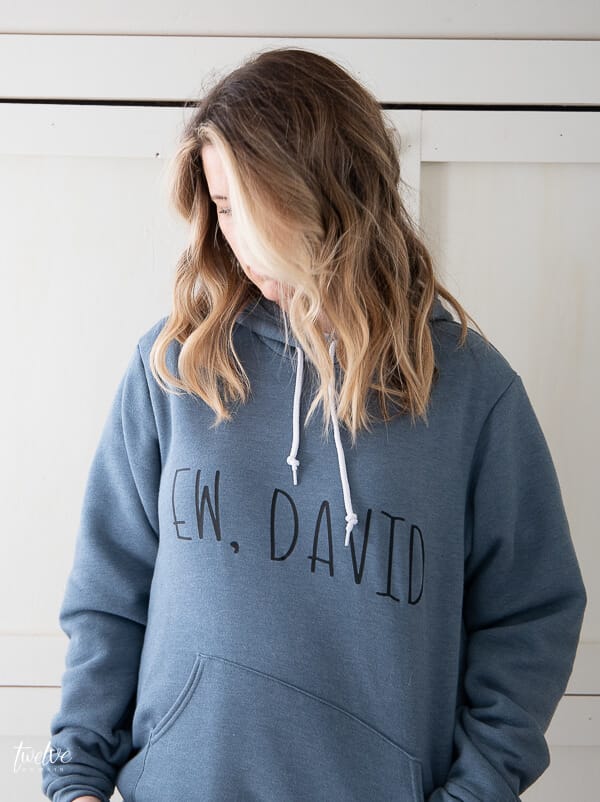
Ew, David…..really guys, its just so fun.
I plan to create so much more and I have many plans for fun shirts and home decor.
Have you used the Cricut Easy Press 2? If so I would love to hear your thoughts!
And make sure you PIN IT for later!
If you want to learn more about my experiences with the Cricut products check out these posts:
A Whole New Way to Create, A Cricut Maker Review
How to Make Easy Horse Art with the Cricut Maker
Have a great day!
Schitts Creek….hilarious show!