
The Best and Easiest DIY Faux Wood Beams to Make Yourself
These weeks are coming faster and faster! I finally feel like I have gained some traction on this project, however I still have so much to do. If you are new here, I am currently participating in the One Room Challenge hosted by Calling It Home. I am remodeling my master bedroom into the farmhouse master bedroom of my dreams! And today we are going to talk all about how we build and installed faux wood beams on our cathedral ceiling!

If you want to see what I have been up to the last 3 weeks, check out these posts:
Its been a little slow getting going but this week we kicked it into high gear.
This week, the most important project that we accomplished was our DIY faux wood beams.
Let me tell you….they turned out so much better than I thought they would! I am thrilled! So I thought today I would show you how we built and installed our DIY faux beams as well as give you an update on the rest of the room.
I always kick myself that I did not install beams in more of the rooms in my home when we built. We built our great room with beams as the structural roof system and love the exposed beams. Now I am going back to right my wrong.
We have an interesting roof line in our bedroom. We decided to vault the ceiling, but we also have a dormar in the middle of our room, so there is a short wall that vaults up to the roof. Its interesting, and lovely, but also difficult to decorate around.
With the opportunity to remodel my master bedroom, it seemed the perfect time to try out my DIY faux wood beam idea.
I wanted the faux beams to be suspended, and not run along the ceiling since it was going to be impossible to do that because of the way the ceiling lines were. I wanted them to float from one side of the wall to the other. This did require a little thought, but we were easily able to come up with a solution and I really want to share it with you.
Now, if you want this look but don’t have the ability or desire to build them yourself, check out these faux beams for purchase:

Here are all the tools and supplies you will need if you want to DIY faux wood beams:
*This post contains affiliate links for your convenience**
- 1 by 6 inch wood common whiteboard planks- 12 foot long(length will depend on how long it needs to span.
- 2 by 4 pieces of wood for blocking
- brad nailer
- nails
- table saw
- miter saw
- air compressor
- cordless drill
- drill bits
- 2 inch long screws
- 3- 3inch lag bolts for each side of the beam, we did 3 beams so we used 18 lag bolts. (these will secure the blocking to the wall)
- level
- measuring tape
- ladder
- stud finder
Now, I made sure to list everything you need, and I think some of us have some of these things already in our arsenal, but if you don’t, this project is so budget friendly that it might be worth investing in a few tools.
The main goal for this project was to have the faux wood beams look real. I wanted them to look structural, as if they were there to hold up the walls. Giving them that floating effect did that in my opinion. Our other goals was to make sure that the wood looked real and that it looked like a real wood beam floating up there in the ceiling.
So, lets see how to make faux wood beams out of inexpensive common board from Home Depot.
- First, we measured out the room and decided how many faux wood beams we wanted to install. We divided the ceiling into 3 sections and decided 3 faux beams would look great. So, we measured to see how long the beams would been to be, and since our walls move around a bit in this room, they were different lengths.
- Then, we went to our local Home Depot and purchased the inexpensive 1 by 6 common board in the longest lengths we could manage which I think was 18 feet. We didn’t want to have to patch and match up pieces. We wanted them to look like full complete wood beams.
- Now to plan it out. Each beam would need 3 pieces of lumber to complete one beam. You could add a piece to the top, but we didn’t, so that if we ever needed to take one down we would be able to easily access the insides. So, since we wanted 3 beams, we needed 9 pieces of lumber. Now that we had the lumber it was time to start assembling them.
We started out by preparing the lumber. We mitered 3 of the nine pieces of 1 by 6 on both sides at a 45 degree angle. We then mitered 3 with the left side being cut at 45 degree angle and then the other three mitered on the right side.


The idea is that you will create a box with no seams. This will create the real look of a beam. Cutting these 1 by 6 pieces with a miter can be a little tricky because they are thin. Just make sure you push the wood down and it is secure as you cut it. Make sure you have someone there to help you if you undertake this project, because you will definitely need more than one person to assemble these faux wood beams.
Before assembling the beams, you will want to stain or paint your wood. This is much easier when they are on the ground than when they are in the air!
I used my DIY weathered wood stain for these beams. It is my favorite stain and it looks perfect every time!
While the wood was drying, we installed the blocking on the walls. This is what the beams will be secured to. These beams even once assembled are quite light, I was actually quite surprised.
Beforeyou attempt installing faux beams, you want to locate where your studs are, and if you have them, roof trusses.
We wanted to do three beams so we divided the space into threes, and then attempted to find the roof trusses in those areas. We were actually really lucky and found trusses and studs in each spot so we didn’t have to adjust anything. That might not always be the case so make sure you are flexible or you may have to find a new way to secure the beams. You must secure them into studs or trusses to make sure they are not going to pull out of the walls.
Once we located the studs, we decided on how high we wanted them to be. We measured and marked where we wanted them to be, which was a little difficult with them being on opposite walls.
We did this by measuring the height on one wall, marking it, and then repeating that same height on the opposite wall. We then measured in from the corner of the wall and marked it there. We repeated these steps for all of the beams.
***One thing to remember…..once you know where you want the beam to be located height wise, you need to raise it one more inch to take into consideration the thickness of the wood beam. Otherwise it will set 1 inch lower than you plan, and it could cause a problem if you are installing along the edge of a wall like we were.

Since our beams were going on vaulted ceiling we had to make sure to take into account the angle of the wall. If you were installing faux wood beams on straight walls, your job will be much easier. The same idea will still hold, even if you want to install these faux beams on the ceiling. You will still create the box and the blocks you screw to will be on the ceiling or at the top of the wall.

After they were all marked and ready to go, we held the block up to the mark, drilled 2-3 holes in the block and through to the roof truss or stud. We then installed our lag bolts and secured the blocks to the wall. We did this for all the beams, so there were 6 blocks that needed to be installed.
Assembling my faux wood beams:
Once they were secure and the wood for the beams was dry from being stained, we started to assemble them. We ran a bead of glue along one side of the miter of the right piece, connected it with the bottom piece(mitered on both sides) and then nailed it into place.


This can get kind of tricky. The wood likes to bend and warp a bit so we start at one end, and begin nailing, moving and adjusting the wood as we go, sometimes strong arming them together.
Now that one side is secure, we run glue down the left piece, and repeat the steps to secure it. You will end up with a U shaped beam.


Installing my faux wood beams:
Once it is all secure, its time to install my decorative ceiling beams! This is the only part of the project that absolutely needs 2 people because you need to install both sides at the same time.
On the one side, we had to cut our beam on an angle to line up with the angled wall. If you know the pitch of your roof, its pretty simple to find out what angle it needs to be cut at. Make sure to make these cuts before you assemble the beams.
We pushed the beam up and around the blocks. You may need to use hammer or rubber mallet to make sure they are completely installed. Now you can temporarily secure the beam by nailing a few brad nails into it, but you will want to secure it permanently with long screws or even a bolt. We used 2 inch long screws to secure it into place.

The last thing you may want to do is to caulk to joints where the beams meet the wall. This will help them to look more authentic.
And baby, that is it! Now to finish off the other beams.


These faux wood beams instantly added so much warmth and character to another wise large open space. It created a more intimate look, which is what I was looking for all along. The first night we had them, I just laid in bed and stared at them. I could not get over how real they looked!

These are perfect! They are totally secure and are not going to fall. You can always add a top to them if you so desire, but I did not want to . Just one extra step in my opinion and I have much more to do.
Speaking of more to do, here is what else we got done this week:
We installed our new chandelier, and I am oh so much in love with it! It goes wonderfully with out faux wood beams.

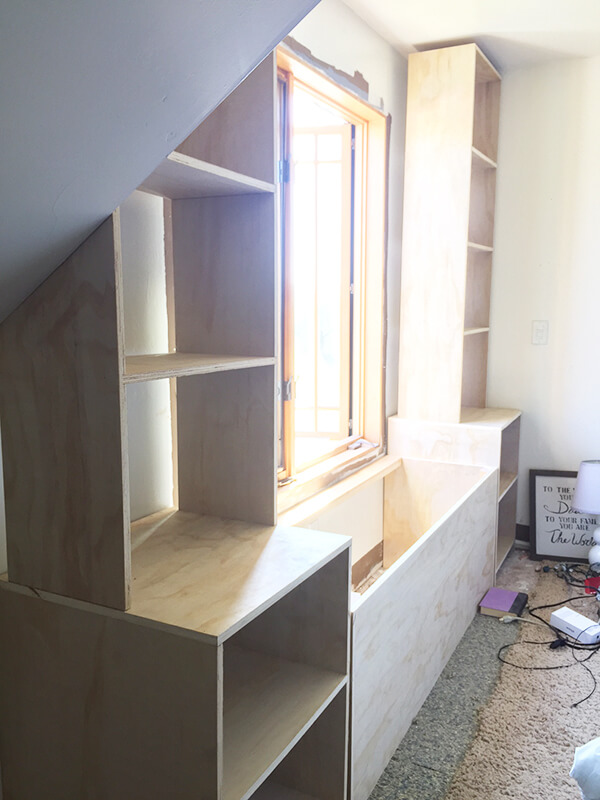
We did a dry fit for our window seat and book shelves, which are making me do the happy dance.
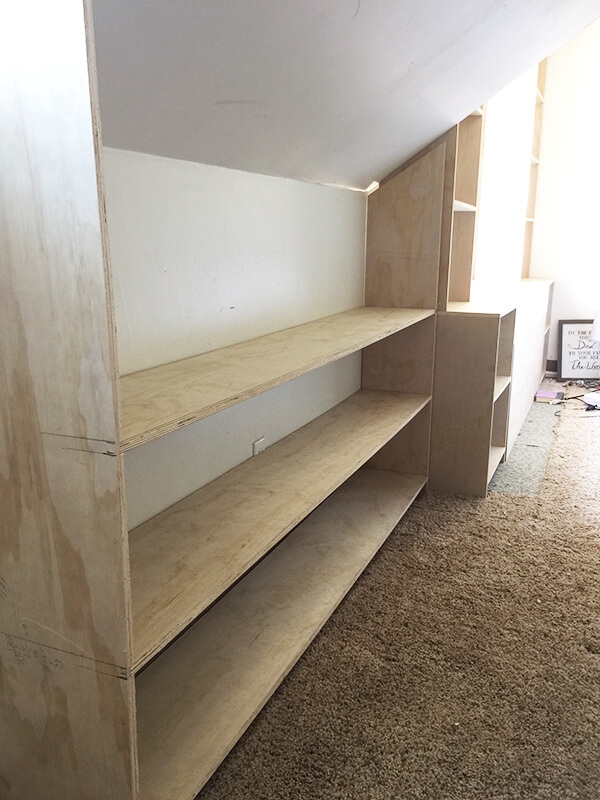
Still have to paint and install them, but I am excited!
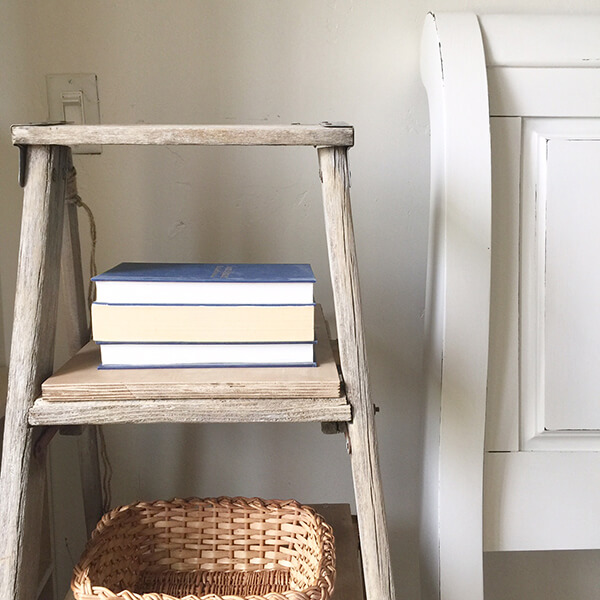
I used an old ladder to build a new nightstand….
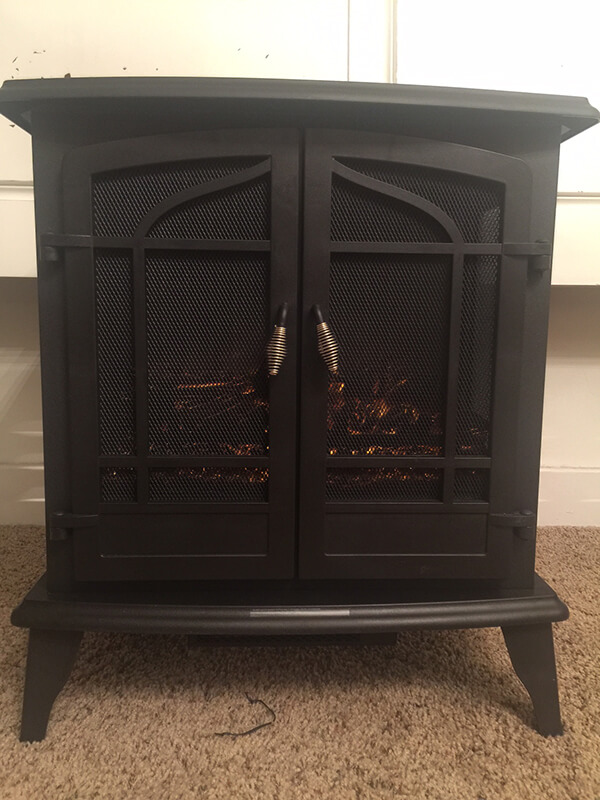
We received our new electric stove…..
We also received our new chairs, rug, and swing arm wall lamps for the sides of the bed. None of these have been taken out of their packaging yet, so you will have to wait until next week to see more of the goodies going into this room.
We are still missing a few things, however. We are waiting for our flooring to show up, and we are crossing our fingers that it will get here soon. We are also working on getting our closet organizers. So we still have a bunch to do and we are hoping that we get it all done it time. Everyone send good vibes that it all works out!
And that is all I have for you today! I hope you enjoyed my tutorial on DIY faux wood beams. This is a project you would easily do in a weekend! And what a difference it will make! I’ve got to get back to the craziness now. Thanks so much for stopping by!
Make sure you PIN IT too!


If you like this post, check out these other easy DIY projects:
DIY Faux Farmhouse Style Fireplace and Mantel
13 Stunning DIY Fake Fireplace Ideas to Make Now!
How to Mount Prints on Wood Panels Affordably
How to Make Easy Rustic Wood Shelves
LOOOOOOVE those gorgeous new beams!
These are amazing, Sara! I love how you and Lance work together!
Love these beams! So thrilled for you! I hope to copy your directions one day to make beams in my own home. You’ve inspired me to believe I could actually make them myself. Thank you! Susie from The Chelsea Project
Thanks Susie! You are so sweet!
The beams look great! Love the ladder nightstand too…
Thank you so much!
Love the beams! They really make the room! What color stain did you use on them?
I used my favorite DIY weathered wood stain!
Hi Sara, Love those beams! The DIY weathered wood stain looks great on those beams. The chandelier perfectly blends with the beam. How long did it take to complete the faux beams?
Hi! Thanks so much! It only took one Saturday afternoon to complete them!
Extremely very cool project. I love that you chose to suspend the beams! Can’t wait to see the finished room when the challenge is complete!
Thanks Shirley!
I was wondering if you knew what would be the best way to up one up off a ceiling made of barn roofing that has the ridges. Would you have to cut knotches for every ridge?
Im not sure what kind of ceiling you are referring to? What is the material?
Those beams are beautiful! I just visited my house thats almost done, and the beams are up. They look like wrapped beams, yours look like real beams. My builder didn’t miter the edges, they hang over instead. They don’t look like real beams. I’m so disappointed, I like things to look authentic! I love your blog, you give me so much inspiration! I wish I would have seen this one before my builder put up our beams!!!!!!
Oh! Thats a bummer! I am sure they will still be gorgeous! Thank you so much for visiting my blog, it truly means the world to me!
Love the beams! What is the finished dimensions?
Thank you!
what was your final cost for the beam project? They’re beautiful! Our formal living room has the same set up as your MB; one wall is regular height, and the other is two stories high..