DIY Porch Swing Using a Crib Mattress
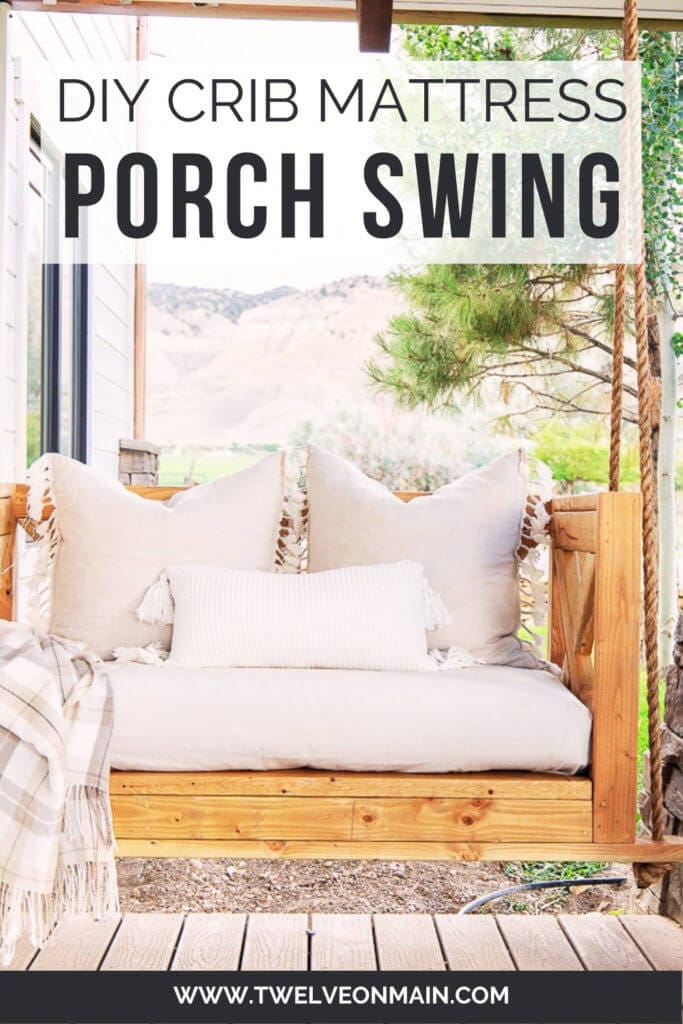
This post is one that is a long time coming. Its time for some outdoor projects! I have been wanting to make a new DIY porch swing using an unused crib mattress and we finally bit the bullet and created one of our very own. Now, we are not inventing the wheel here. I have seen many different porch swings using old crib mattresses as the seat, but we wanted to take what we have seen and put our own spin on it. Keep on scrolling to see how we built our adorable new porch swing and how easy it can be!
Before we start, the goal of this beautiful porch swing was to use a crib mattress as the cushion. So, we built the entire thing based of the measurement of a standard crib mattress. Since there is a standard measurement of crib mattresses, this is a building plan that should work with an crib mattress. Just make sure to double check the measurements before building this.
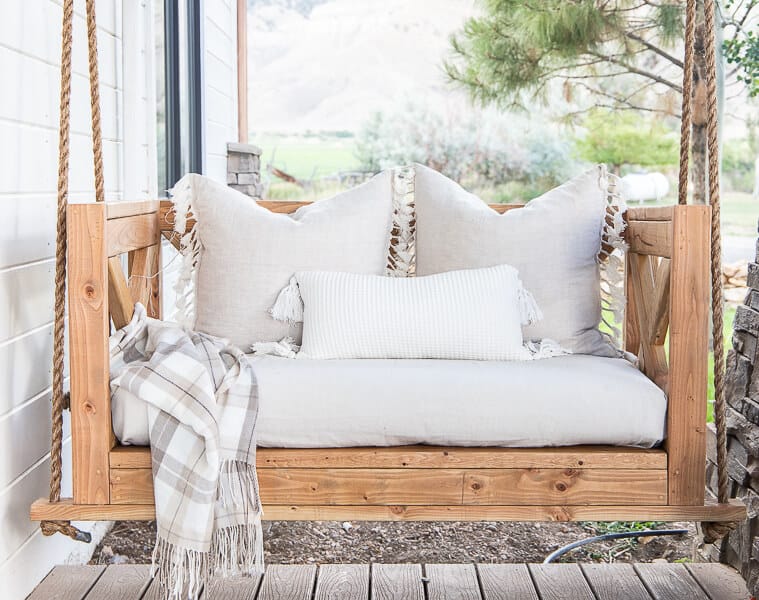
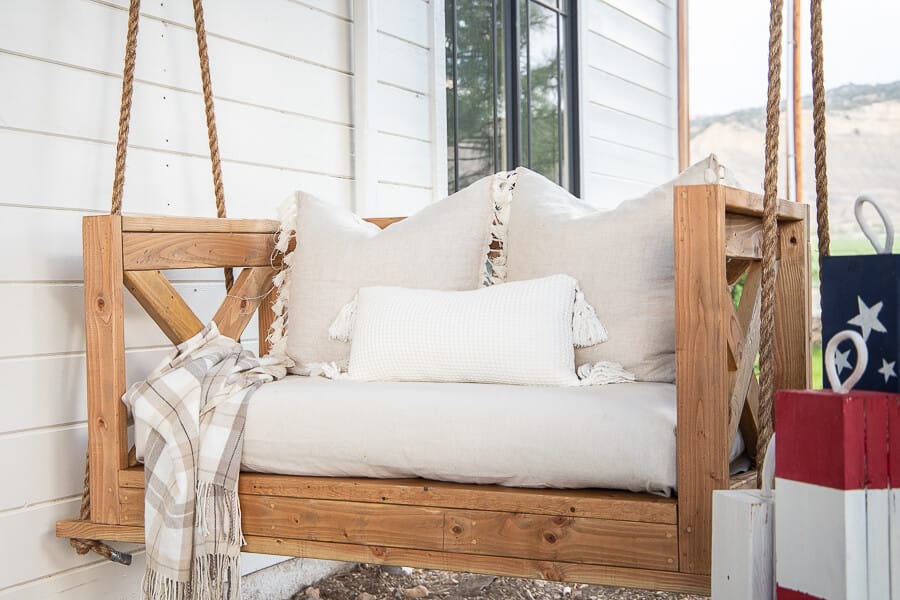
Before we built our porch swing, we drew up what we wanted and I brainstormed through the different things we wanted the swing to have. I went back and forth on whether I wanted the swing to have lower arm rests or if I wanted them to be the same height as the back pieces. After drawing up a few different ideas, I decided I wanted to keep the arms the same height as the back.
I liked the idea of having it be a cozy spot where you feel like you are wrapped up. By keeping the arms the same height as the back it gives it a more cozy feel.
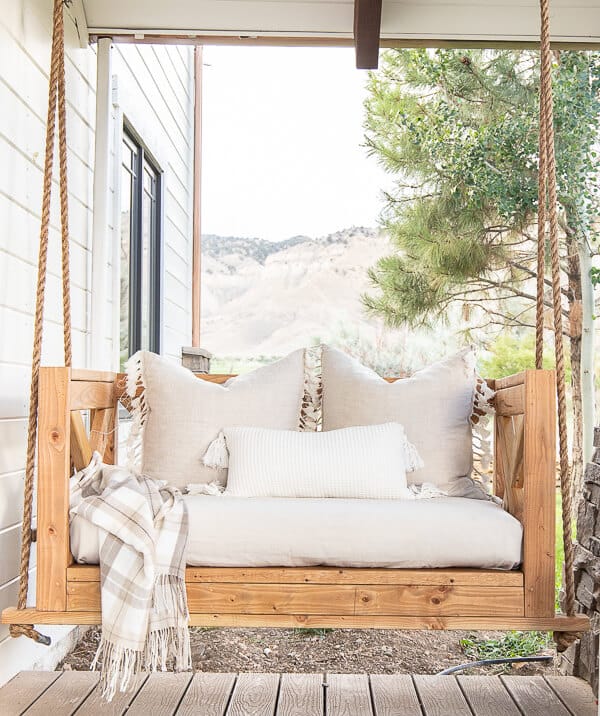
I had also seen some different ways of hanging these kinds of swings, but I ultimately decided that I wanted to hang it from the bottom and have supports under the swing that the ropes would hang through.
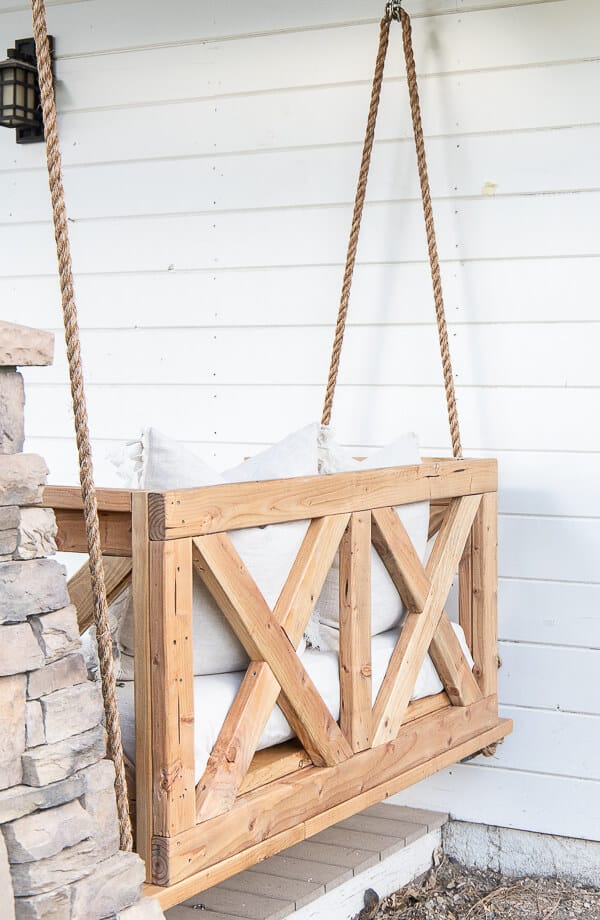
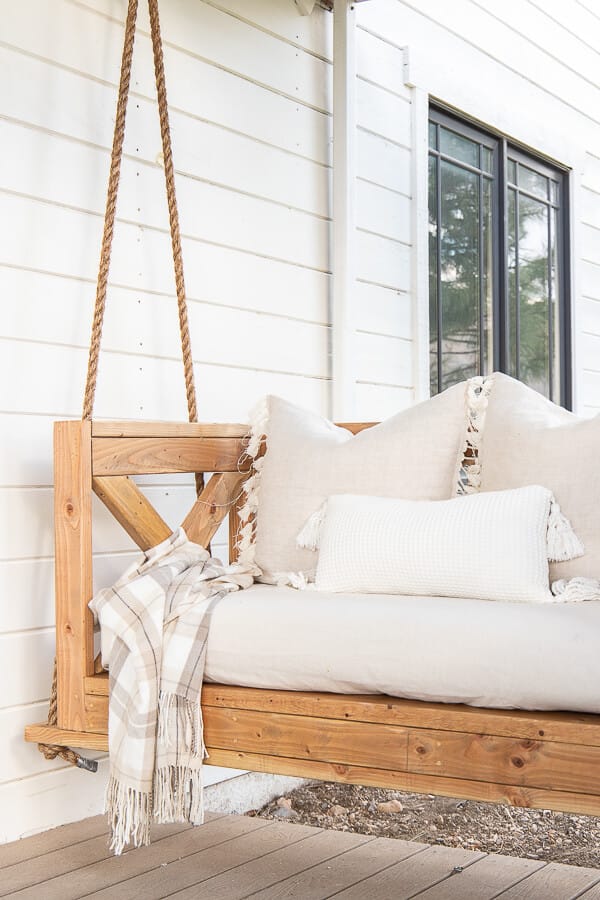
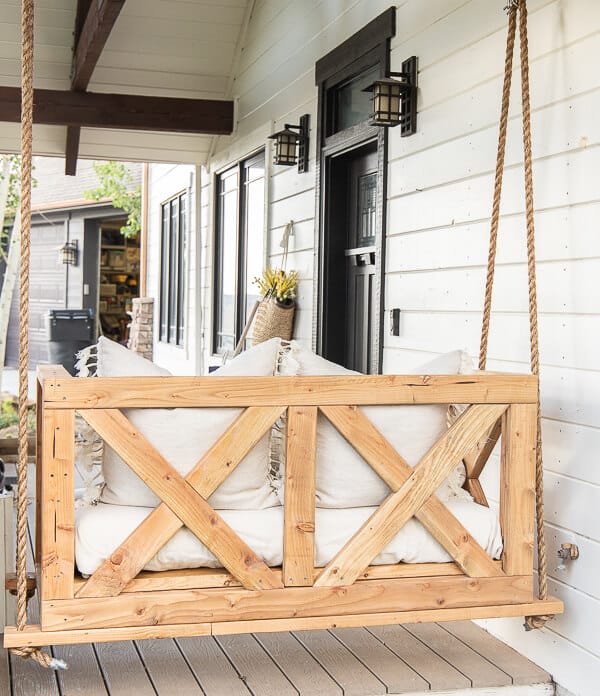
I also decided that I wanted to have an X design on the arms as well as the back piece of the swing.
This DIY porch swing was an easy assembly once we had it all planned out. The materials were simple and we were able to keep the build quite basic. The main item that we used to build this was 2 by 4 pieces of wood. We made sure to pay a bit extra to get the nicer grade of wood.
These are the materials we used to build this DIY porch swing:
- 2 by 4 studs cut to length. (I will have a cut list soon). You can use 1 by 4a and 1 by 6’s if you want, but it will be stronger using the 2 by 4’s (but it will also be heavier)
- 2 1/2 inch wood screws and 4 inch wood screws
- Crib Mattress
- 1 inch Woven rope Apx 40 foot (this will depend on how high the roof is that you are securing it to)
- wood stain
- wood conditioner
- cordless drill and impact driver
- tape measure
Step by Step Instructions for our DIY Porch Swing
You can watch this time lapse video to see how to built this porch from start to finish!
Now, you can use a Kreg Jig for this, but my husband does not like using one so I let him build they way he was most comfortable. We pre-drilled our holes and used wood screws.
We started first by building the base of the swing or seat frame. You essentially want to build a frame for the base and add one or two middle support pieces. Once that is done you will add the top to the base. Use 1 by 6 or 1 by 4s for the seat slats since they will make it a bit lighter.
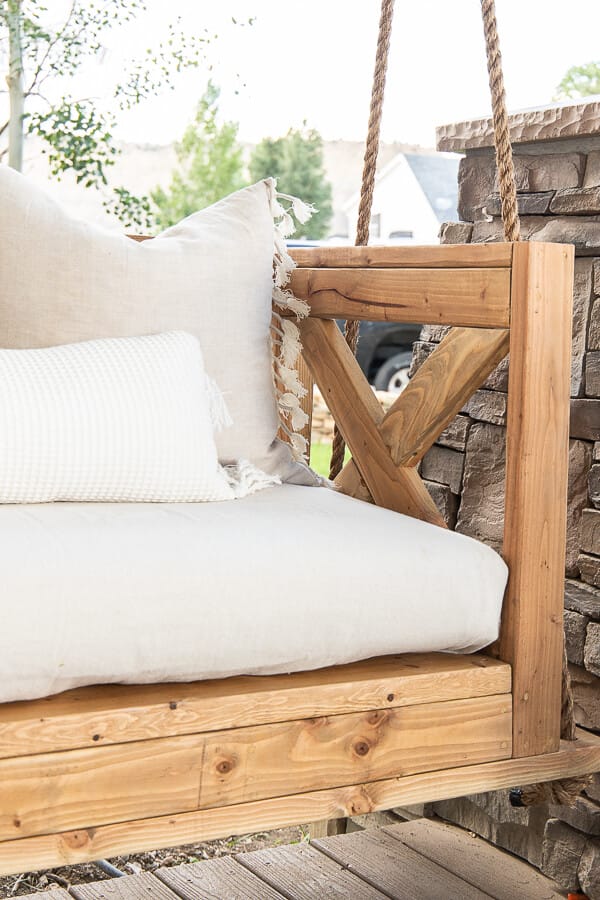
The next step is to build the side pieces, which serve as the arm rests, even though they are high. We decided we wanted the X to be recessed into the sides, so we hung them with the wood pieces being used vertically (the opposite of the way the frame of the sides are). Once again you will start by building a frame and then add the top and bottom horizontal pieces. Then you will build the X’s in the sides, making sure the wood is being installed skinny side going up and down.
We secured the X to the very inside of the frames using finish nails to hold it in place and then used screws and the kreg jig to secure them together. We wanted it so that X’s were flush with the inside frame of the swing and so that it looked recessed from the outside. You can see that in the image above.
After you are done its time to secure them to the sides of the base. We used long wood screws, and pre drilled holes so that the wood will not split. You will secure these at the base of the swing screwing into the base of the sides.
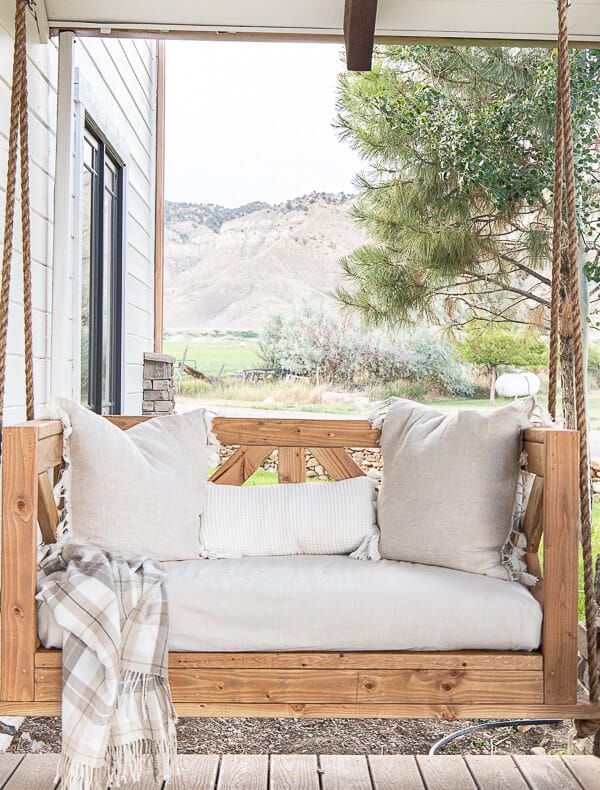
Now to build the back of the swing. We decided to lay these pieces of wood flat (similar to the construction of the X’s). This way they lined up nice and clean with the frame. You will build the frame directly onto the back of the swing. We repeated the X design to the back for consistency as well as for style. The X’s really make this swing stand out. I love the way they repeat on the back of the swing. They also act as back supports which is a nice bonus.
Once this was all done it was time to add the pieces to the bottom of the swing that will act as the braces and what the ropes will be secured through. I really liked the idea of clean lines when it came to hanging this swing. So we added a 2 by 4 to the front and back of the bottom of the swing. We left 4 inches overlap on each end of the 2 by 4s and then drilled a hole in the center of those overlapped sections.
These bottom support holes is where the rope will feed down through and will be tied underneath to hold it.
Now it is time to sand. You can also sand each section as you build it, which is what I did. This made it easier to get into every section with the sander. After I went over and sanded it a bit I filled the screw holes with stainable wood filler. Then I sanded once more with a more fine grit sandpaper.
Once everything is sanded and cleaned its time to stain or paint the wood. I wanted to stain mine, and since the wood is not the highest quality, I made sure to use a wood conditioner before I stained it. This helps to wood grain to accept the stain more evenly.
Once it was stained we sealed it and let it dry overnight.
I would say the hardest part of this project was hanging the swing. We had to have about 4 people to get this thing hung. We had two people holding the sides up, while one person was on the ladder holding the rope and someone else was feeding the rope through the holes on the swing, tieing them in a knot and making sure that the swing is level and straight. Its a collaboration for sure and it was quite comical seeing my family hang this beast of a swing.
But, I think it was entirely worth it! I am so in love with this swing and we now have plans to build one for the opposite side of the porch. I want to have two facing each other making the porch a more quaint and cozy space.
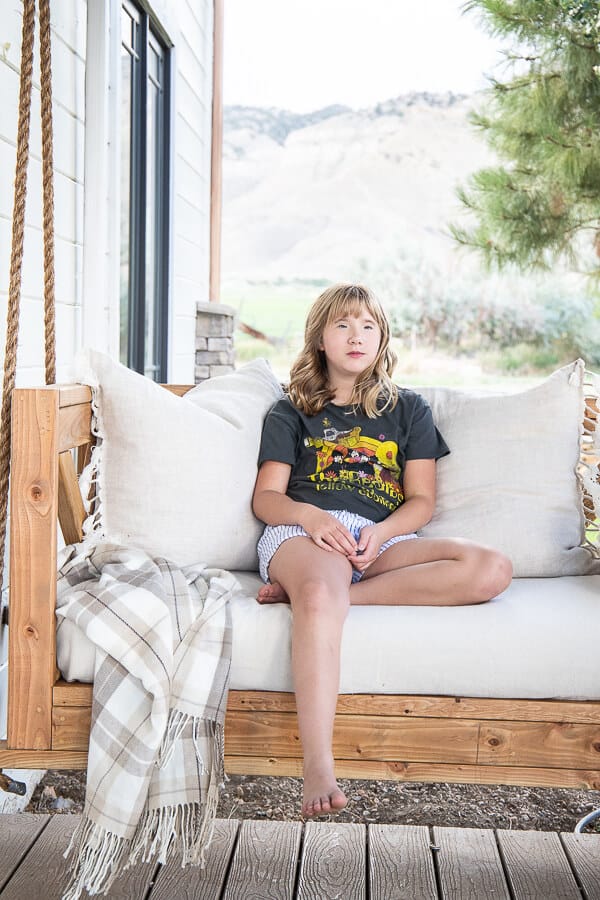
This turned out better than I ever expected. It is a solid porch swing and I see this thing lasting a long time. My daughter really loves it. She was hesitant at first because she really liked our old swing(which we still plan to use in the backyard). But once you snuggle up into this, all is forgotten.
I am excited to be able to share these DIY porch swing plans with you! They will be available very soon!
This is such an attractive porch swing. It is a great way to reuse an old crib mattress. I have even seen porch swings made with a twin mattress. The building process would be similar to the crib mattress. You would just have to adjust for the size.
This would be the perfect farmhouse porch swing, and I love the way it looks on my porch, it is the perfect place for it. It is such a stylish looking and simple porch swing with special features that make it look custom. Thee X design on the sides and back are a special touch that add much needed design to it.
I am looking forward to enjoying this outdoor space, and this outdoor swing is just the beginning of our projects on the porch! Dont tell my husband that though. Now I am off to get onto another project, Happy Building!
Blogger’s Best Summer Series – Outdoor Decorating
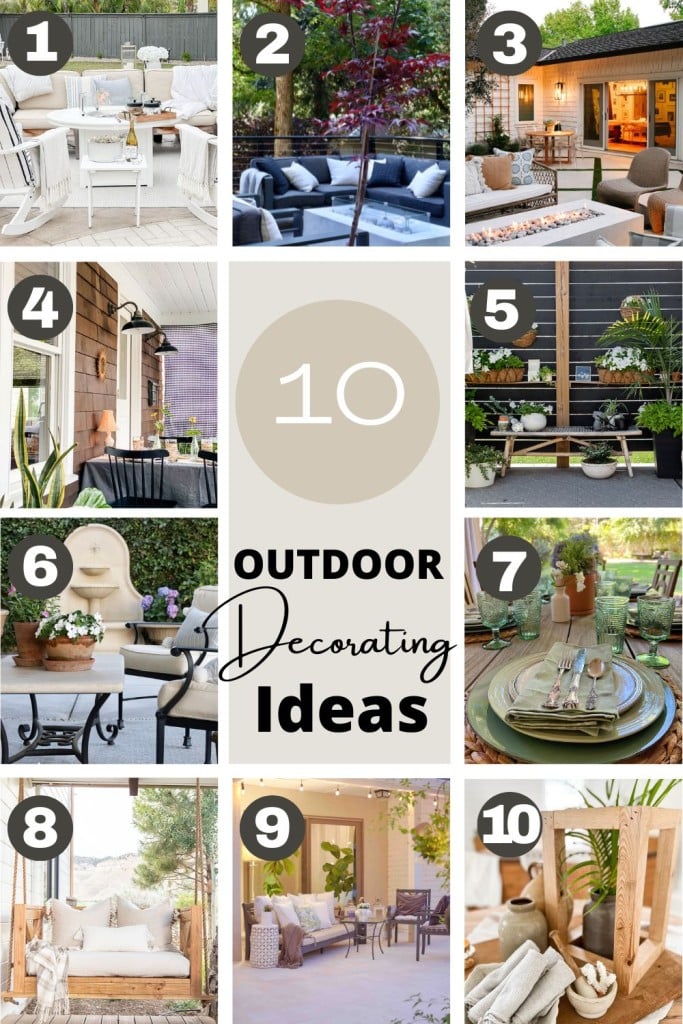
- Easy Ways to Enjoy Your Outdoor Living Space | Pasha is Home
- Outdoor Decorating Ideas | My Sweet Savannah
- Our Backyard Patio Makeover Tour | Modern Glam
- How to Make Your Outdoor Space Cozy | Most Lovely Things
- Outdoor Decor Ideas | Craftberry Bush
- How to Create an Outdoor Oasis | Maison de Cinq
- Fun Outdoor Living Ideas | My 100 Year Old Home
- DIY Porch Swing Using a Crib Mattress | Twelve on Main
- Outdoor Living Space Ideas on a Budget | Happy Happy Nester
- How to Make an Easy DIY Outdoor Lantern | Robyn’s French Nest

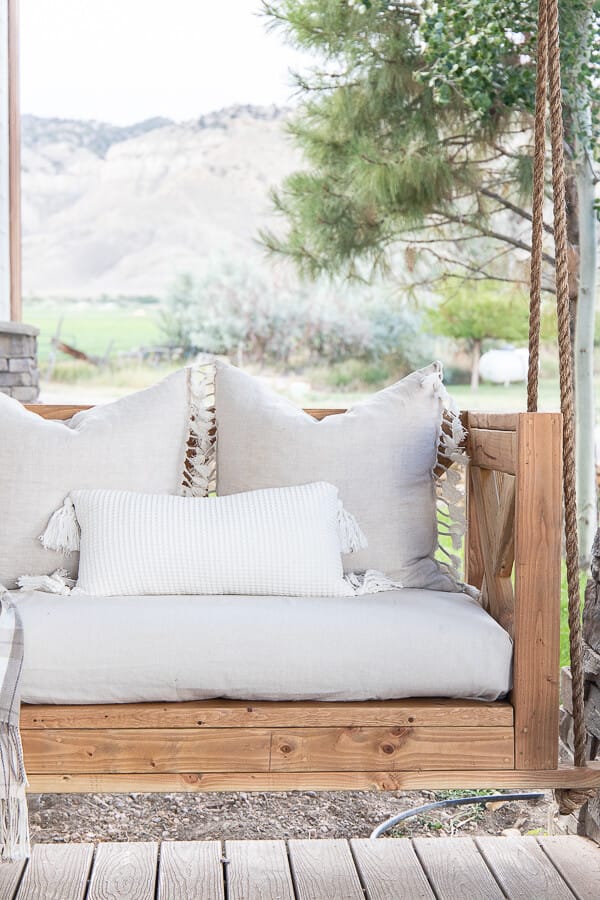
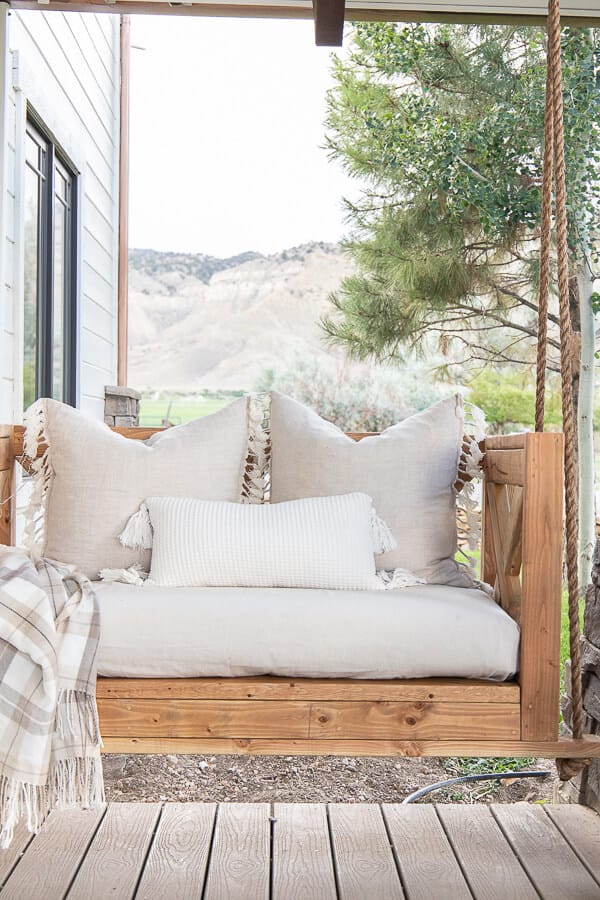
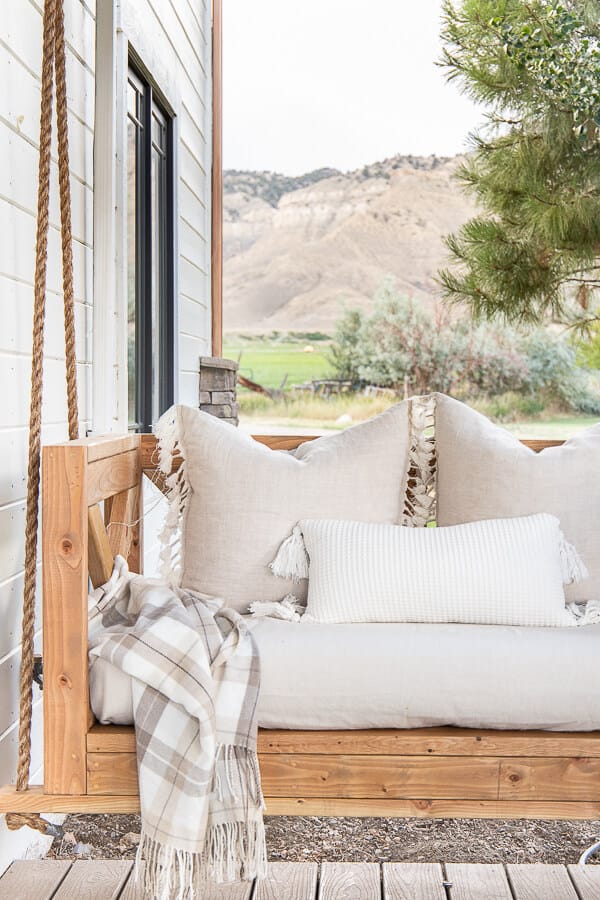
Hi! I sewed some crib mattress sheets and I used these pillow covers from Serena and Lily.
I also sewed some pillow covers using drop cloths. That is what I used for the crib mattress cover as well.