How to Make Butcher Block Countertops
My husband and I have spent a lot of time working on DIY projects together. One of our most recent large projects was our laundry room remodel. We built everything from top to bottom, and even in the middle. One big part of our remodel was our butcher block counter tops. Today I wanted to show you how to make butcher block counter tops, just like we did.
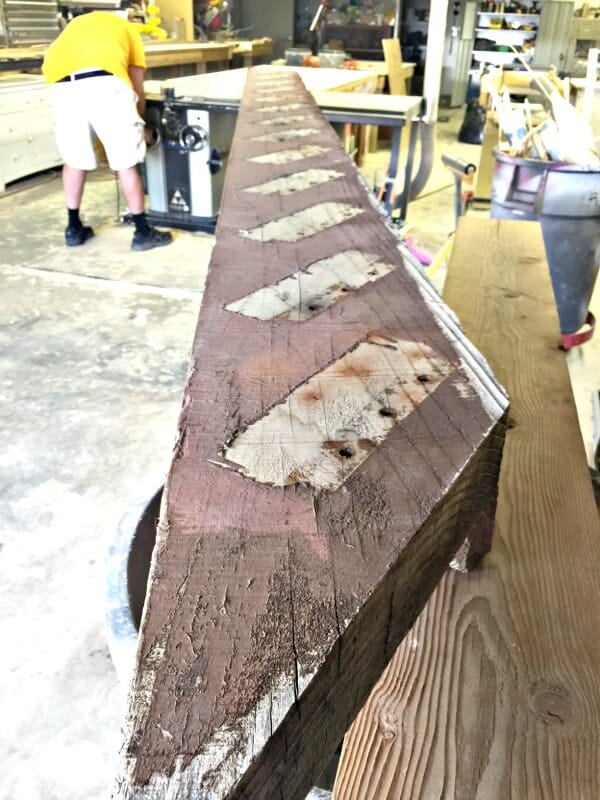
Now, I will say that ours was not the most popular way to make butcher block counter tops, since we used reclaimed wood to do it. We had some mighty big wooden beams that were sitting in a junk pile up by our hotel. They were 18 inches wide and 6 inches deep. Did I mention they were also about 20 feet long? Yes, they are a lot to handle, but nothing I was not willing to tackle. The wood was free after all. All it needed was a little TLC to bring out their beauty.
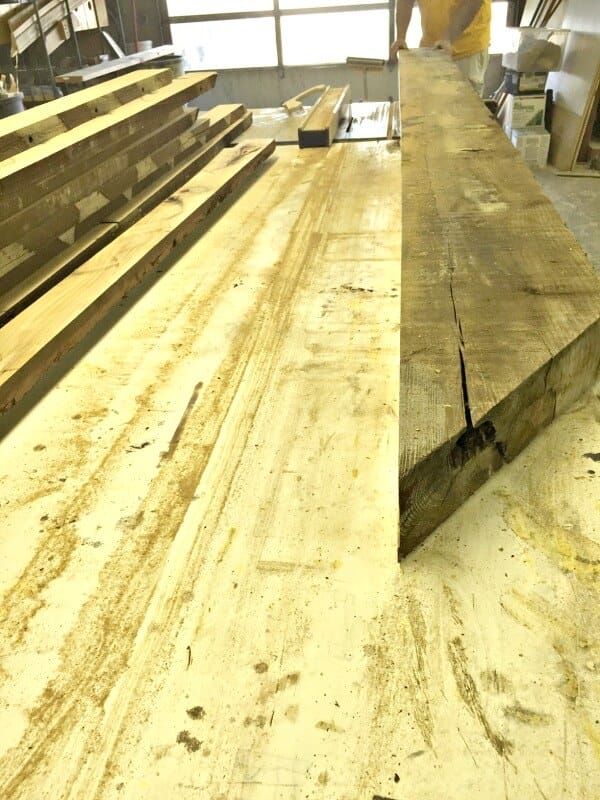
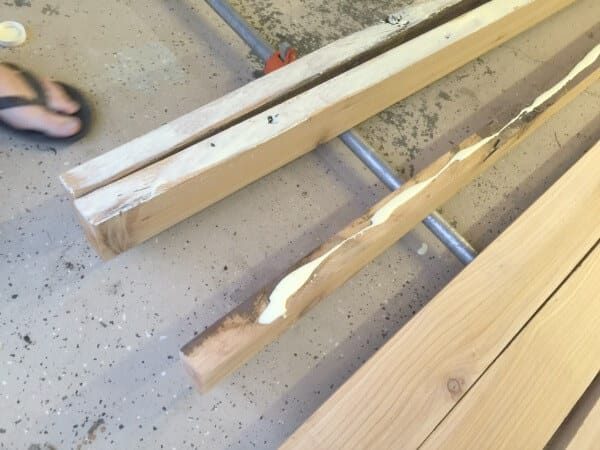
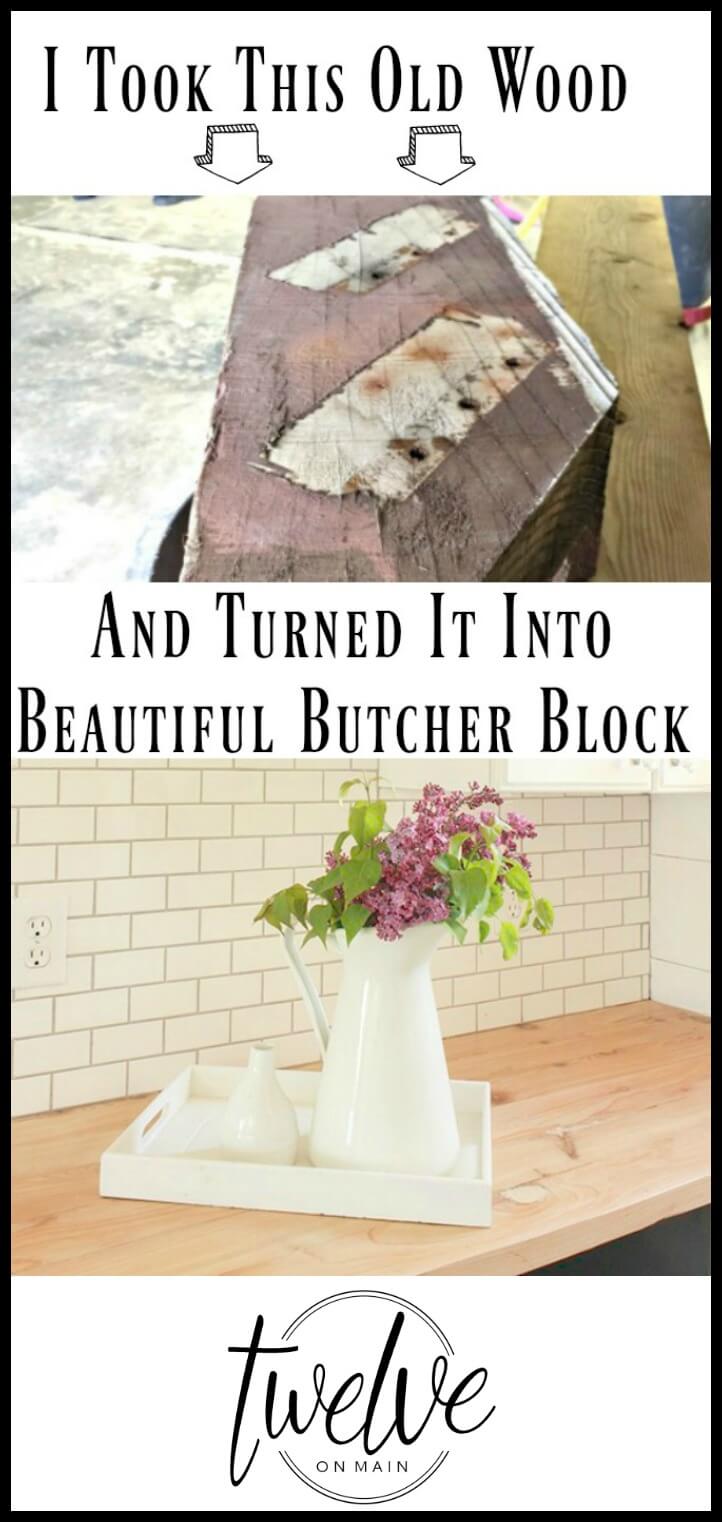
This is what it looked like in the beginning. We took the beams and cut them down on a table saw into 2 inch thick pieces.
This took us about an hour to cut all the wood.
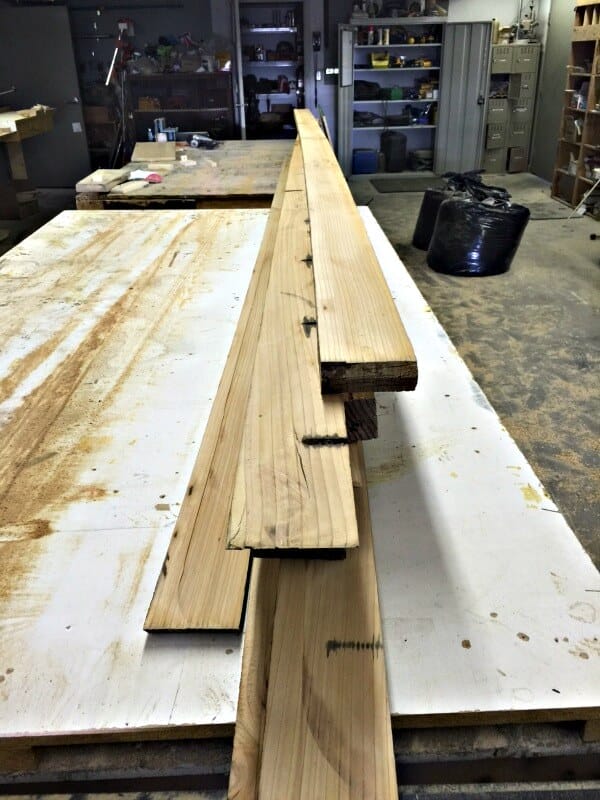
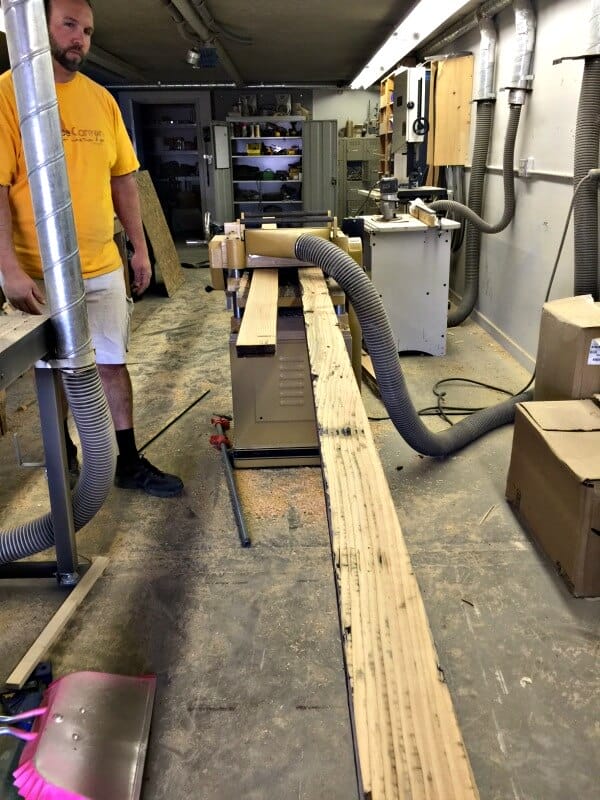
We ran the pieces through the planer to smooth them out and give them all a more uniform width.
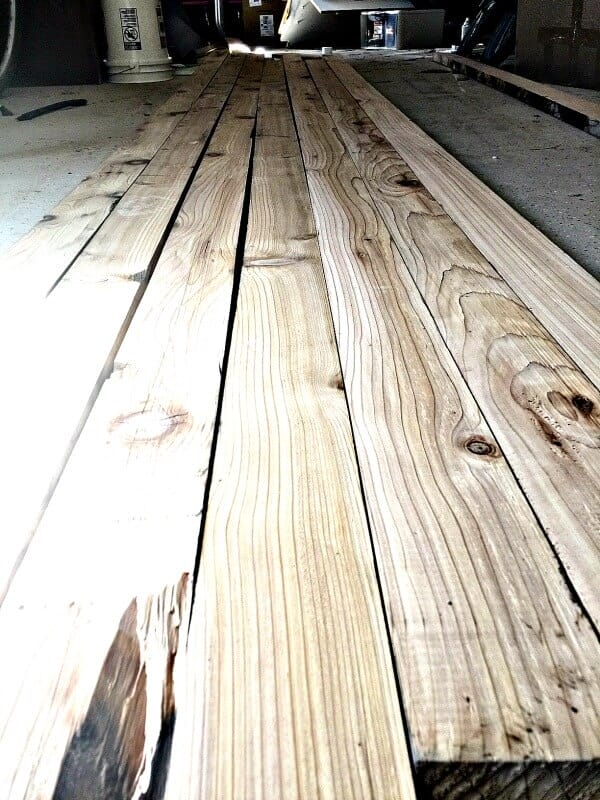
Once they were all planed, we laid them all out on our garage floor. You can already see how beautiful the wood is! This is the point where I start to feel very excited. I sometimes can’t believe that we are accomplishing something like this. Especially when we are taking something unloved and discarded and turning it into something beautiful.
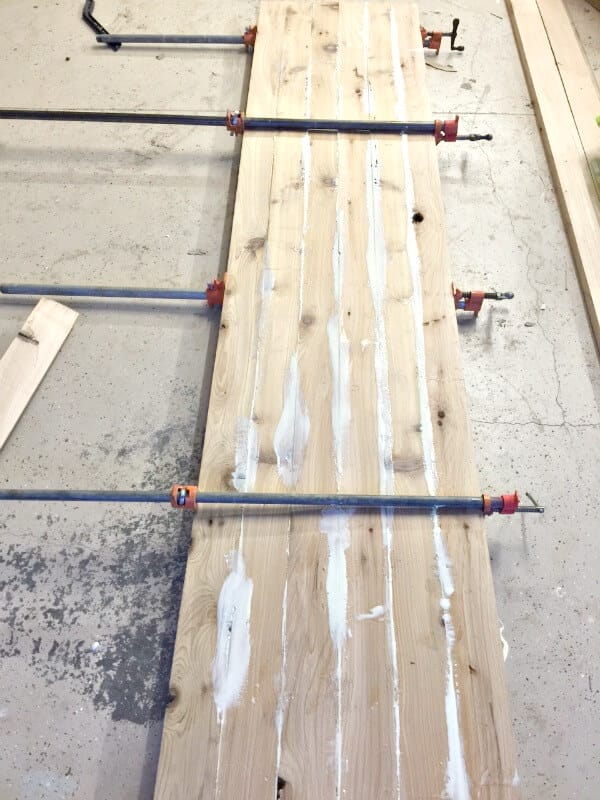
We then used a paint brush to paint a layer of wood glue onto the short sides of the wood planks.
We then laid them down flat and started to connect them. We decided we wanted the counter top to be 24 inches thick, so we made sure to only glue enough to reach that width.
We then used some clamps to secure the pieces all together. We let them dry for 2 days. I wanted them to cure and be 100 percent.
The next step was to sand, and then sand some more. We started with our belt sander with 60 grit paper. We wanted to get all the excess glue sanded off first. Once all the excess glue was sanded off, we gave the surface another pass with 80 grit sandpaper with our belt sander and made sure to knockdown any high spots making sure to create a smooth surface.
I then took an orbital sander and sanded the butcher block counter top again, with 150 grit sandpaper. Each sandpaper change helped to create a more smooth surface.
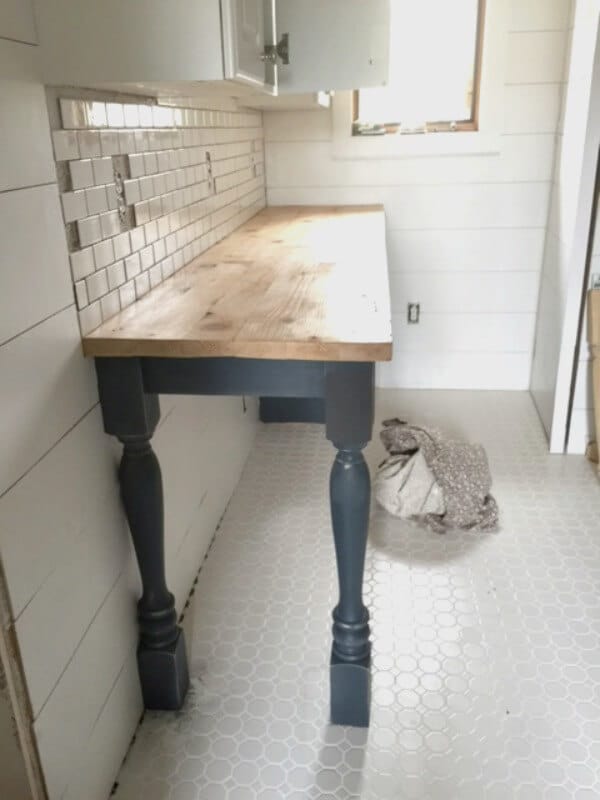
The final steps to finishing up the butcher block counter top is to cut it to size. We were using it in three different areas, including around a sink. That was a little more complex of a cut.
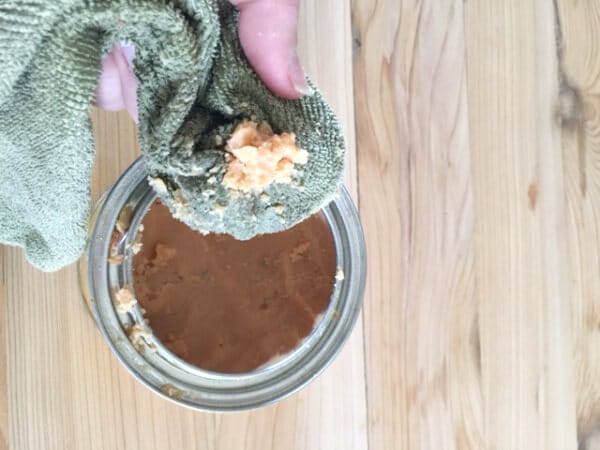
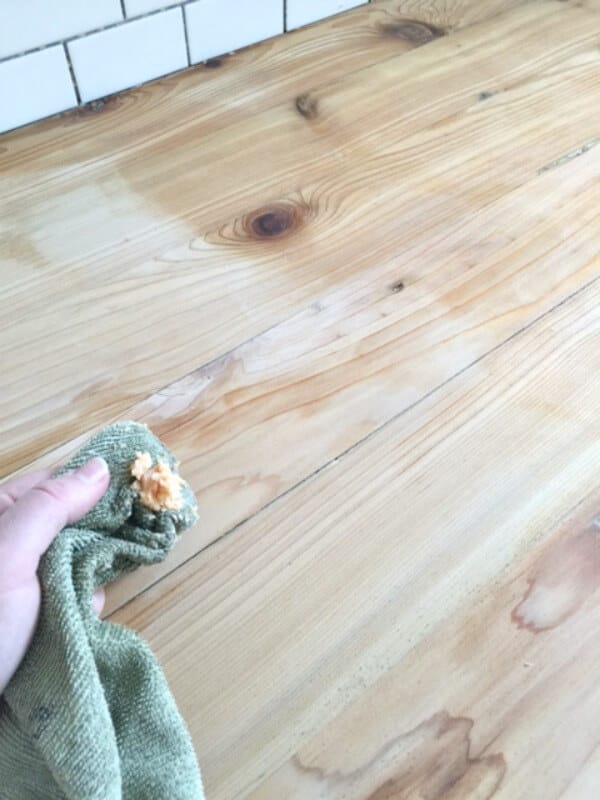
Once we had installed the butcher block, I waxed it with furniture wax. Since it was going in my laundry room and did not need to be food service grade, I used what I had on hand.
The wax brought out the natural hue of the wood and that is all it needed.
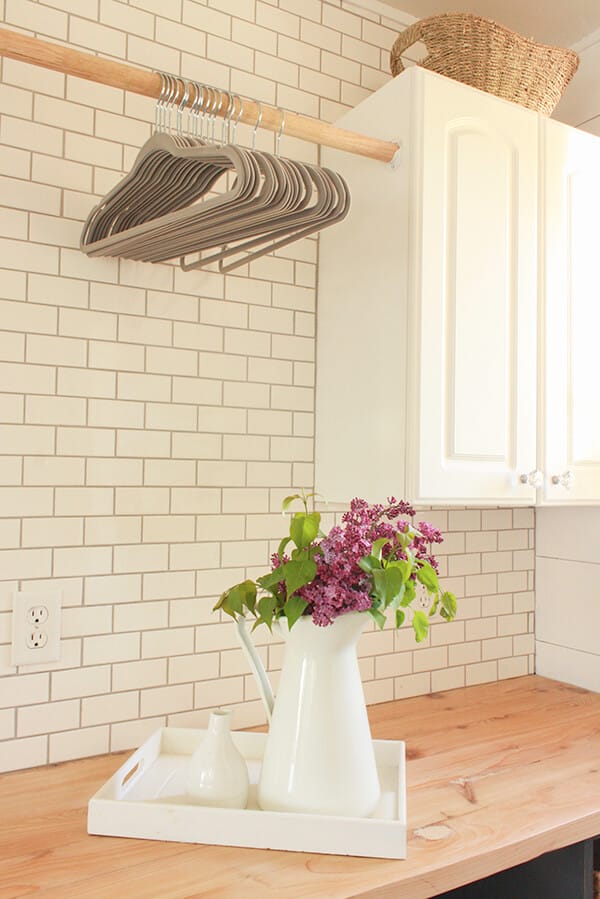
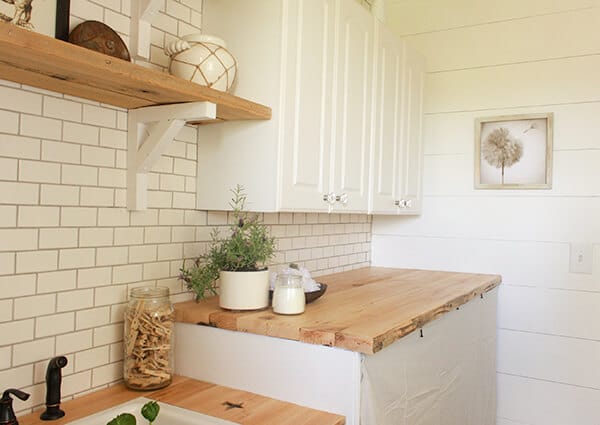
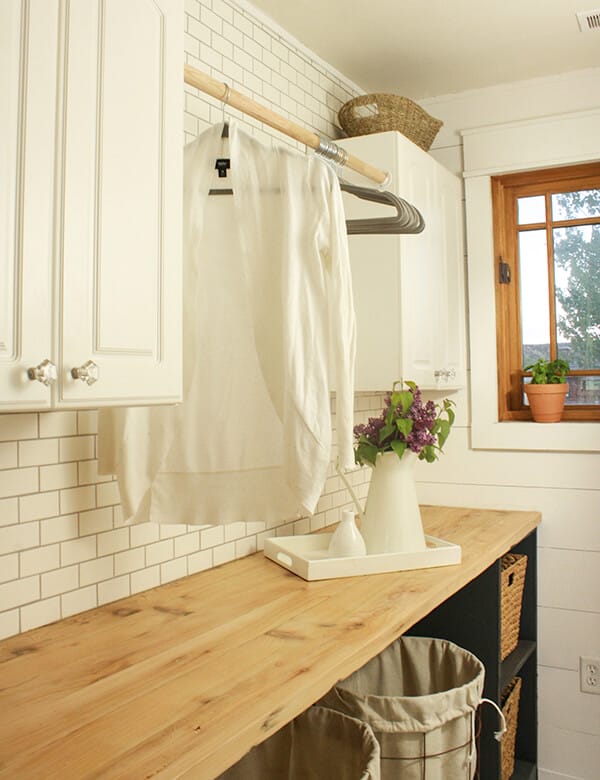
Here it is in the in the final reveal of my laundry room.
The warm tones of the wood go wonderfully with the white shiplap, subway tile, and cabinets. It the perfect addition.
Can you believe the transformation that took place? That discarded old beam turned into this beautiful butcher block counter top. I am so pleased.
What do you think? It may not be perfect, but it is perfect for us. We love trying out new things and I am so glad we took a leap and created this butcher block counter top.
Thanks for stopping by and remember…
*This post contains affiliate links*
If you like this post, you’ll love:



Sara – I LOVE your new butcher countertop! GREAT job! Thanks for sharing so much detail. It gives me lots of ideas!!!
Thanks Debi!
Stunning, you did an amazing job! Pinning!
This is incredible! So gorgeous – great job!
Beautiful! Thanks for sharing at Home Sweet Home!
I love how this turned out!
Wow!! This butcher block looks awesome!! What a wonderful way to use the discarded beam. I really want to make butcher block counter tops for my kitchen; they’re so beautiful! Your laundry room looks amazing!!!
Thank you so much Keri!
Looks great! I love the look of a butcher block counter. I’d love to recreate this for my kitchen.
You did a great job restoring that old piece of lumber. As a fellow woodworker, I am always taken aback by the natural beauty of lumber – God’s handiwork at its best!
I’m wondering where you bought the legs for the table? I would like to use that same style and not having much luck finding them. Thanks for any help.
Thanks! I believe I found them at Home Depot
Beautiful and what an amazing find
Thank you!
Beautiful laundry room!!!! Where did you find your wire laundry baskets? Thanks 😊
I have a post all about them. I made them!DIY Wire Laundry Baskets
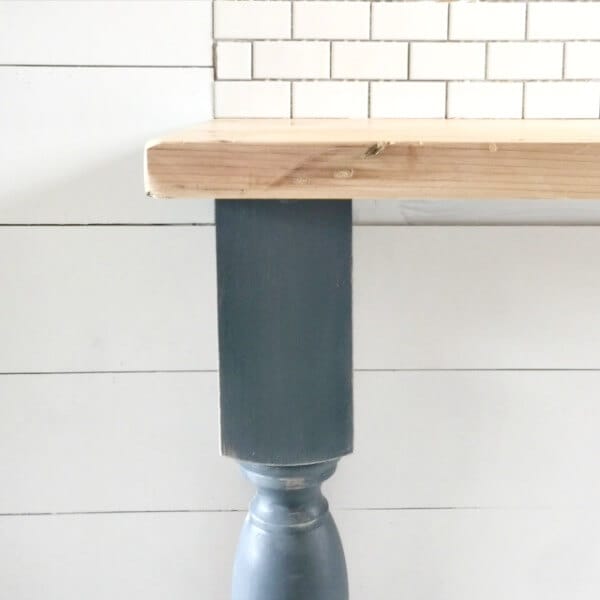
How tall are the legs on the folding table?
35 12/2 inch