
Salt Dough Christmas Ornaments You Can Use for Anything!
Salt dough ornaments are a wonderful way to add a homemade feel to your Christmas decor. Let me share how I have made my salt dough ornaments and the easiest salt dough ornament recipe ever! Its simple and can be used to make so many variations!
What you’ll love about salt dough ornamants:
Are you ready to see how I made my very own salt dough Christmas ornaments? The salt dough recipe is super easy and I guarantee you already have the ingredients at home.
Here is what you will need for salt dough ornaments:
Just a few items
TOOLS YOU’LL NEED


Salt Dough Recipe
Ingredients
- 1 cup all purpose flour
- 1 cup simple table salt
- 1/2 cup water
Instructions
- Mix and stir all these ingredients together. Take it out of the bowl and knead it on the counter for a bit. Make sure it is all mixed together.Now, we roll out the salt dough. Make sure you have plenty of flour on the bottom, so when you use your cookie dough cutters, the dough doesn't stick to the counter.
- Use cookie cutters to cut out desired shapes. Make holes in the ornament shapes so that you can hang them later.
- Lay them on a cooling or drying rack and allow them to dry completely. You can put them in the oven at the lowest temperature, around 150 degrees and let them dry oout a bit quicker.
- Once they are dried completely, you can decorate them as you want. You can also leave them as is.
- This recipe is not to be eaten. Only for crafting.
Tips
- Add cinnamon and cloves to your salt dough and they will have a wonderful holiday scent. Keep in mind this will change the color of the dough.
- Use this salt dough to make handprint ornaments for your kids as a way to preserve their sweet little hands. Salt dough handprint ornaments make great keepsakes.
- Use stamps to create designs in the dough while it is still soft. This is a great way to add texture and interest to the ornaments.
- Us a drinking straw to punch out the hole so you can hang them. A straw makes the perfect hole.
- Use ribbon, twine or copper wire to hang your ornaments.
- While air drying is great, by placing the baking sheet in the oven at a low temperature, you allow the ornaments to bake and harden a bit more.
- To make your salt dough ornaments last, store them in a dry place. I like to wrap mine in paper and box them up. I keep them on my shelves in my garage.
Simple Salt Dough Ornament Directions
Once they were all cut out, I set them on a pan on some wax paper or parchment paper, just to make sure they didn’t stick to the pan.
Then you wait. I found it best to let it air dry overnight. I rotated them every few hours to make sure both sides were drying evenly.
In the morning, they were almost completely dry.
This is when I put them in the oven. I turned on my oven at 150 degrees, or lower if your oven does.
I also used the convection setting on my oven to move the air around.
After about two hours they were hard as a rock. Obviously not that durable though, you still have to be careful.

At this point you can decorate your dry salt dough ornaments or leave them plain.
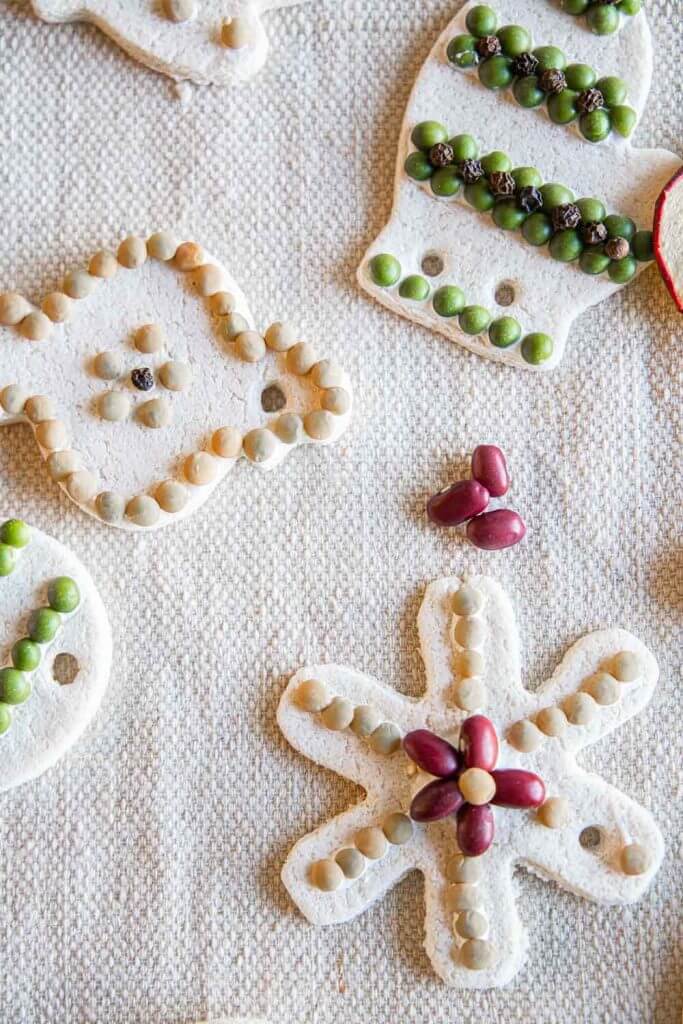
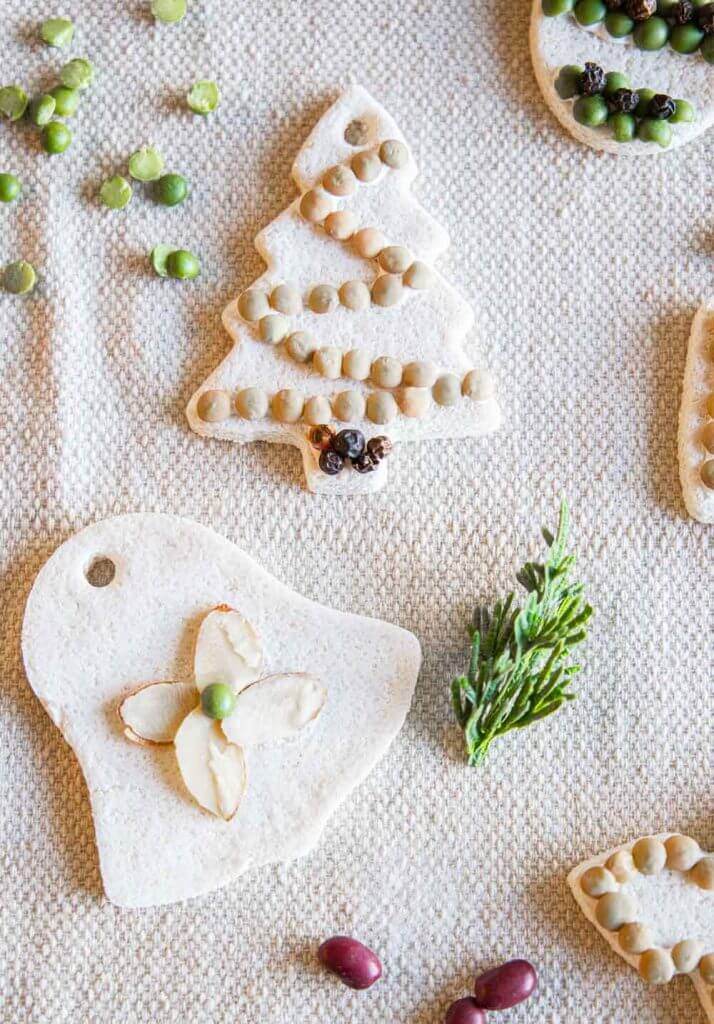
I chose to decorate mine using dried assorted beans and peppercorns. I used Elmers glue to glue the beans on. I found this to work the best. Hot glue dries too fast and super glue wont stick.

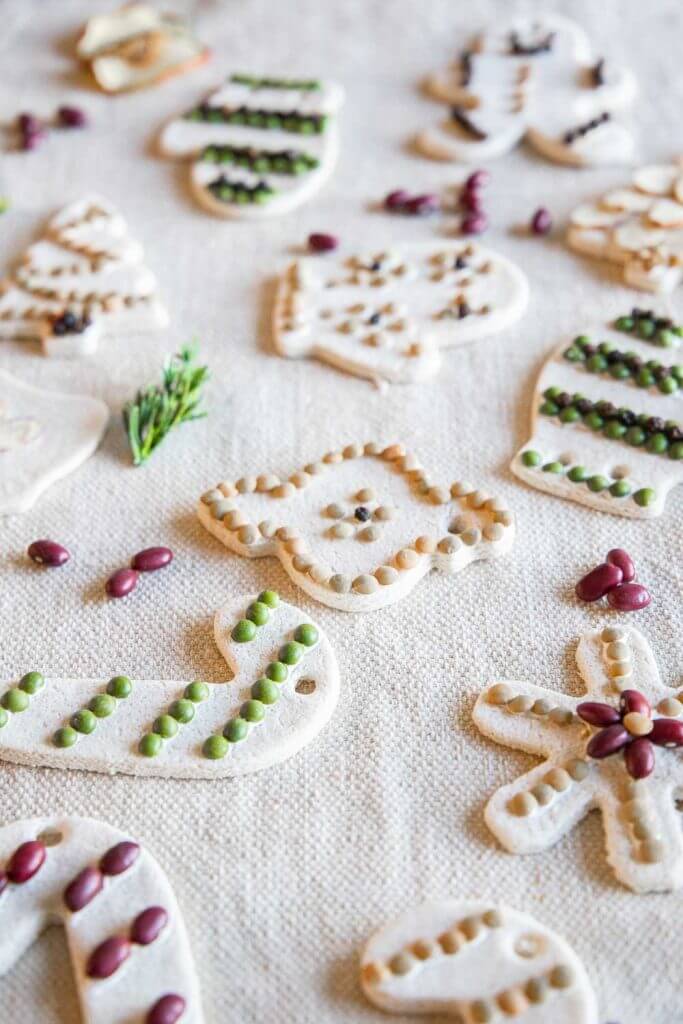
The organic look of the beans is just what I was looking for this year with my homemade Christmas. I used dried split peas, lentils and red beans. The red and green colors were perfect for Christmas.
I am excited to see how these salt dough ornaments look on my Christmas tree. Why not make salt dough ornaments for your tree this year?
Don’t forget to pin this for later!


Very pretty way to decorate your mantel..
Thanks Sue!
I love the simple, rustic feel of the garland.
Thanks!