DIY Easy Reclaimed Wood Wall
I was given the product for this project by Artis Wall. My opinions are my own and I only endorse those products that I truly believe in.
Okay you guys, I am taking a break from my One Room Challenge to bring you something really cool. I promise, this is the coolest, and easiest project I have done in a long time! This DIY easy reclaimed wood wall by Artis Wall is the cats meow.
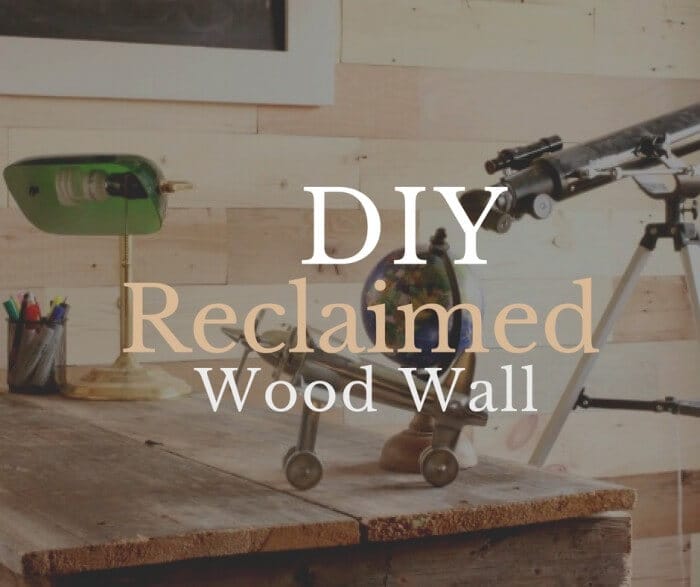
A few years ago, my hubby and I tore apart about a gazillion pallets and created a pallet wall in my office. After about a hundred swear words and dirty looks from said hubby, the wall was done. It looked lovely, but man it was a lot of work.
Enter Artis Wall. This company has figured it out. Their goal was to create an original, real, reclaimed wood product that was easy to install, and also one that would not damage walls.
Before I get to the how to, I also wanted to mention a really cool aspect of this reclaimed wood wall. Each plank has a story. One the back of each plant, there is a code, and if you enter that code onto their website, you can find out exactly where your wood came from.
My reclaimed wood came from an old tobacco barn in Kentucky. I grabbed this picture off their website. Isn’t that cool!? Have you ever heard of Barnwood Builders? Its a cool show on TV where they save old barns. They either re-purpose the wood for another building, or create other awesome things with it. I LOVE that show, and I felt a little bit of that same fascination with this project.
I think the idea of taking the wood from a barn that was either going to be destroyed by weather, and environmental factors, and giving it a new life speaks to me like no other! This is my jam.
DIY Reclaimed Wood Wall
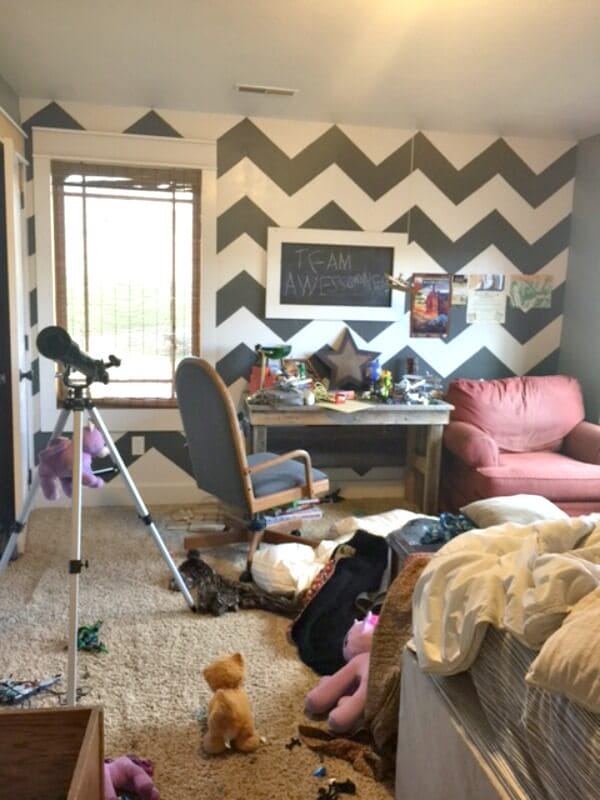
Now on to the project at hand, I decided it was time to do a little updating in my oldest boys room. He had a fun chevron wall, but was growing tired of it. This easy reclaimed wood wall was the prefect thing to replace it with.
Look at that mess! Kids will be kids am I right?
Artis Wall has a few different reclaimed wood wall options to choose from. You can pick from brown, grey, natural, and whitewashed planks. I chose the natural, raw style since I love the look of raw wood.
This project only has a few steps
1. Make sure you clean the wall. I simply wiped it down with a cloth.
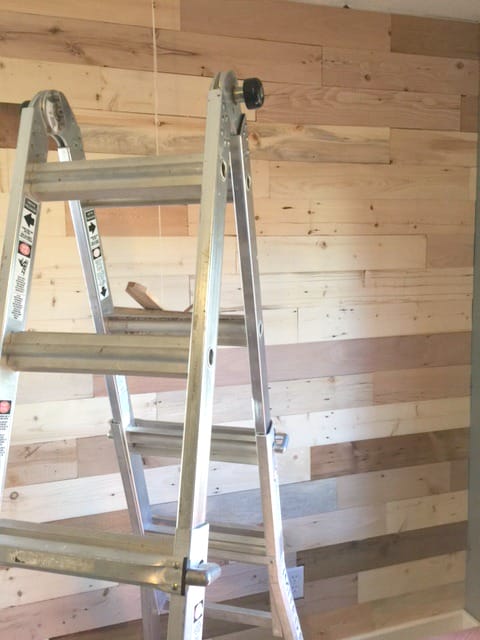
2. The next step is to install the velcro strips vertically to the wall 10 inches apart. ( That piece of wood hanging in the picture is an airplane that my son made out of left over pallet wood we had in the garage. )
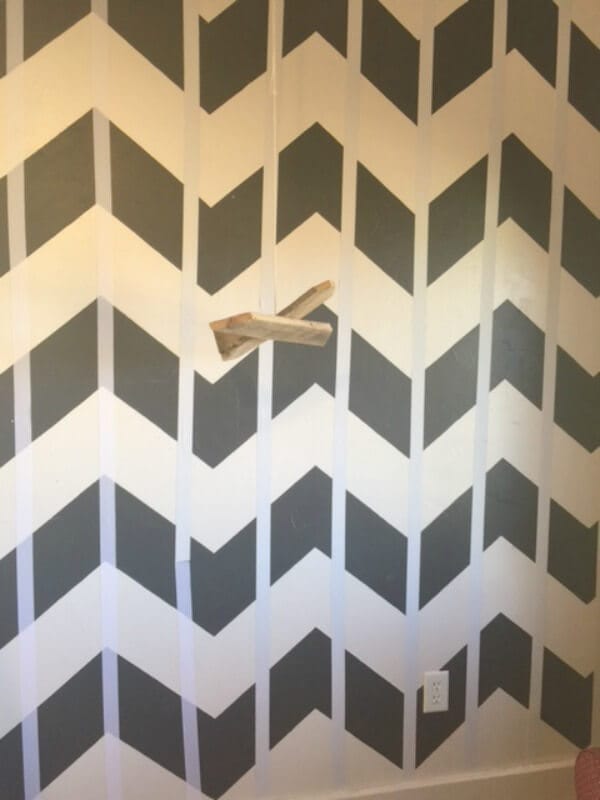
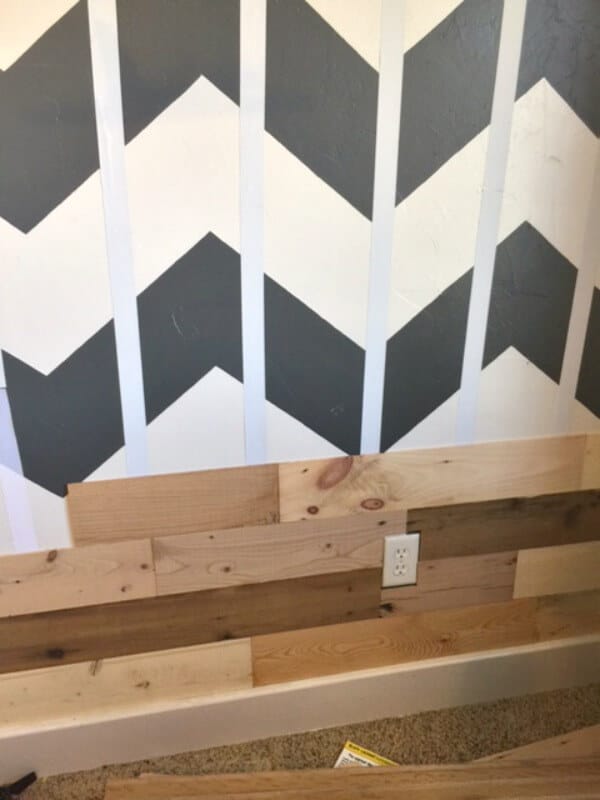
That’s all there really is to it! The wood is held on by the velcro that is also on the back of the wood.
This whole project took less than an hour to do! I had to do a few cuts around the window, and around some of the outlets. The best part about this project was that I was able to do it, start to finish, without my hubby’s help.
And that’s a good thing. No dirty looks or exasperated sighs. That’s a bonus in my book.
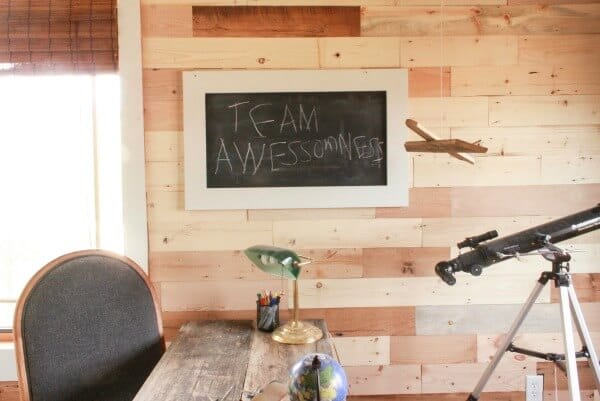
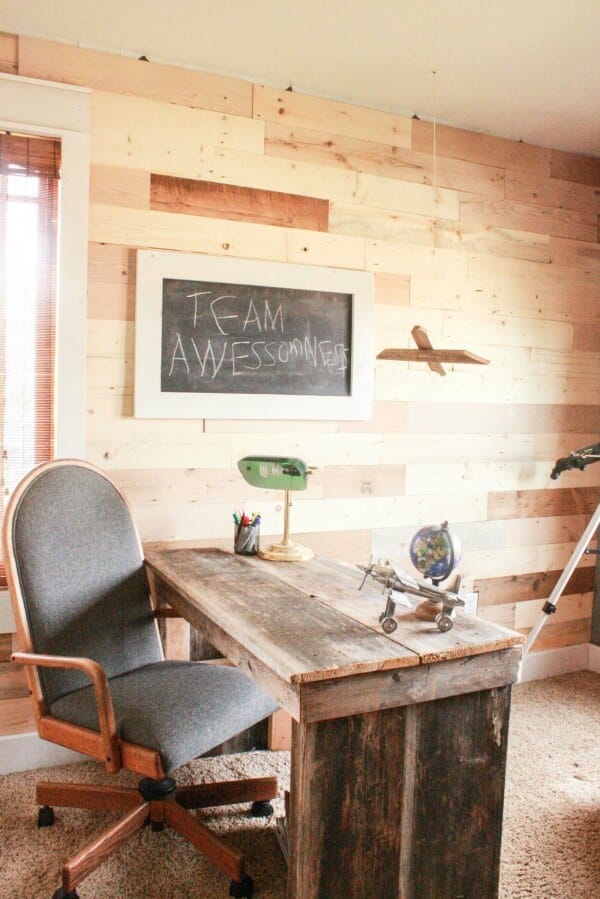
I love the way the wall looks in my sons room, especially with his barn wood desk that we built for him.
This wall is a wonderful accent to his room and he is excited to be rid of the chevron wall. Even if its not permanently.
What do you think? Is this something you would want to add to your home?
Another great thing about this product is that if you decided you wanted it in a different room, its as easy as taking down the planks and the velcro straps and reapply them where ever you want!
I would say overall, this is a really cool product. The only problem I had was trying to decide where I wanted to install it. I had begun with the thought of installing it in my stairwell, but after a little thought, I loved the idea of putting it in my sons room. Now my other two boys are begging my to put some in theirs!
Maybe after I get my master bathroom remodel completed! You can check out my plan and see the progress on that here. I hope you enjoyed this reclaimed wood wall by Artis Wall. You have to check them out!
Now, you go have a great day and remember….
If you like this post, you’ll love:






First, I love that you showed what a kid’s room really looks like…lol. I always see these perfect rooms and I know that kids are never that neat. I would need a full day clean my kids’ room to take pics 🙂 Second, that product is AWESOME sauce! I love that it’s so easy to put up and remove, which is great for people that are constantly changing their design.
I’m late to the game here but just a quick comment. Love the wall. Your comments about his dirty looks etc were so timely! We just finished a small project and I’d give anything if ‘he’ could just help me me with out commenting about why I’m doing this, I should have planned better, or just disappearing in the middle of it. And the biggie is that he says I’m OCD! Not really but compared to him I guess one might think so. Sorry just had to vent as this is fresh on my mind!!!
Hi! How well has your Artis Wall installation held up? I’m thinking of doing an accent wall with it in my condo. How difficult was it to make the cuts for the electrical outlets?
Hi! Its held up really well! It is still holding really great on the wall, no issues at all.