
Easy DIY Garden Markers Using My Cricut Maker
This is a sponsored post written by me on behalf of Cricut. All opinions are 100% mine.
Hey there friends, I am so excited to be sharing my most recent garden DIY! This summer we have spent a lot of time outside working in the yard, improving our garden, creating a more self sustainable life for ourselves. And of course, I am a bit overzealous about things not only being functional but stylish and cute as well. So, today I want to share how I made some super stylish and adorable garden markers using my Cricut Maker, some aluminum sheet metal, and their engraving tool. 
The engraving tool can be used on a wide variety of materials including:
- Acetate & Foil Acetate
- Aluminum, 0.5mm sheets
- Copper, 40-gauge sheets
- Faux Leather
- Foil Holographic Kraft Board
- Foil Poster Board
- Garment Leather
- Genuine Leather
- Glitter Cardstock
- Heavy Watercolor Paper
- Kraft Board
- Metallic Leather
- Metallic Poster Board
- Shimmer Paper
- Sparkle Paper
- Tooling Leather, 2-3oz, 4-5oz, 6-7oz
- Transparency
- Vinyl Record
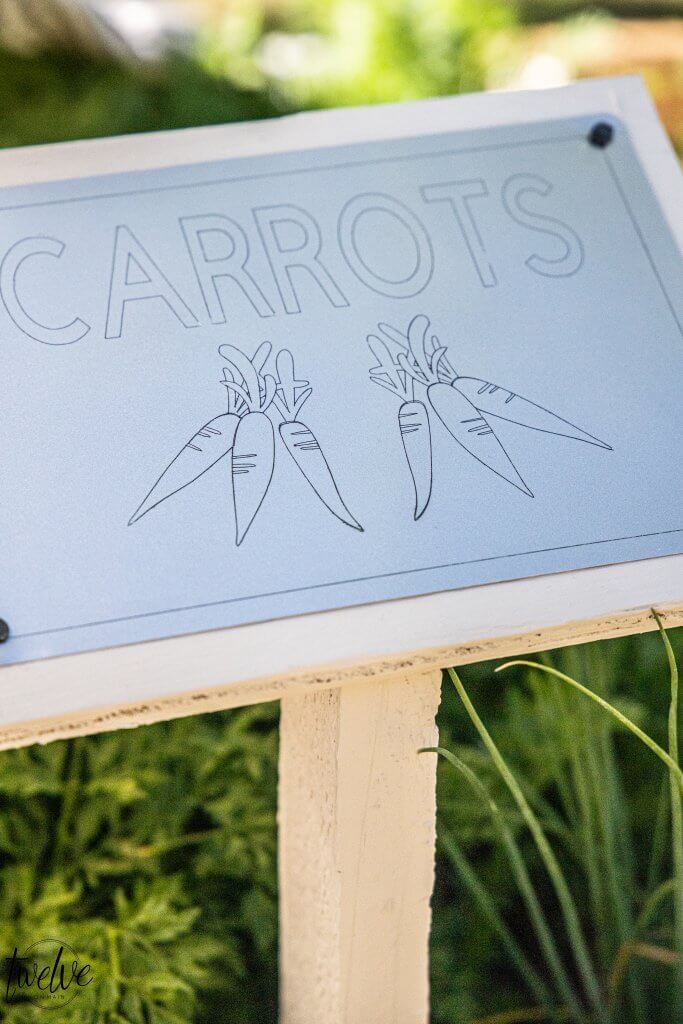
For these DIY garden markers, I wanted to use some of Cricut’s pre cut aluminum sheets. These make creating things so easy because they come in a couple different sizes, which makes it easy to use for specific projects. I really wanted to use these metal sheets on my garden markers so that they held up and were more durable. I also wanted to create something that was cute…because, thats just me haha. These garden markers were really easy to make, and I was pleasantly surprised at how easy it was to use the engraving tool and how amazing they turned out. 
Want to know how to make these super cute DIY garden makers? Check out the tutorial below!
First, you want to create your design in Design Space. I love using design space, especially on my iPad. I can create designs any where I am! I have created a handful of different signs for different veggies, and you can access the design here. One thing I have found is that I have to hide all the designs but one when I go to engrave. I engrave one design at a time and then I hide that design and unhide the next design. You can hide certain parts of your designs by clicking on the eye images on the right side of your screen where they are listed. If you are using the aluminum sheets by Cricut, then you will want to make sure to select the aluminum in the materials list. 


 Aren’t they cute? I am so excited about my new garden markers! With all the work we have done in the garden this year, I really wanted to take it up a notch and create some really great plant markers.
  Now my plants look even better with their own custom plant markers!
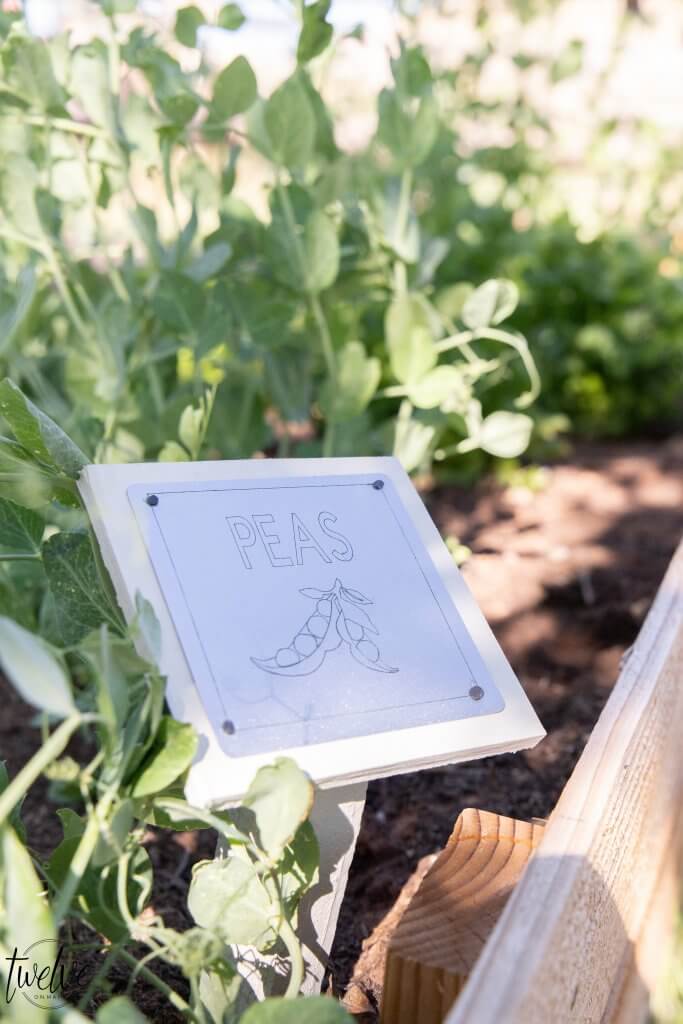


My pumpkins are also so very excited about their sign. 
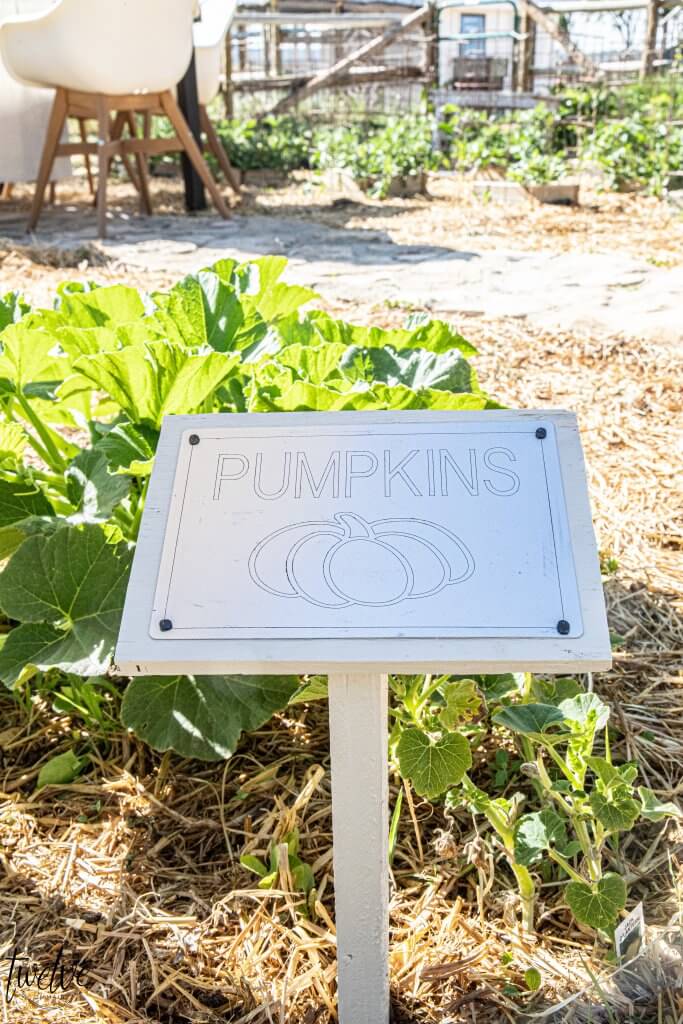 These DIY garden markers were quite easy to make. I used some leftover wood that wasn’t the prettiest and painted it. I figure if it is going in the garden, we didn’t need to use the nicest wood we had. Now, my plants have these cute little markers so that the kids can see what each plant is and it makes it all look so cute. Using the aluminum sheets from Cricut was such an easy way to create something unique and perfect for my garden space. They will be durable and long lasting as well.