
DIY Reverse Shiplap Wall Treatment
The story of my DIY reverse shiplap.
A while back, I remodeled my boys bathroom for under $100 dollars. Yes, you heard right, $100 DOLLARS! I really wanted to install white shiplap. I mean, I am kind of a fan. Lets face it, I am a huge fan. If I could team up with Chip and Joanna Gaines and shiplap my whole house I would. This desire for a plank wall but lack of funds for it was the perfect storm for me to create my new favorite wall treatment, “reverse shiplap”. It was the perfect focal point that my kids bathroom needed.

If you aren’t familiar with my $100 dollar bathroom makeover this is the before. The 100 dollar room makeover challenge was started by my friend Erin at Lemons, Lavender and Laundry. It really is the coolest challenge! Have you ever tried to create a room makeover for 100 dollars or less? Let me just say, you need to have some creative plans and ingenious ideas.

Awesome right? No, not really. This room was in need of much love, do you see those scratches on the wall through the mirror? One night our German Shepherd shut the door on himself and was locked in there all night! Nobody heard him bark..I felt so bad! Consequently, we now have some nasty scratches on the wall.
Now, coming up with a budget friendly, stylish, and fun shiplap wall treatment for this bathroom was going to be hard. How do you create something like that for next to nothing?
I had brainstormed just about all I could to create this stylish, kid friendly, fun, yet stylish, farmhouse bathroom, but I was at a loss. With an attempt at drawing a “faux shiplap” on the wall with pencil and marker, which proved unsuccessful, I knew I needed to think of something else.


BUT it just was not what I wanted. The effect of the faux shiplap was too flat, and was really difficult to keep straight lines.
I knew there had to be a way to create interest and dimension without spending my whole budget on just the accent wall treatment. I mean, I would have nice walls, but the rest of the bathroom would have been left the way it was. No Bueno, my friends, the kids would not go for that. Plus, the point of this project was to use my creative muscles to really think outside the box and create something stunning.
Here were my objectives:
- Spend under 100 dollars on the whole room
- Install shiplapOR come up with a stylish and creative alternative that created interest and texture to the room.
Well, I had my work cut out for me.
After my “faux shiplap” failed. I had a thought.
Instead of paneling the walls with shiplap where all the walls are covered in paneling, why don’t I reverse it. Reveal the part of the wall that would have been covered with the shiplap, and create a trim that would run horizontally where the space between the shiplap would have.
Get it? I hope I didn’t lose you.
And oh my gosh. My prayers were answered! The whole room fell into place and it was the perfect solution.
This is how I did it:
Our reverse shiplap wall treatment….
To make this DIY reverse shiplap, the main component is going to be a thin piece of trim that you can install in a repeating pattern horizontally along the wall. These horizontal wooden boards would act as the focal point on the wall. They would add dimension and texture to an otherwise plain wall.
Since I was trying to save money, we cut down a few 2 by 4 pieces of wood into thin pieces. You could definitely run to Home Depot and grab some pre-cut trim. But, since I was trying to do this for cheap or free, I put in the extra labor to get what the wood boards I needed.
What I used for my reverse shiplap wall:
- 1/4 inch by 1 1/2 inch pieces of wooden boards(any species)- 8 ft lengths. The total amount will depend on the size of your room
- Brad nailer
- level
- 8″ block -2 of them
- paint
- stud finder
I wanted the trim to be installed 8 inches apart, horizontally all the way up the walls.
Now lets take a look at my step by step reverse shiplap wall project:
First, I painted the walls white with 2 coats of paint so that I could easily add the trim and then paint over that separately once they were all installed.

Start with one piece. This will be your anchor point so you want to make sure it is perfectly level and secured correctly.
I started by measuring up 8 inches from the counter top. Then, I made a few marks with my stud finder and then set the trim up against those marks, I secured one end with my nail gun, where it was exactly at 8 inches at the bottom of the trim.
Once the first nail was installed, I added the level to the top of the trim. Once it was perfectly level, I used my nail gun to secure it to the wall.
After your first row of trim is completely applied, it will be easy to add the rest. I have a little trick that will help keep all the rows even and straight.

Now, take those 8 inch long blocks that you have, and use them as spacers between the secured piece of trim and the next piece. As long as you use these blocks as your measurement and spacers, each row will be the same. Repeat this up the entire wall.
I wrapped the trim around and continued onto the other walls.

A few tips:
- If you want to create this reverse shiplap effect on a full wall, you can start at the bottom and measure up from the baseboards.
- You can putty in the nail holes or leave them. It is totally up to you. I left mine.
- Paint it the same color as the wall or paint it a slightly lighter or darker color to add contrast.
I painted all the trim white to match the rest of the space. It was a fun addition of texture to the walls and the kids loved it!

The great thing about this shiplap is that it is only 1/4 inch thick. You can still hang artwork, mirrors, or whatever else, because the trim is not very thick. My 9 year old son actually drew these octopus drawings

So maybe you have been wanting to try the shiplap craze in your home, but the cost or amount of work involved has stalled you. Try this DIY reverse shiplap horizontal paneling on for size.
It was easy, quick, and inexpensive.
It IS stylish and a great way to accessorize your walls.


So if you want to try something easy, inexpensive, with a huge impact, try this DIY reverse shiplap treatment.
It takes less commitment, less equipment, and less time. In addition, I promise you will love the result!
This would also look amazing in a dining room, also maybe you have a fixer upper that you are looking to add some inexpensive wall treatment to. This is the perfect solution for it!

If you want more inspiration, check out some of my most popular posts!
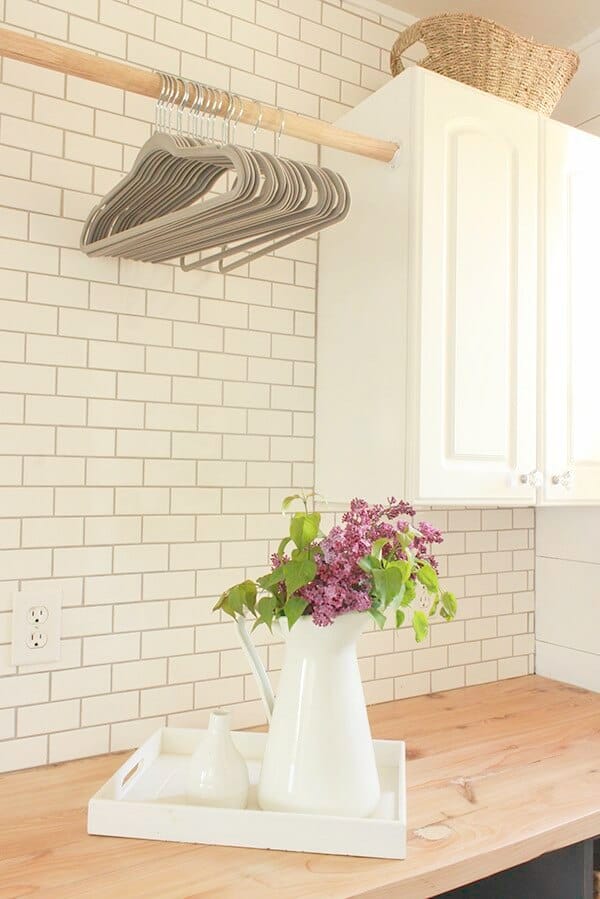
One Room Challenge- Farmhouse Laundry Room Reveal!
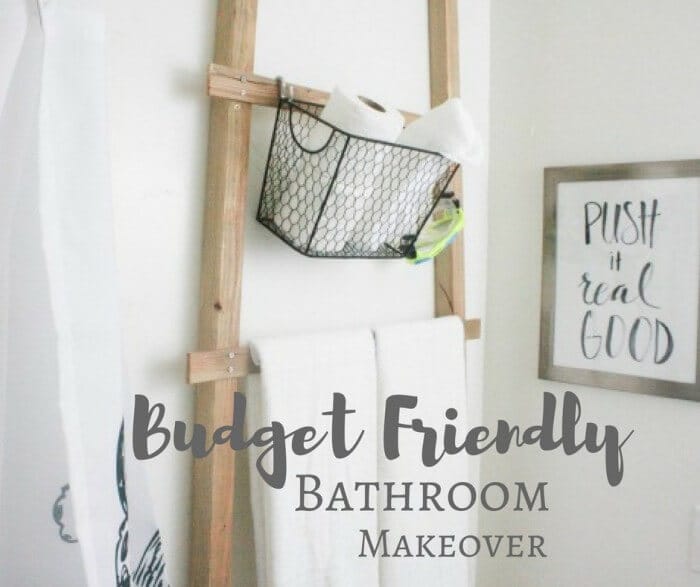
My Budget Friendly Bathroom Makeover | Reveal
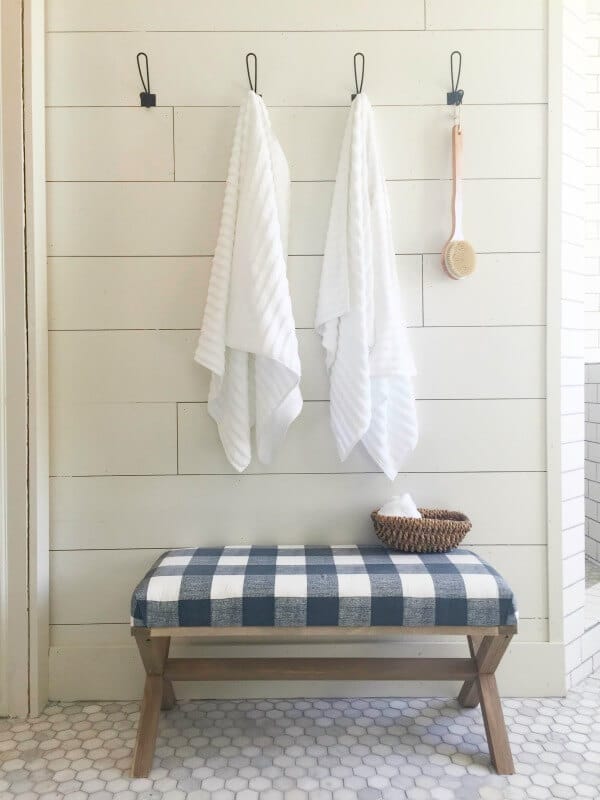
Farmhouse Master Bathroom | Final Reveal
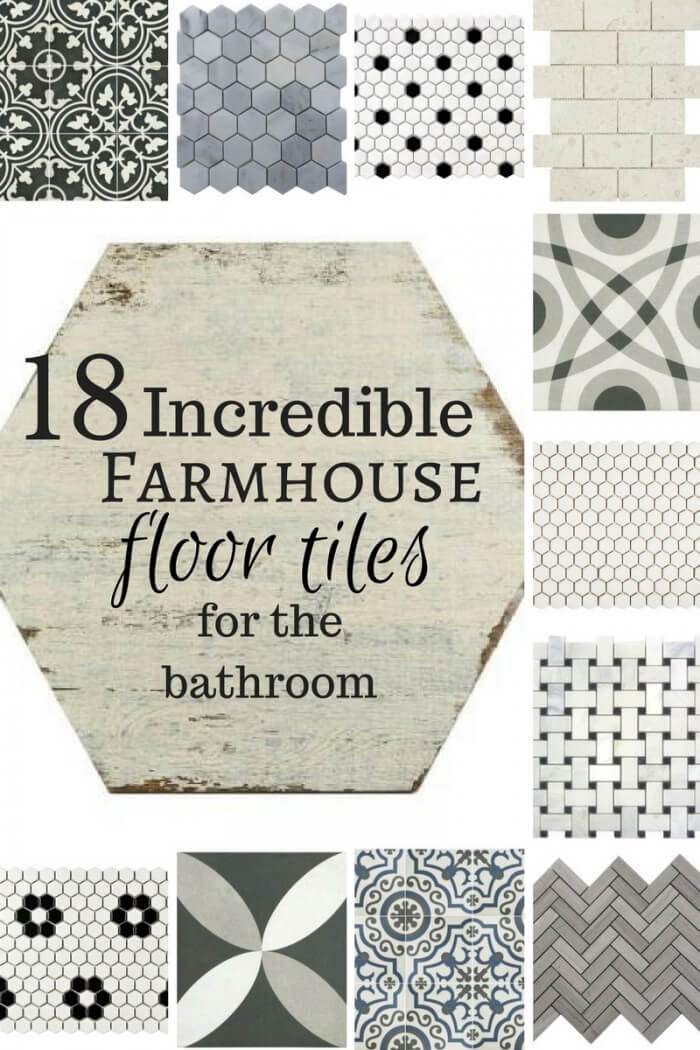
18 Incredible Farmhouse Bathroom Floor Tiles
I know you are loving that bathroom and that wall treatment! It is fantastic. And how brilliant are you for noodling that ‘reverse’ thing…Do you just walk in there and pinch yourself because it looks so great?
Thanks for sharing your super idea!
Lynn
Great DIY idea! Such a fresh new take on the shiplap craze! Thanks for sharing.
Way to think outside of the box. It turned out amazing!! You may have just started a new trend.
I think I like this better than shiplap. It looks great!
This is great! I really like it! Thanks for sharing at Monday Funday! Pinning to our board.
I am so glad you like it!
What a creative and fun idea! I love this look and you can’t beat the price 🙂
Best,
Kelly
Love the way you think 🙂 the “reverse” shiplap looks awesome and I might just do this for our powder room! Thanks for the inspiration!
Yay! I am so glad you like it!
I LOVE this! I’ve been contemplating a bathroom makeover wand wanted to do something different with the wall treatment. I think I might try this as wainscoting.
Thats great! Thanks so much for stopping by!
That’s really thinking outside the box! I think it looks great! Good job! Thanks for sharing with us @ #HomeMattersParty
Jeannee
Thanks Jeannee!
Just wanted you to know that I added this project to a farmhouse idea roundup I did as part of the Create Link Inspire party. Thanks for linking up! This project is amazing!
Thats so great!! Thank you so much!
Reverse ship lap, who would have know how fablous the results would have been? You of course, because everything you do is drop dead gorgeou.
Hi Sara! Love your take on shiplap. I tried this pencil version too and I’m just not satisfied! Love what you did!
Thanks!
Wow. I love this idea and wil be trying it in my bathroom. I have a question. You said you syatyed 8 incjes up from the countertop but in the pics with the mirror it looks like there is a piece about 2 inches from the counter at the bottom of the mirror. Did you add thay later? Im confused. LOL
Stacy
What a great idea!!!