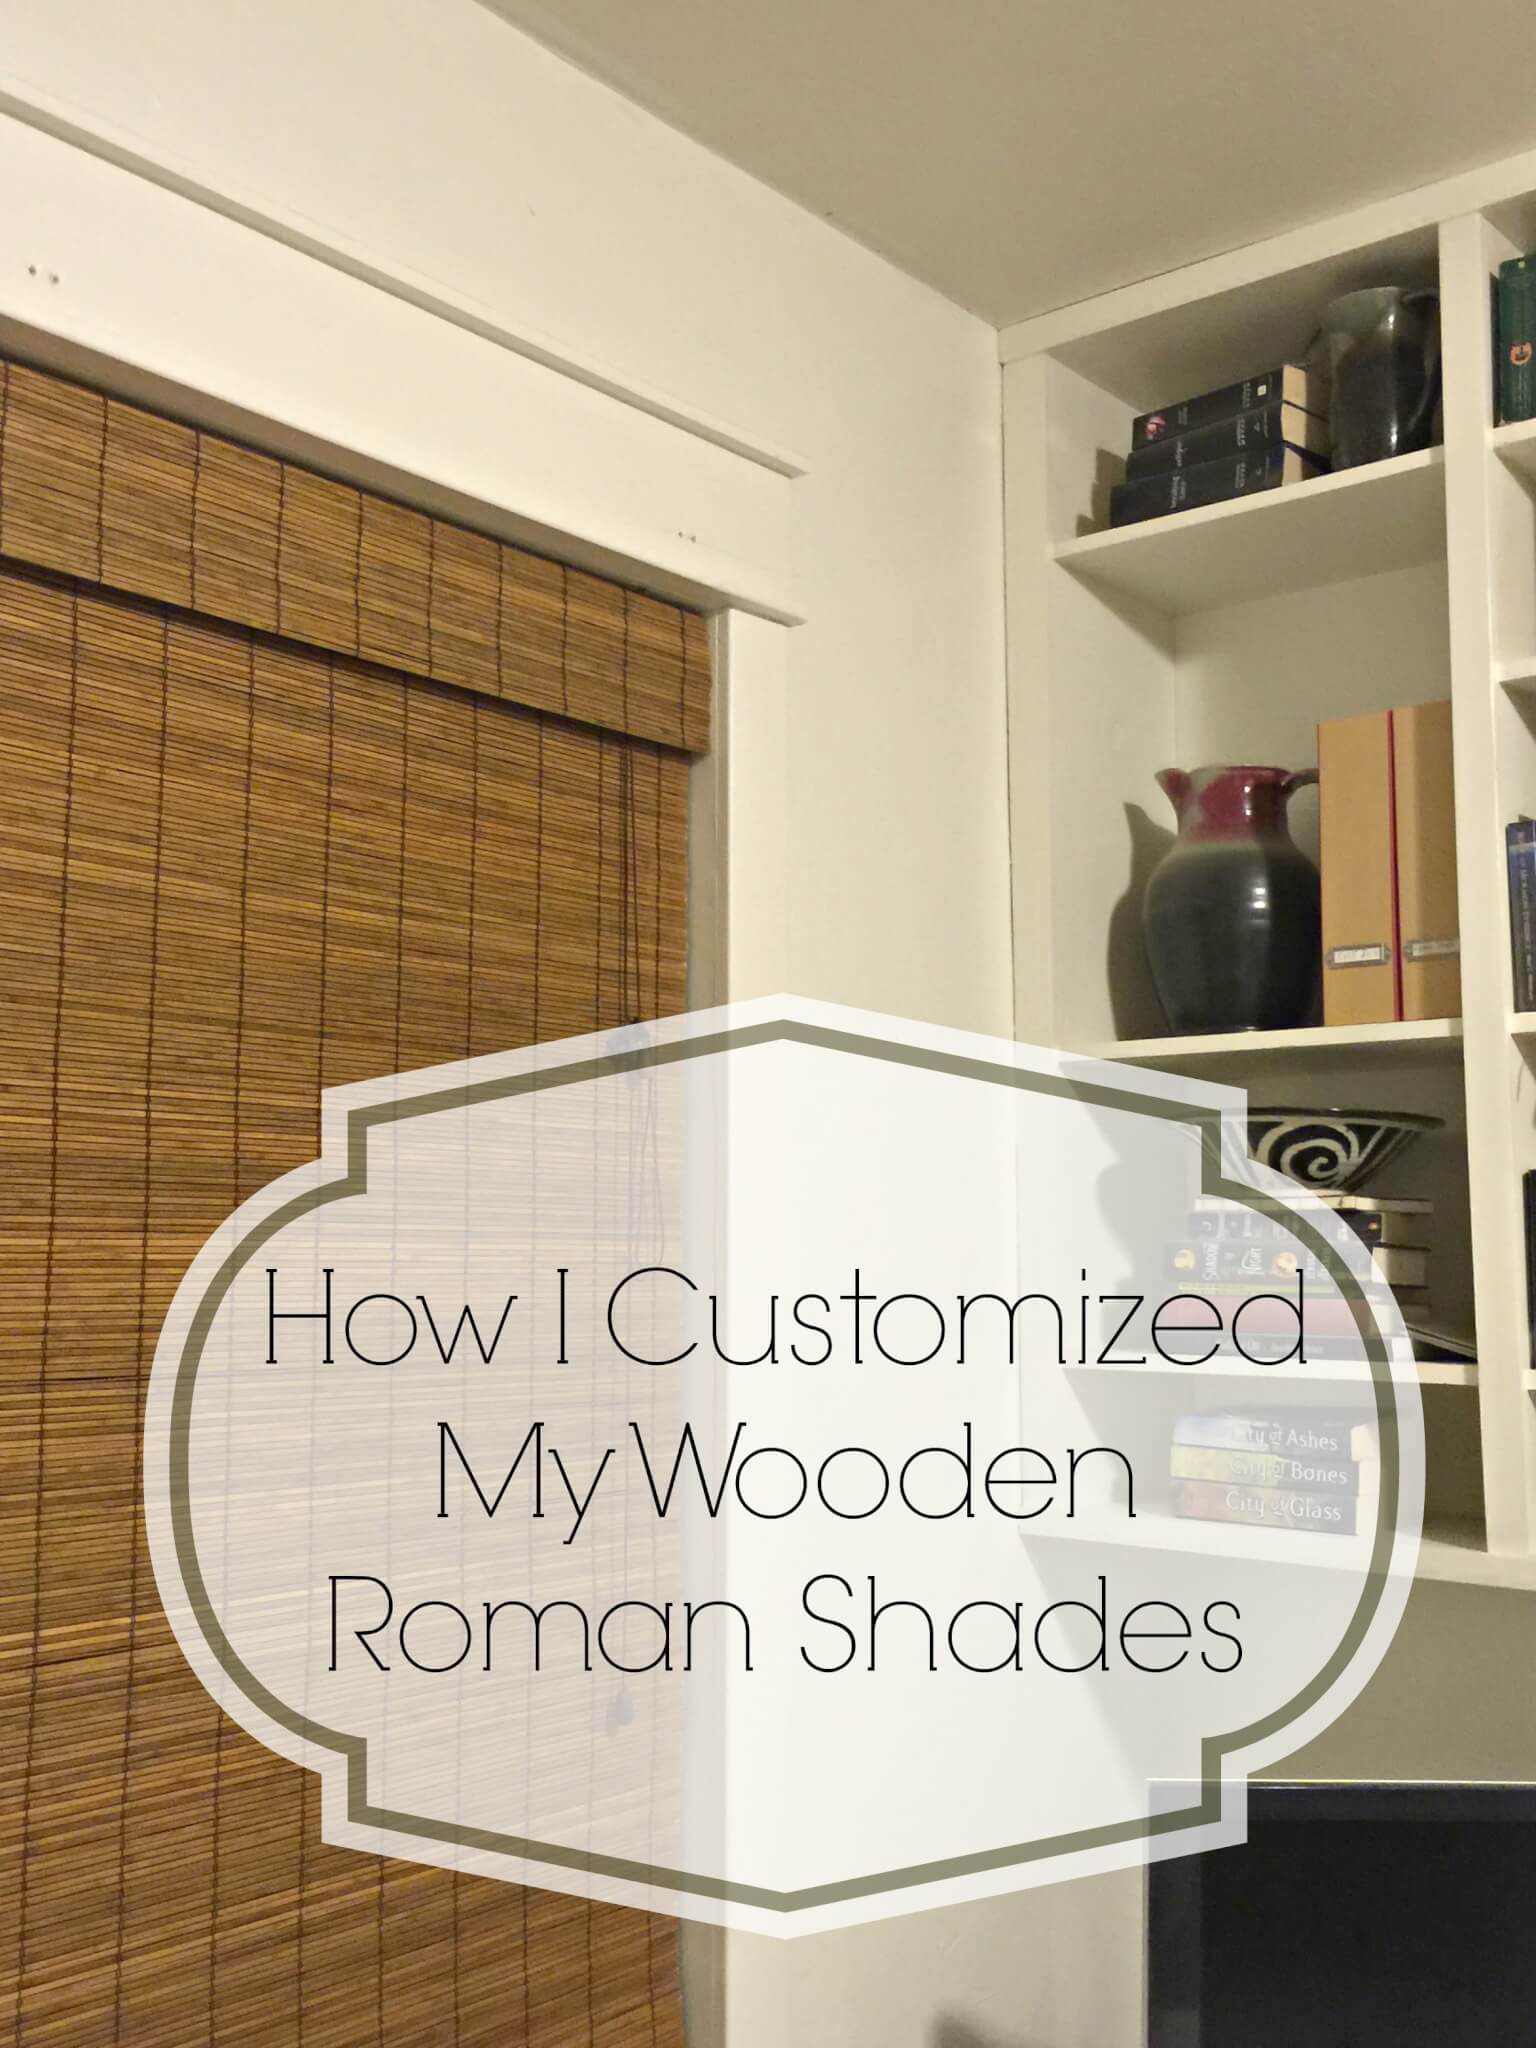
How I Customized My Wooden Roman Shades
When we built our home almost 10 years ago, I was so excited to have my own home, my own space, my own mortgage. Sigh….you know, when you build a house there are some things you neglect to think about. Like, window coverings. Now, we live in a neighborhood with few neighbors, so privacy was not a huge issue, but I did not like living in a fish bowl. I ran out to the nearest Home Depot….1 1/2 hours away. I purchased some “temporary” wooded roman shades to cover those specific windows in the home that required privacy, or required little babies sleeping in a dark room.
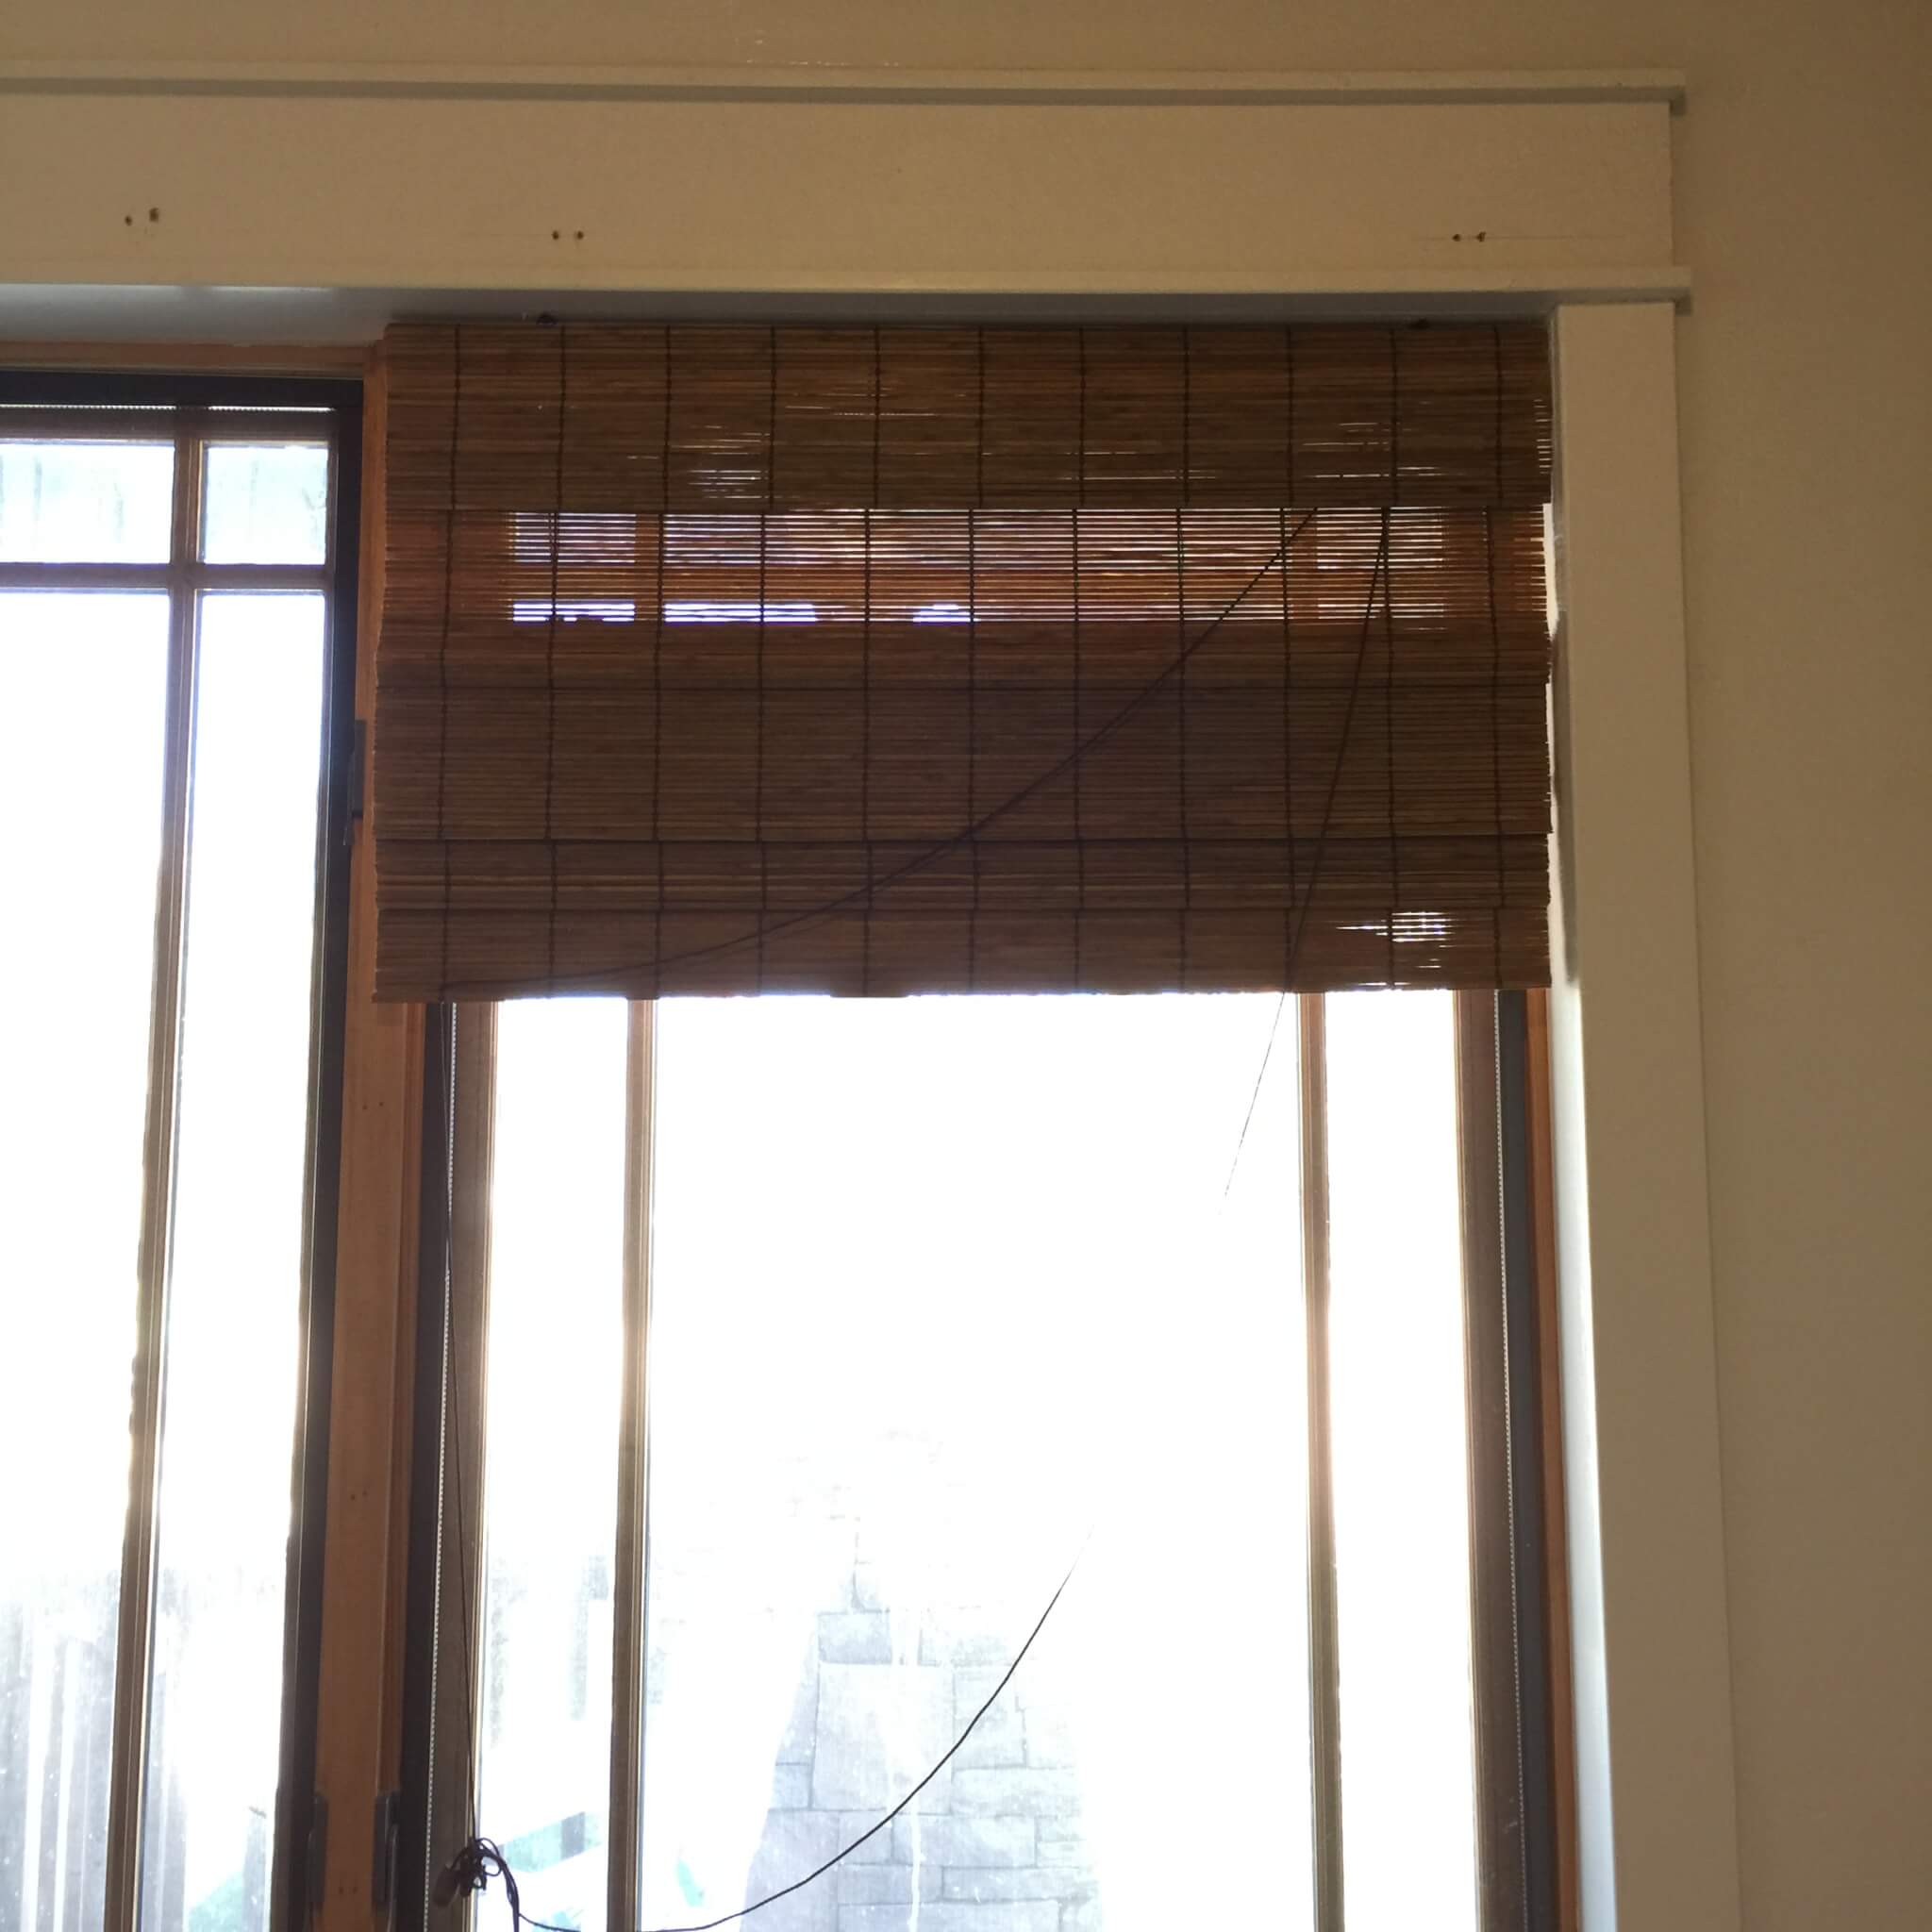
Here is a before of my shades. Notice how they are installed on the window trim on the outside of the window. They do not look like they fit.

I loved the look of the roman shades, there was only one problem, or a few problems. Many of my windows sizes were not considered during the building of the house in terms of making sure they were a standard size. Maybe many peoples windows aren’t standard sizes? I don’t know. Anyways, either my windows were an inch or two larger or an inch or two smaller than any standard blinds sizes I could find. That means that the wooded roman shades were installed on the outside of my window, on the window trim. It worked, but I did not love the look. Over the years, I replaced my blinds with curtains or the like, but I never could talk myself into purchasing custom blinds. Ummm, expensive! By happy accident I figured out a way to reuse my old wooden shades, and make them look custom! BONUS.
I decided I would give a quick tutorial on how to easily do this!
Step 1: Check out the mechanisms
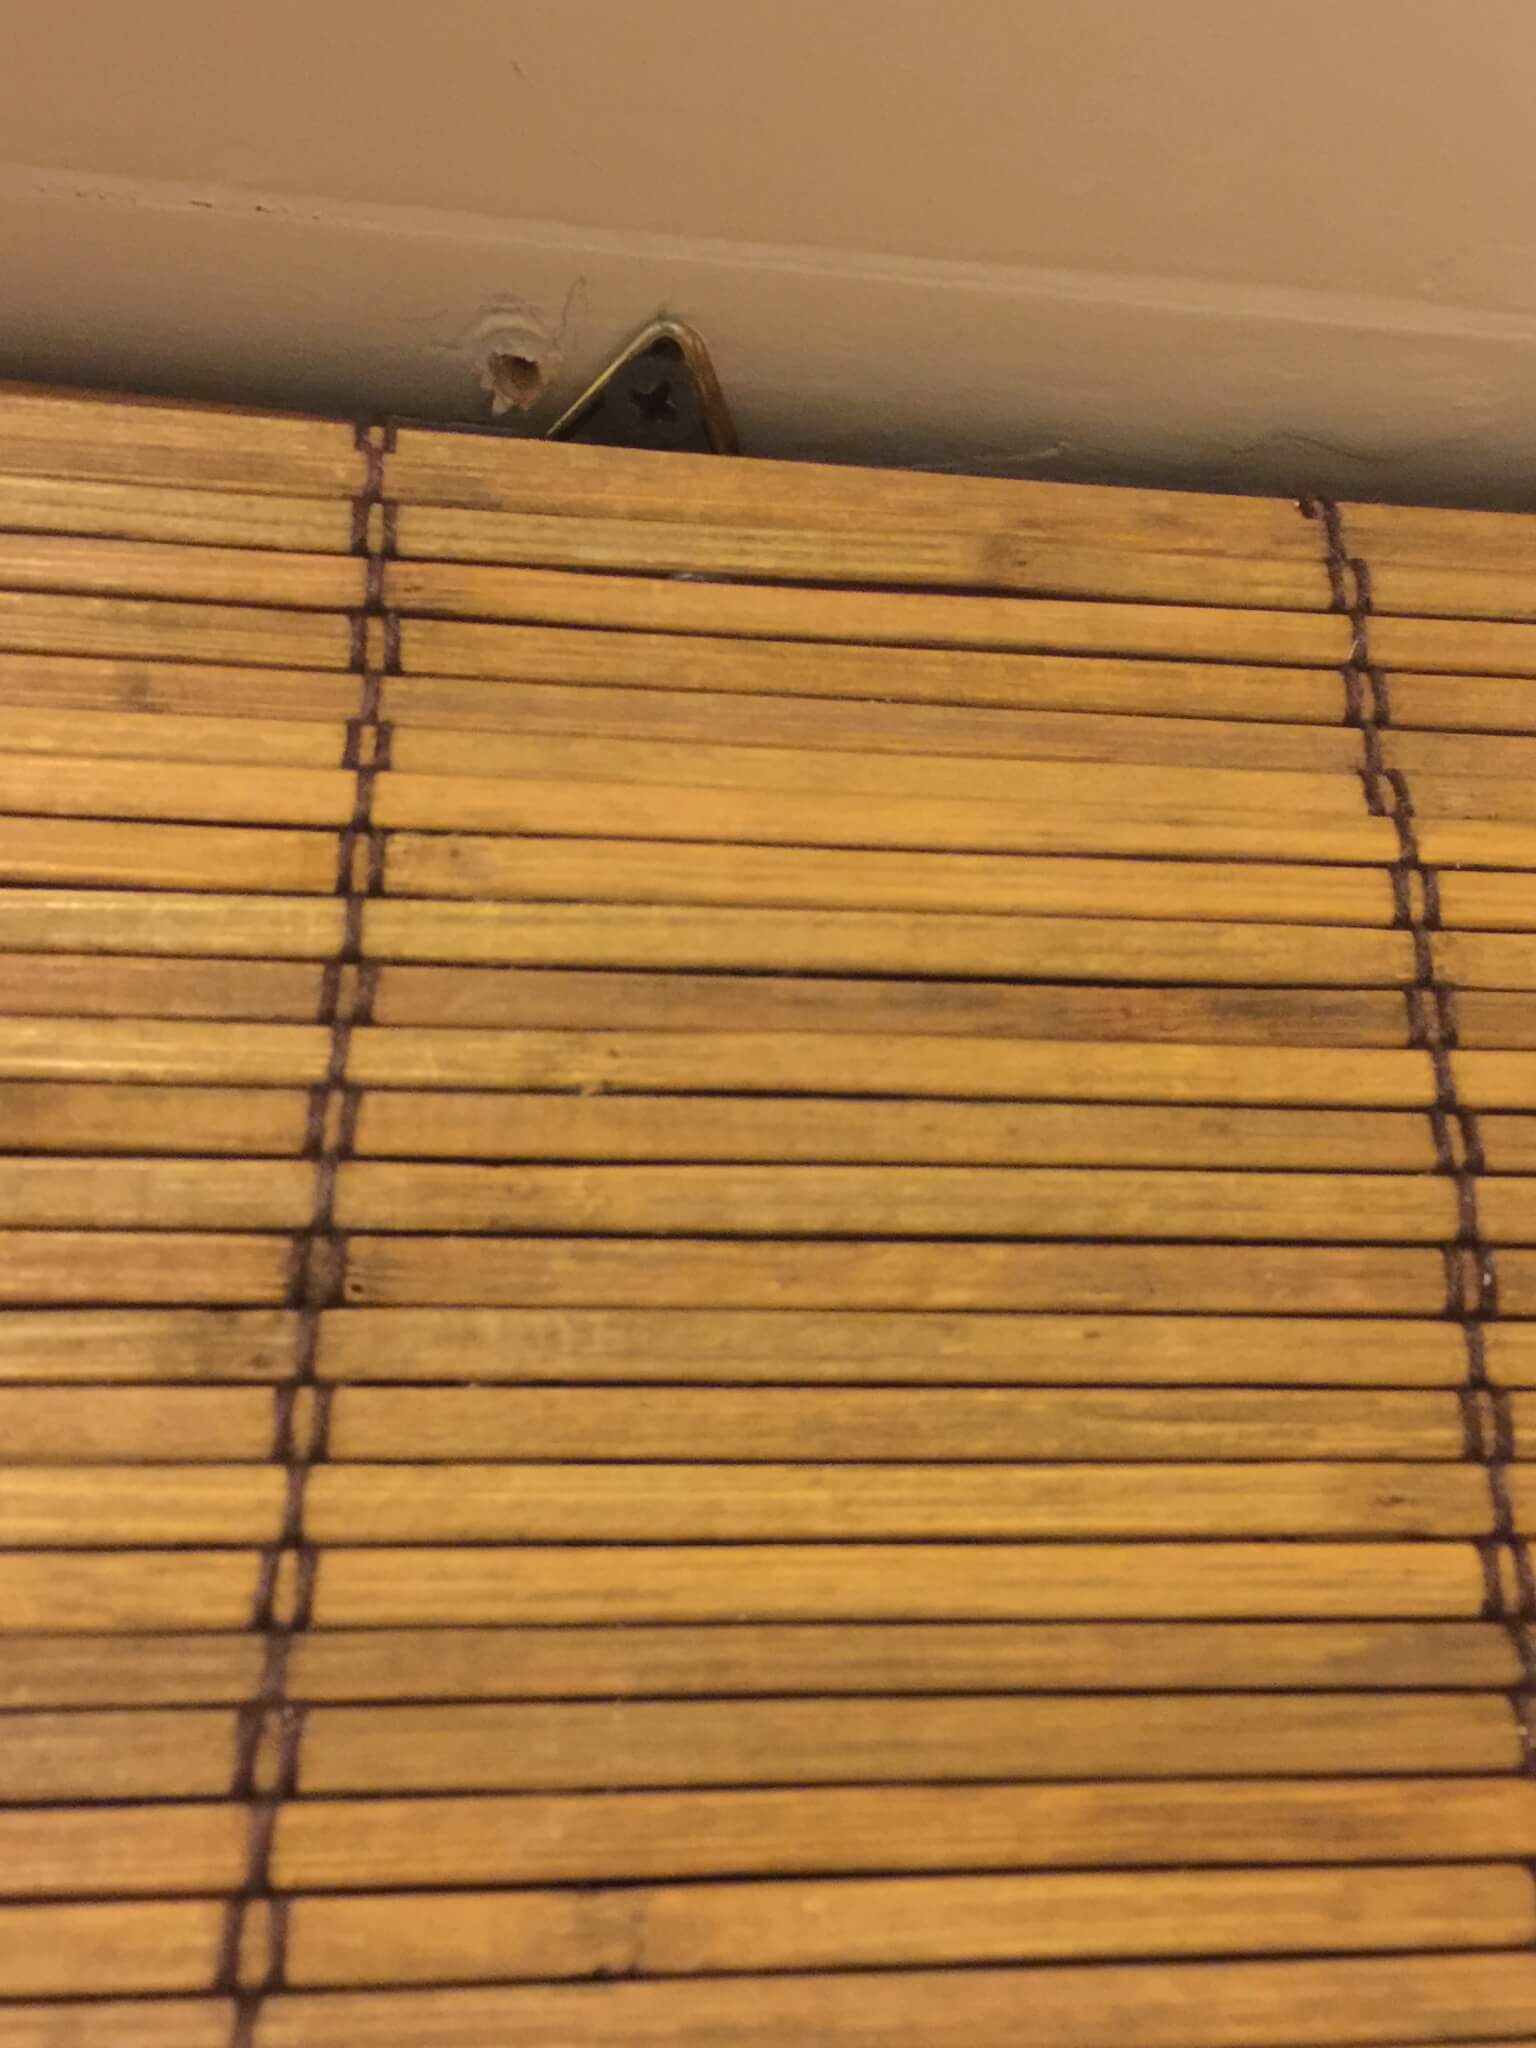
You need to make sure your blinds, whatever kind they are, that have the ability to be cut without damaging the mechanisms. My mechanisms were about 6 inches in on each side of the blind, so I had that much to work with on each side before I would damage the functional part of the blind.
Step 2: Measure Window
Measure your window, and then measure your blind. I wanted my blinds to be installed inside the window to the actual window trim. Now, I have wood windows, so I am able to install it pretty much anywhere but if you have a drywall window sill, you might need a linger screw to get to the studs inside the wall.
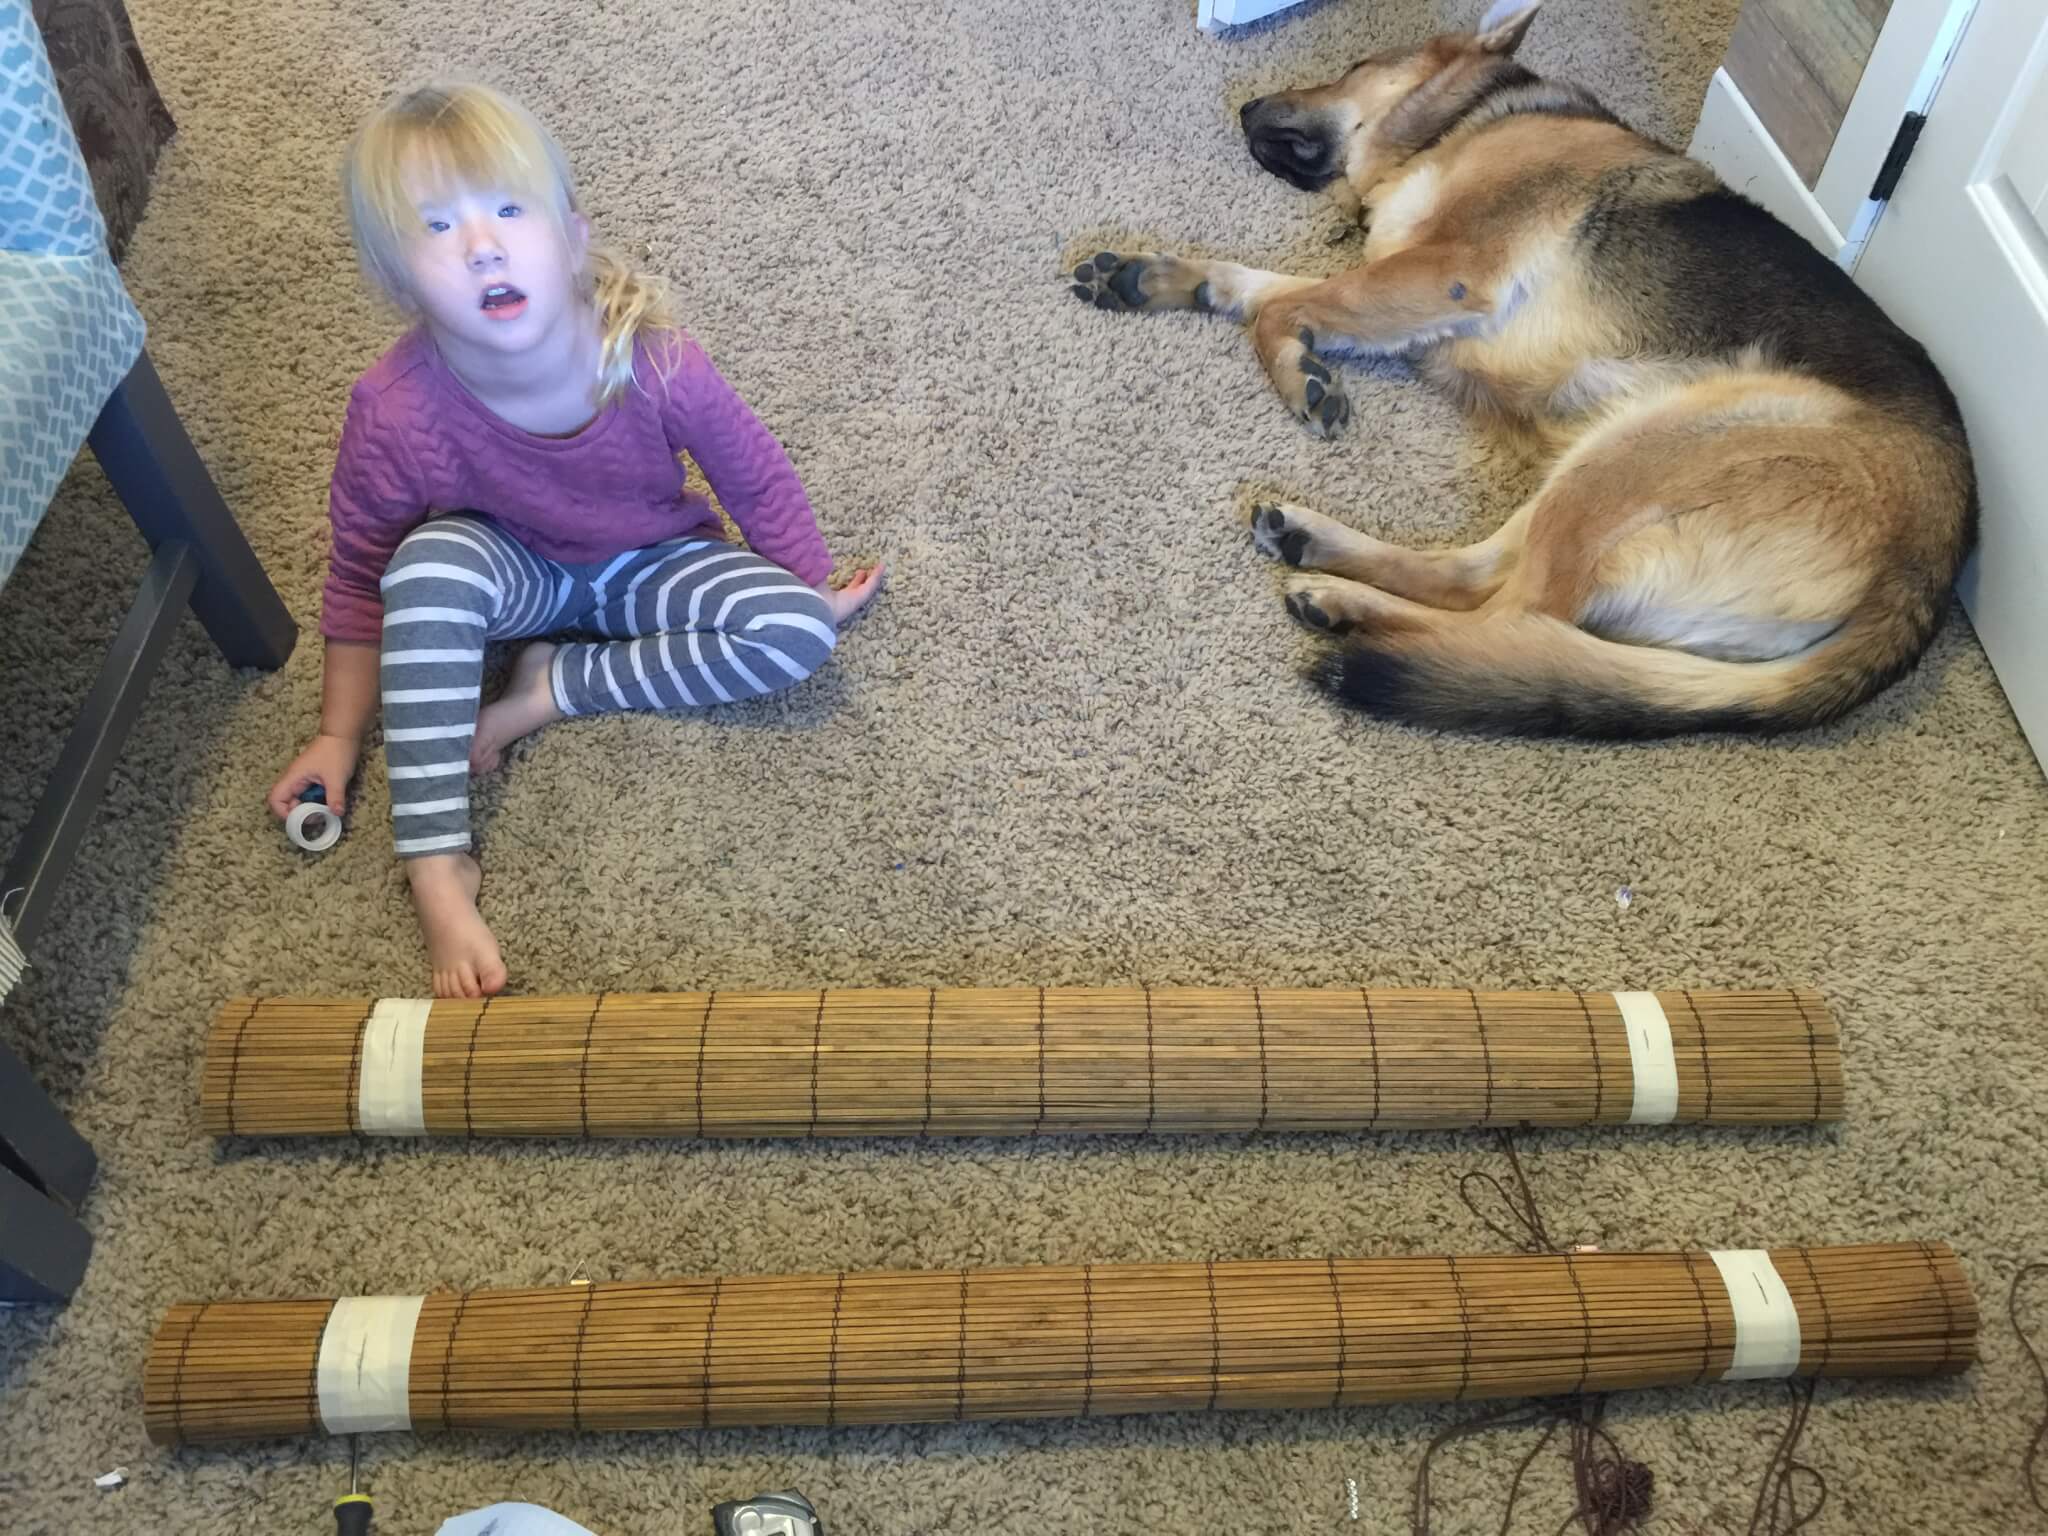
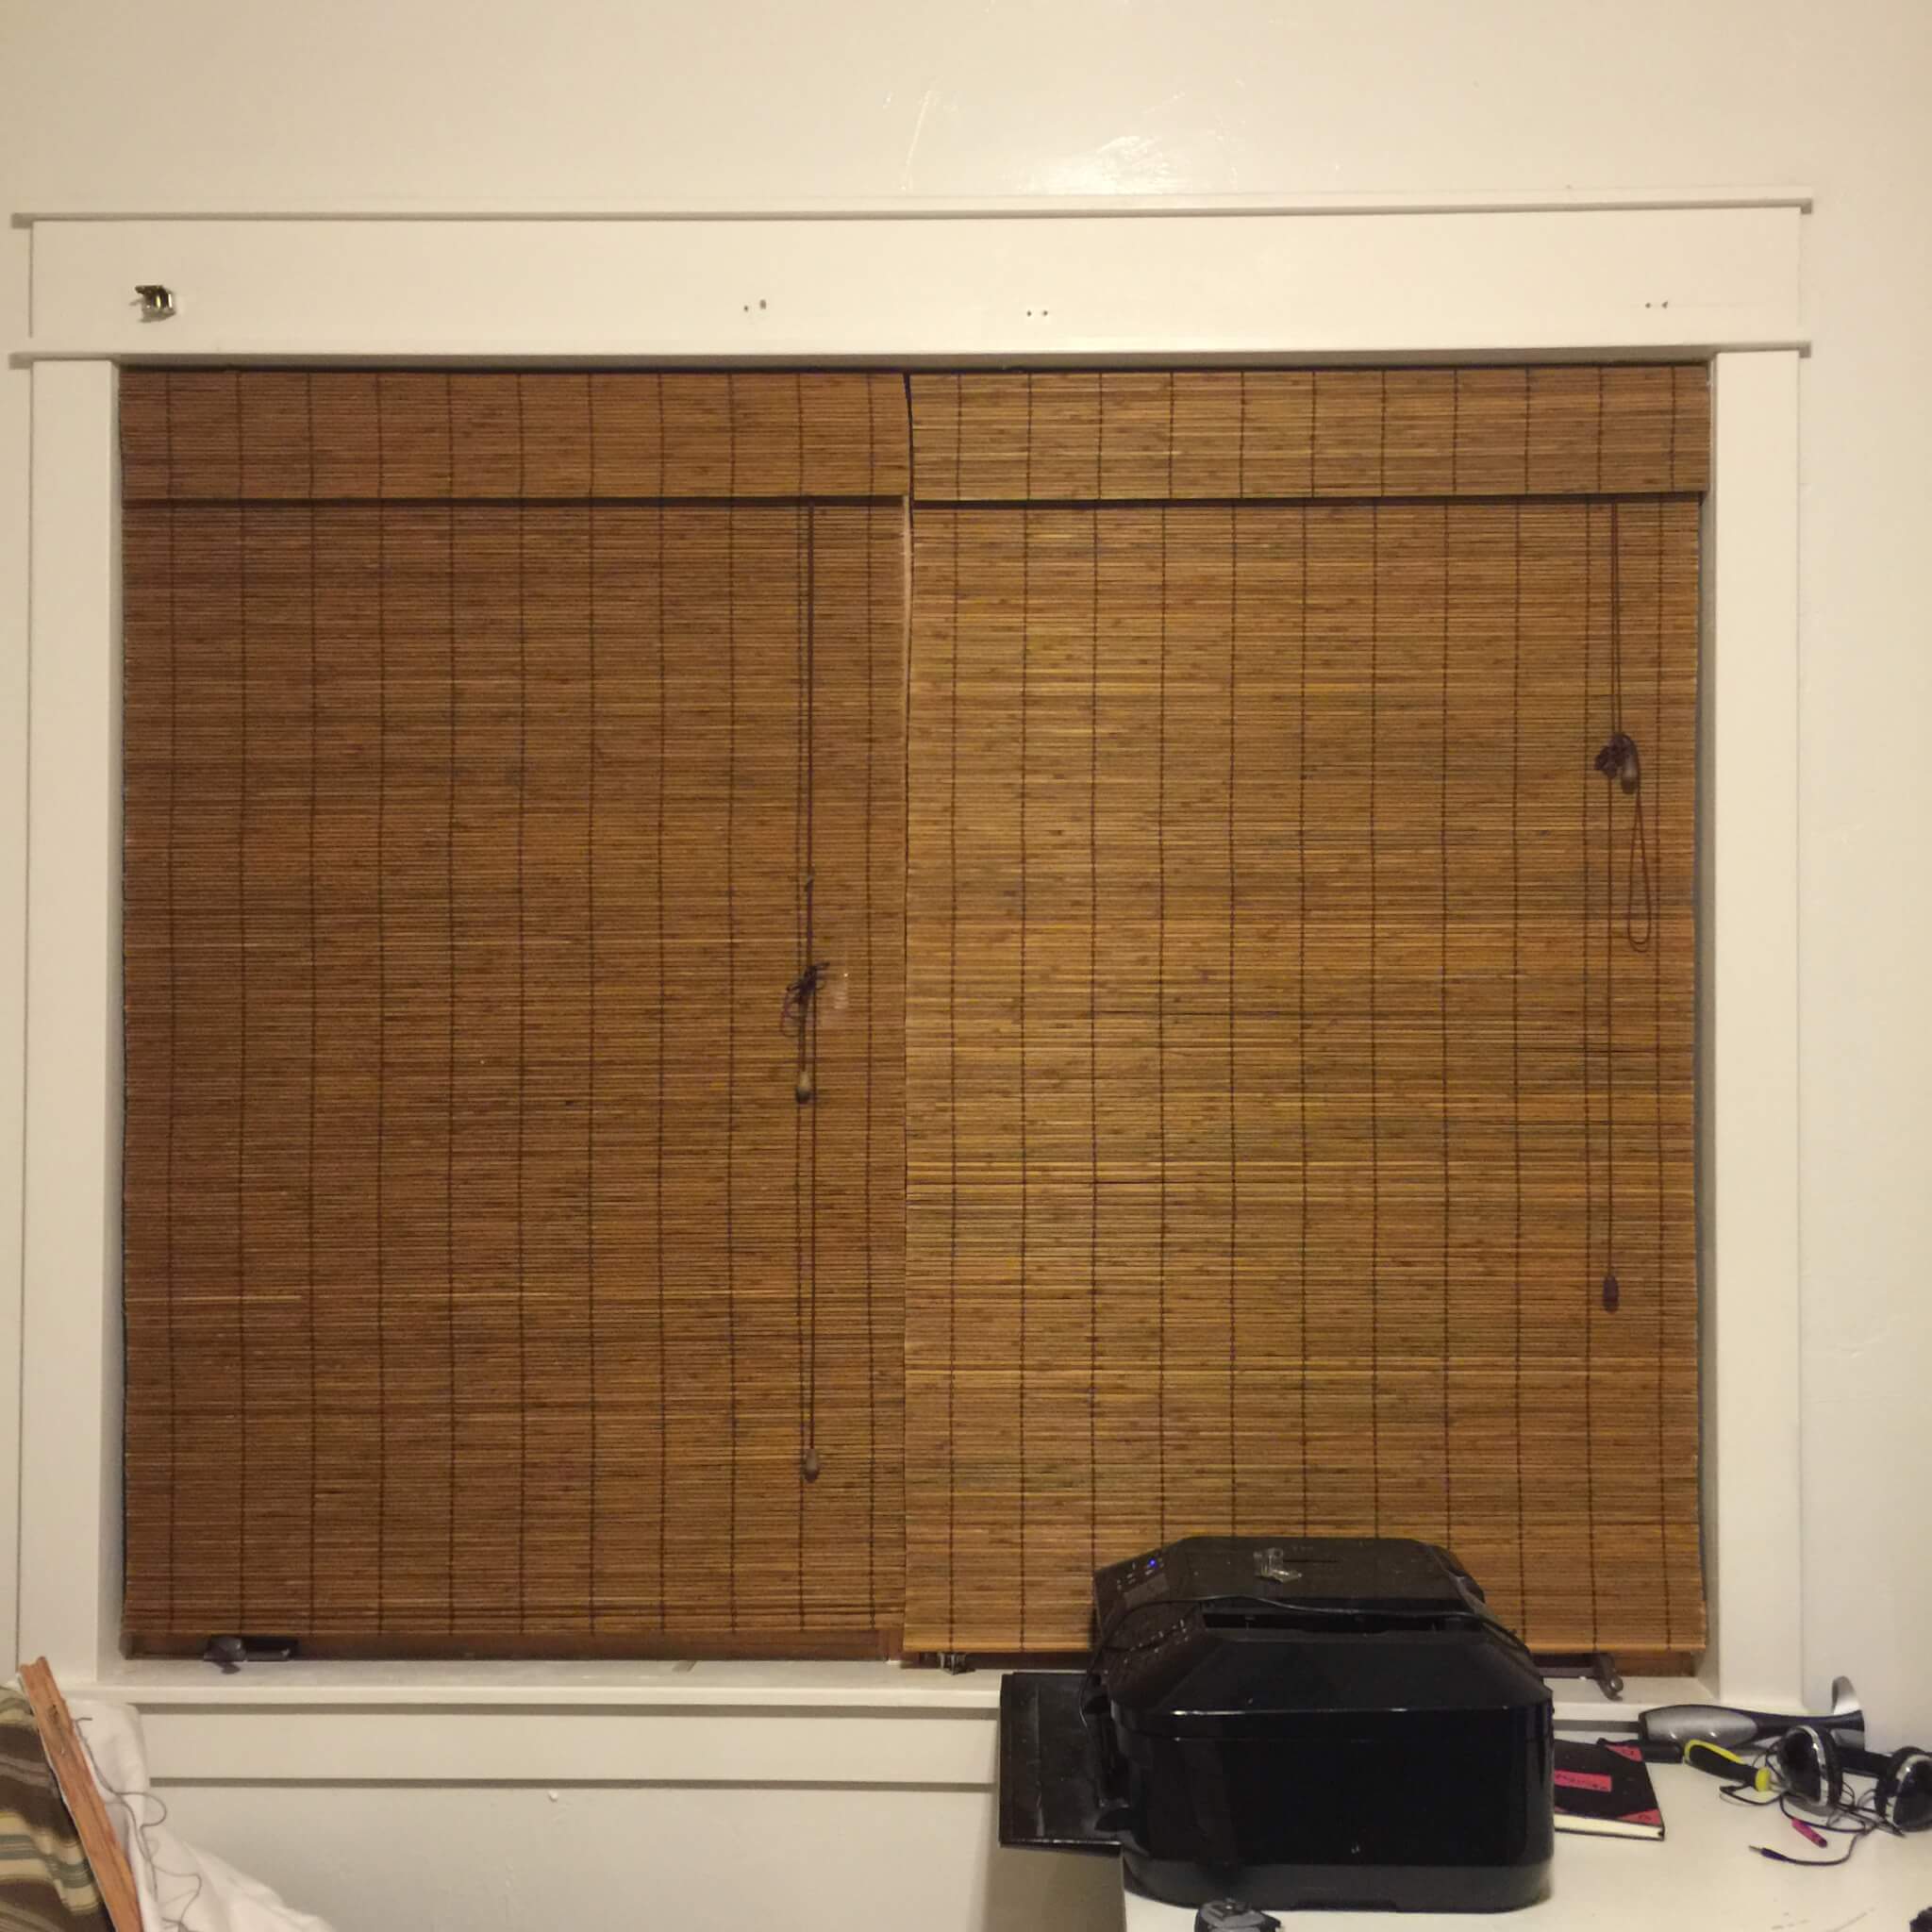
SO my window was 70 inches wide plus about 1/2 inch. I have priced out blinds this size, yowza! I decided 2 smaller blinds was better. Plus, then you can open one or the other or both. It gives you more options. Since I had 2 blinds, I needed each to be 35 inches. I wanted a little give with that extra 1/2 inch.
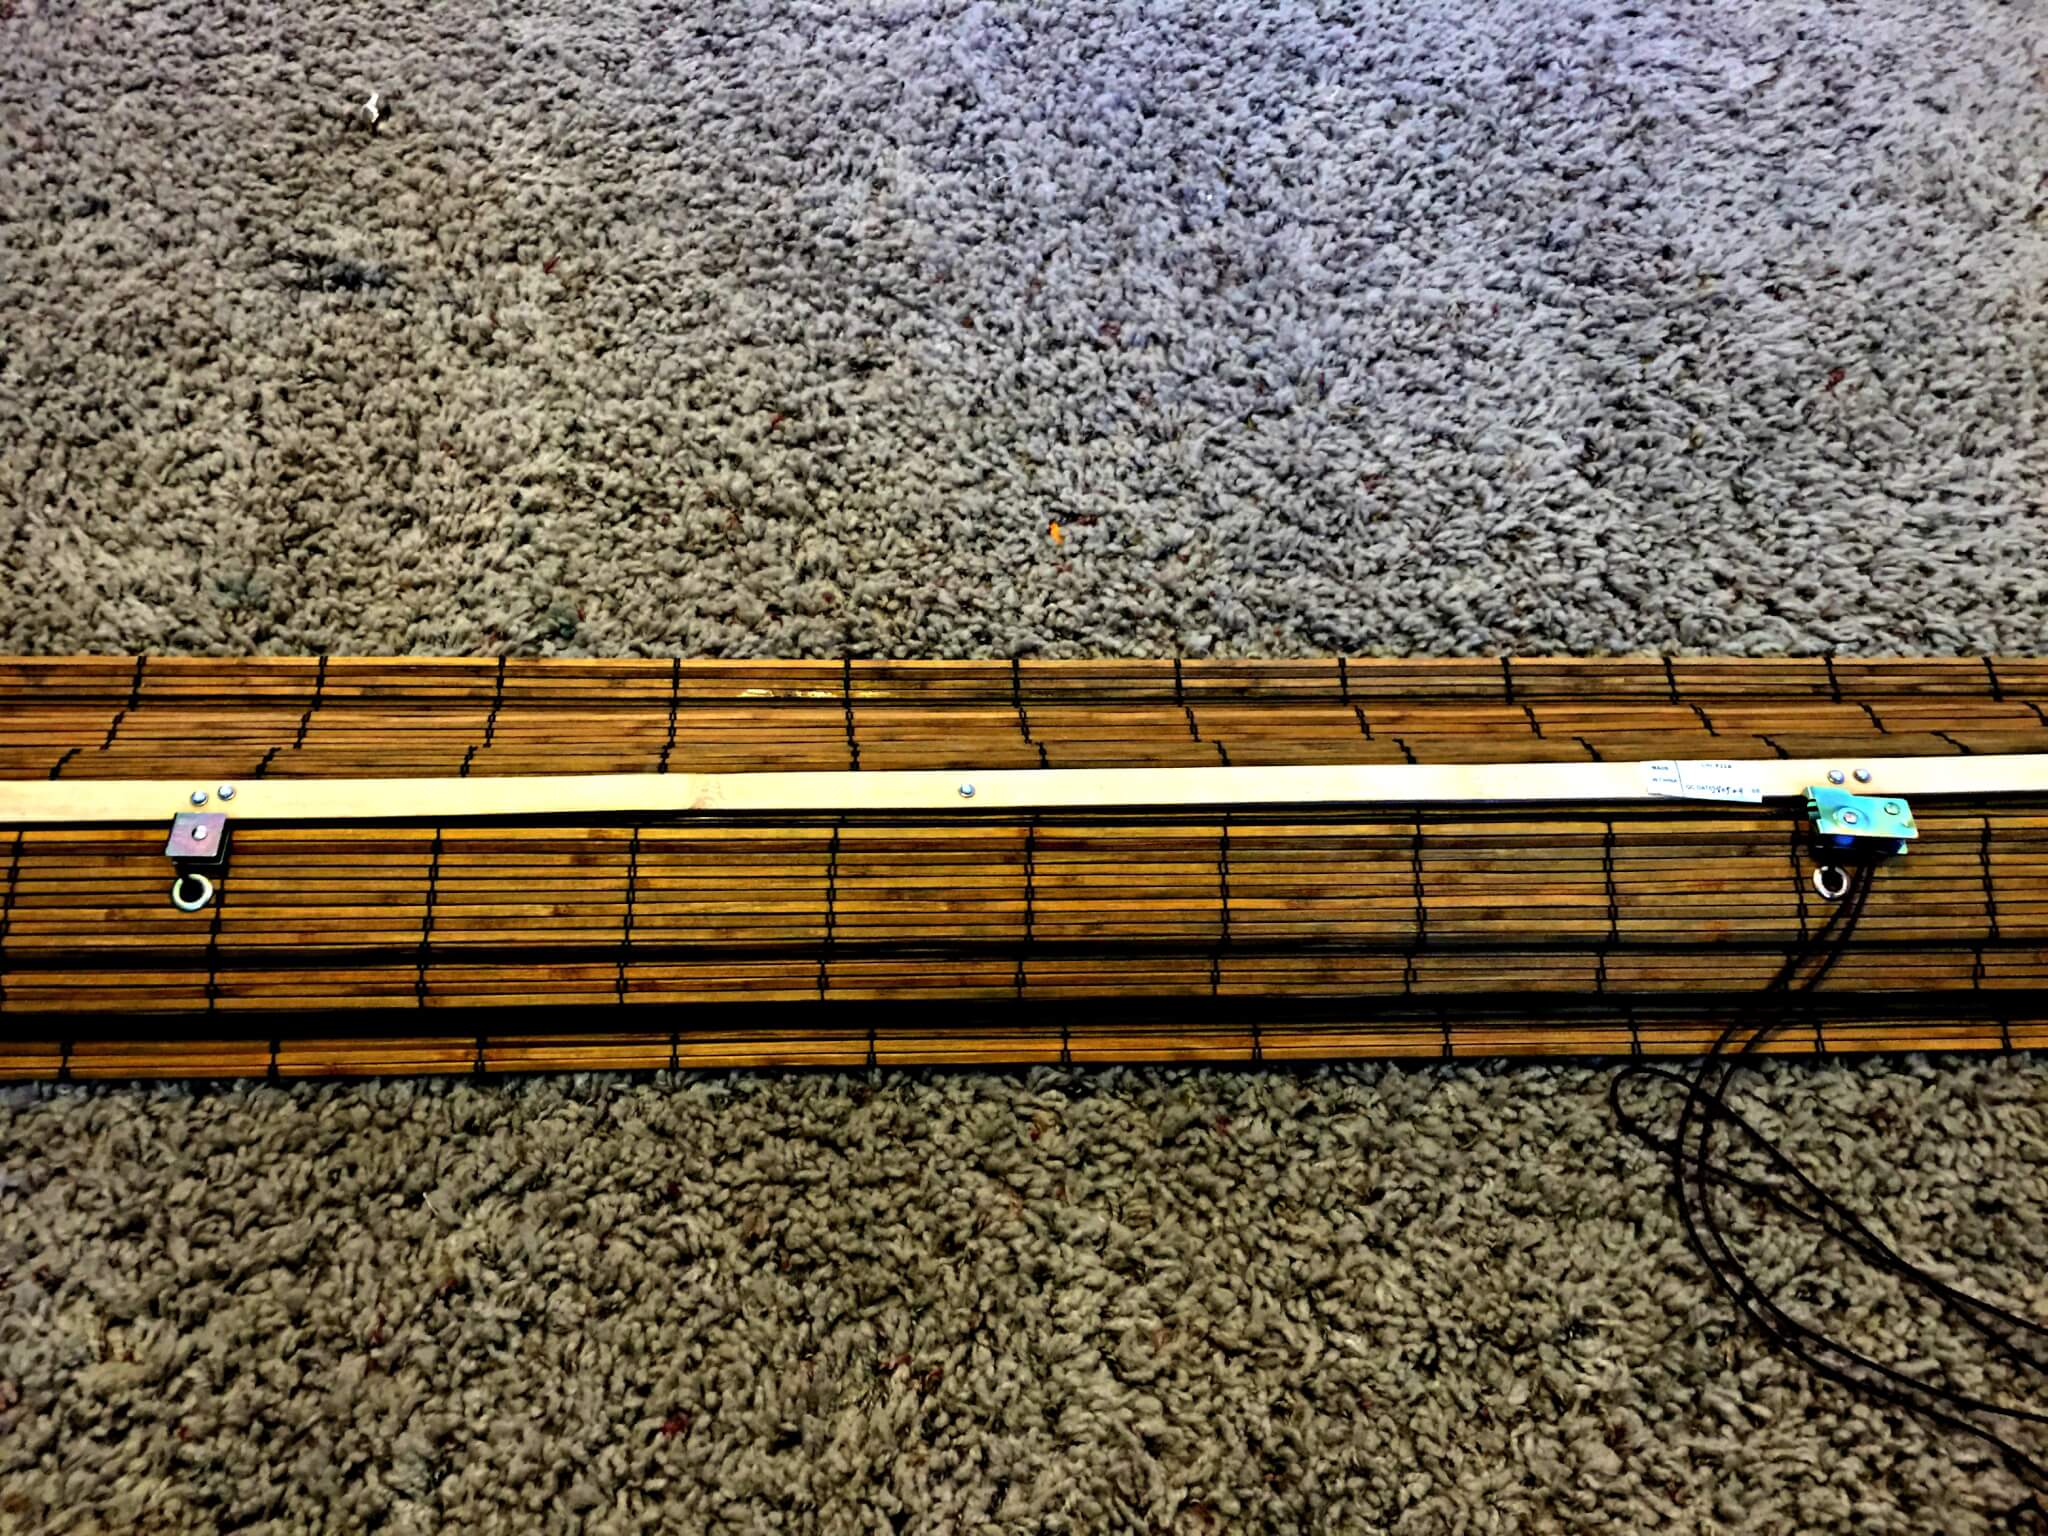
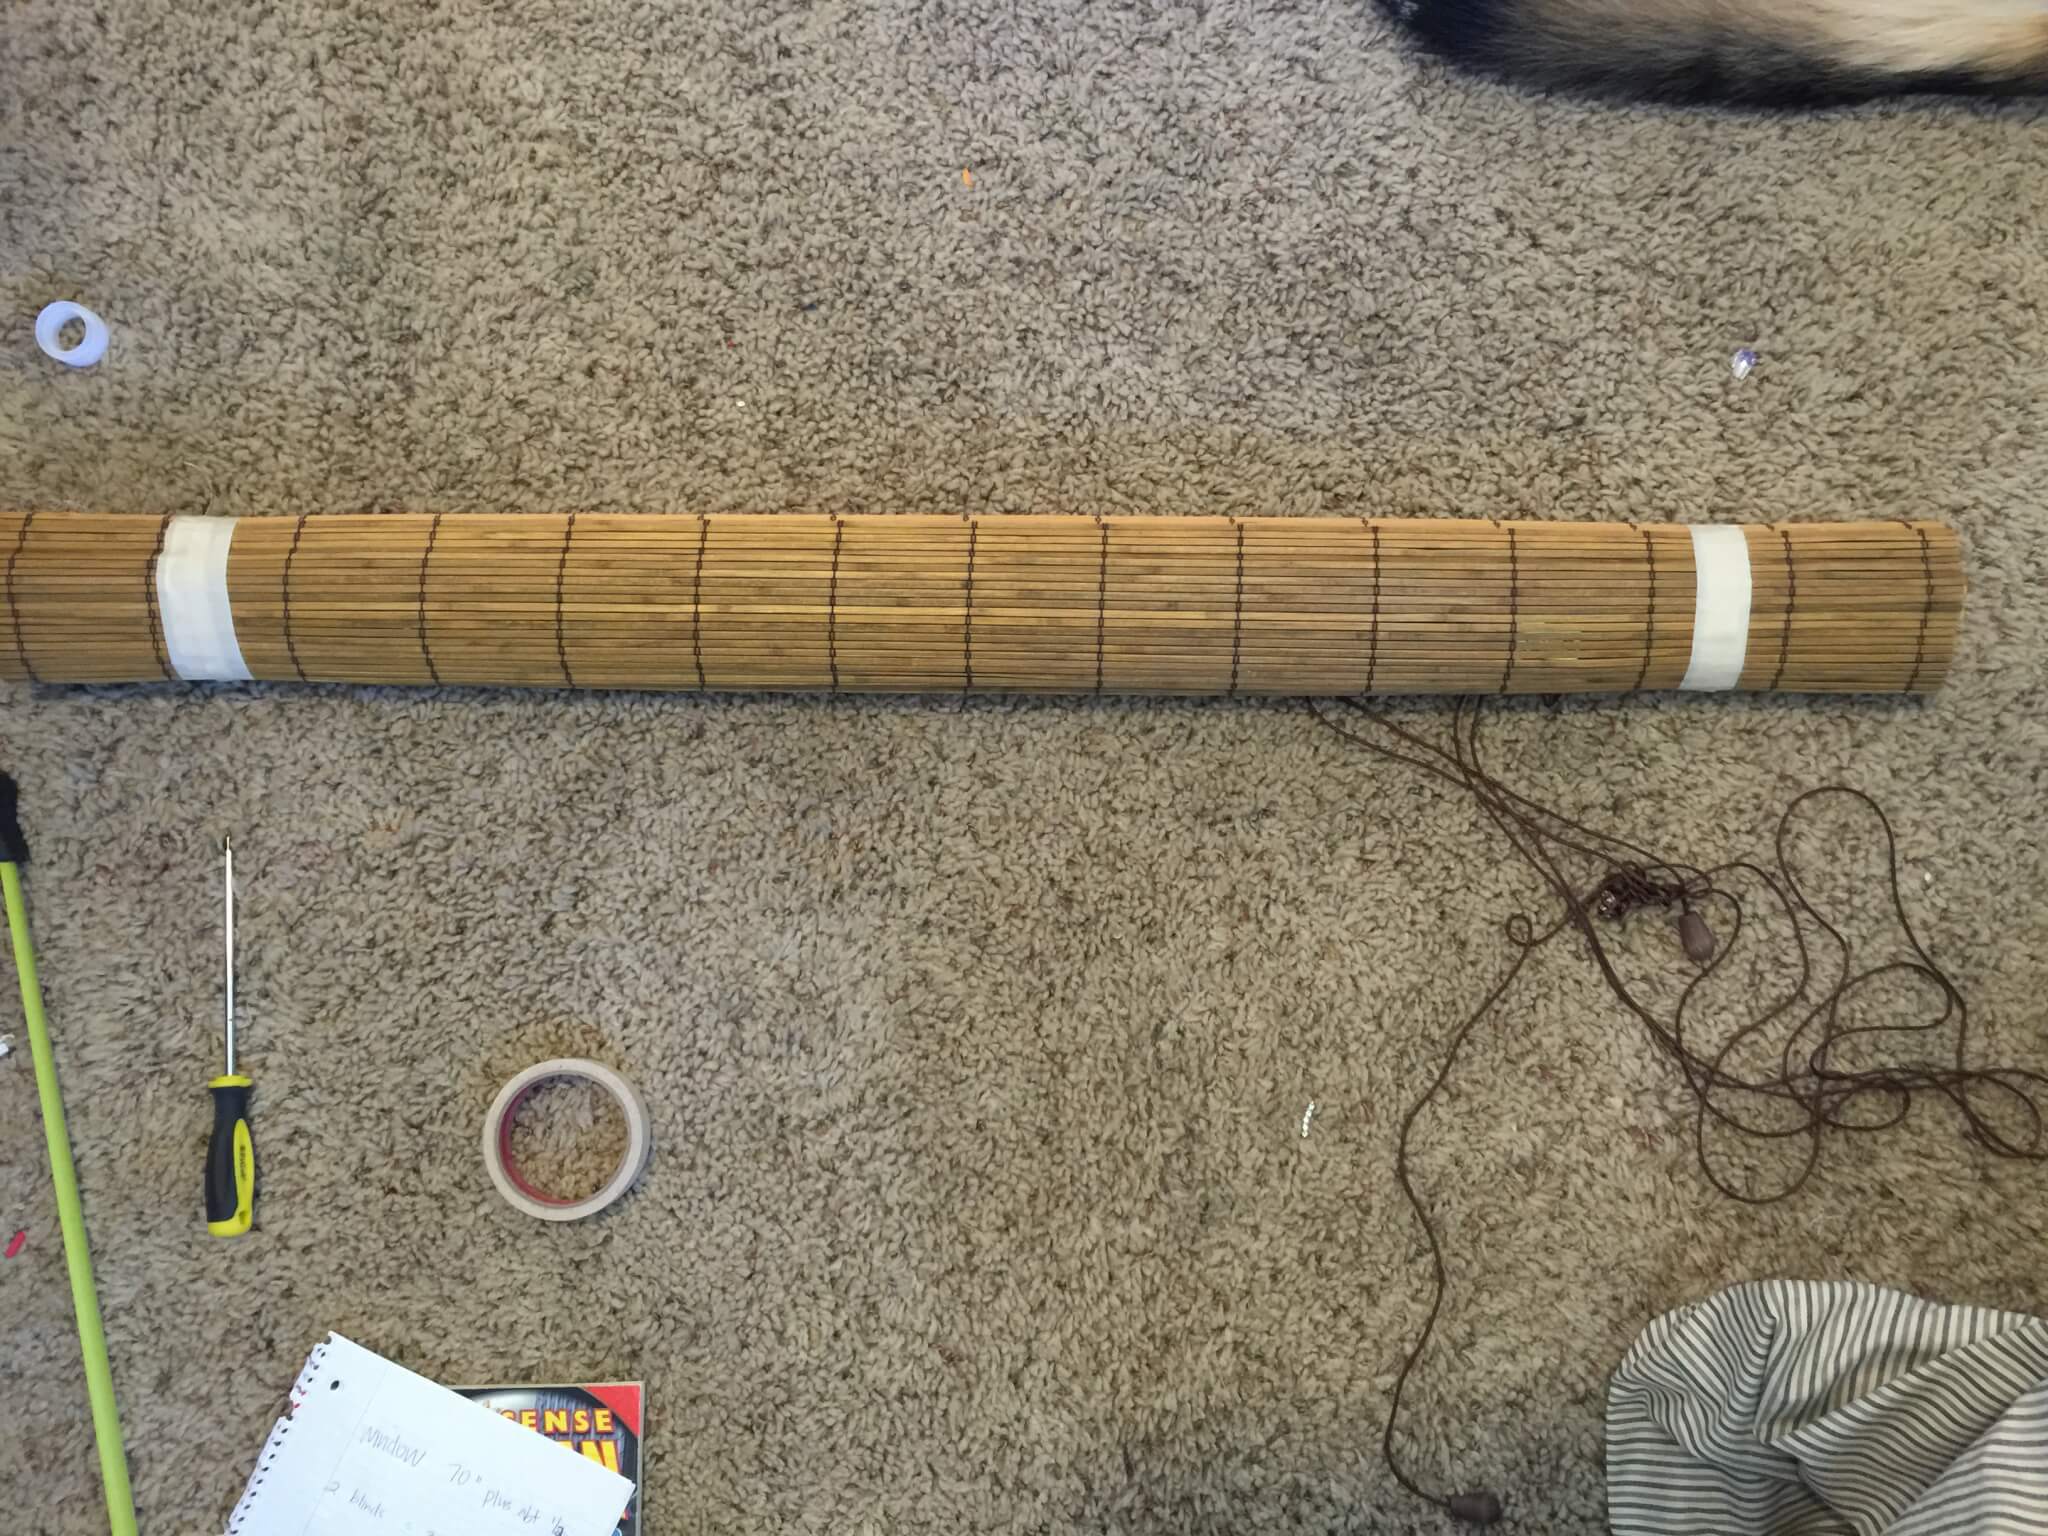
Step 3: Measure your blinds.
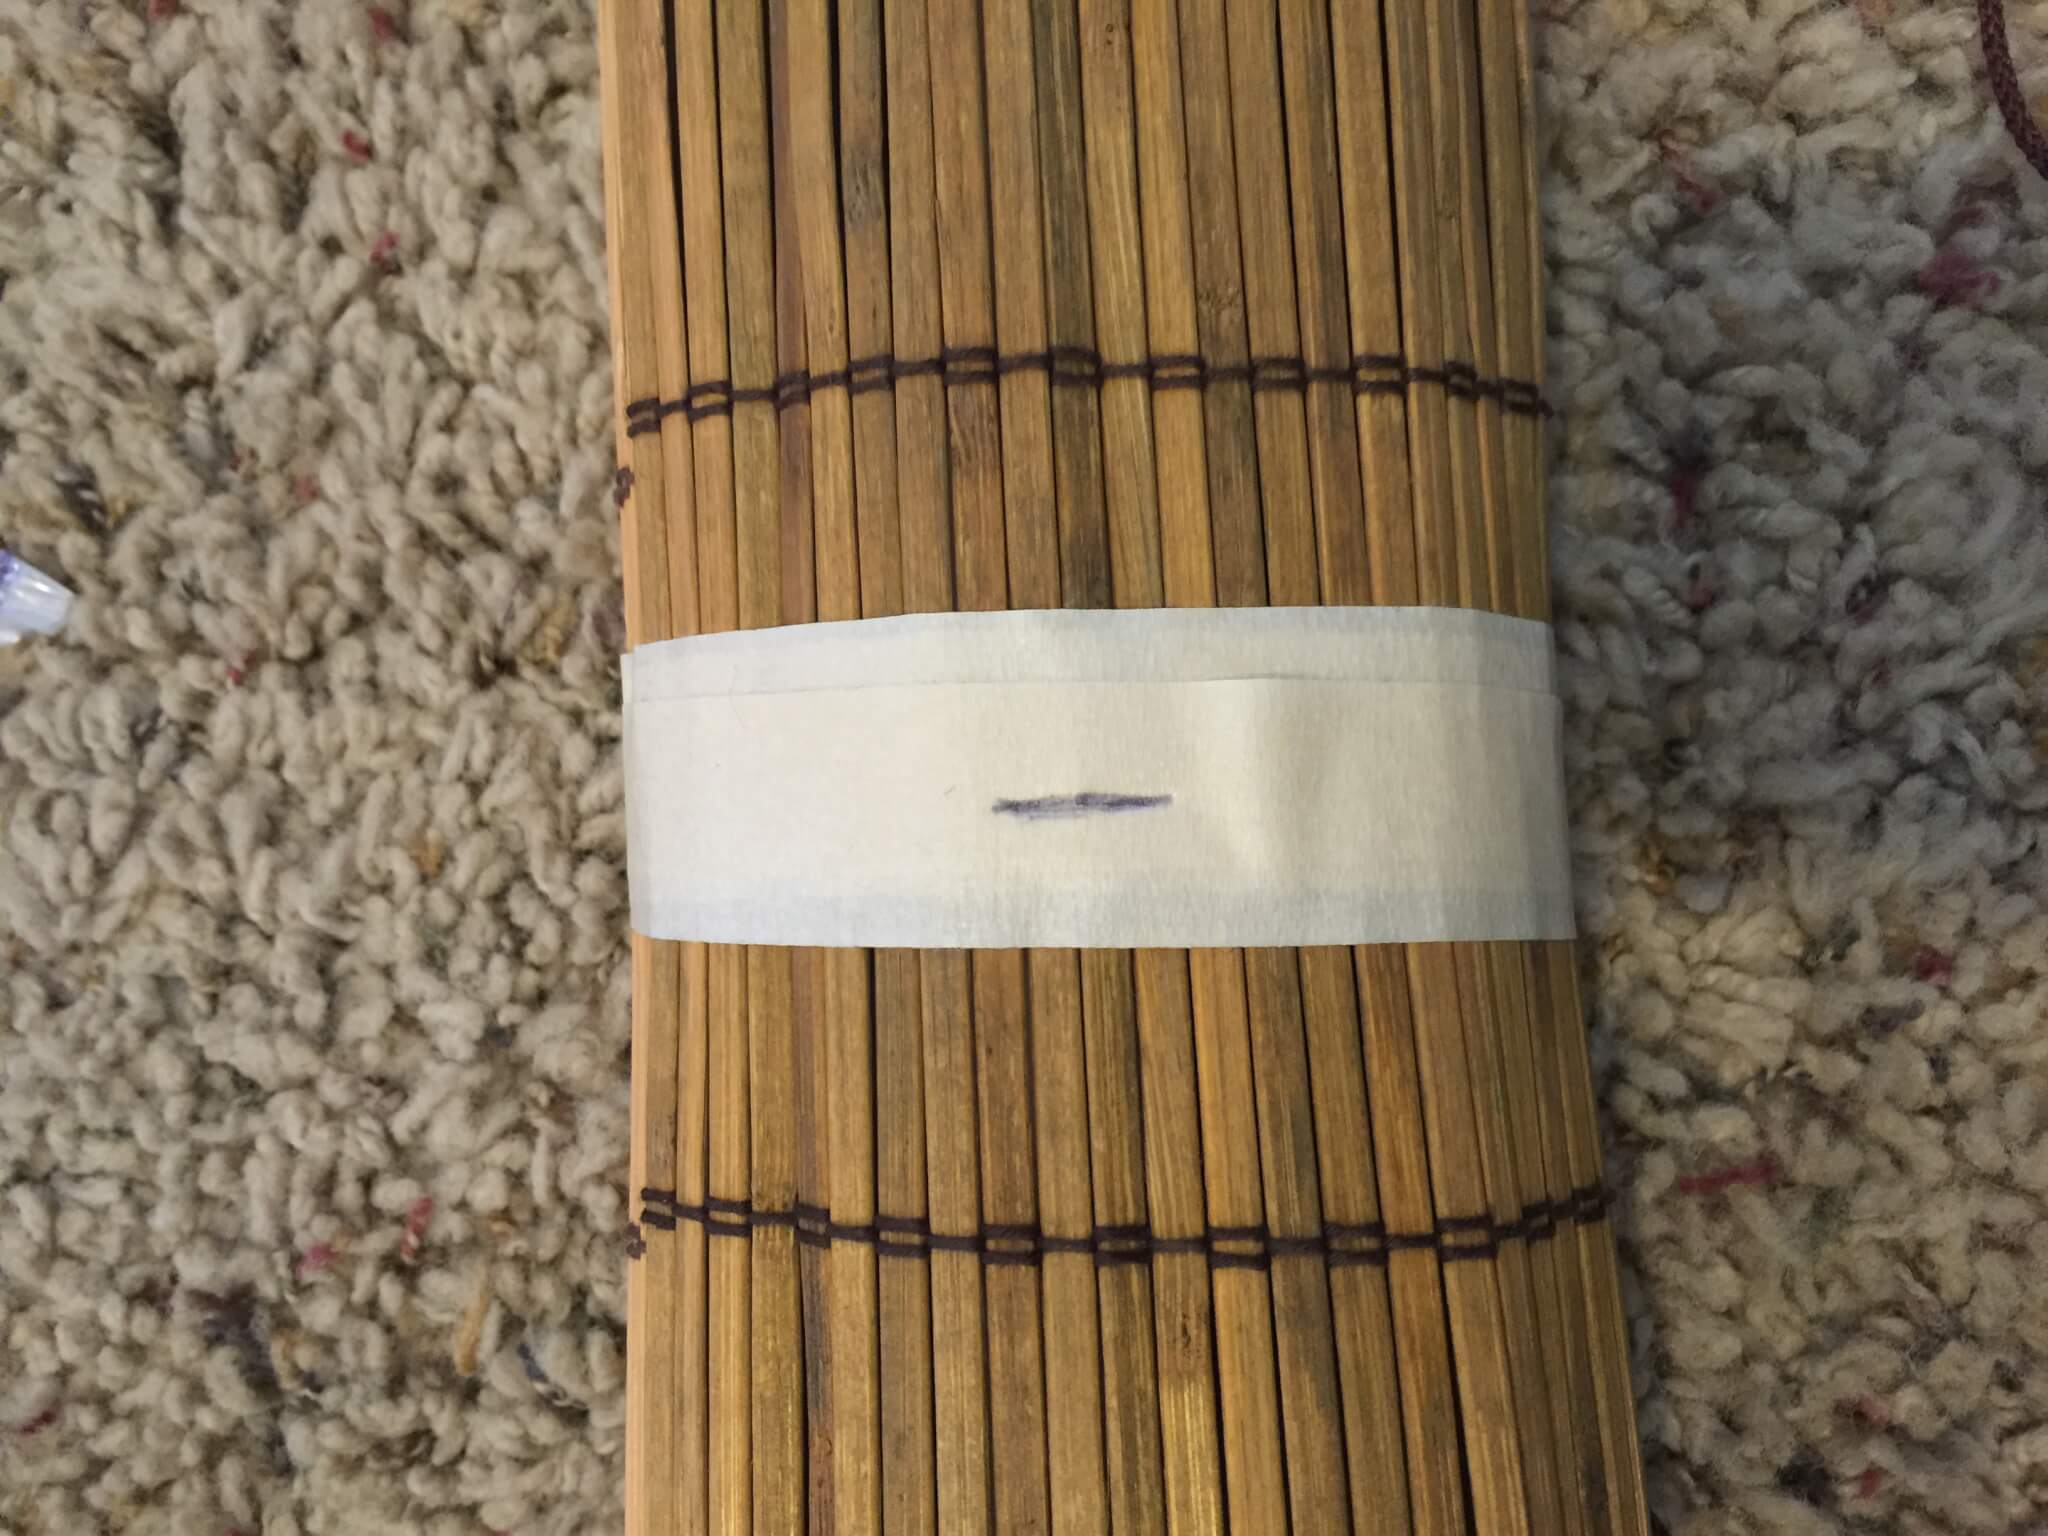
Measure your blinds and mark where you want them to be cut. I tried to make sure they were evenly spaced on both sides. Once I had the 35 inches marked, I taped both spots with masking tape. I made a few layers, and taped the blind as tight as I could get them rolled up. I then remeasured and marked where I want them cut.
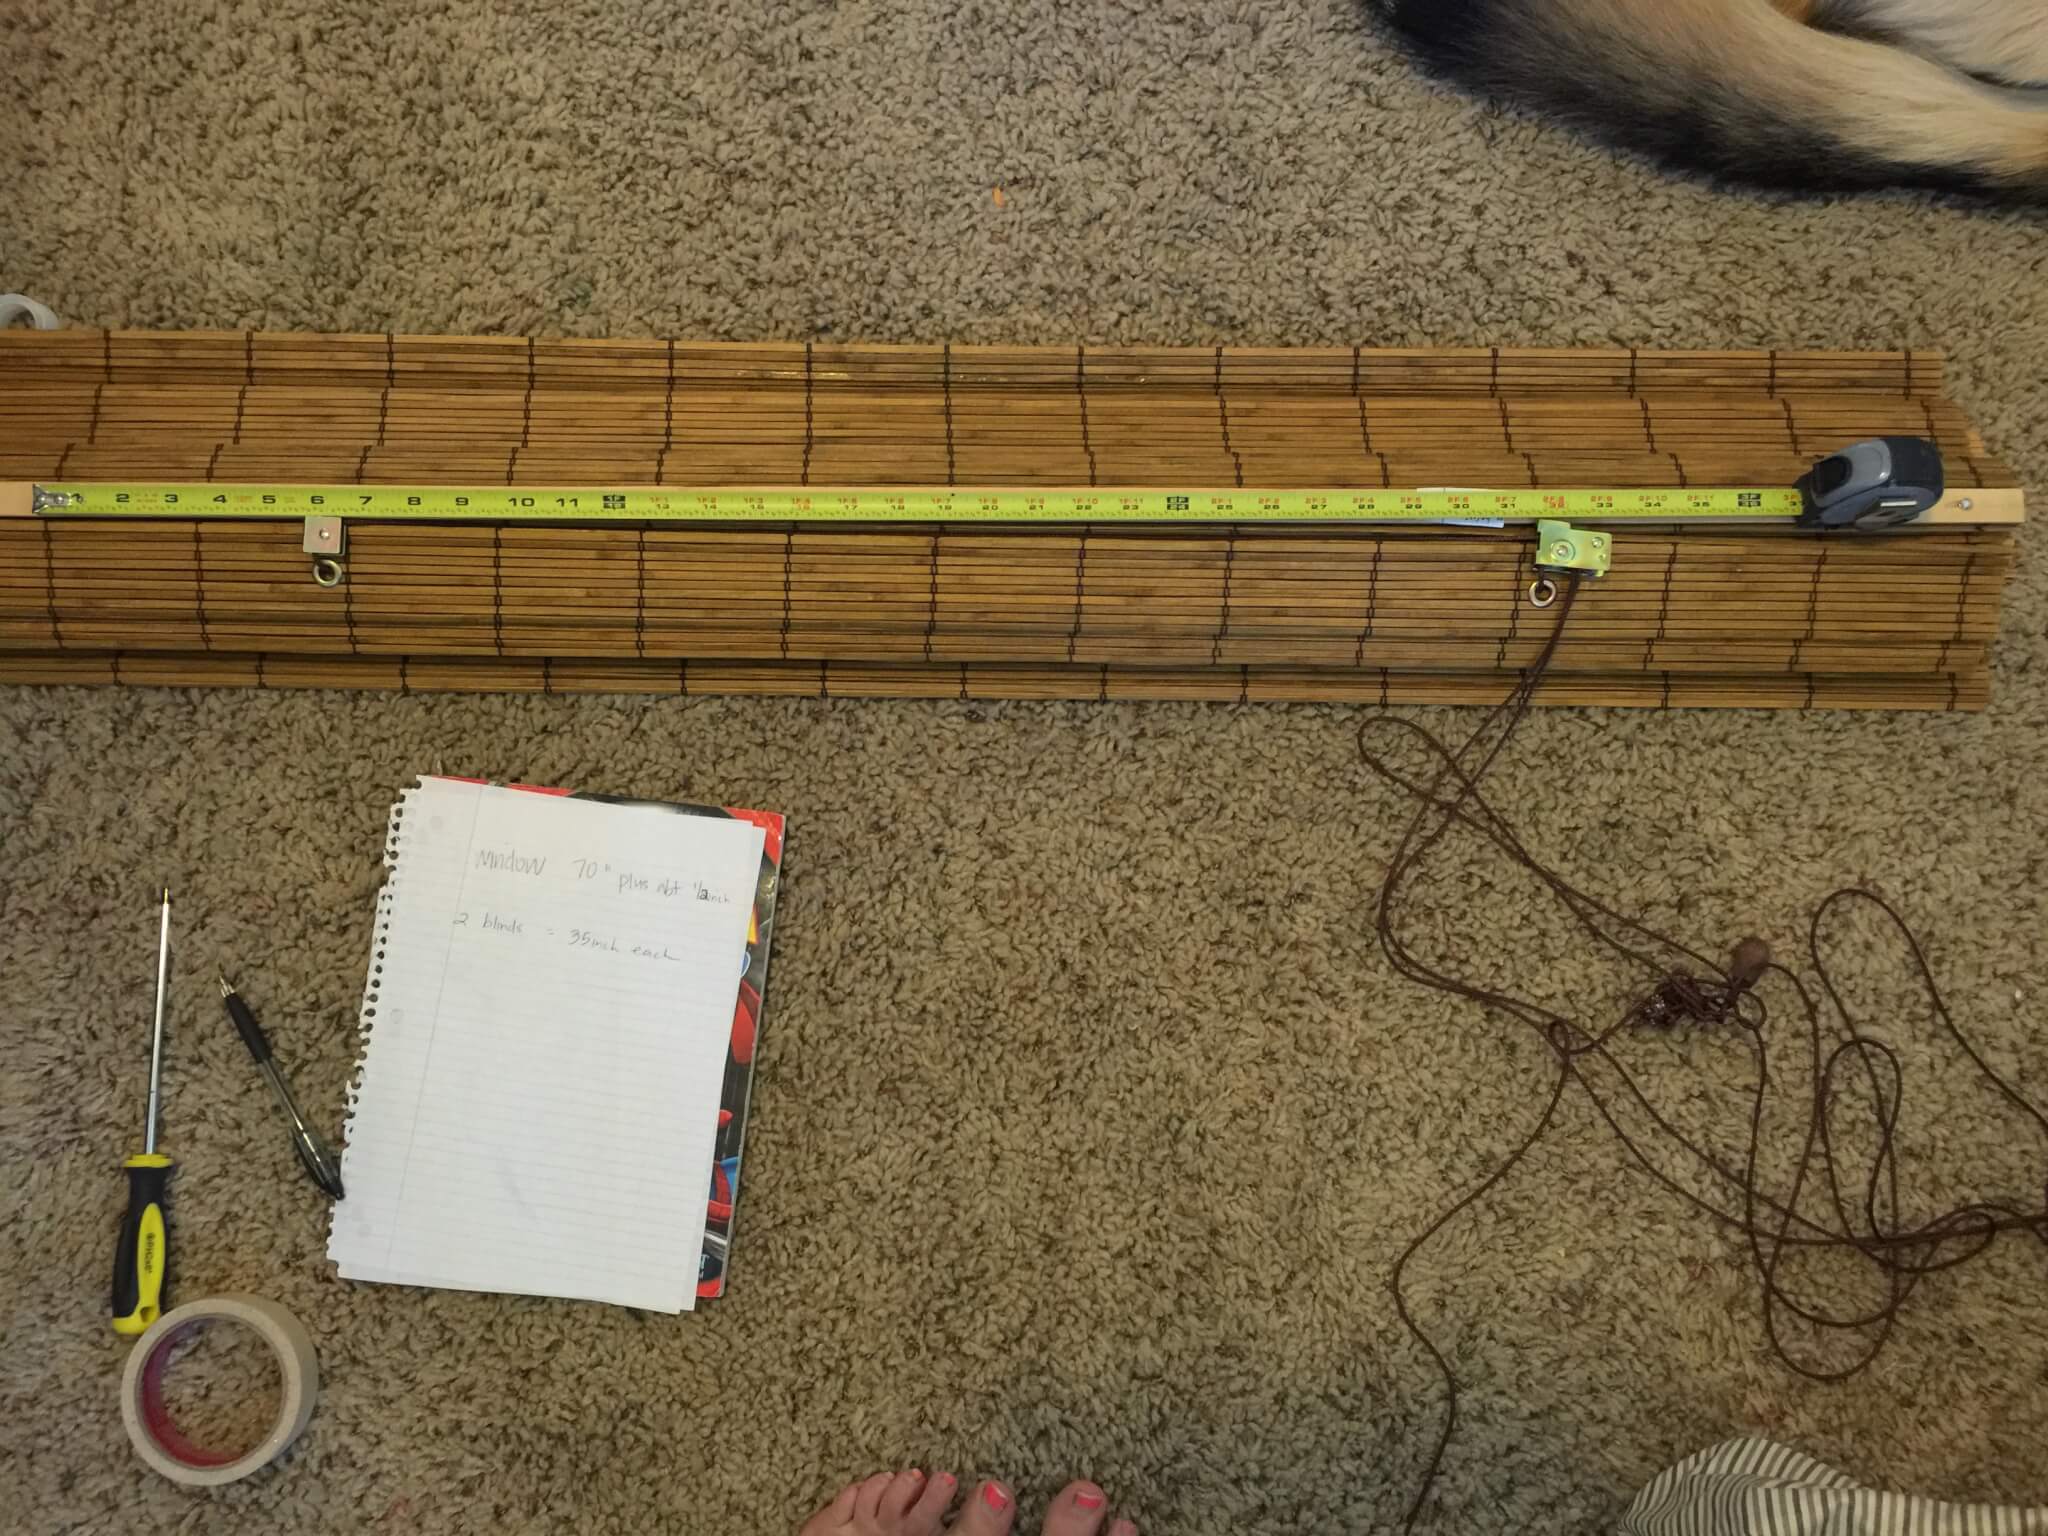

Do you love the little tail up in the right hand corner of the pictures? My assistant in all my DIY projects.
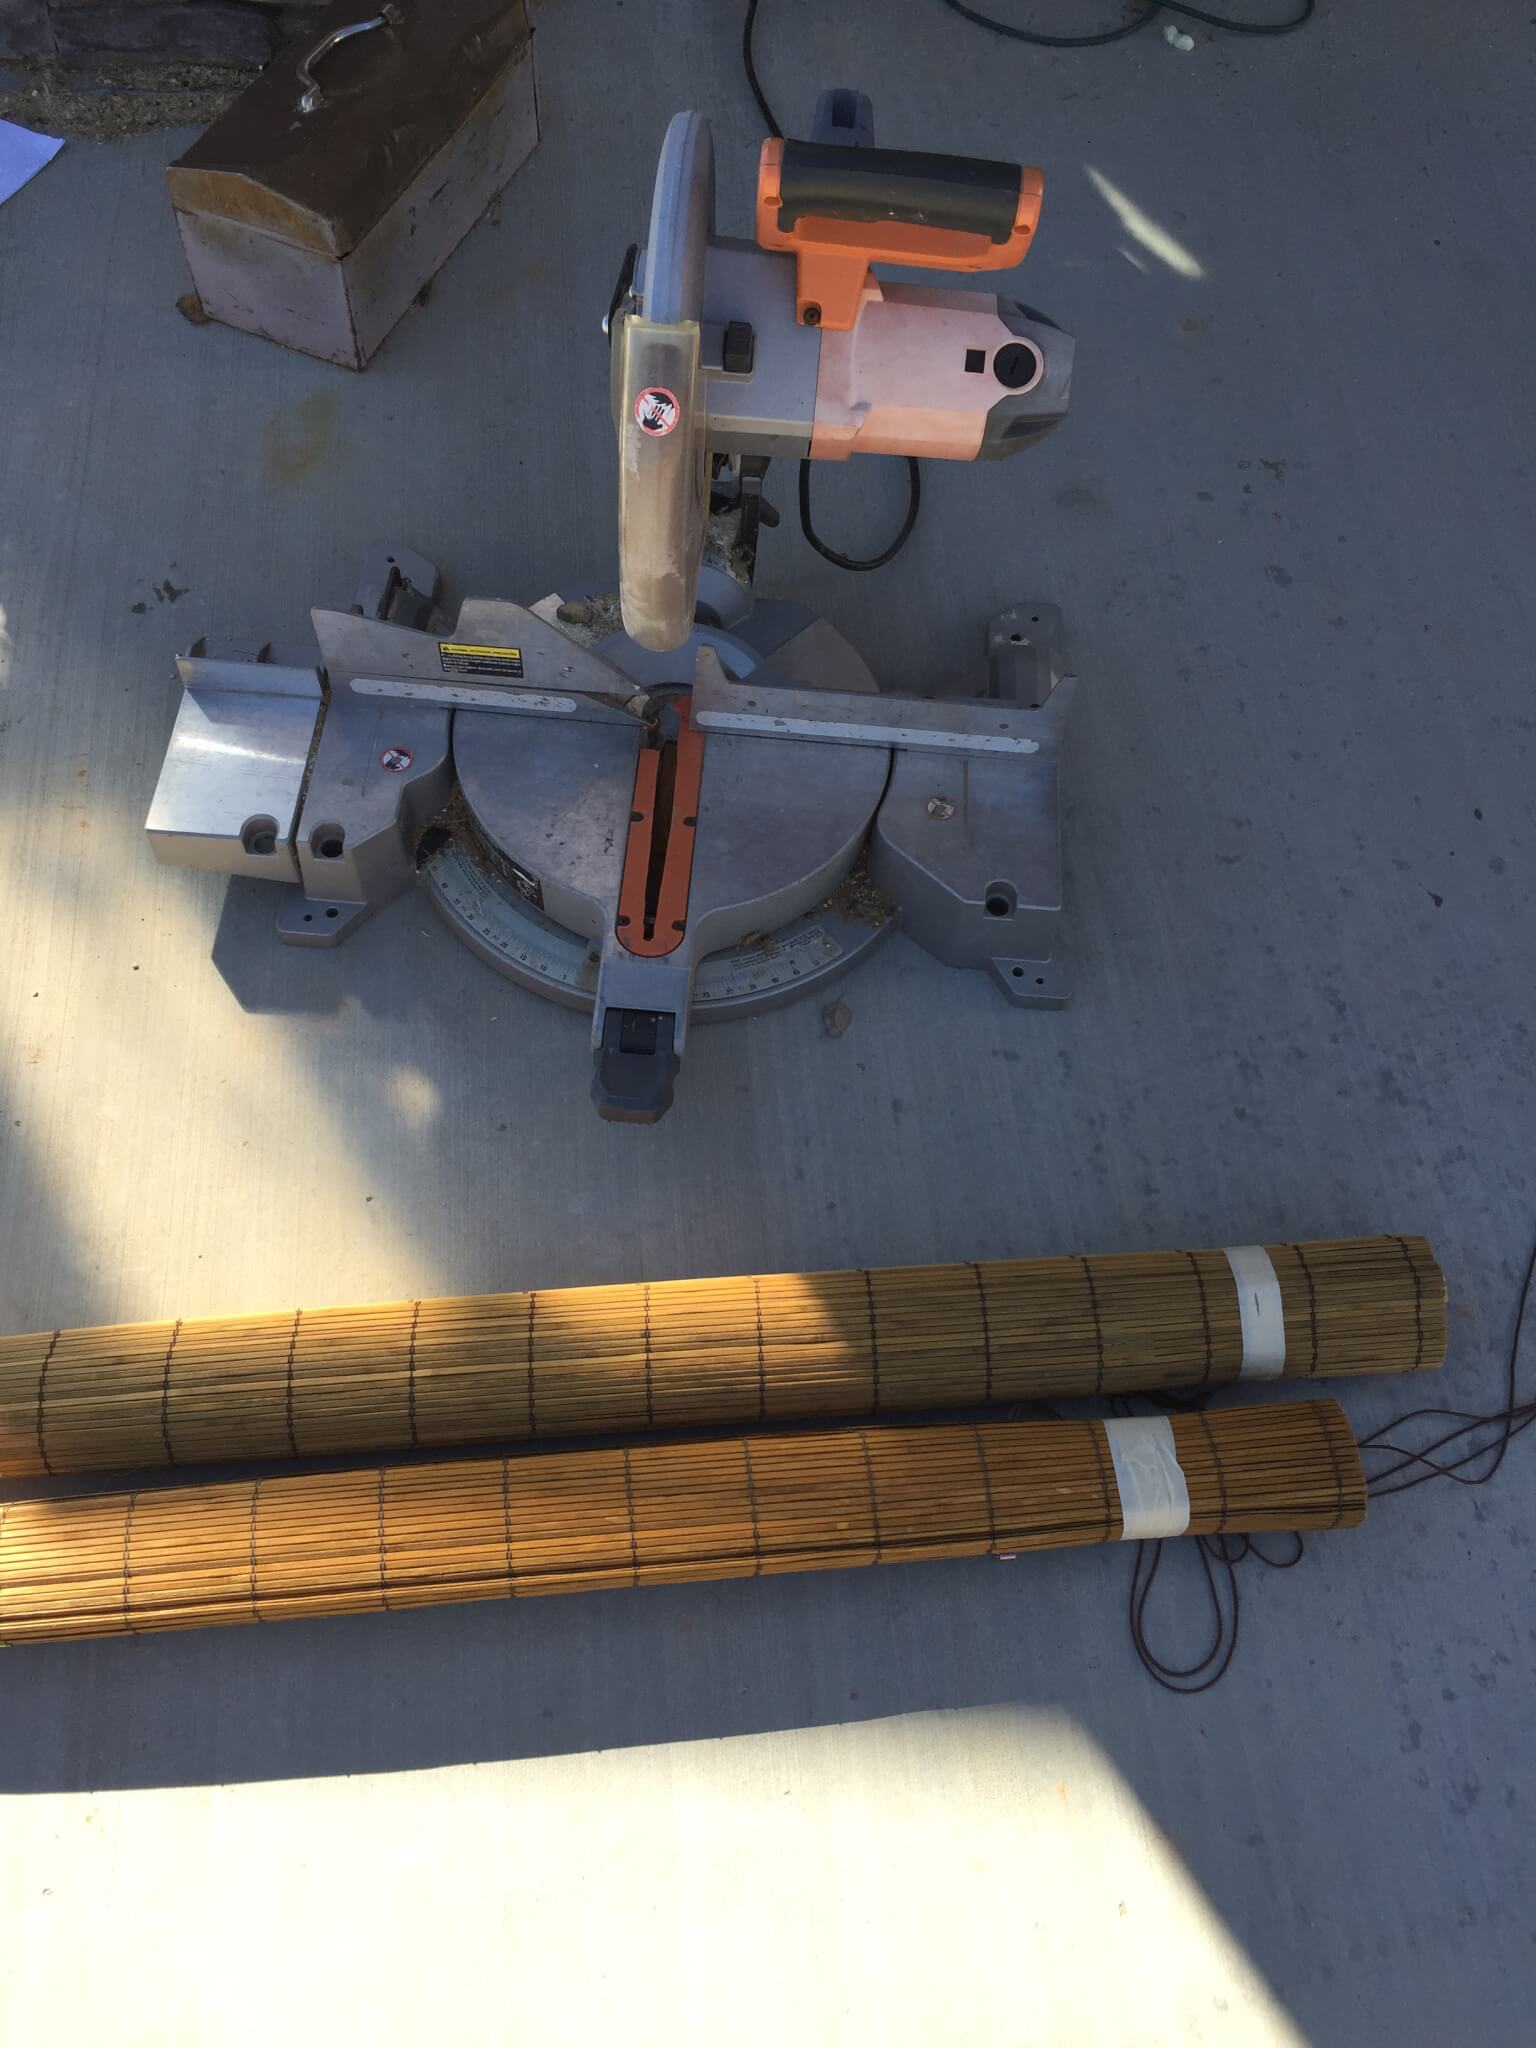
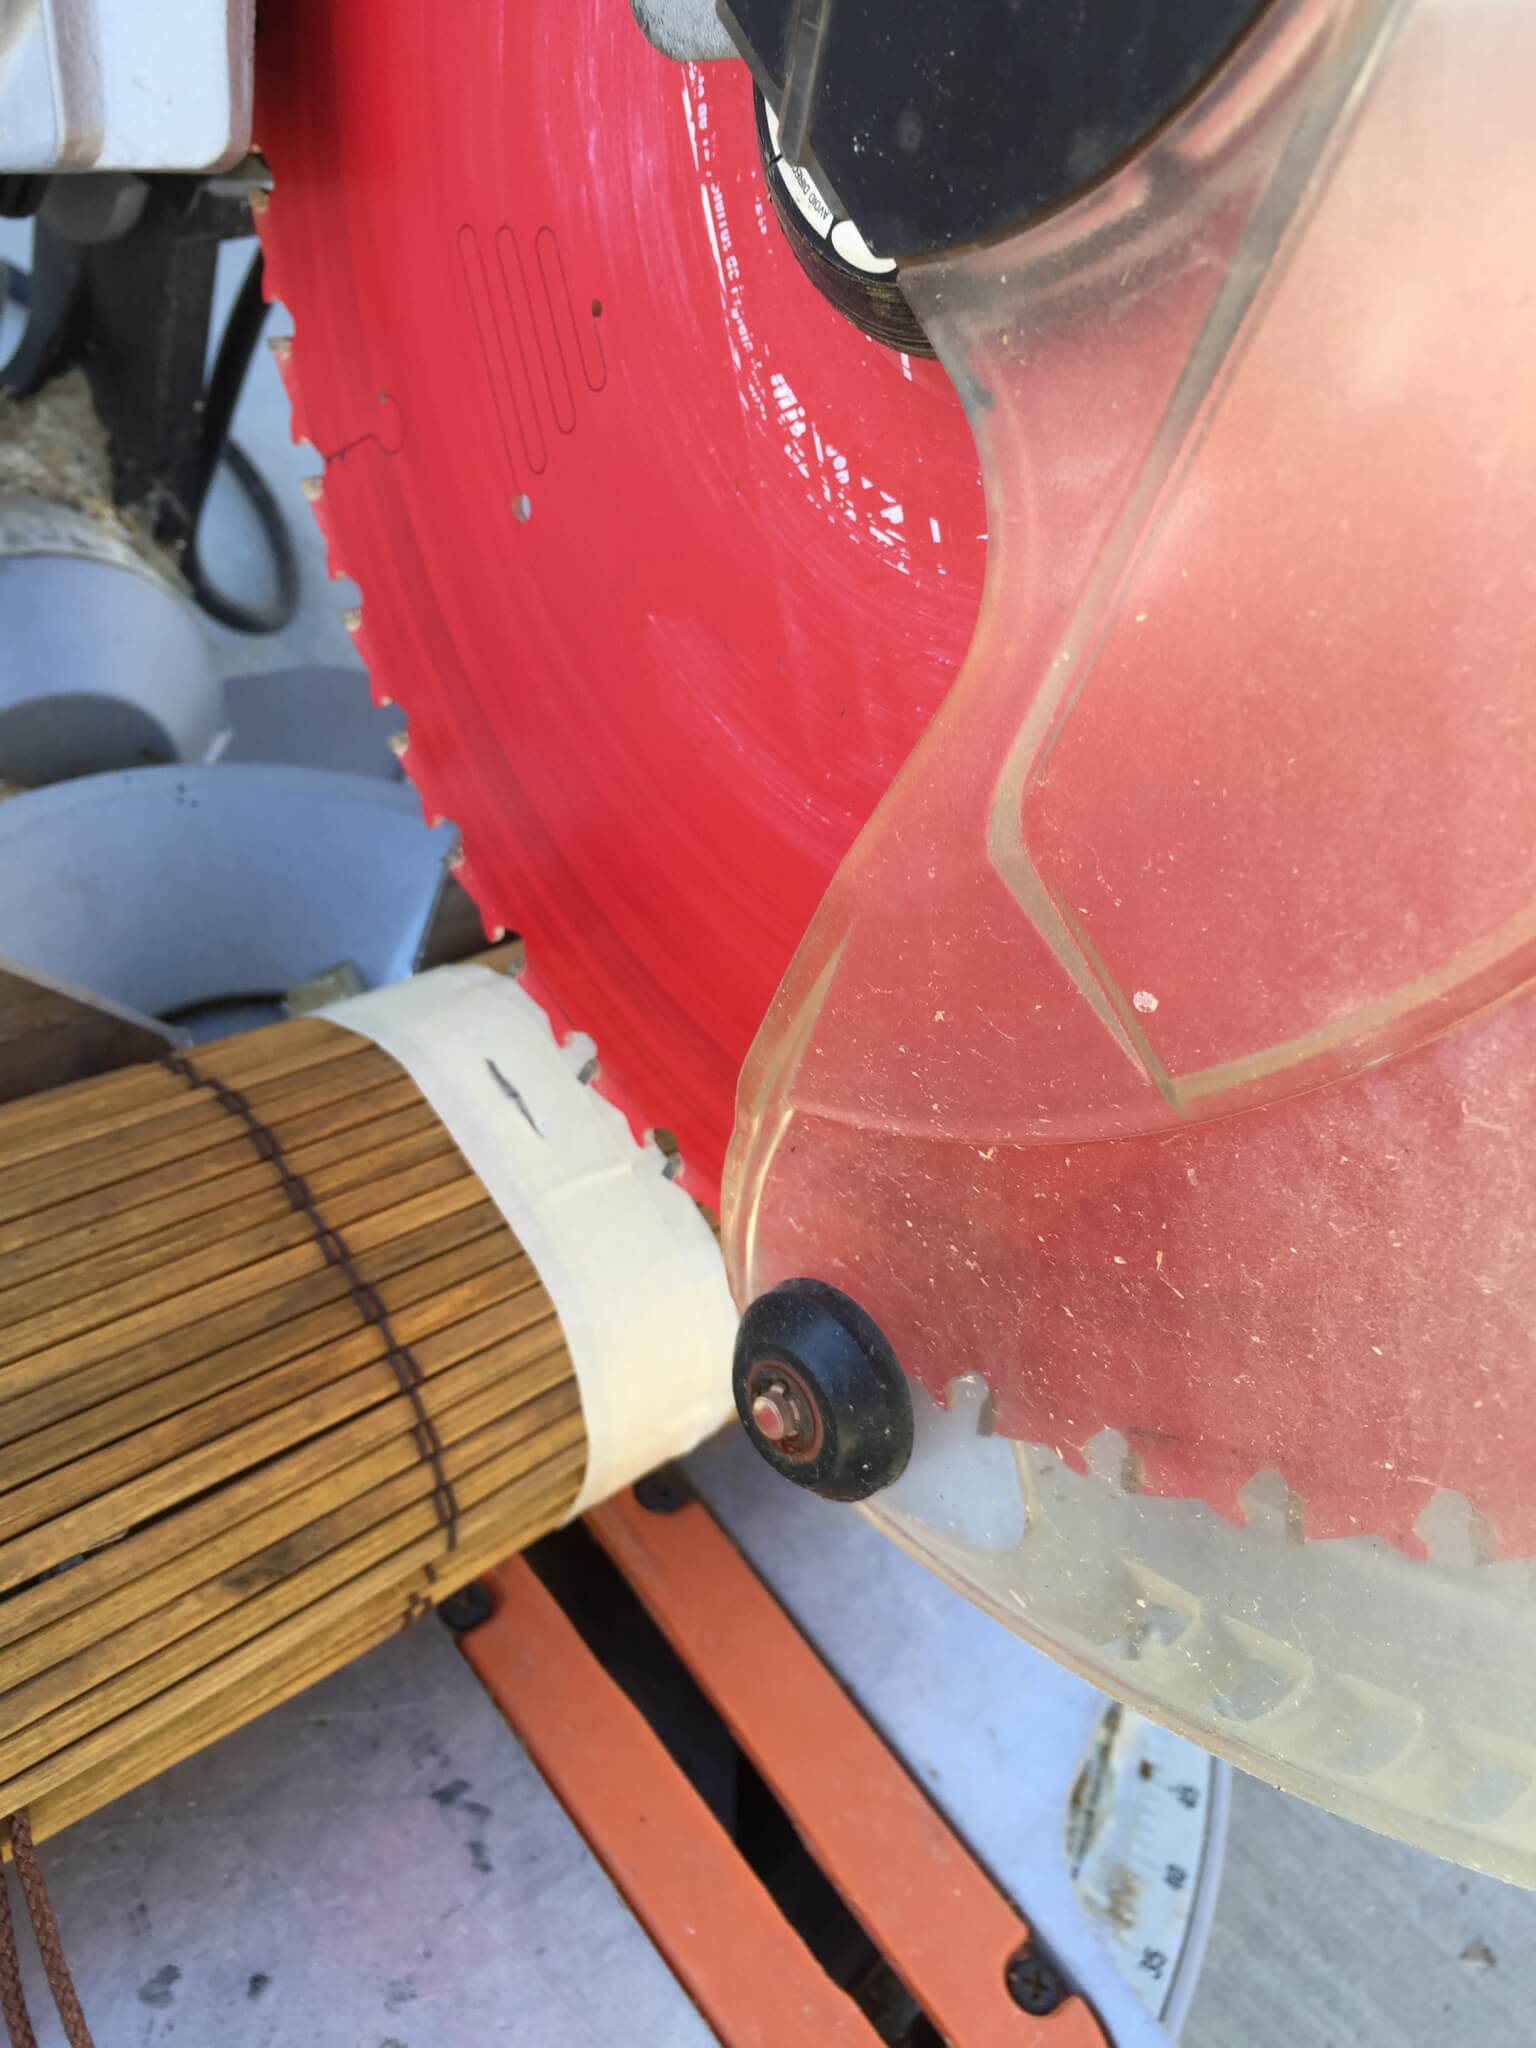
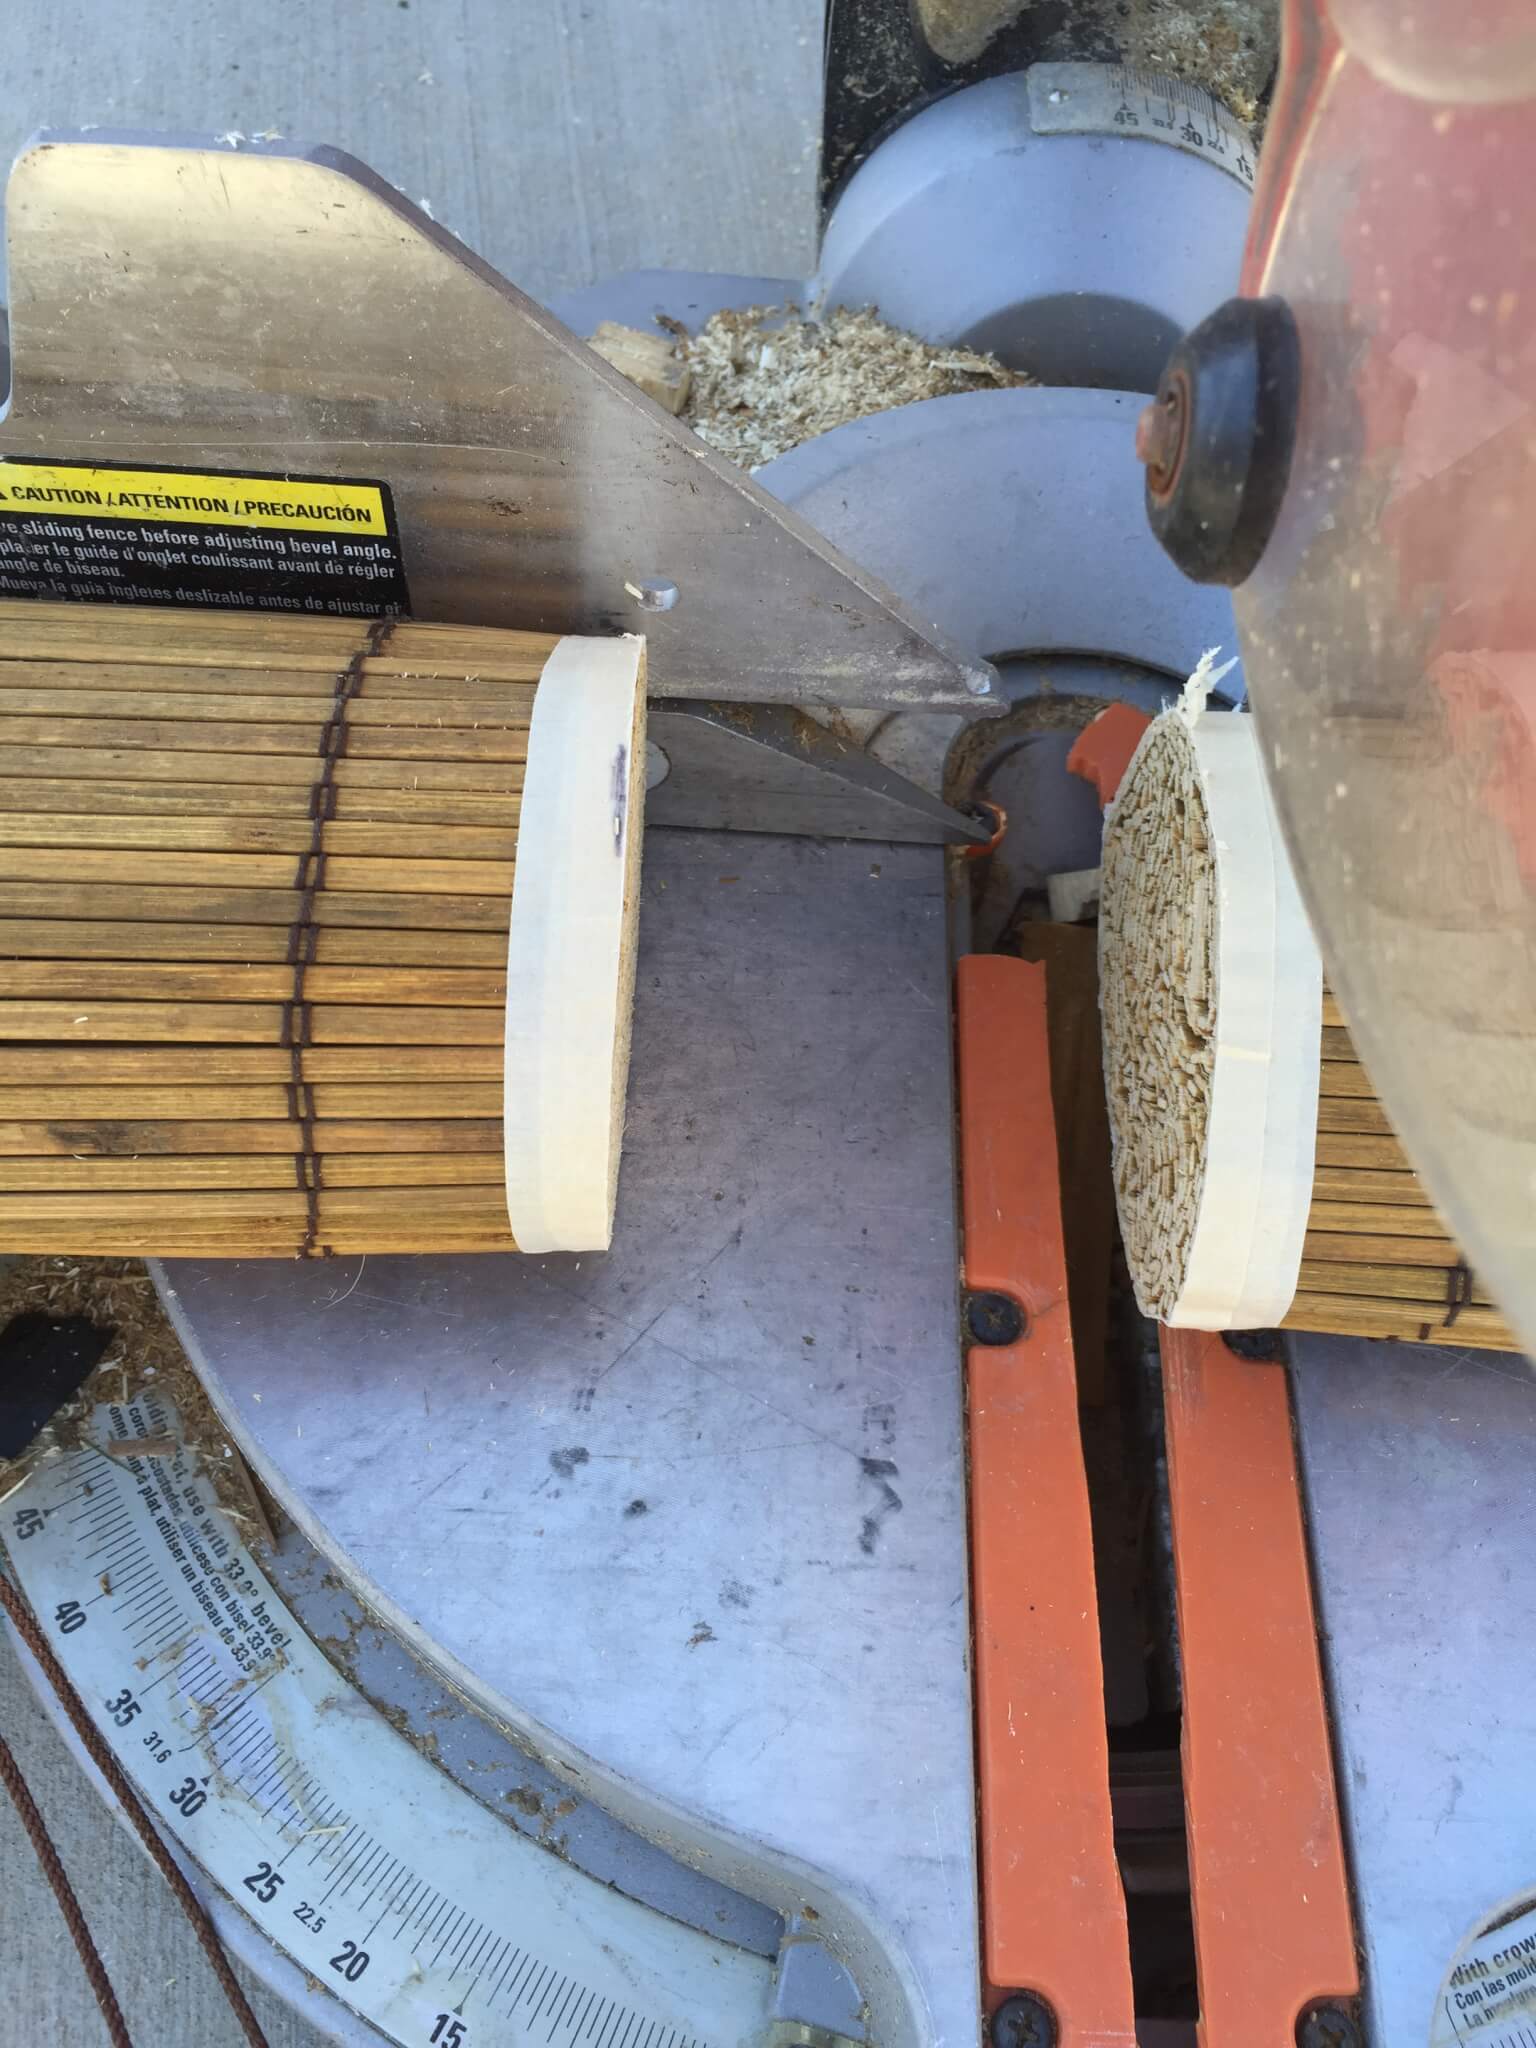
Step 4: Cutting the blinds
Out to the miter saw I go. This is why you tape where you want it cut. We experimented with one blind. My husband just tried cutting it without being taped and my goodness it was a mess. Not recommended. Cut along the marked lines with the miter saw. See how clean the cut is?
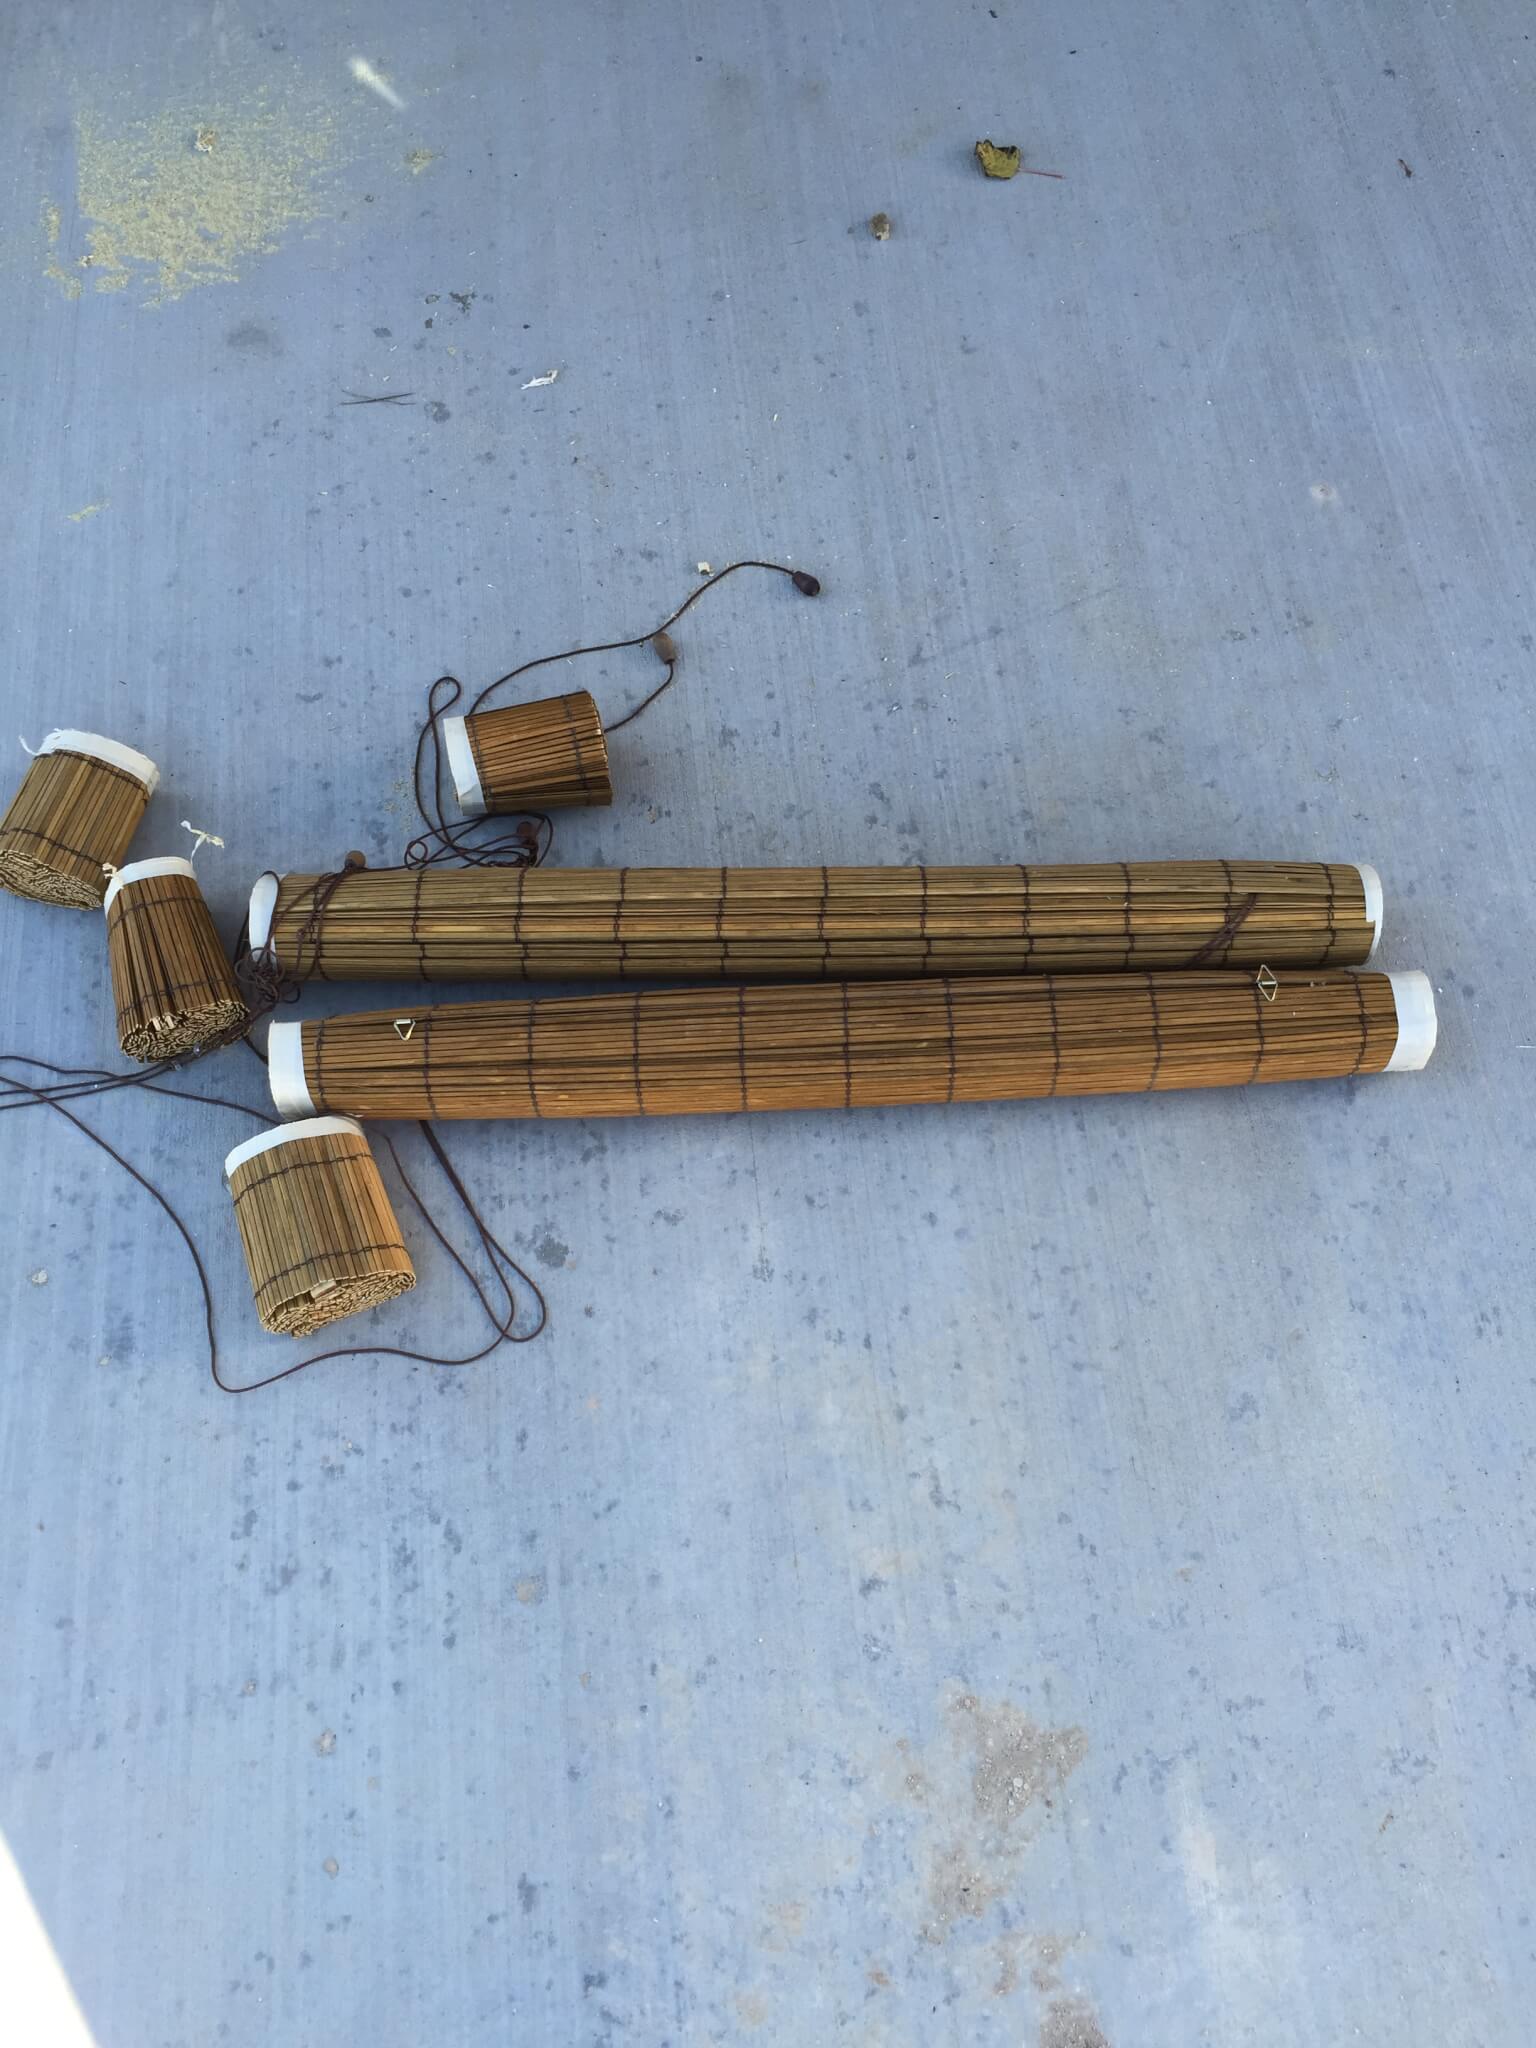
Step 5: Take the tape off, and voila! You have custom cut blinds.
Step 6: Installing the blinds
These blinds have two little triangular attachments that hung on L shaped hooks from the window. Here is where I could go two ways. I could have purchased two small eye hooks to install these with. This is what I decided to do instead.
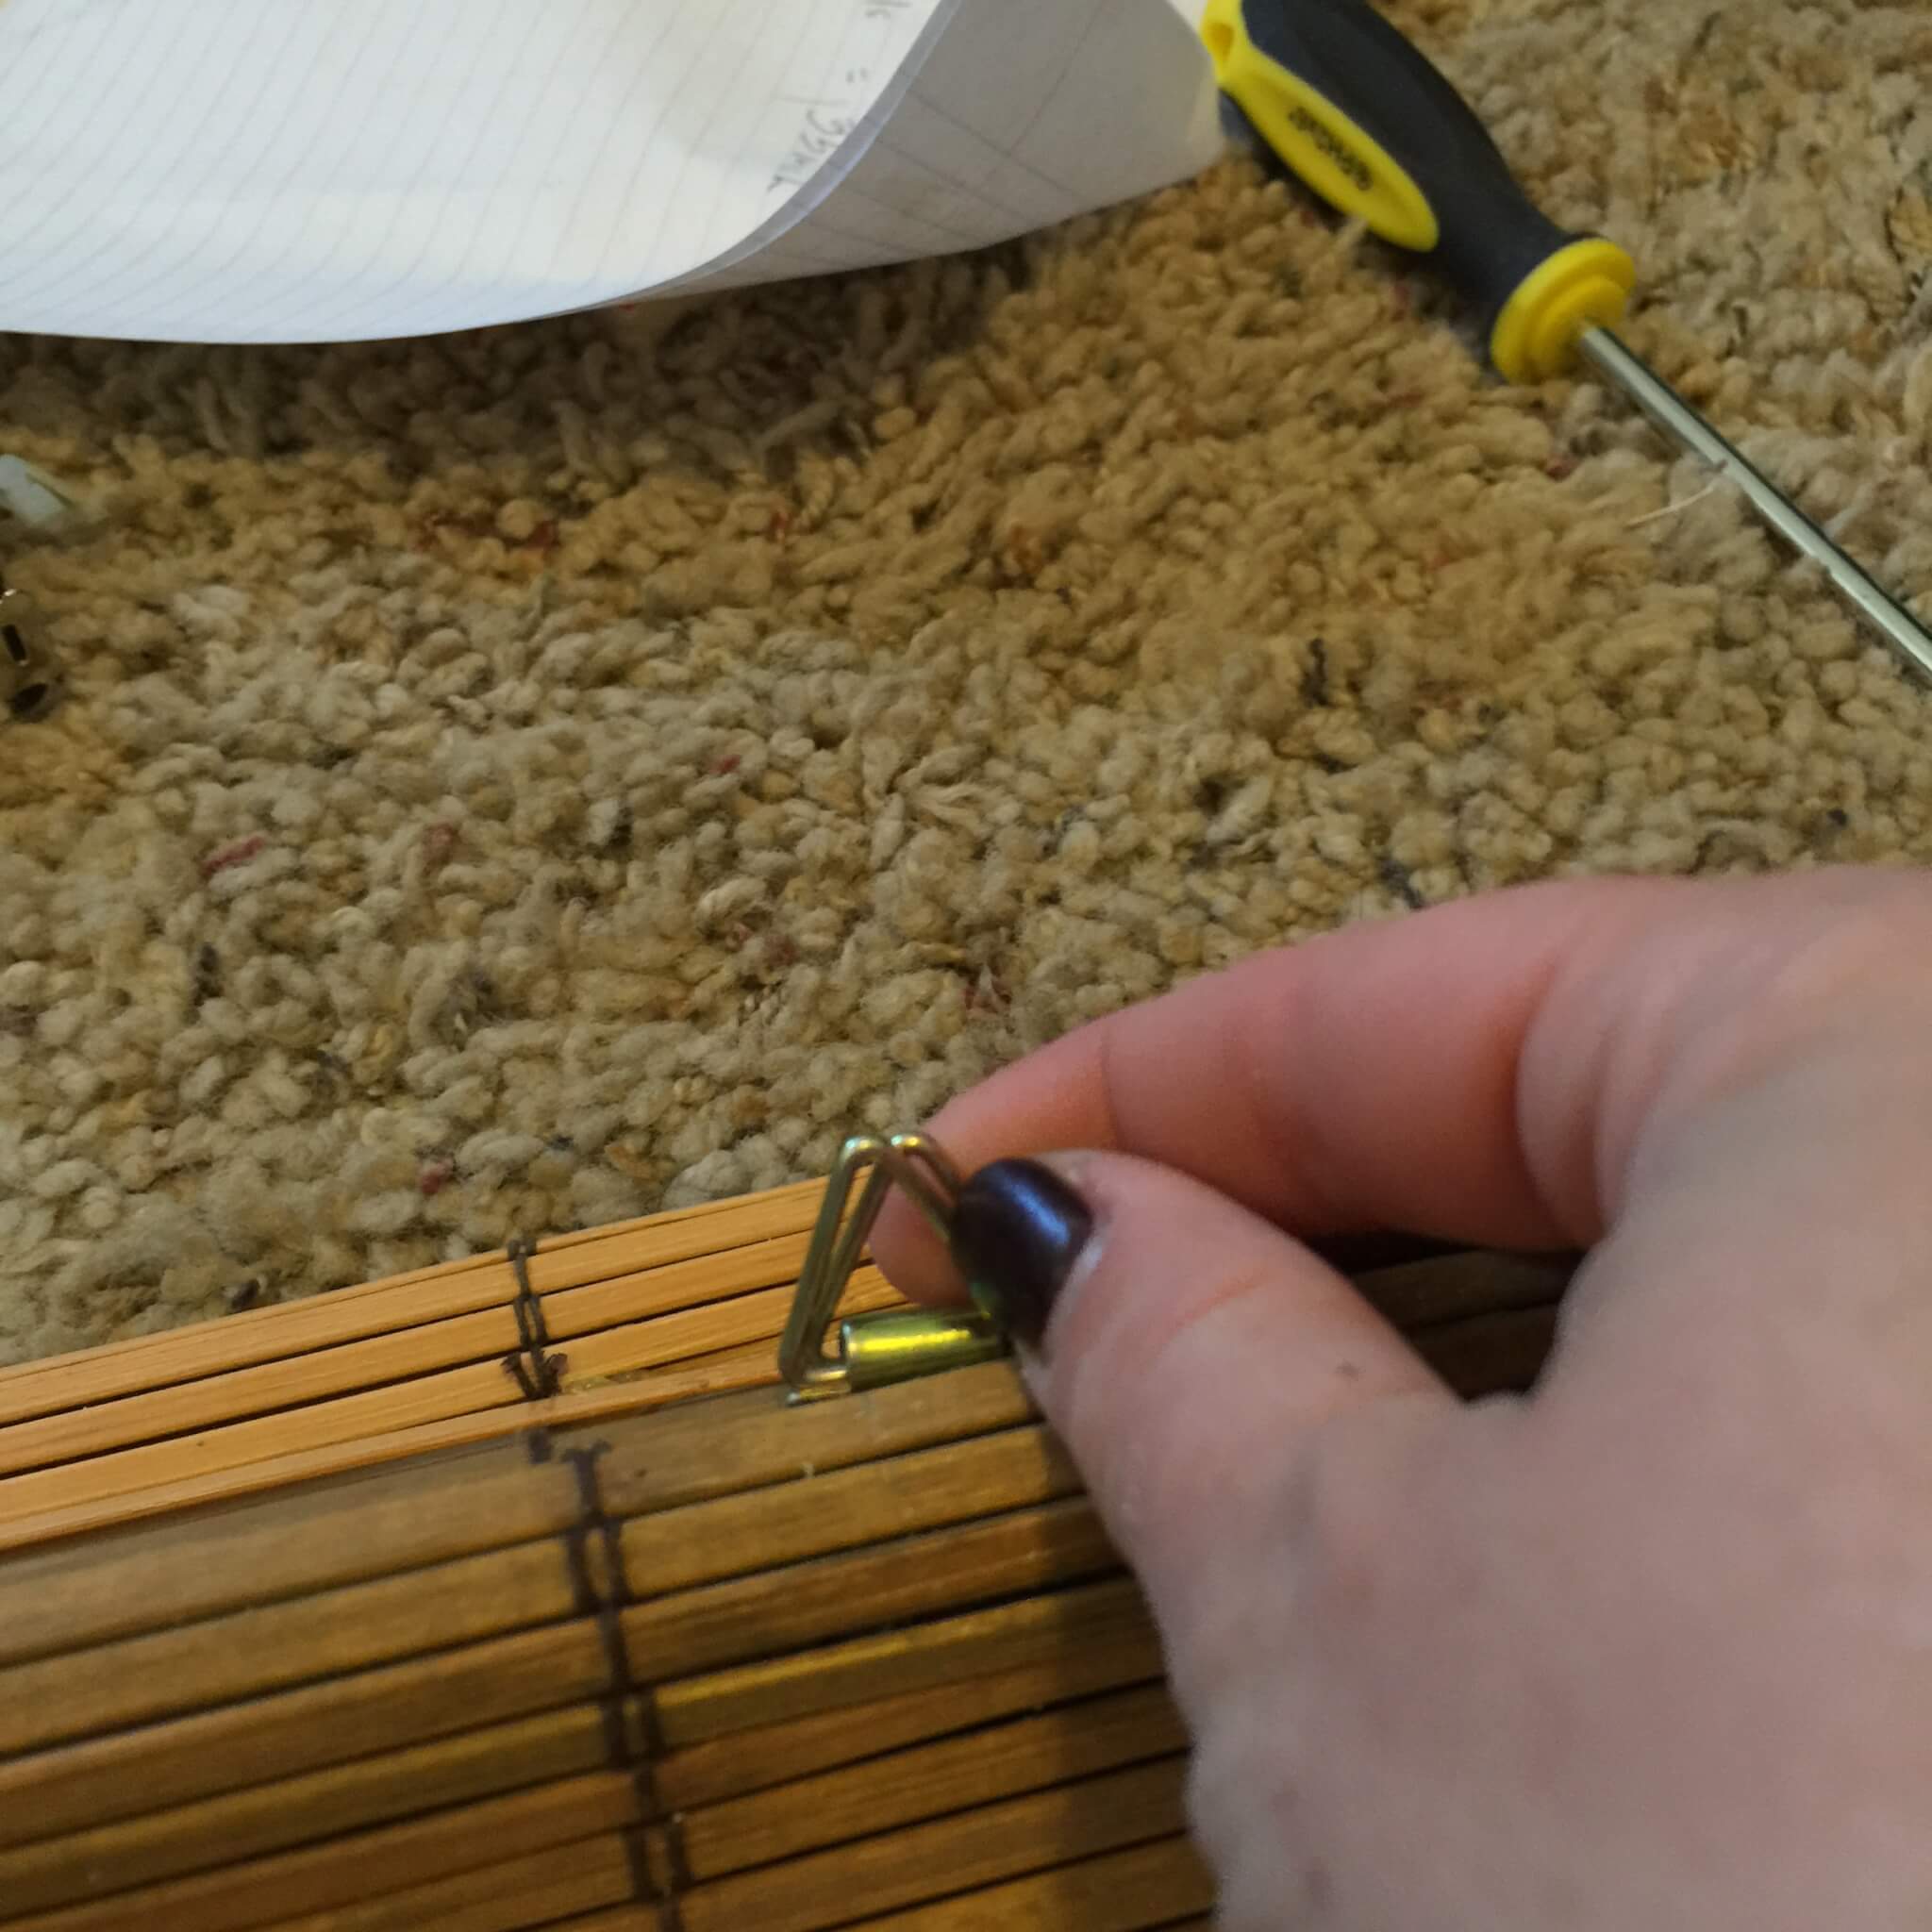
I got out my screw gun, and I screwed directly into the triangle shape securing it to the window. We did attempt to screw them into the actual wood piece at the top of the blind, but that messed with the functionality of the blind. The way that I decided to do it did not affect any of the functions.
Ignore that other screw hole, that was from a previous blind, and has been patched over.
Anyone that knows me, knows I aim to reuse and make things work whenever possible. This is one of those times it was a success in my opinion. Now, you might be able to find blinds in your window size, and I know that with traditional blinds, cutting and installing them are much easier. What I was aiming at is giving a little insight on how to make bamboo/wooden roman shades work to your advantage.
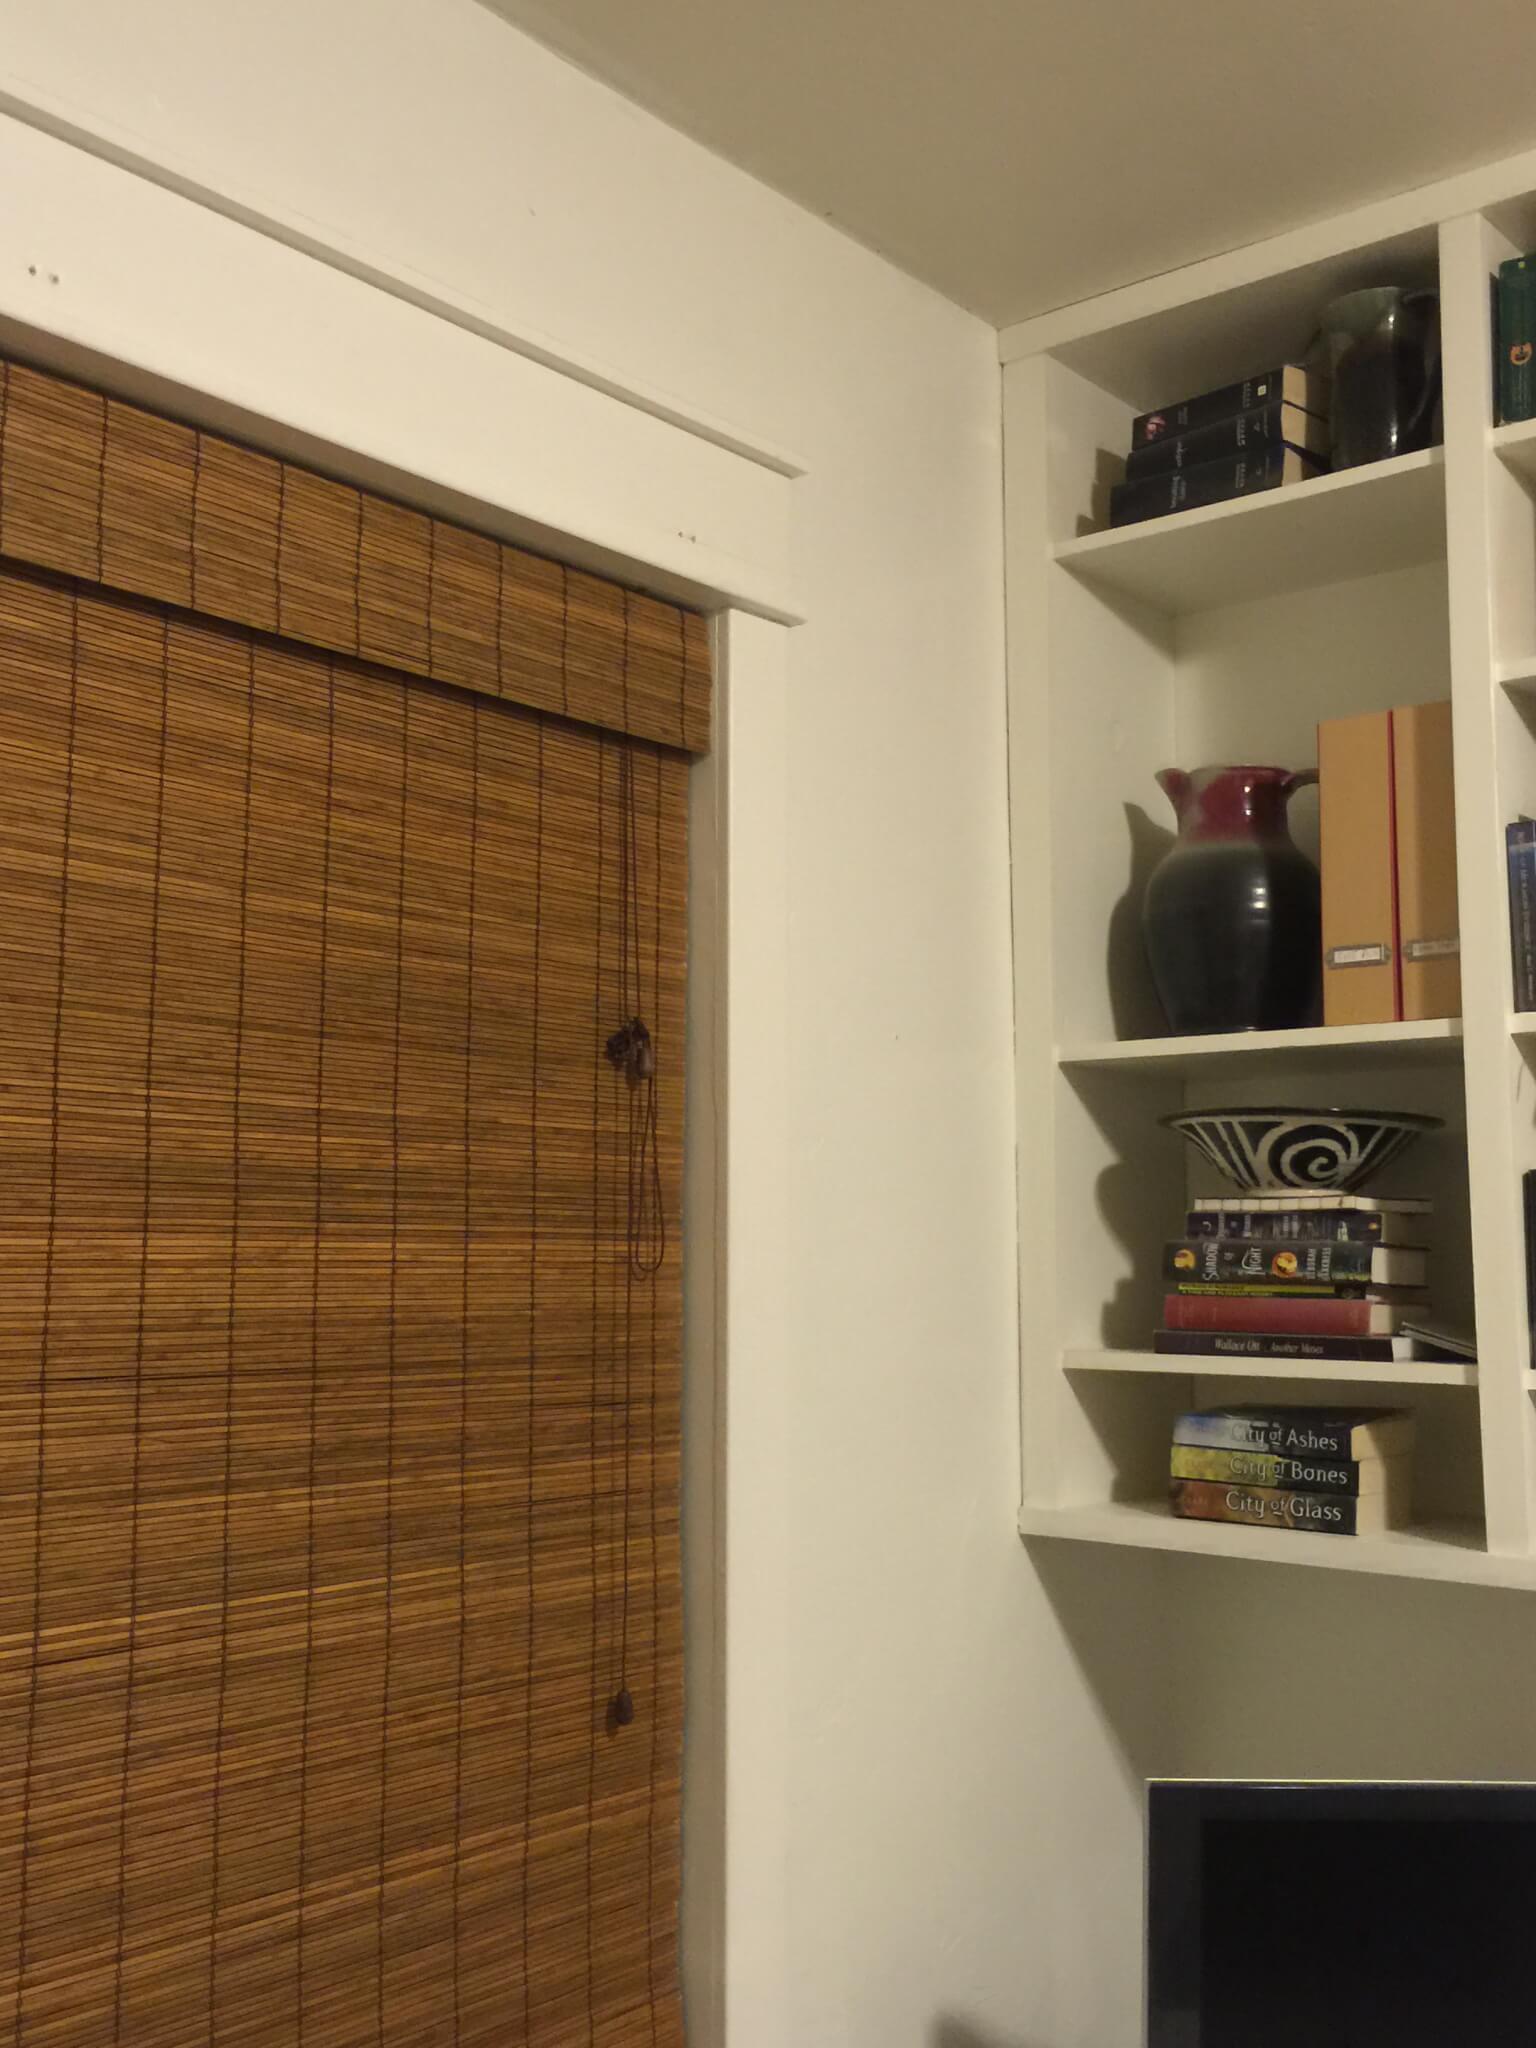
Okay, so ignore the rest of the room, this room which is my office, is under a quick redo. Don’t you worry yourself though, you will see the reveal soon!
I feel like I say this a lot, but here goes. Maybe its not the correct way to do it, maybe its a little outlandish, I don’t know. I do not claim to be an expert. I am an ordinary girl, trying to make life work for me. I have had some failures and some successes! Lets be real, I am not afraid to try something out in order to see if I can succeed. I am extremely happy with this project. I created a custom look on a beer budget. Love it.
Have a great day!