Reupholstering My Dining Room Chairs
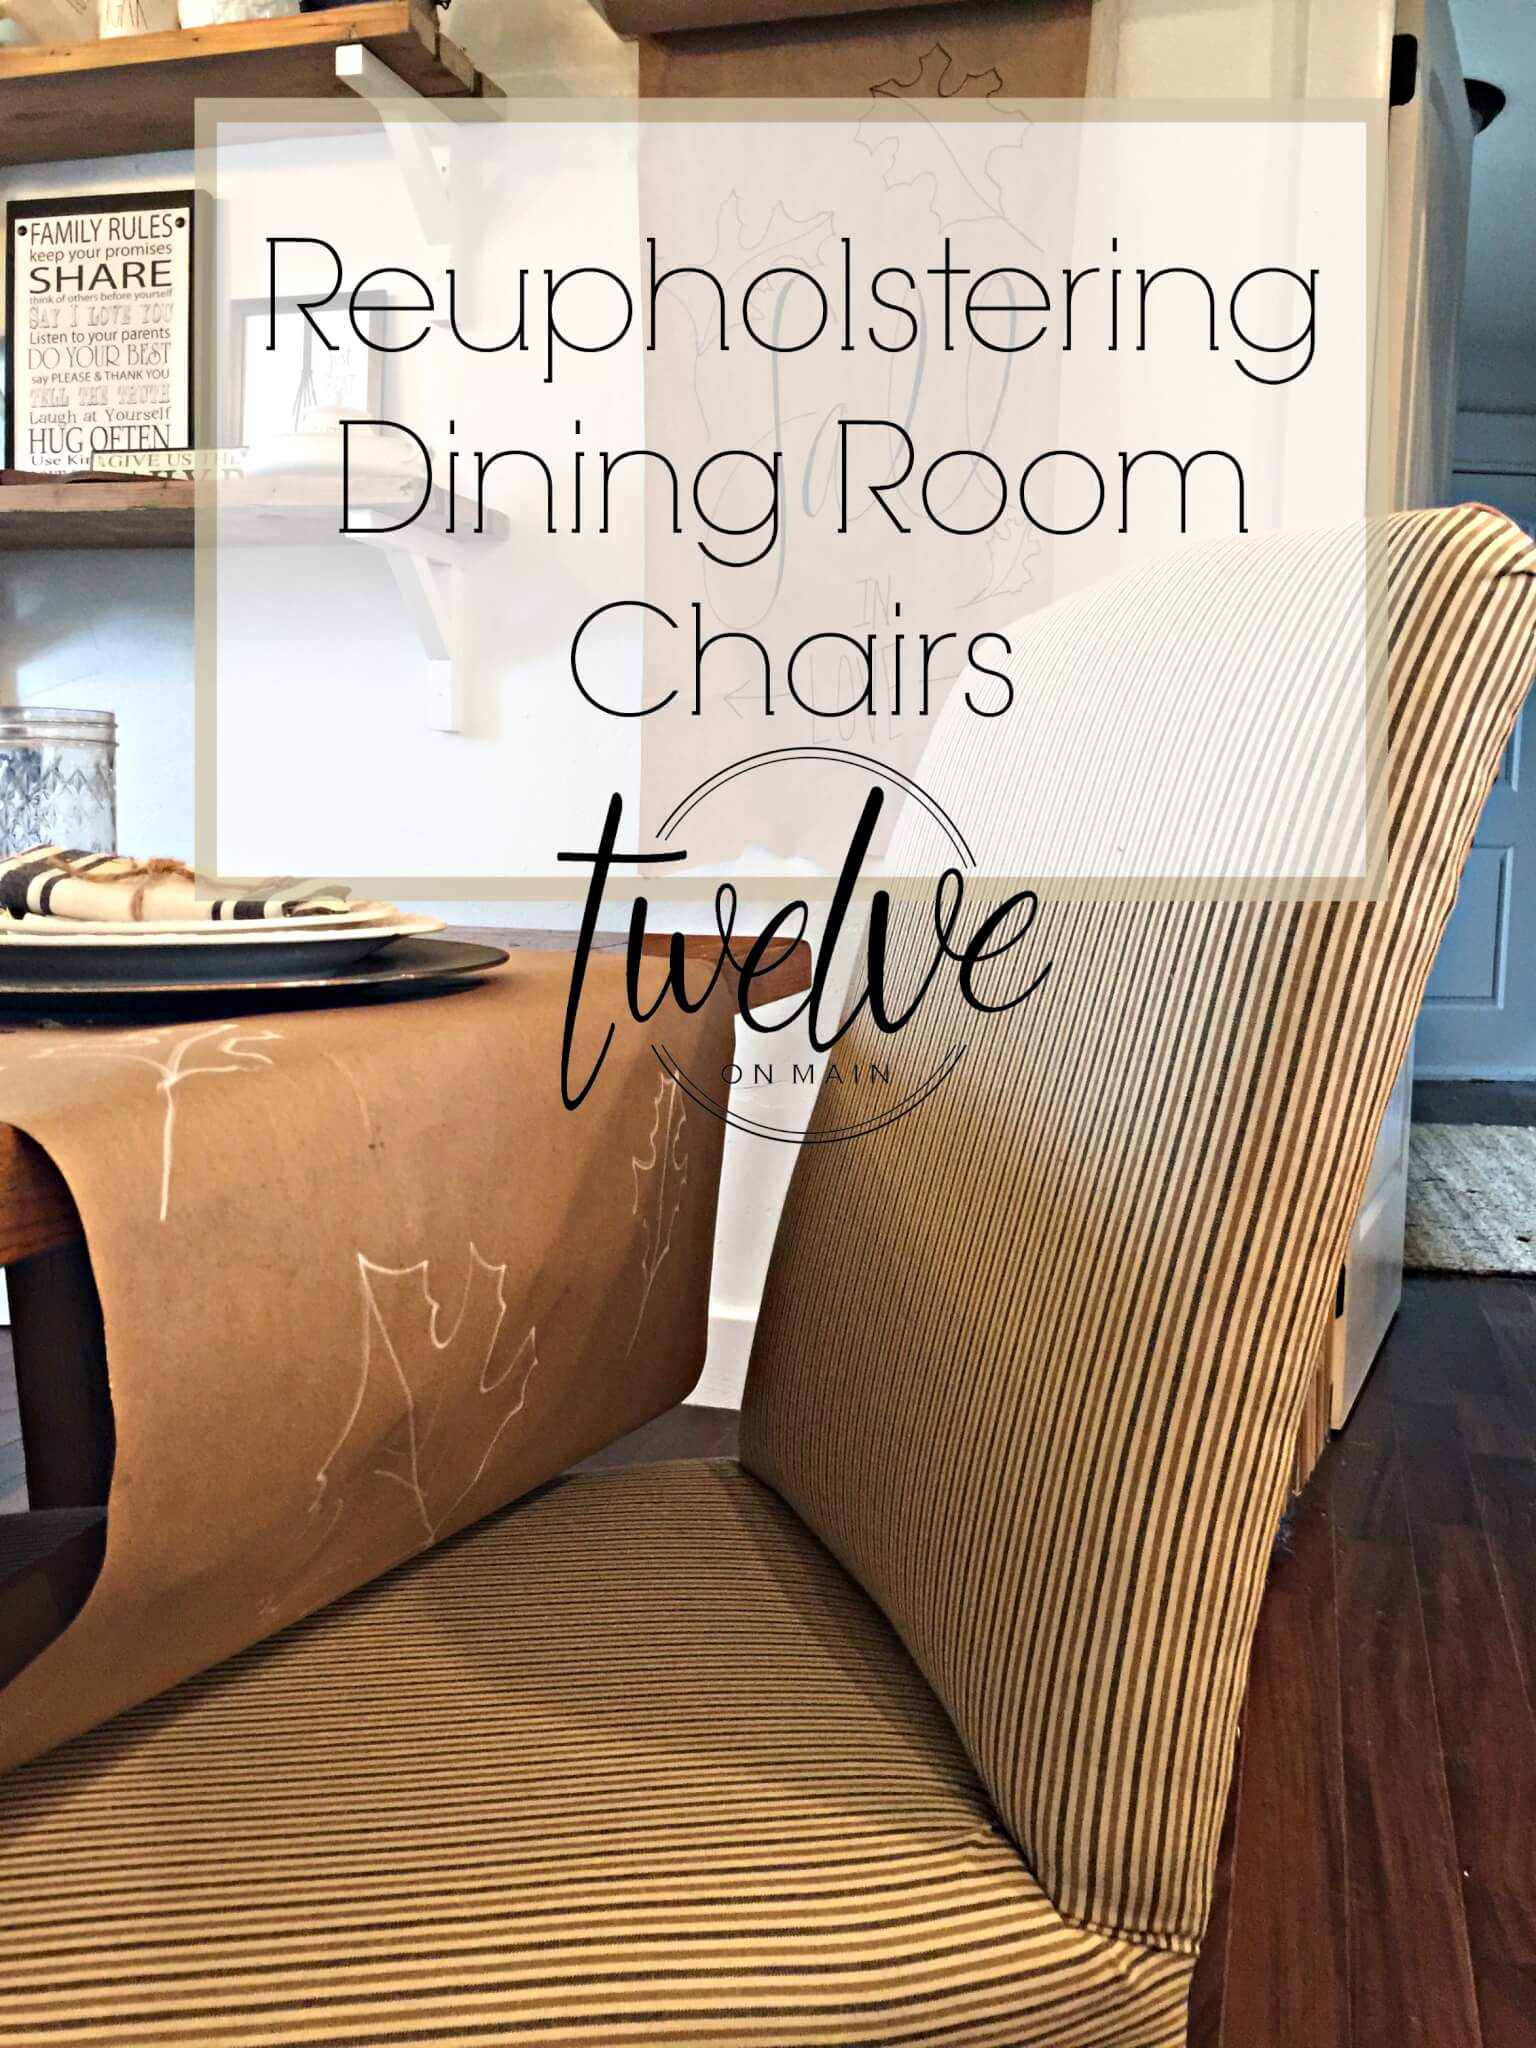
I bought two upholstered dining room chairs a few years ago from a local thrift store, shocking right? Back then, the original fabric was a beat up red and blue plaid. Now I love plaid, but not that much. Shortly after purchasing them, I reupholstered them into this turquoise and white patterned fabric. It was great. Loved it. I actually used these chairs in my office, not my dining room. But, after a few years of 4 kids tearing into them, they needed help. The fabric was dirty, and tone of my kids…..the baby…. decided to draw on them. So, it was time to reupholster once again.
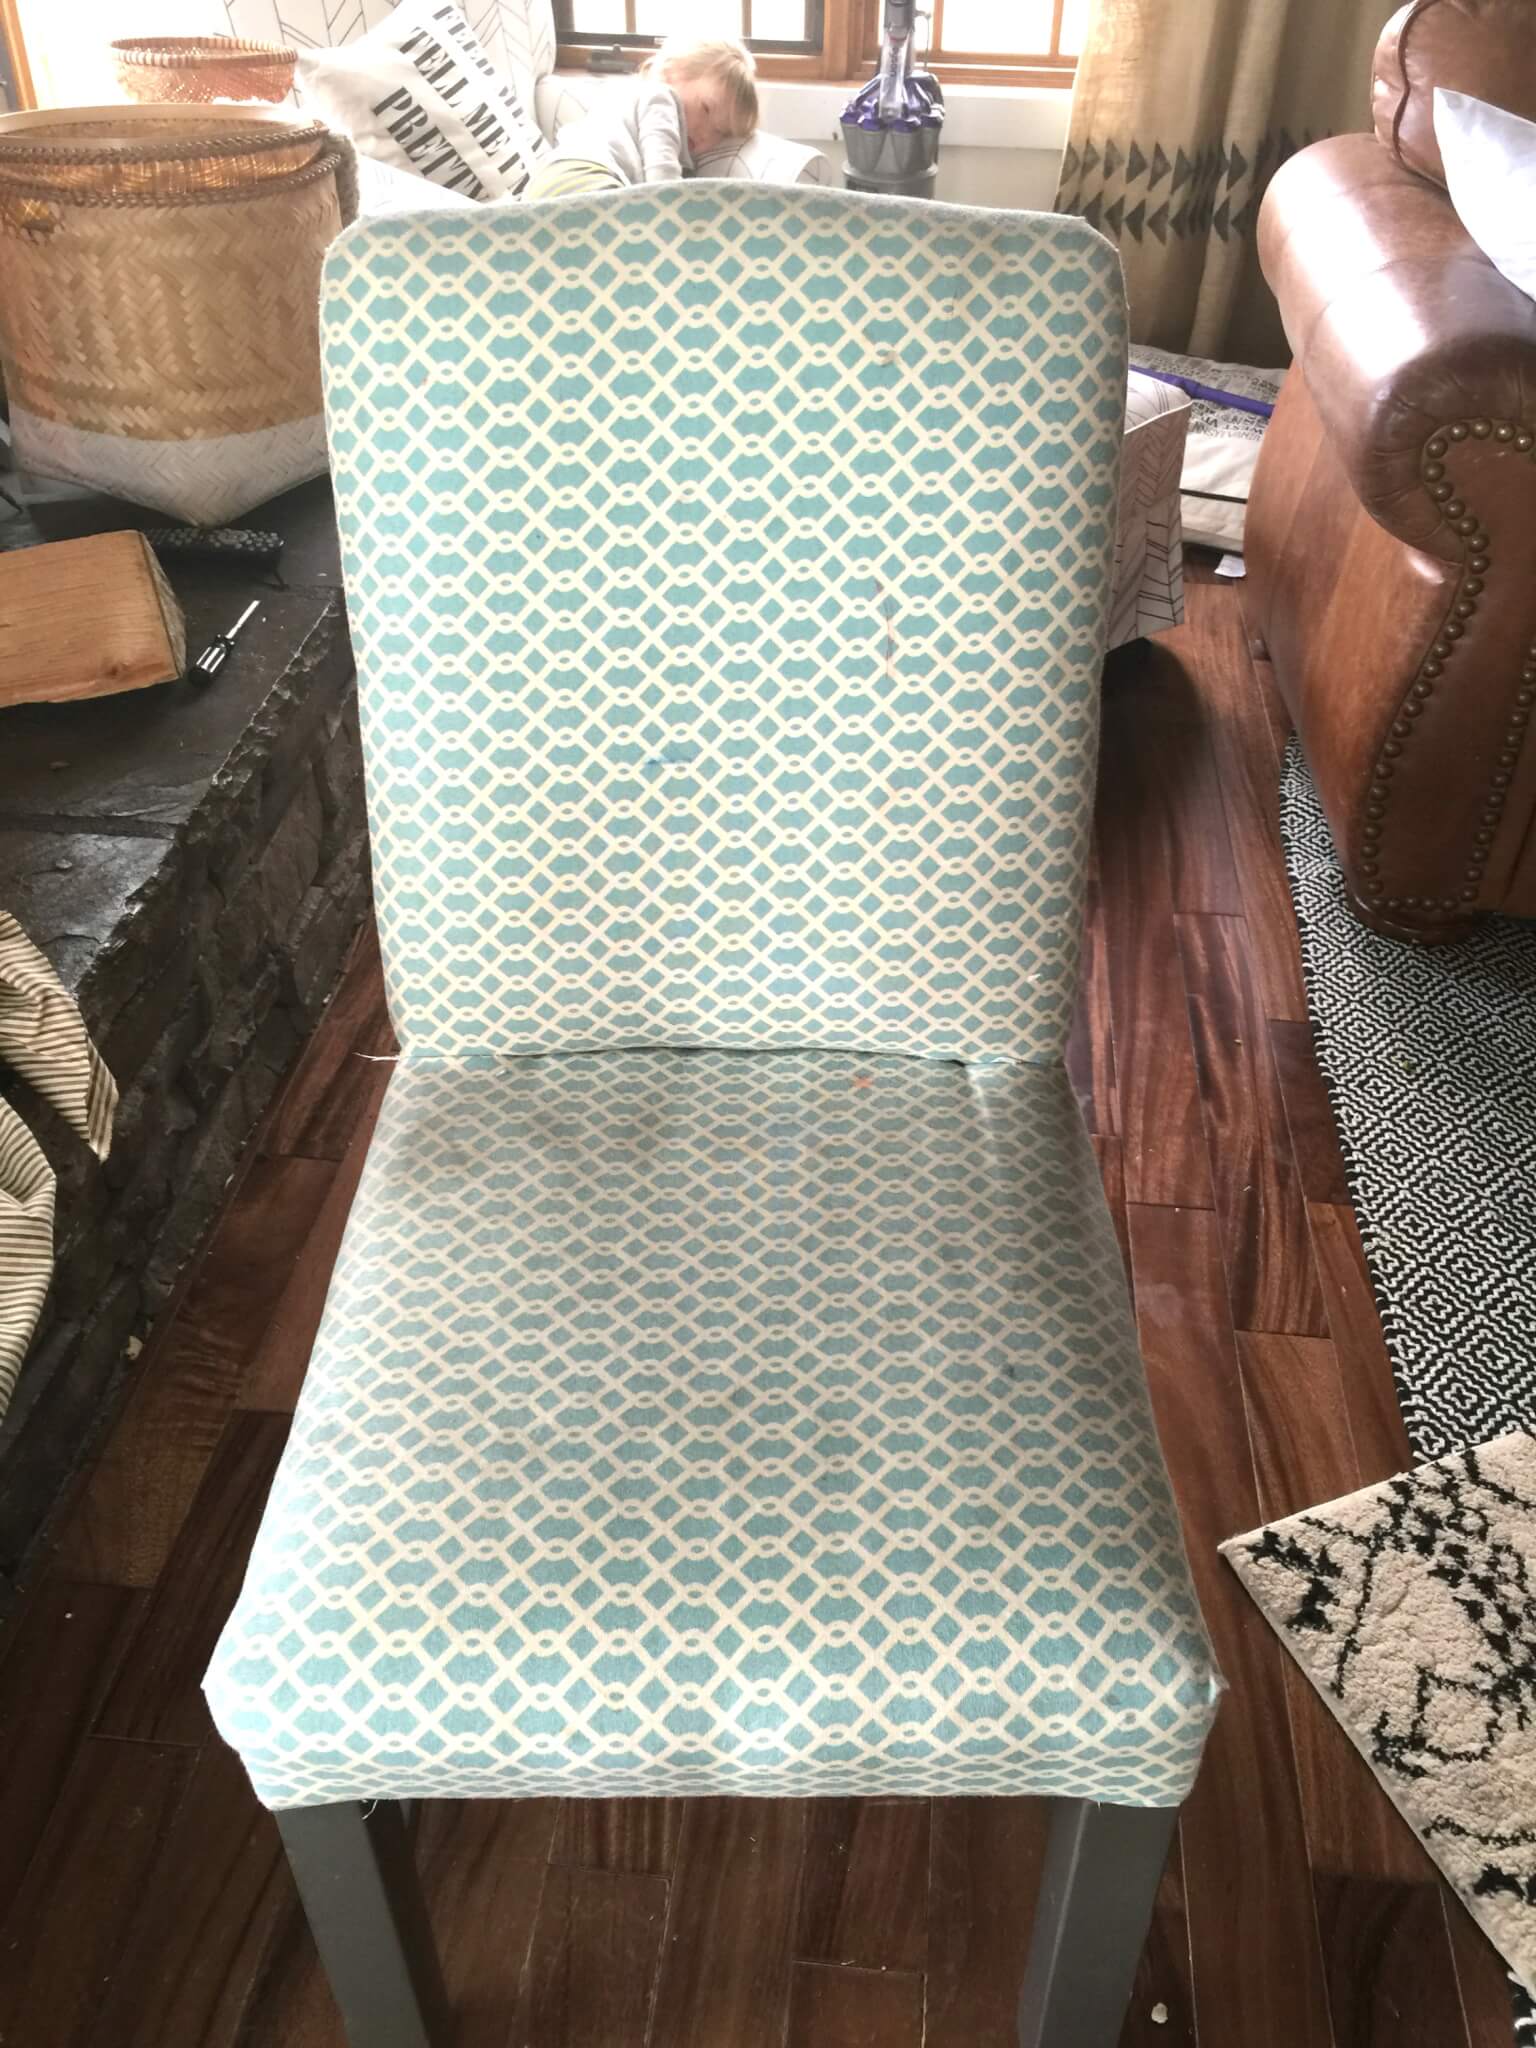
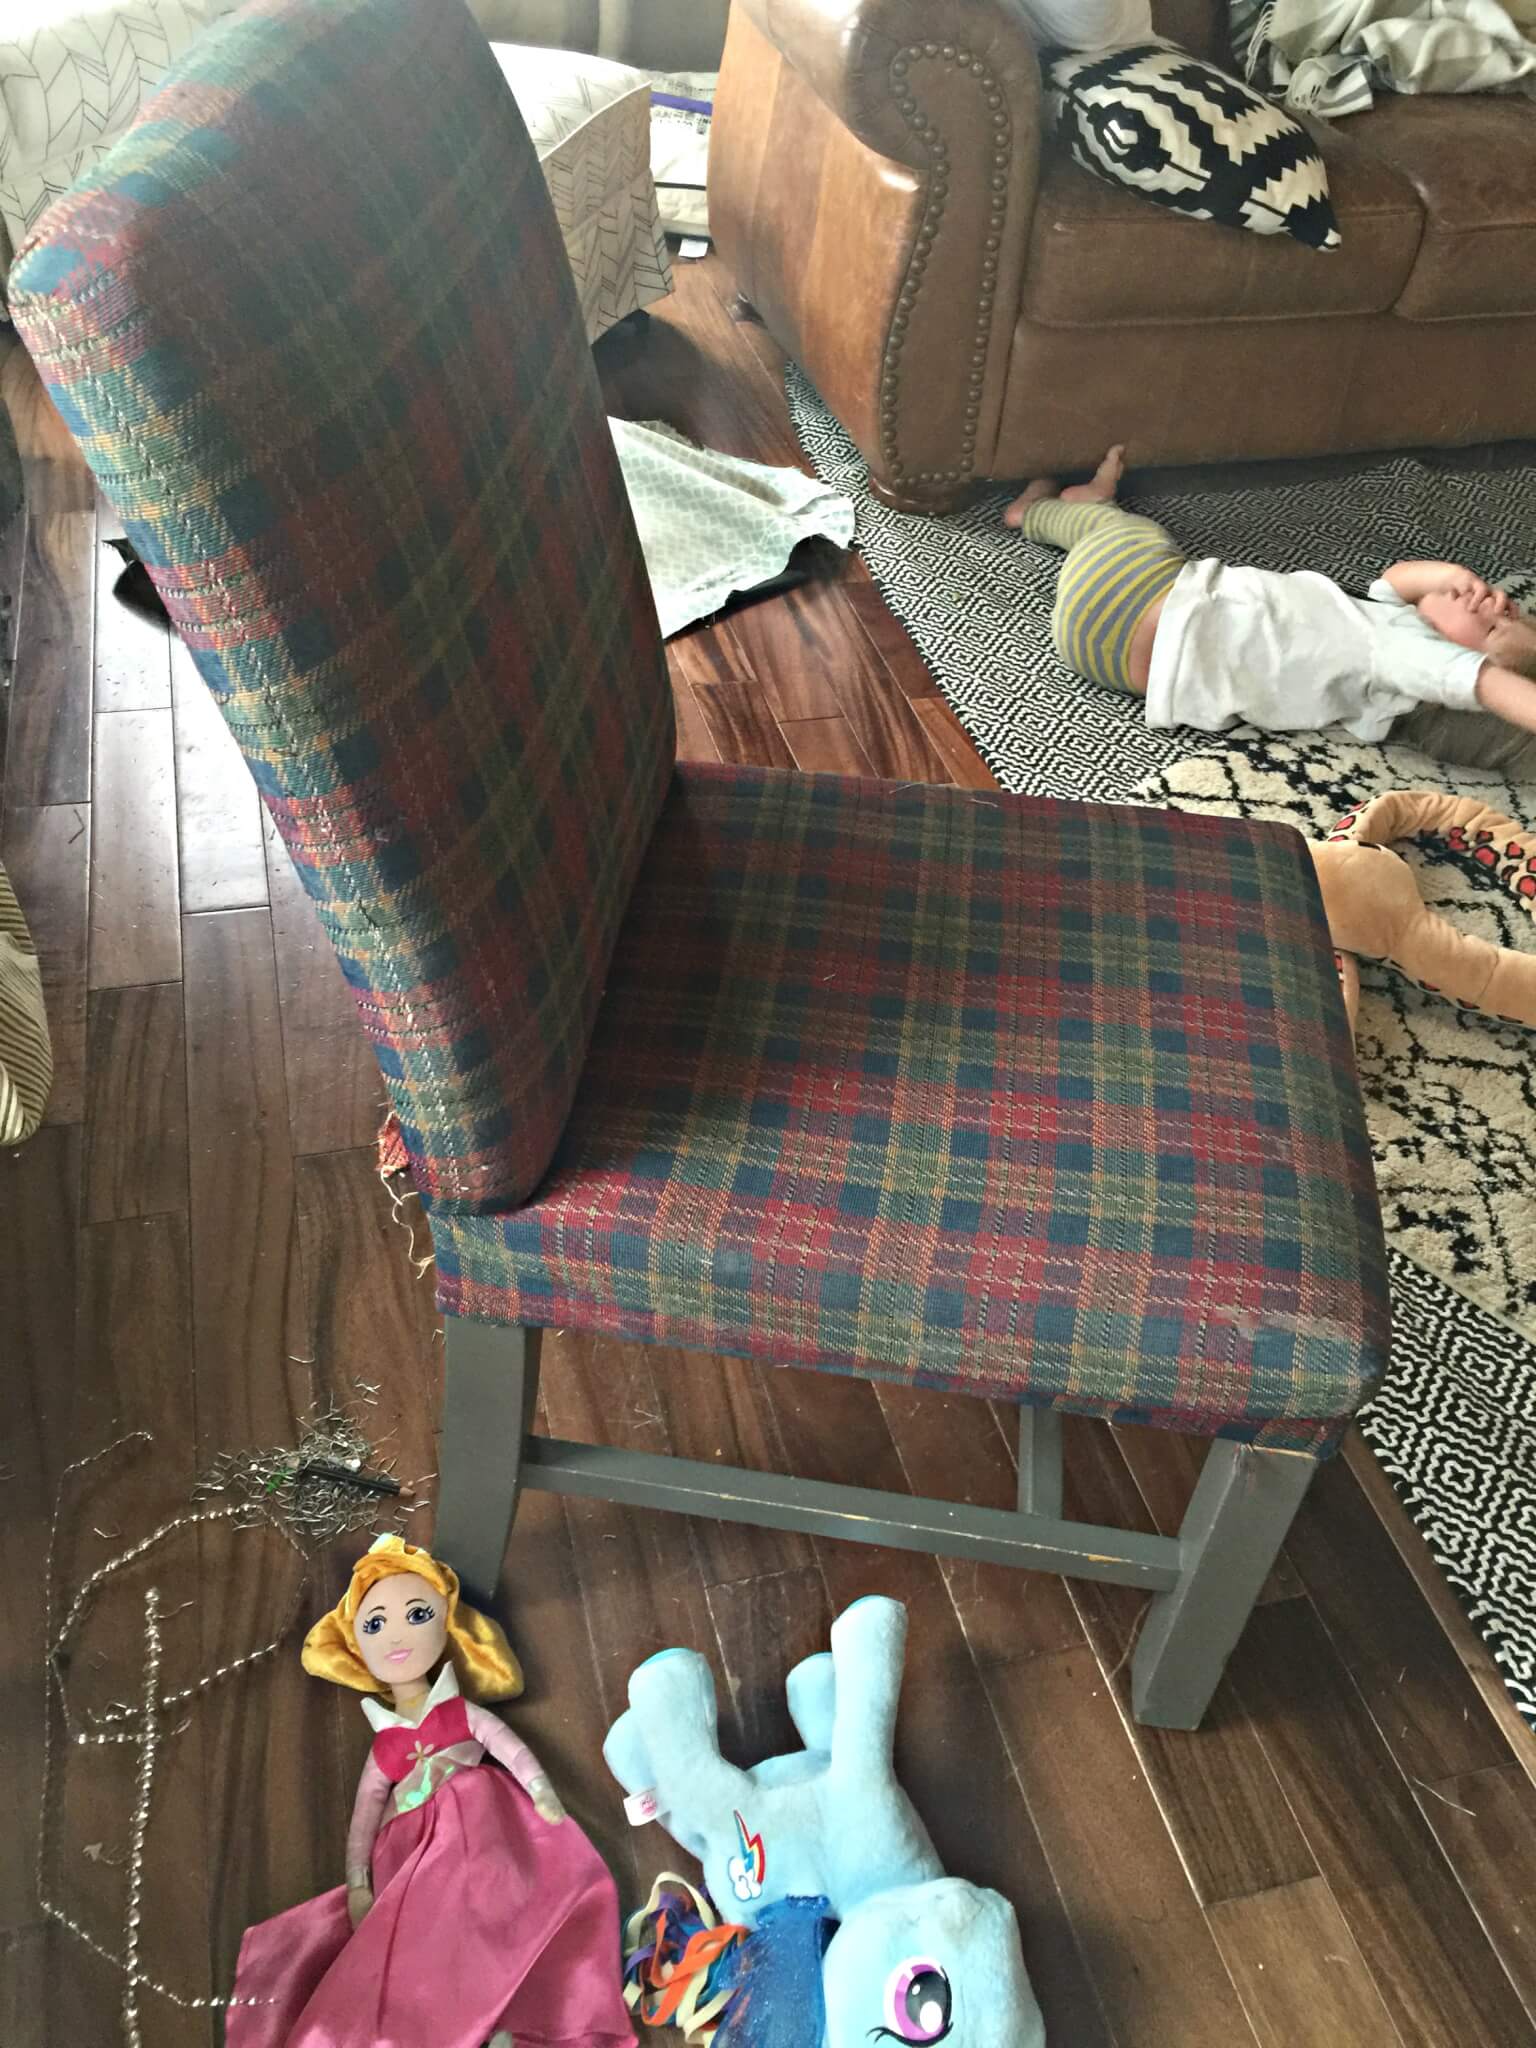
This was the first item I ever attempted reupholstering. Here is my first word of advice….take your time. I spent extra time, carefully taking apart each piece on the chair. I carefully laid each piece out and used that as a pattern for my new fabric. I got really lucky. One of the times I went to visit my family in Las Vegas, I was able to check out this fabric store that was going out of business. I was able to grab a ton of fabric, I mean really nice upholstery fabric, for 1 dollar a yard! I was not sure what I would use the fabric for, but as time passes, I find myself digging some out to use for various projects. This was one of those times.
*This post contains affiliate links, meaning if you click on any of these links, I might earn a penny or two towards my kids college tuition*
These are the tools I used for this project:
Fabric- Apx 2-3 yards of whatever you choose
Staple/Brad Nail Gun![]()
Heavy-Duty Staple & Brad Assortment![]()
Hammer![]()
Pliers Set![]()
Upholstery Nailhead Trim![]()
Magnetic Tack Hammer![]()
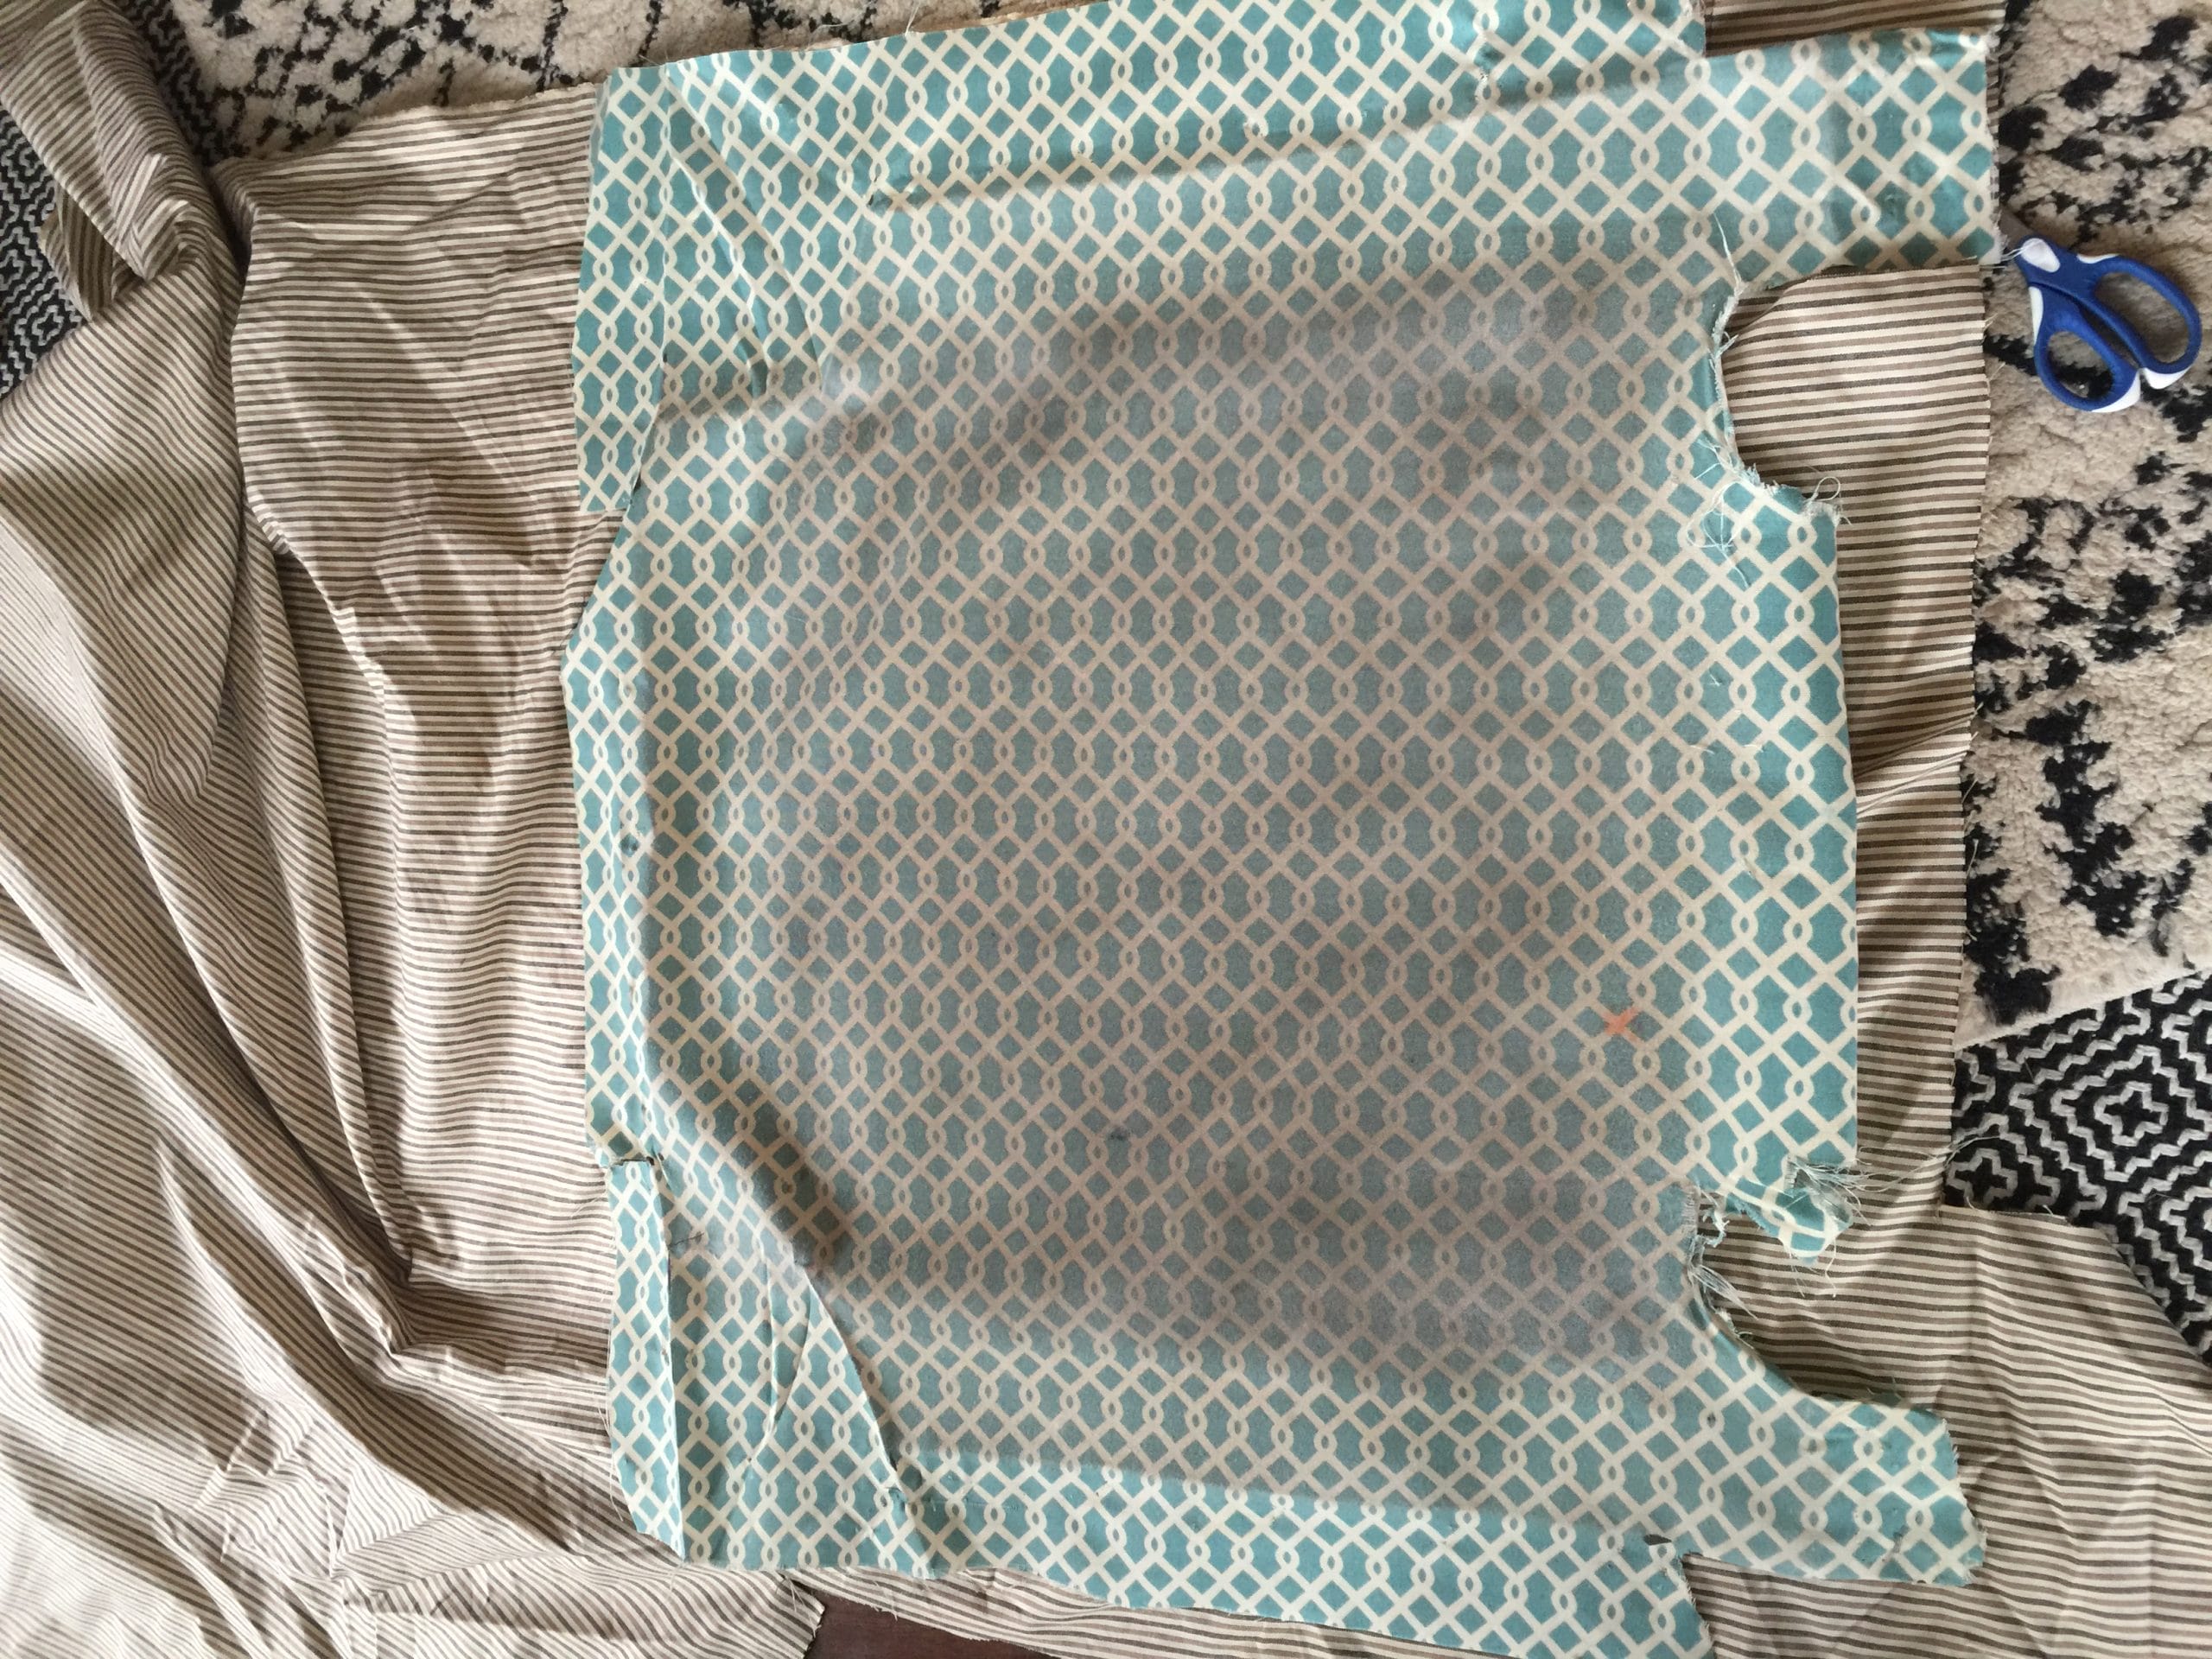
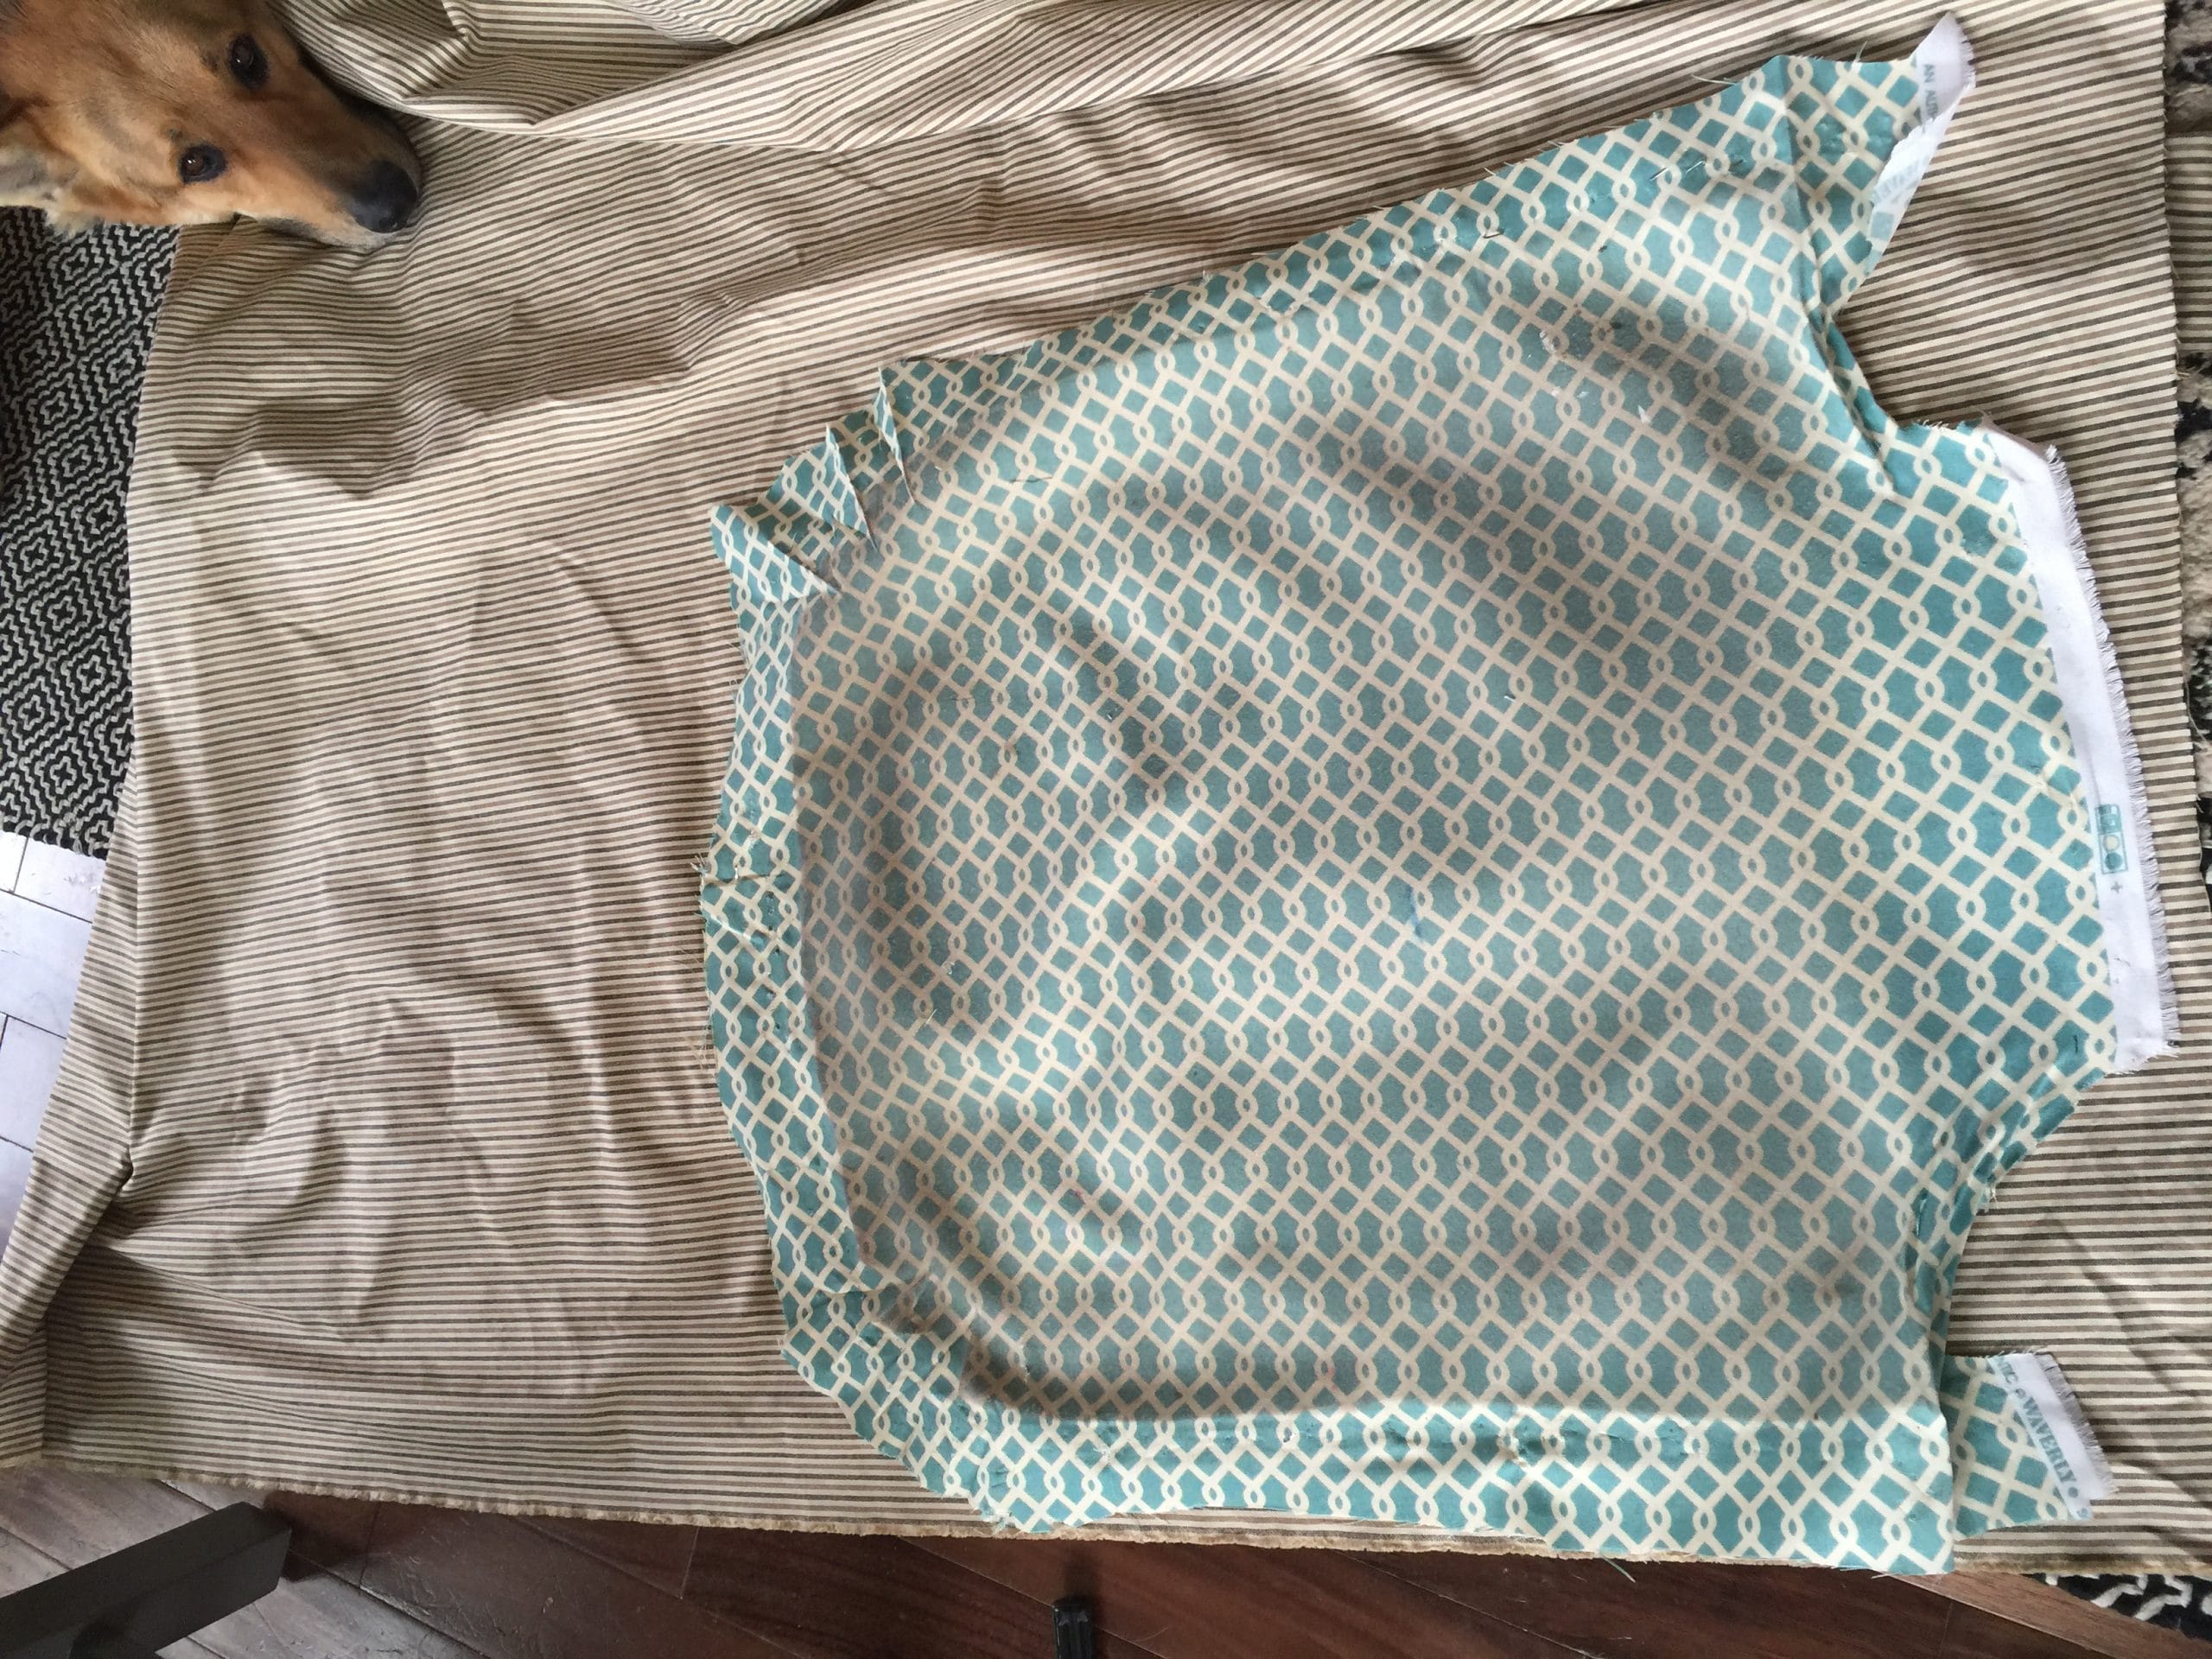
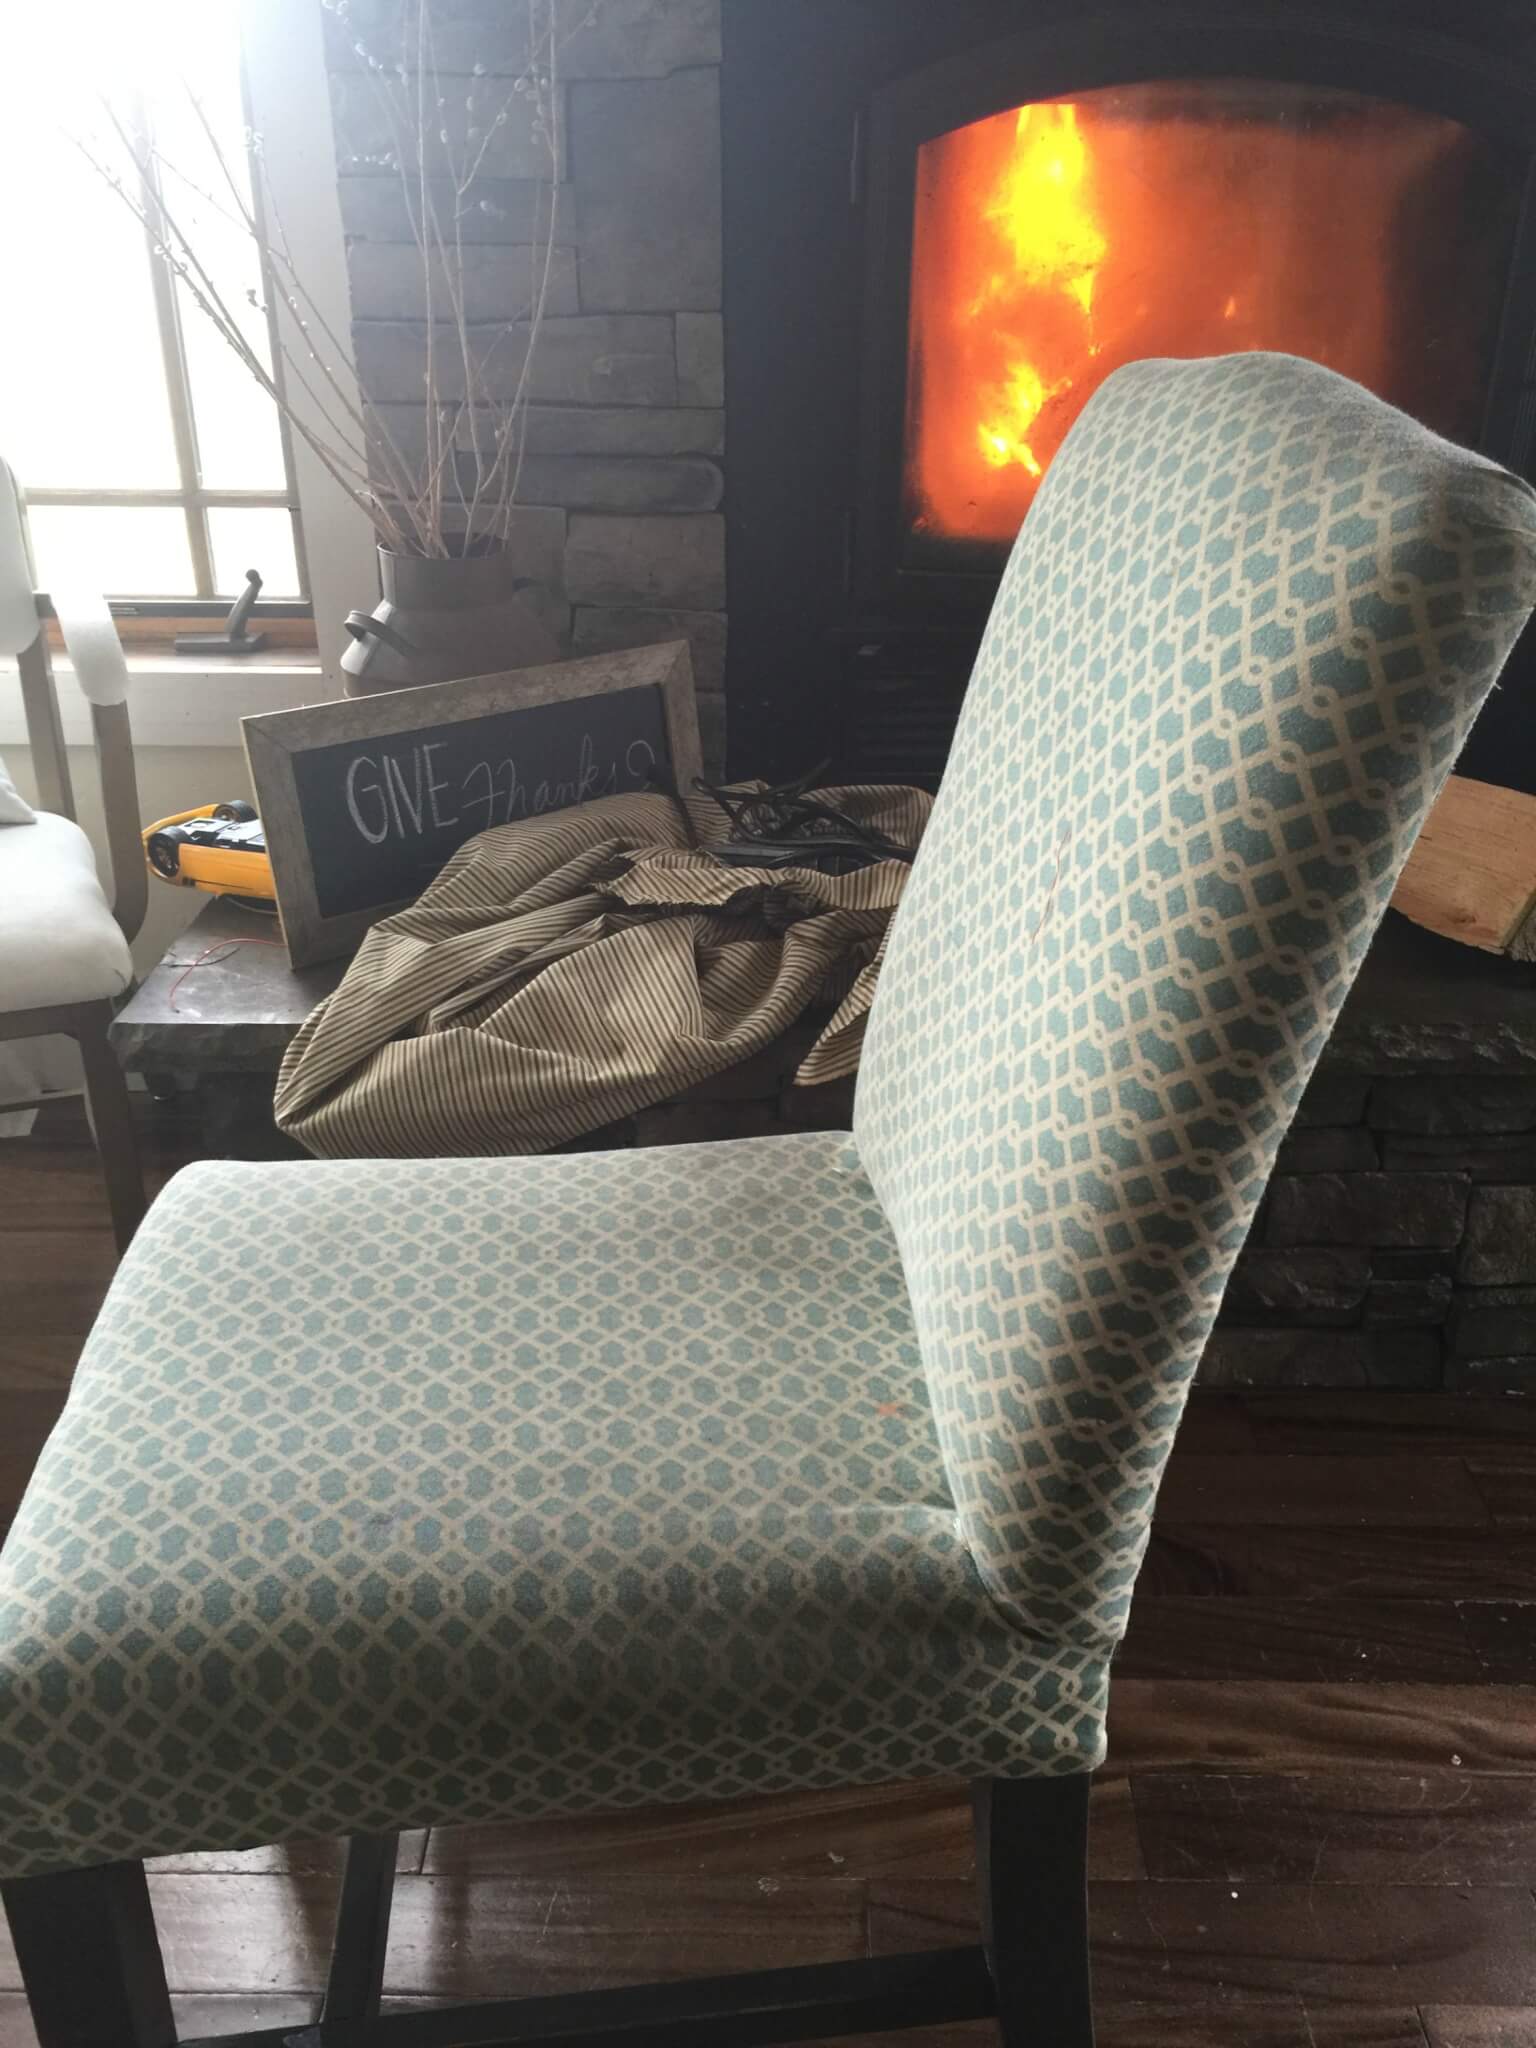
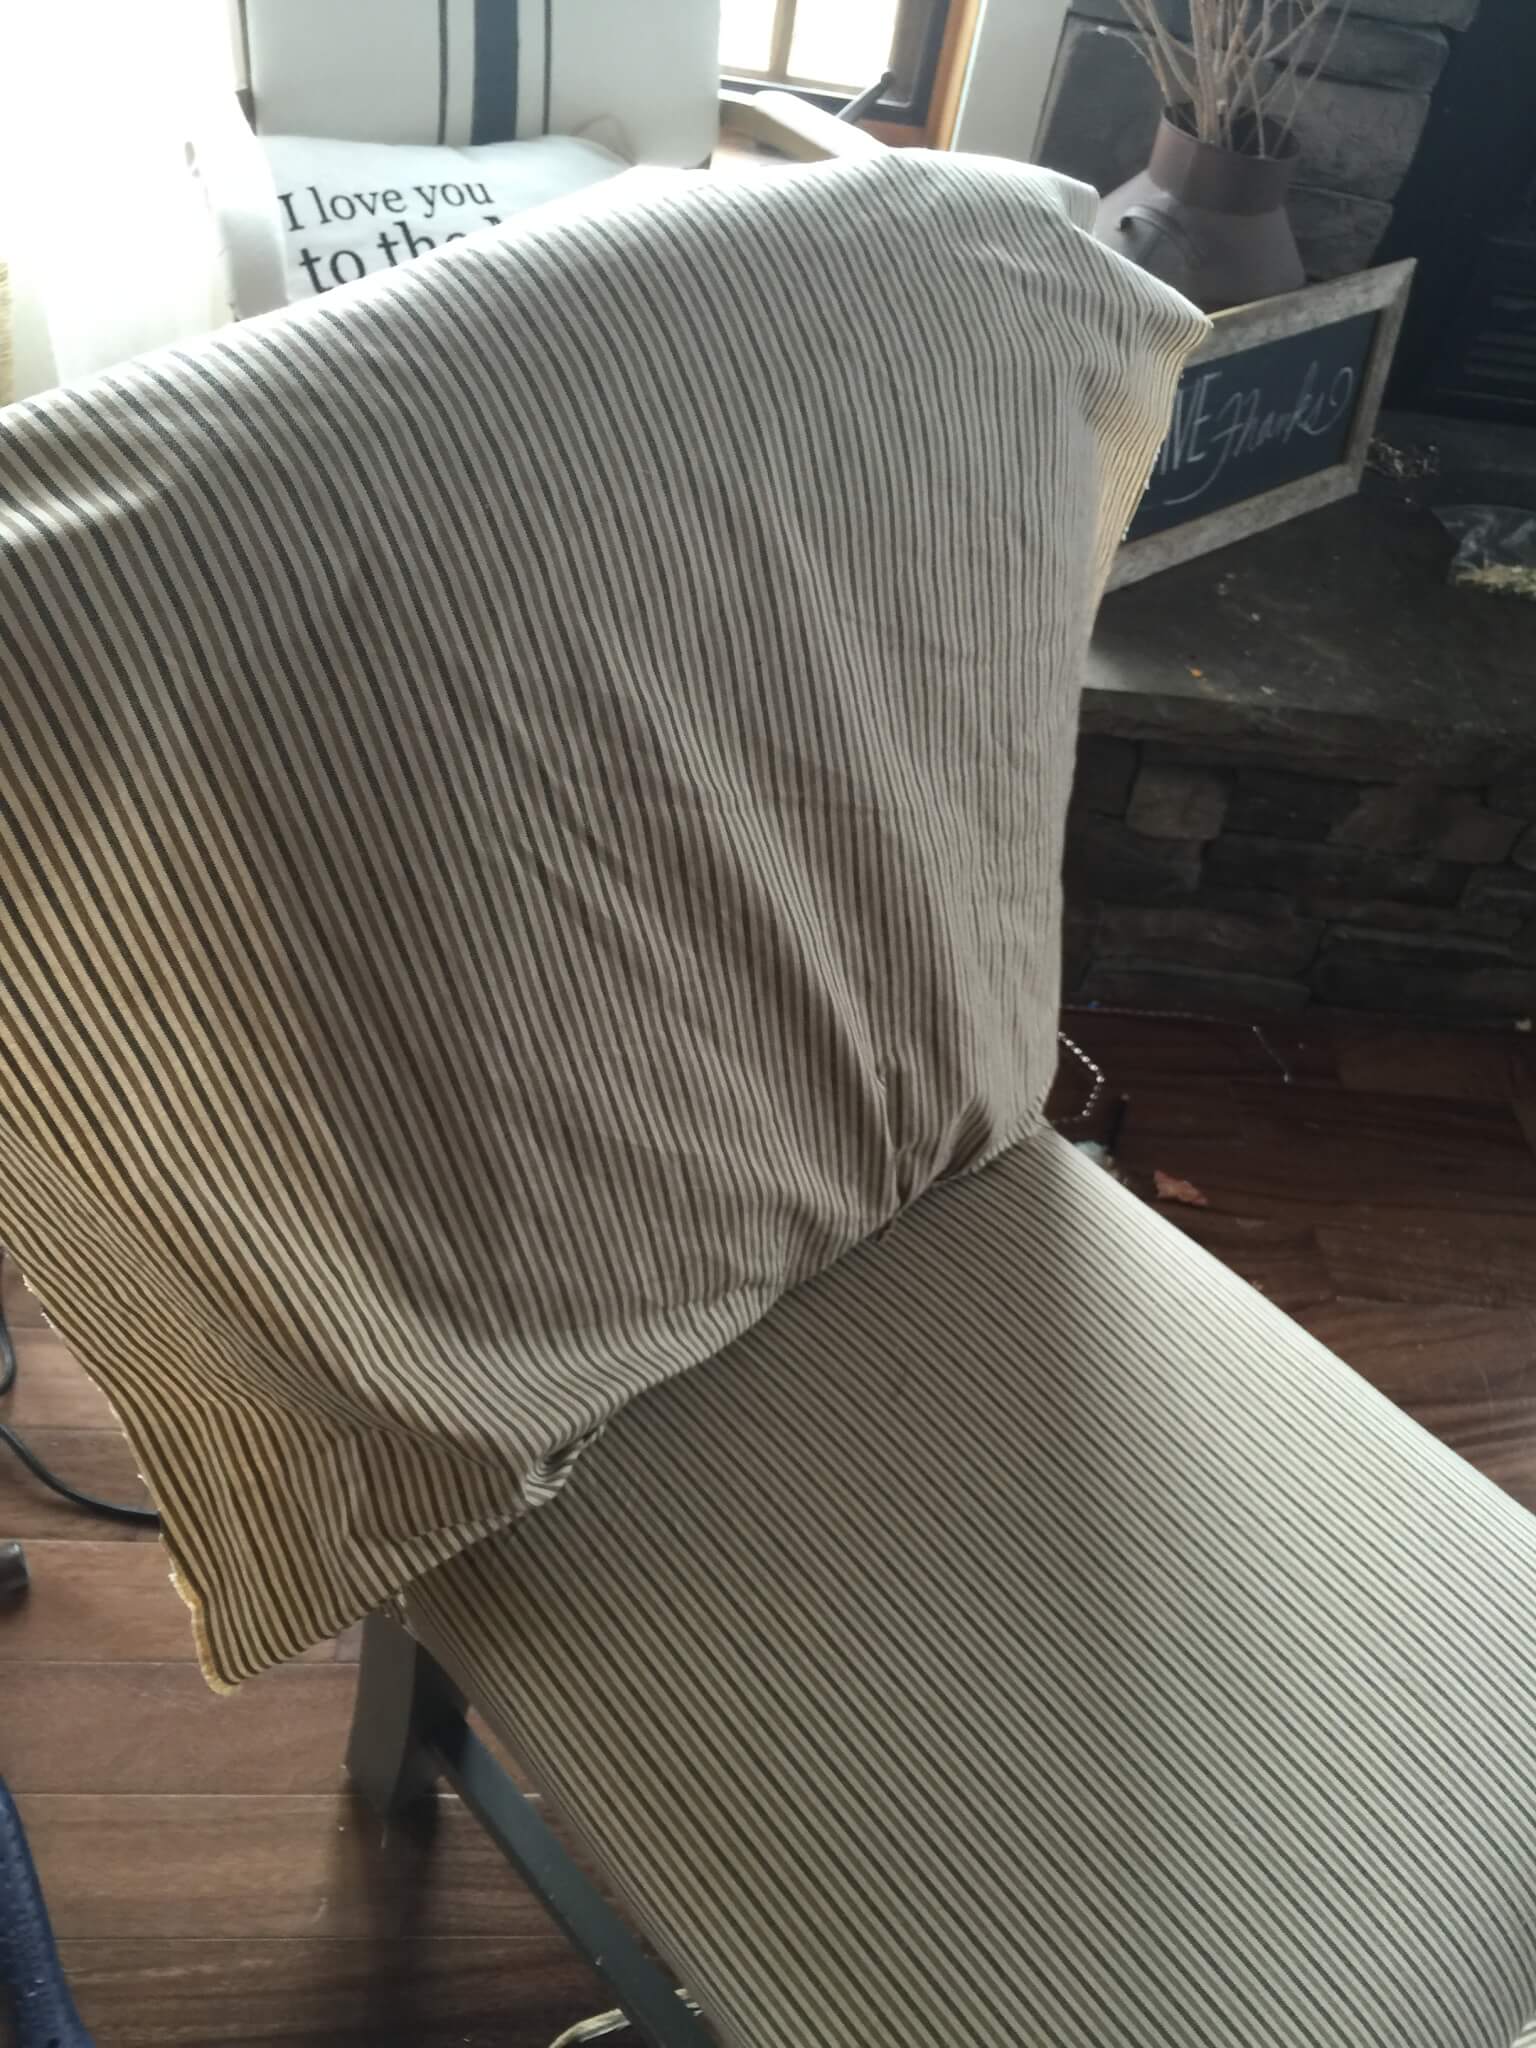
My chair had three separate pieces of fabric. I pulled each off and used the pliers to help pull out the staples. I cut a new piece of each pattern.
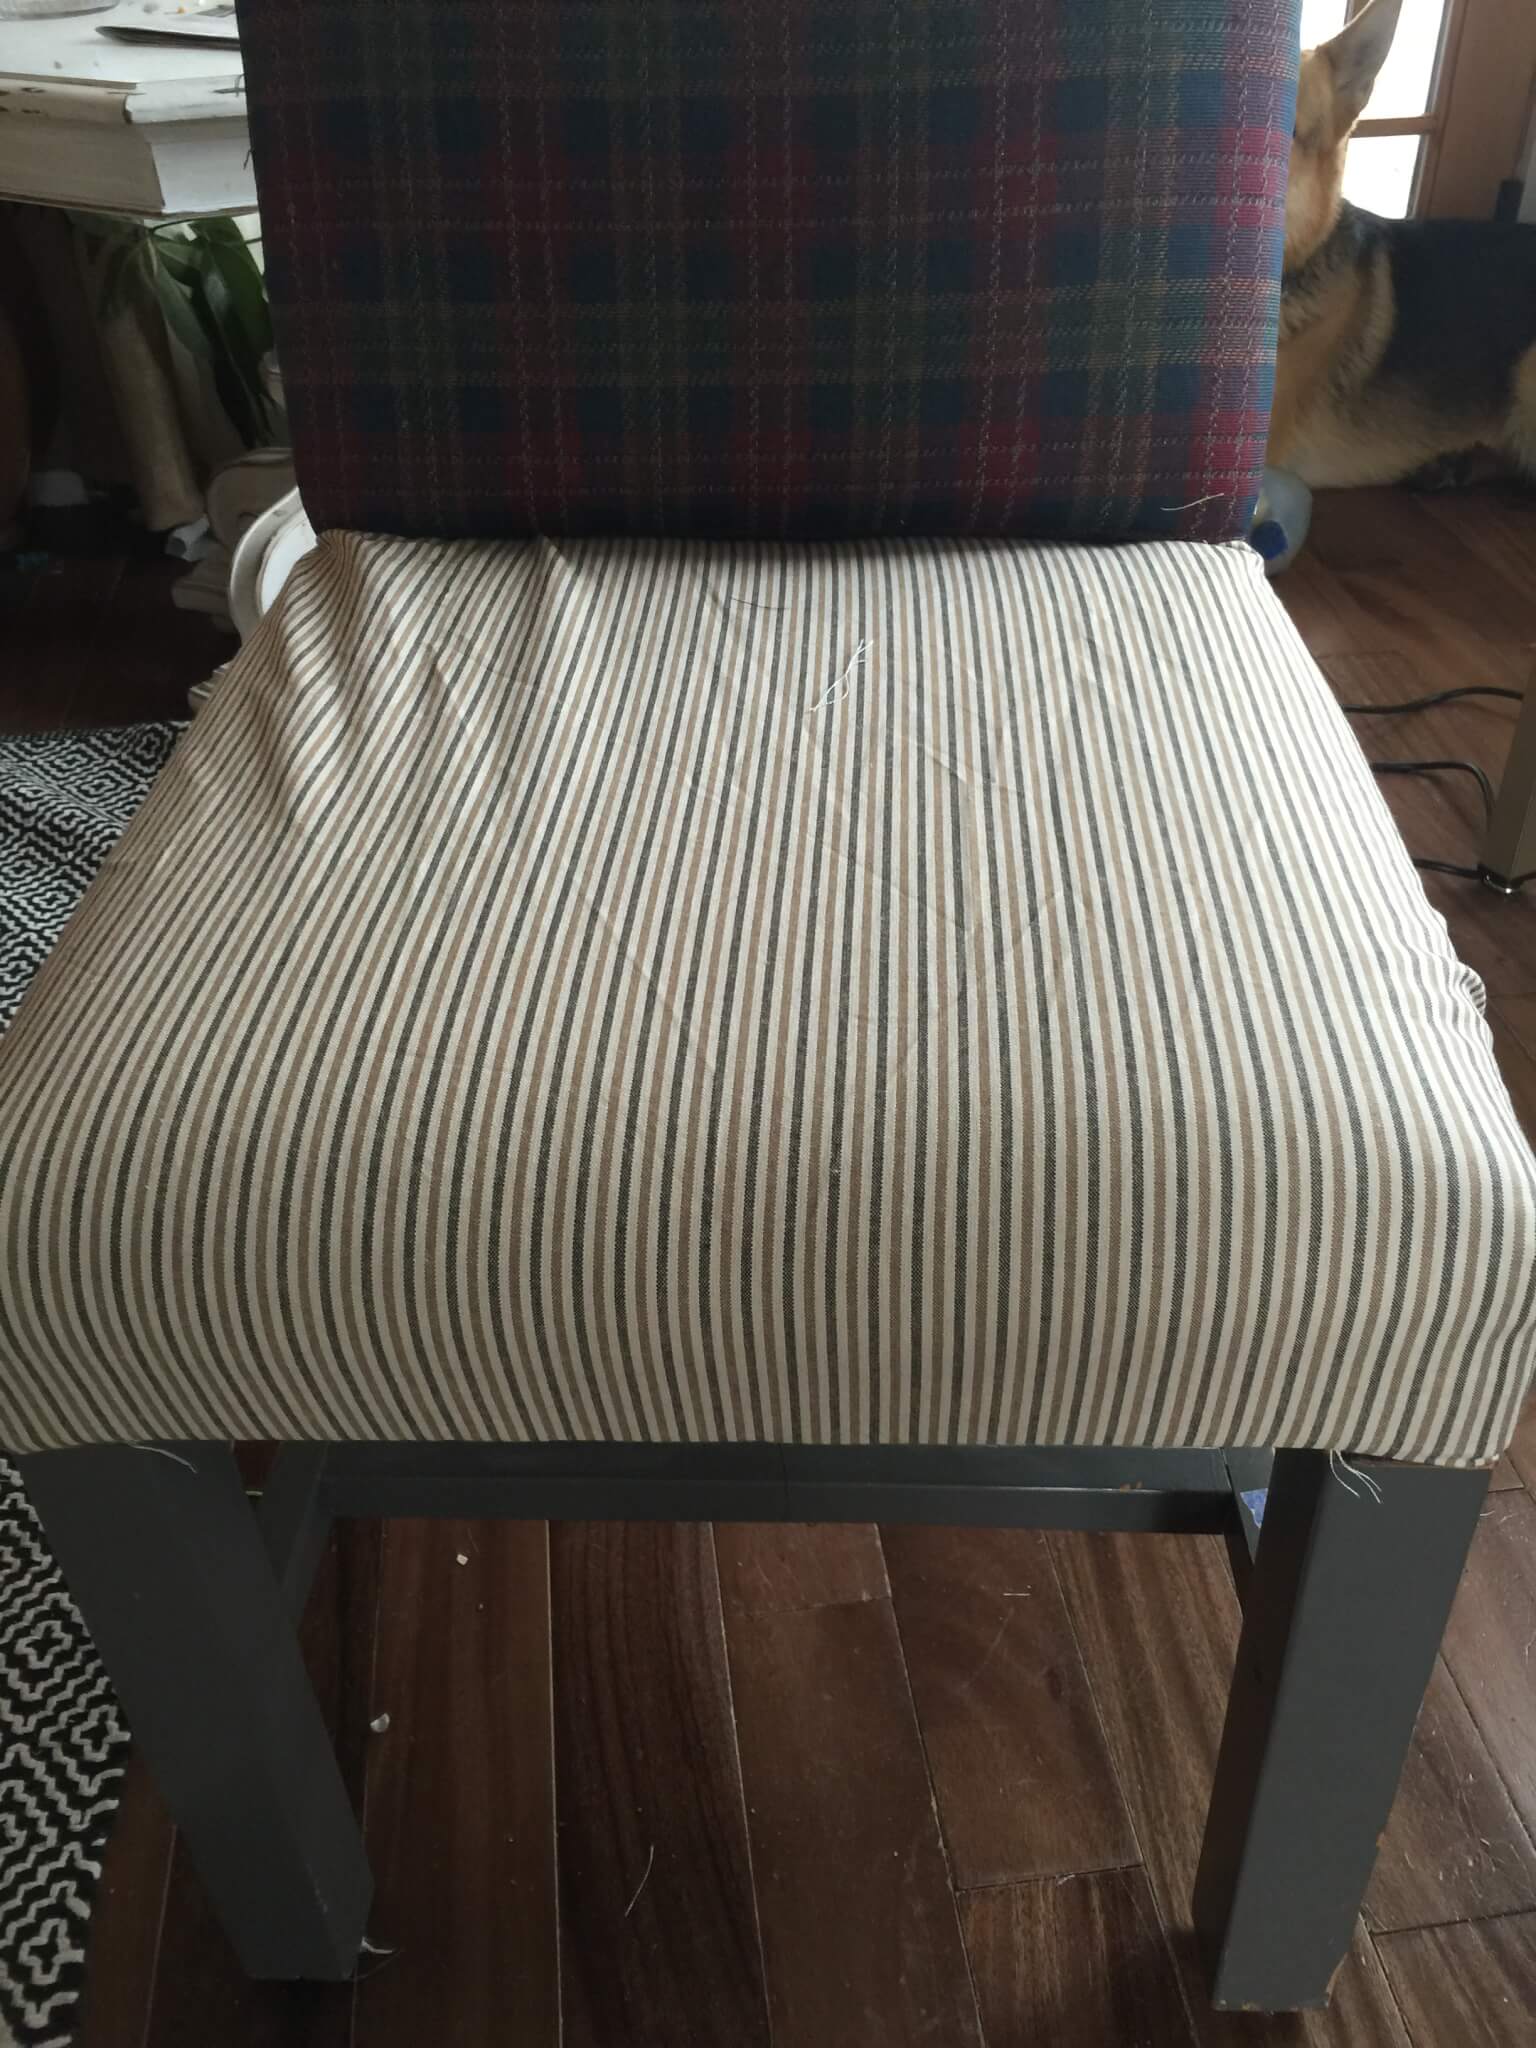
I started with the seat. There is an opening toward the back where you feed the fabric and attach it in the back. I stapled one in the back and then one in the front, holding the fabric taut.
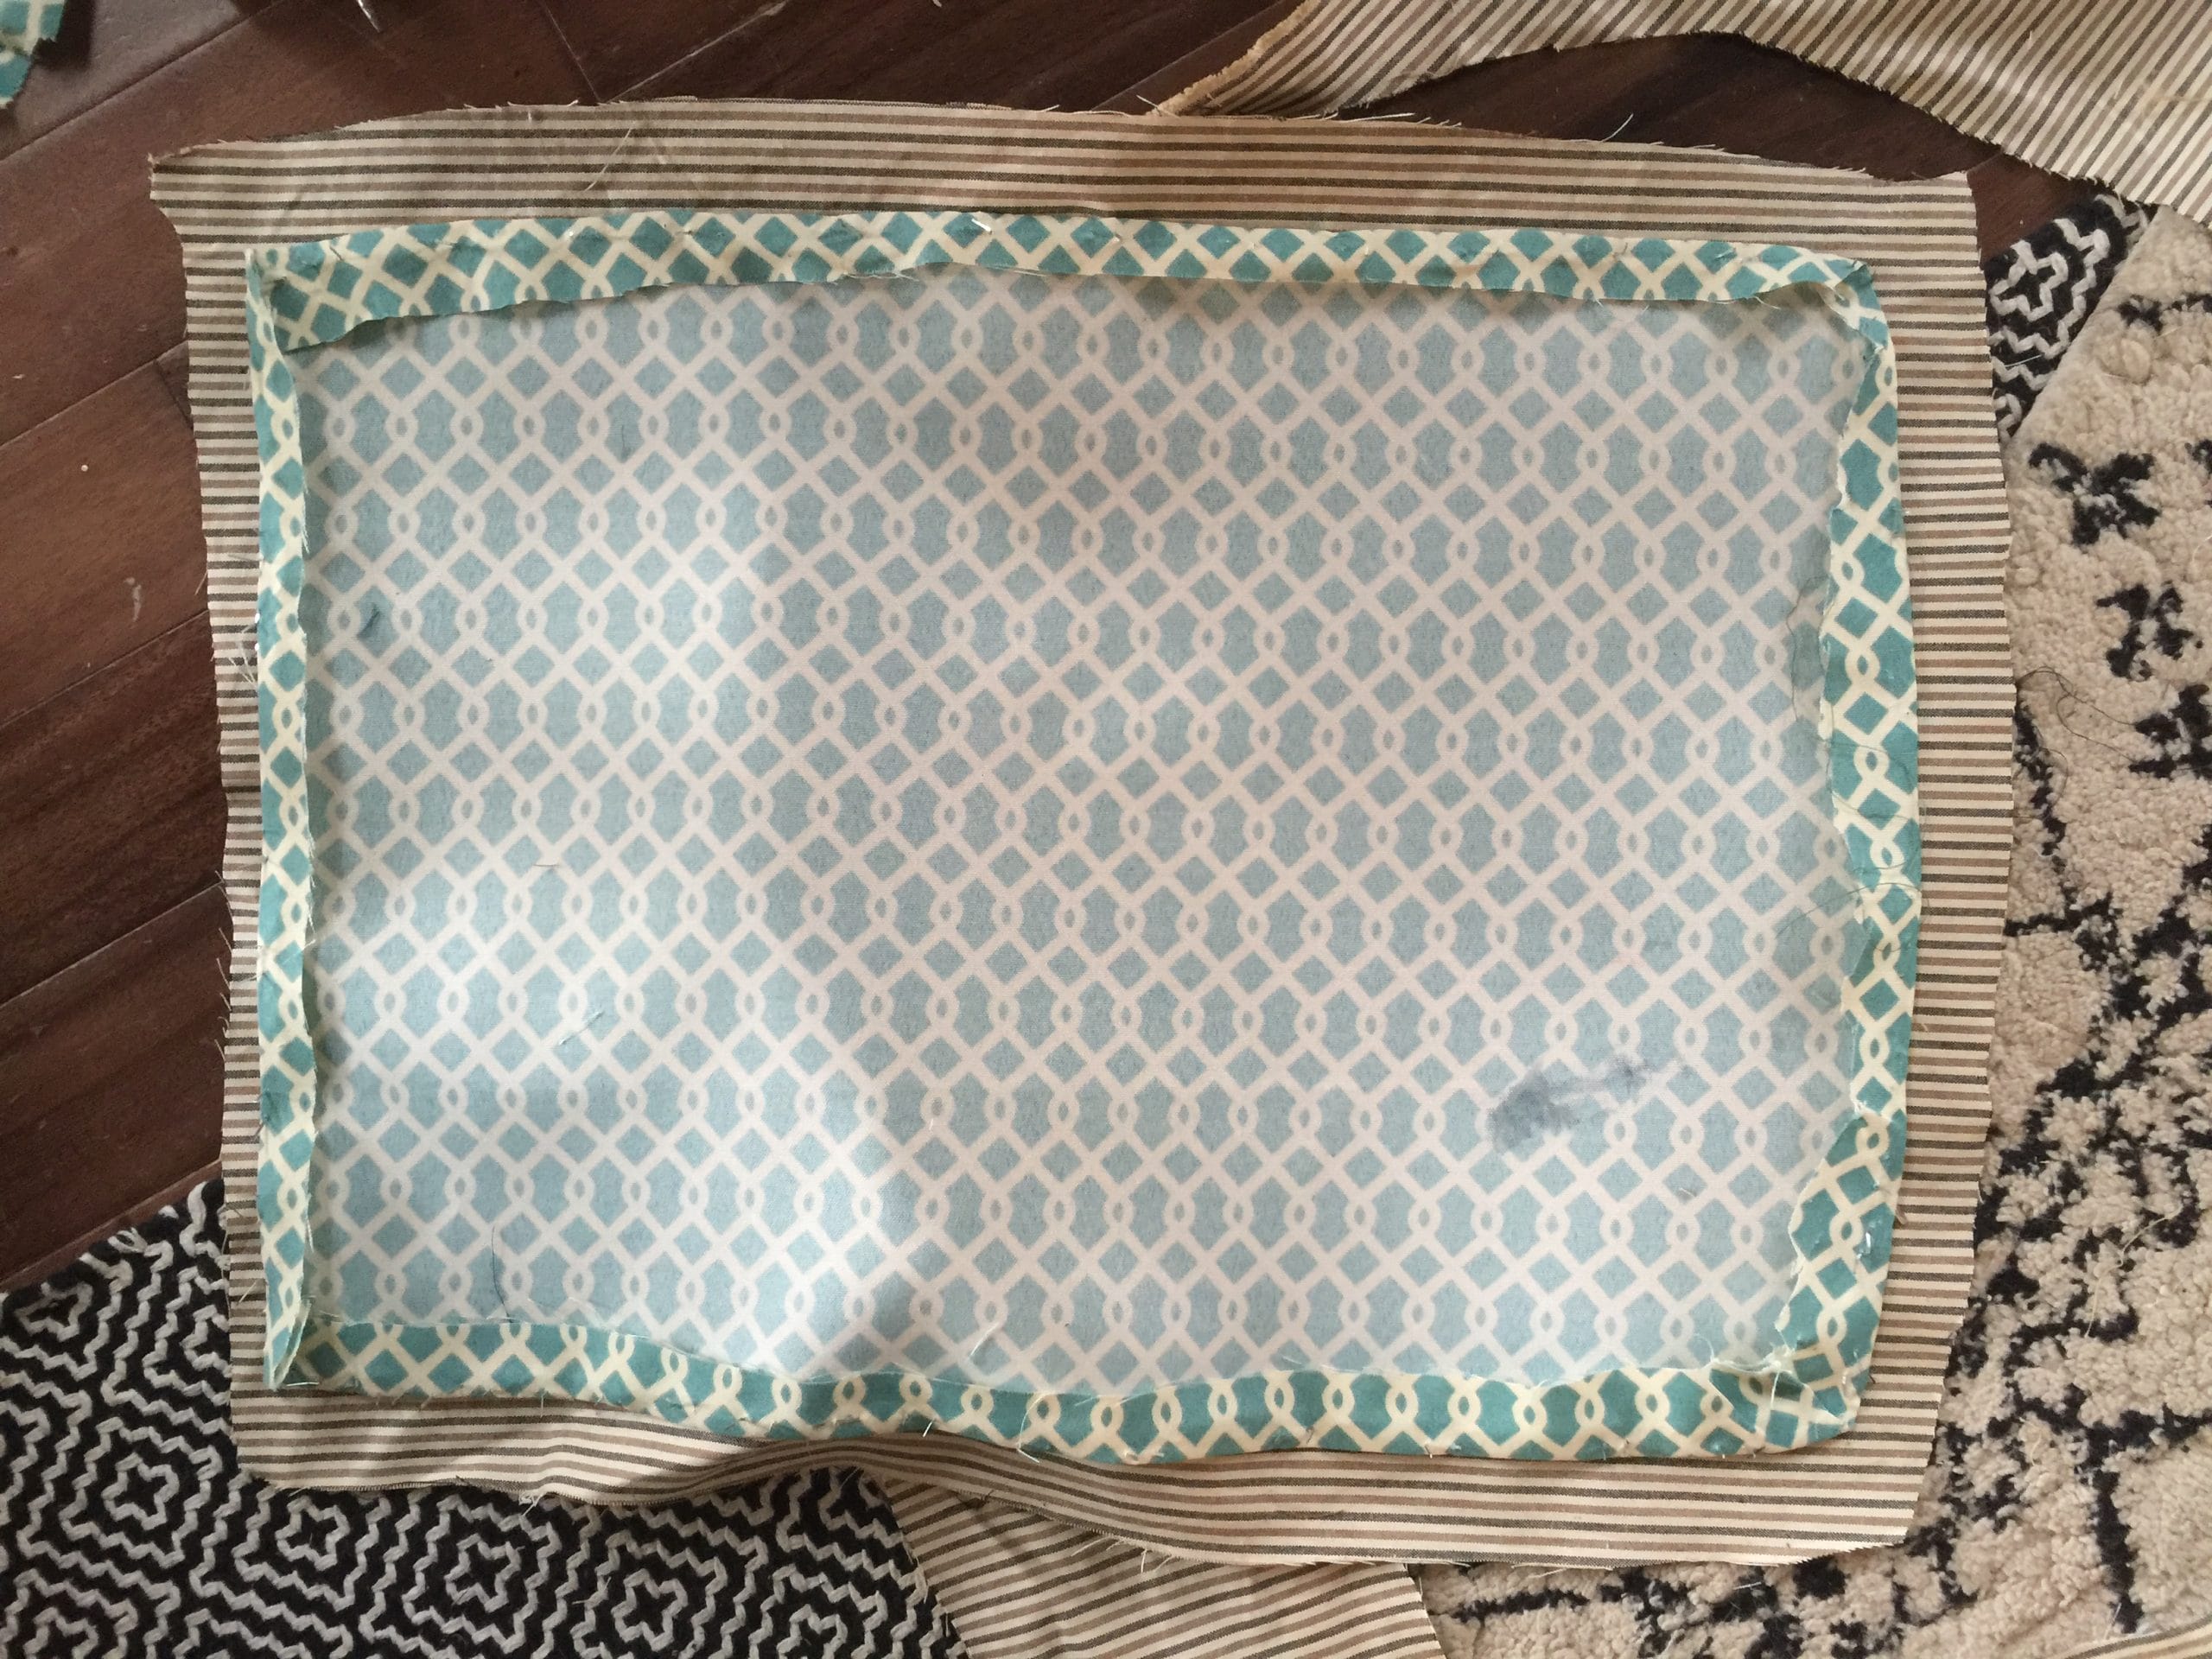
I actually decided to keep the first layer of fabric, I know, I know, usually you should take it off, but it was helpful for me to have it so I left it.
Once I had stapled in the front and back once, I continued stapling toward the outside. I made sure the stripes were straight and that the fabric was tight.
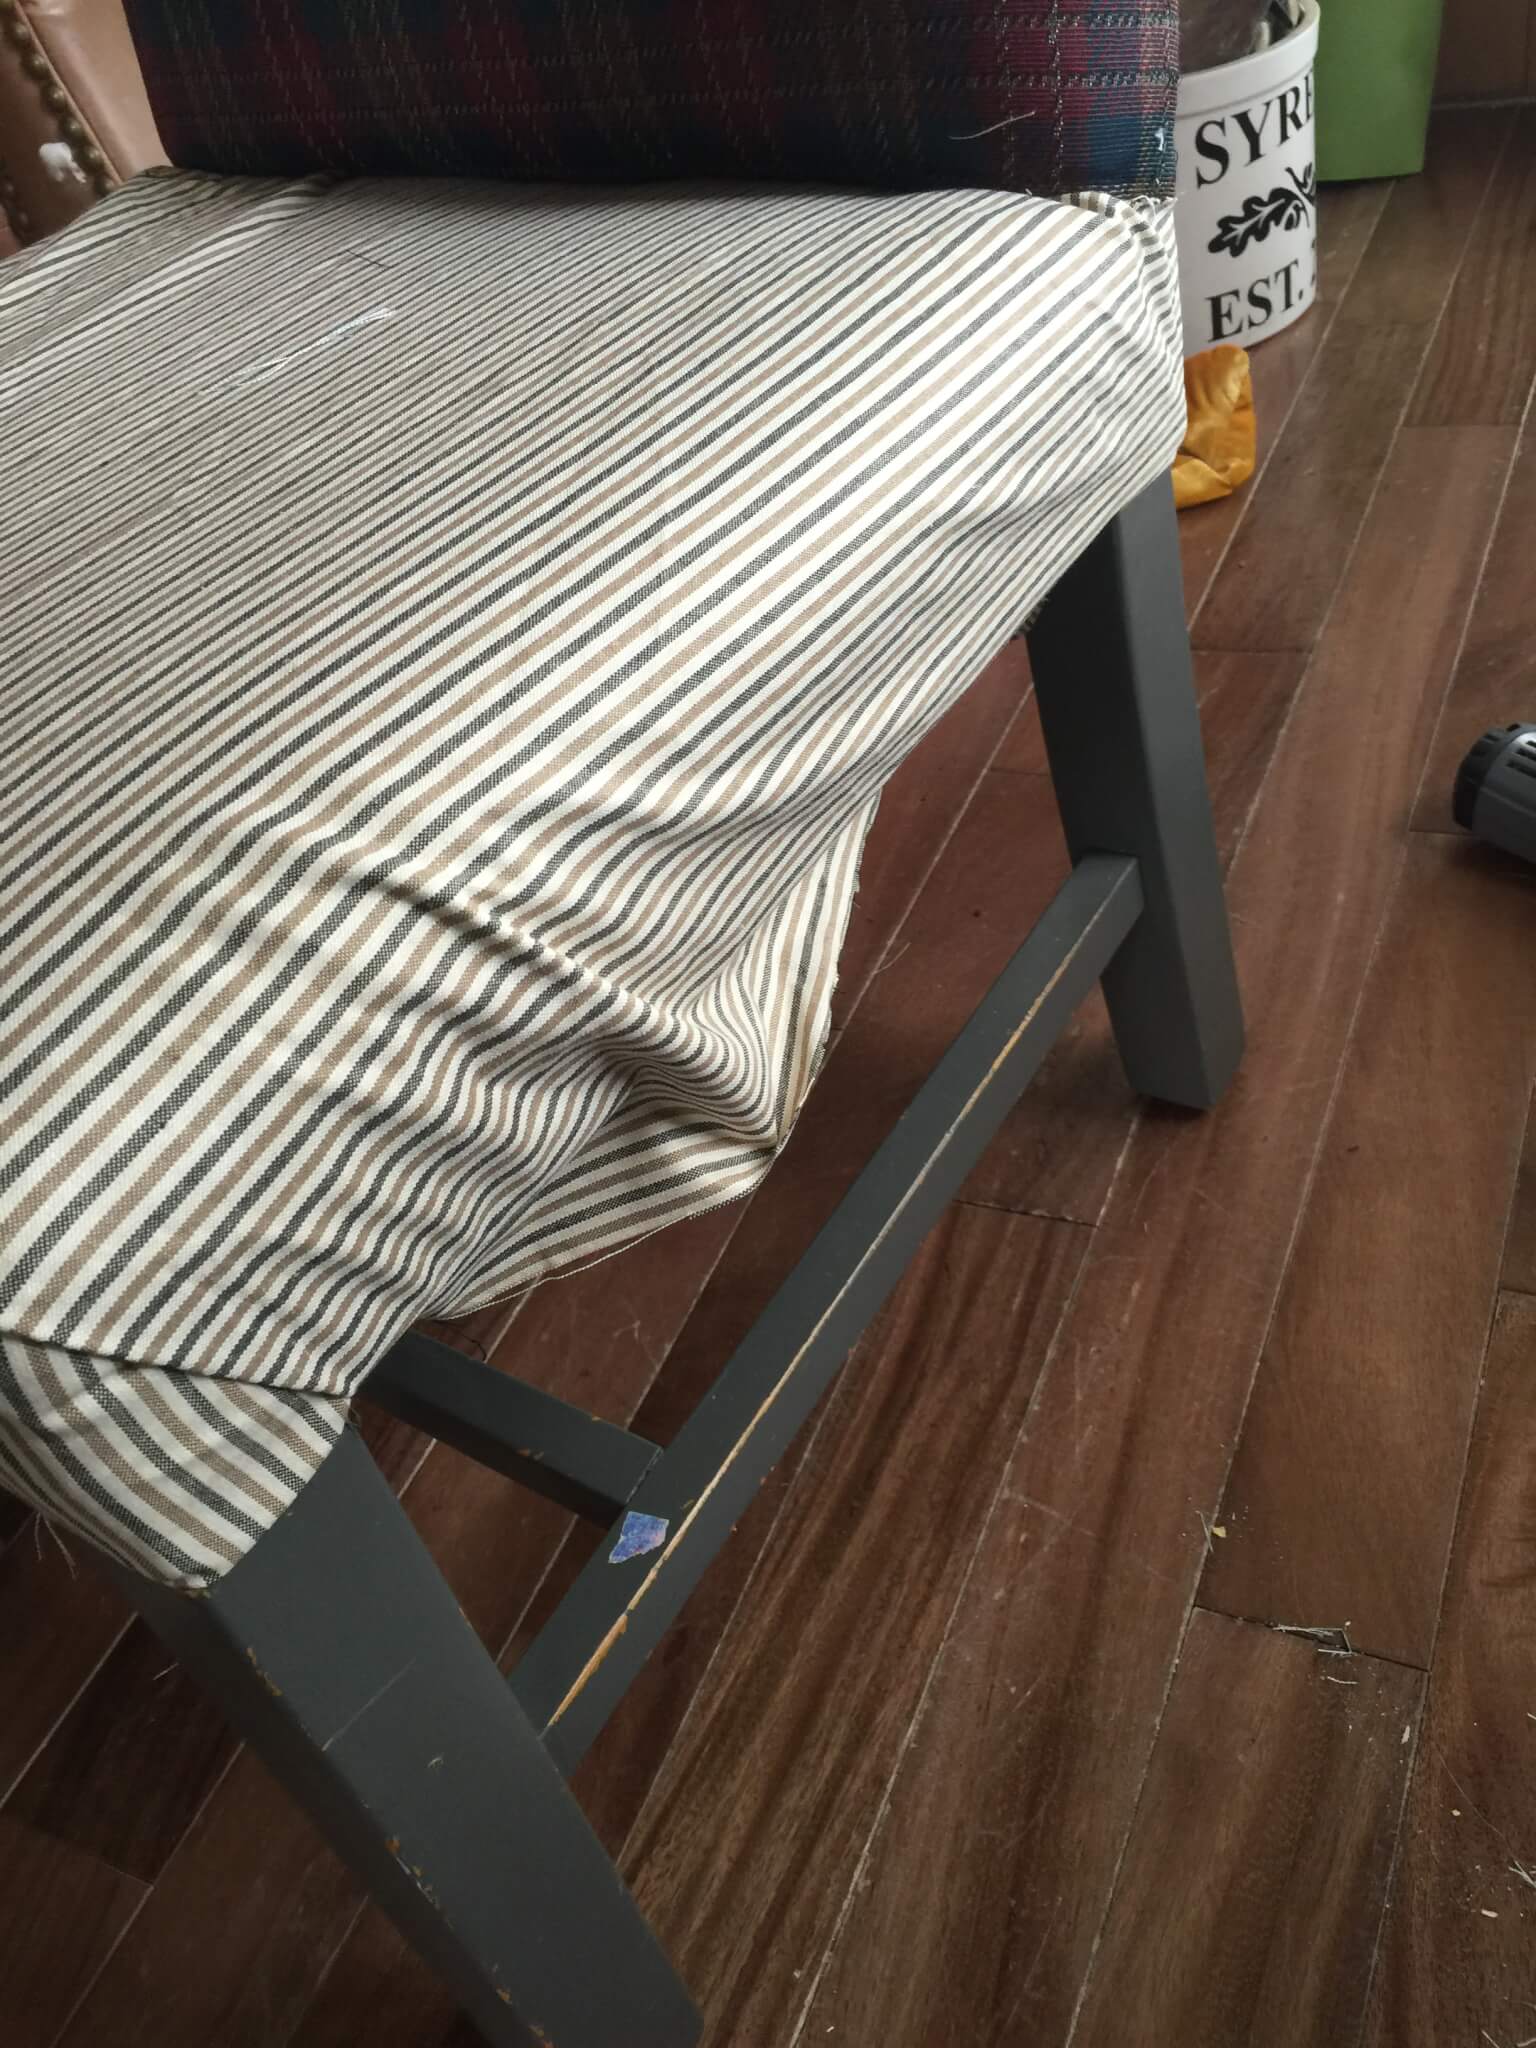
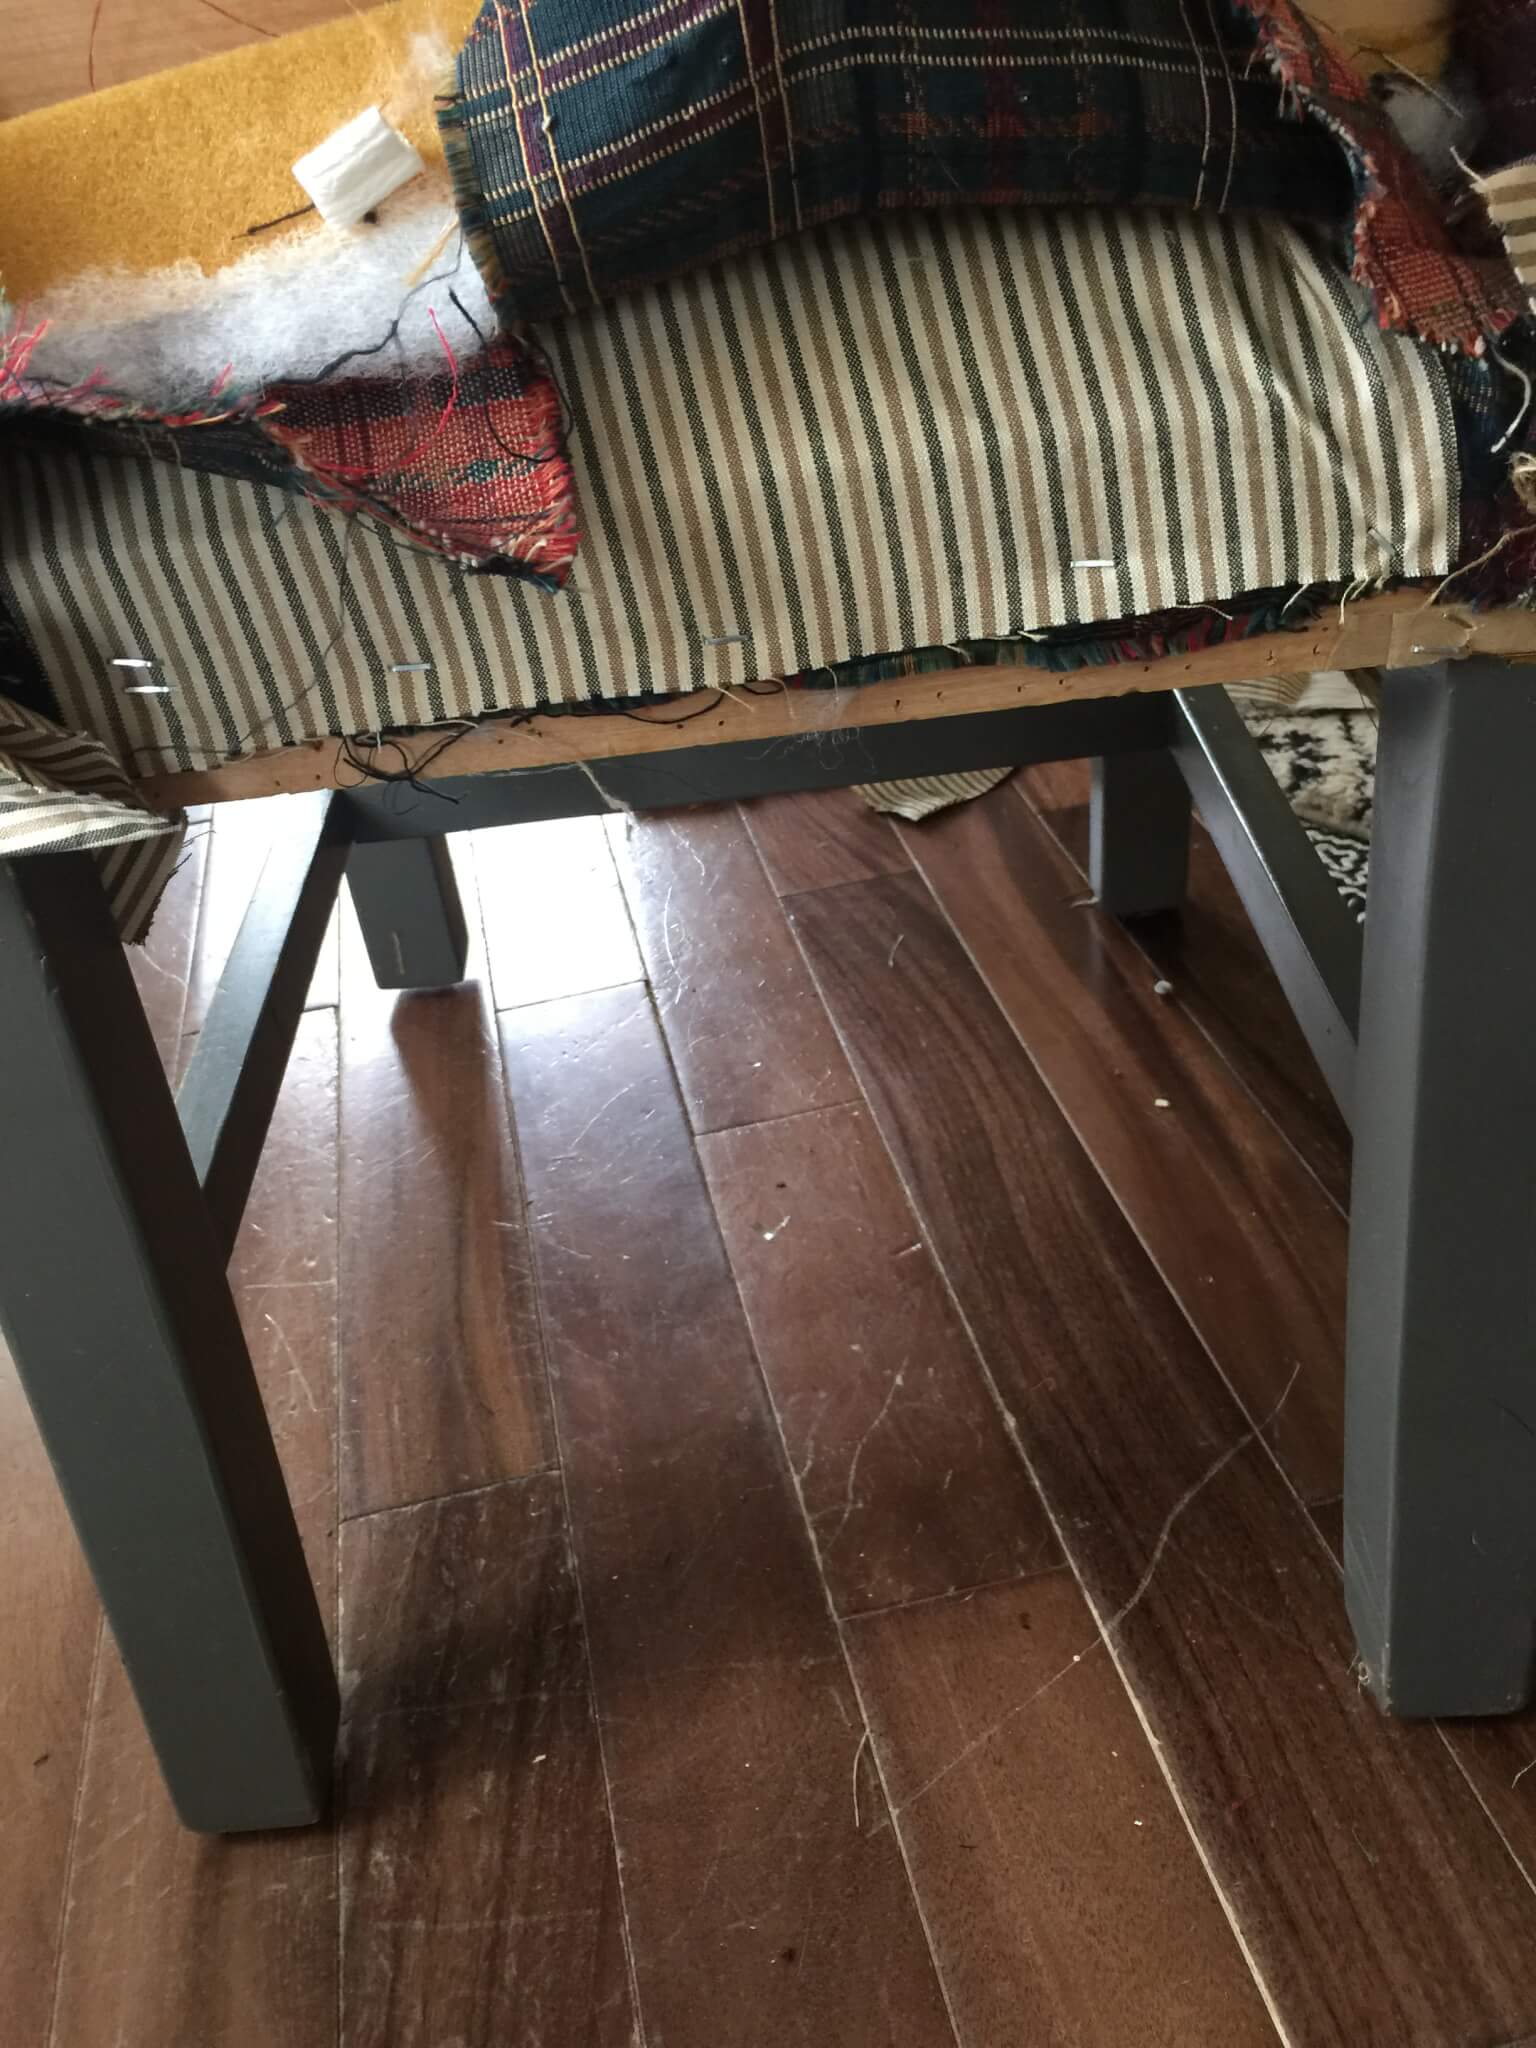
Once I had the front and back stapled, I started stapling the sides, starting from the middle of both sides and moving out toward the edges, rotating sides.
When I got to the legs, I folded the fabric up and under creating a clean line and stapled those down.
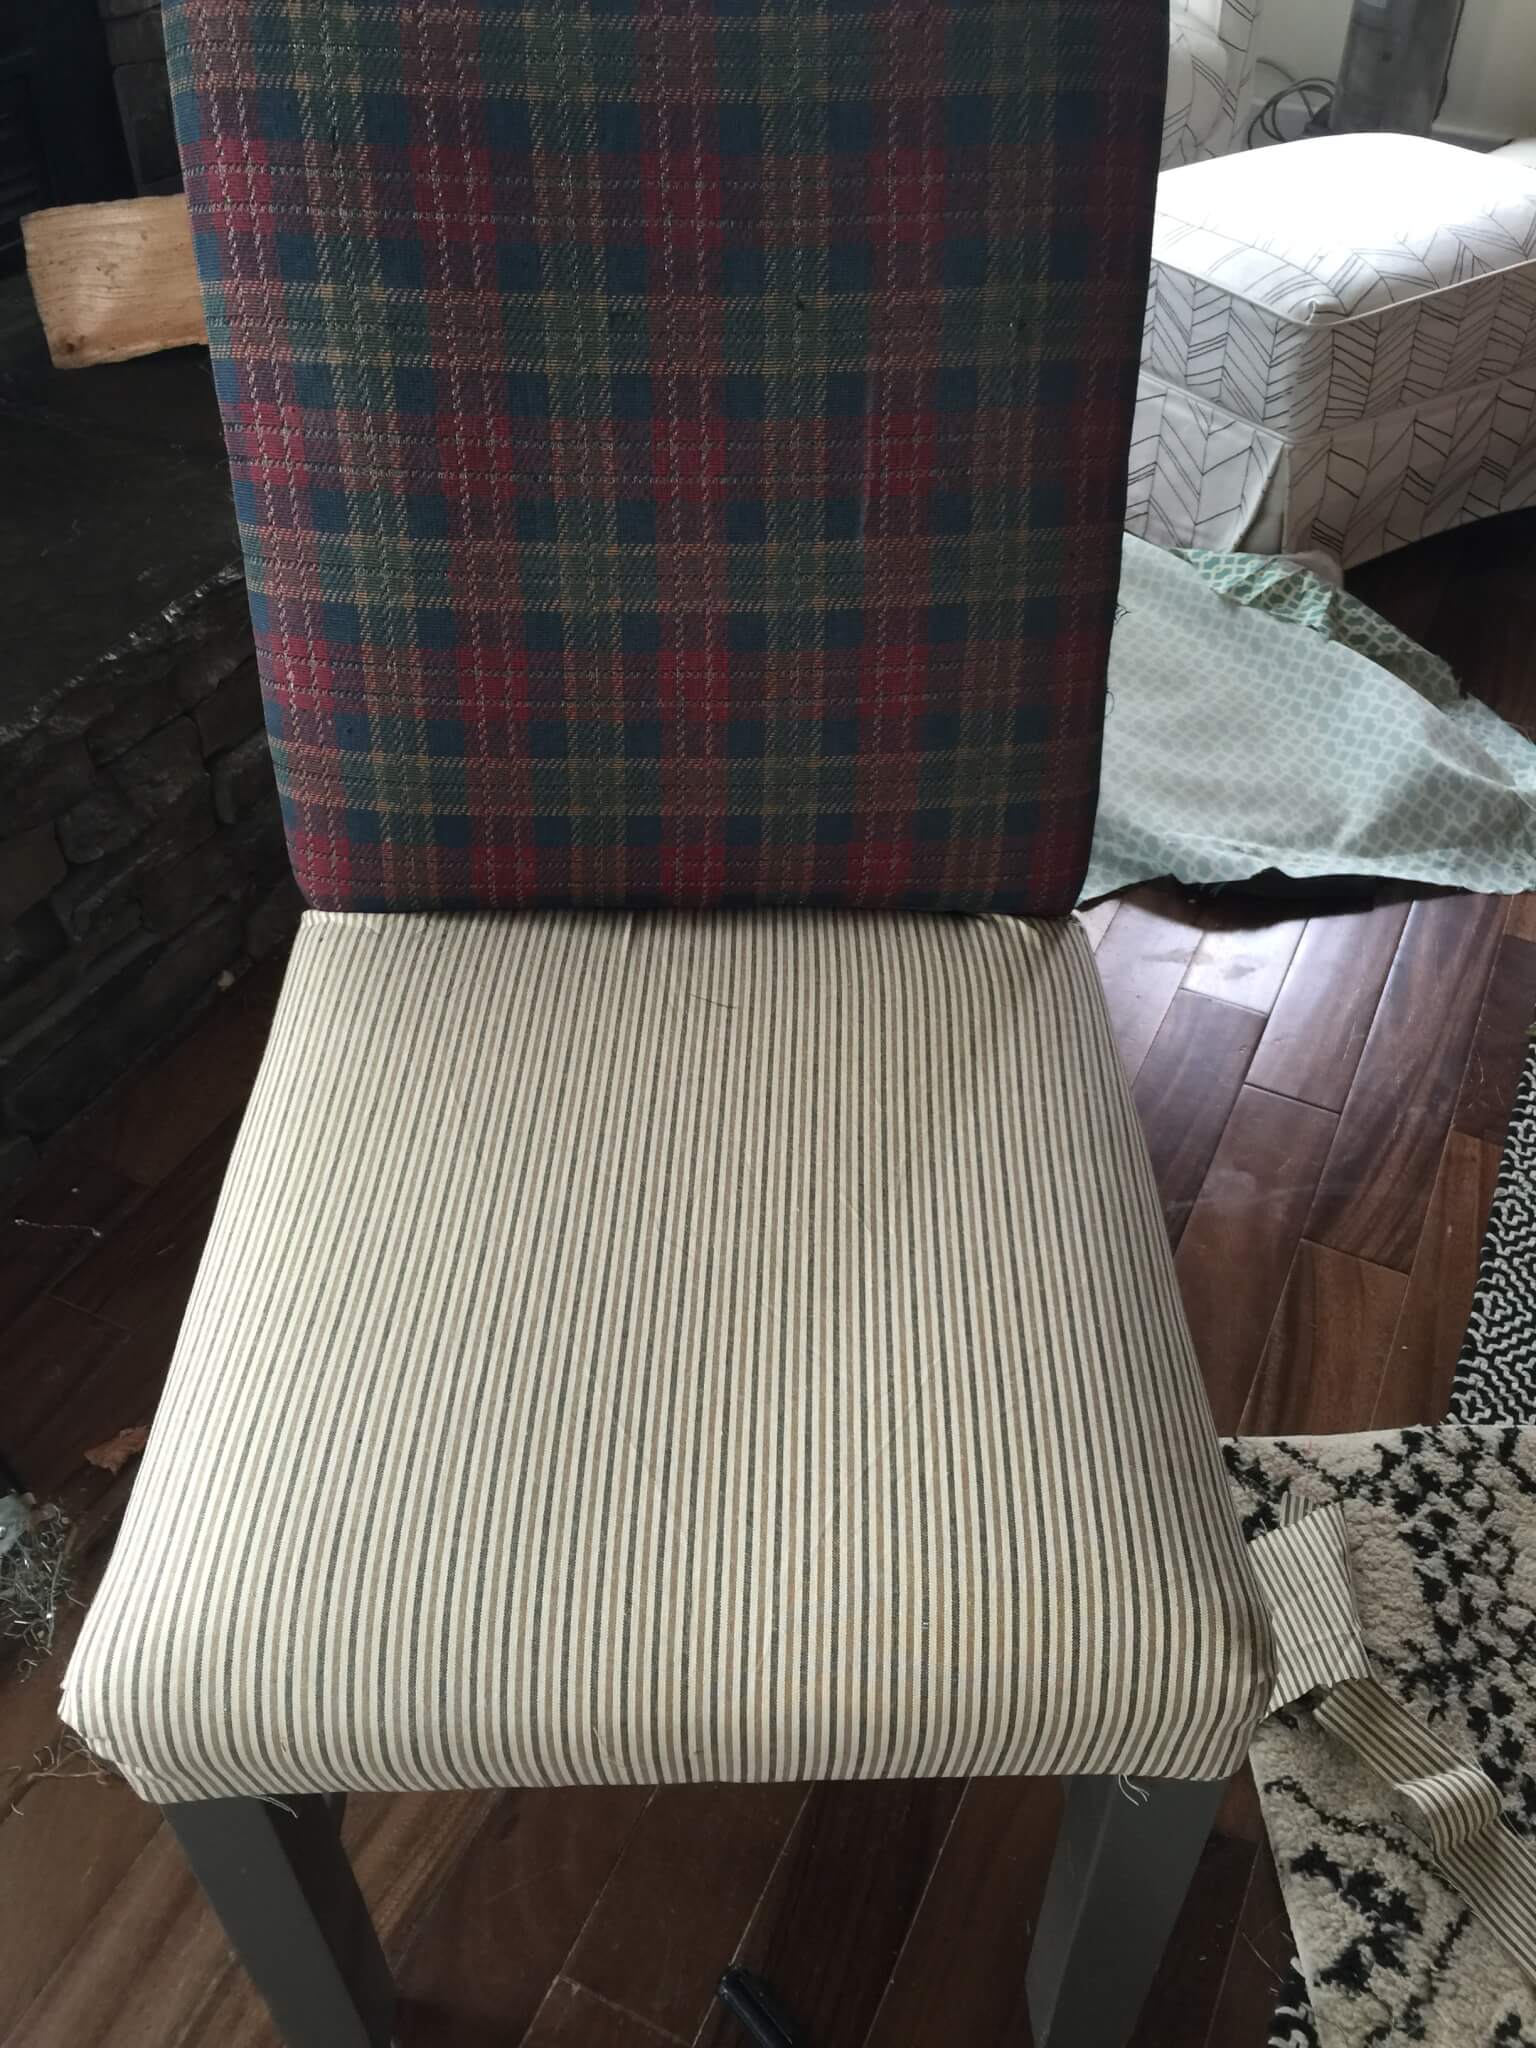
I then moved to the back of the chair. Once again I fed the fabric through the opening in the chair and secured the fabric with staples. I then pulled the fabric taut and stapled at the top. Once that was done I started stapling towards the edges.
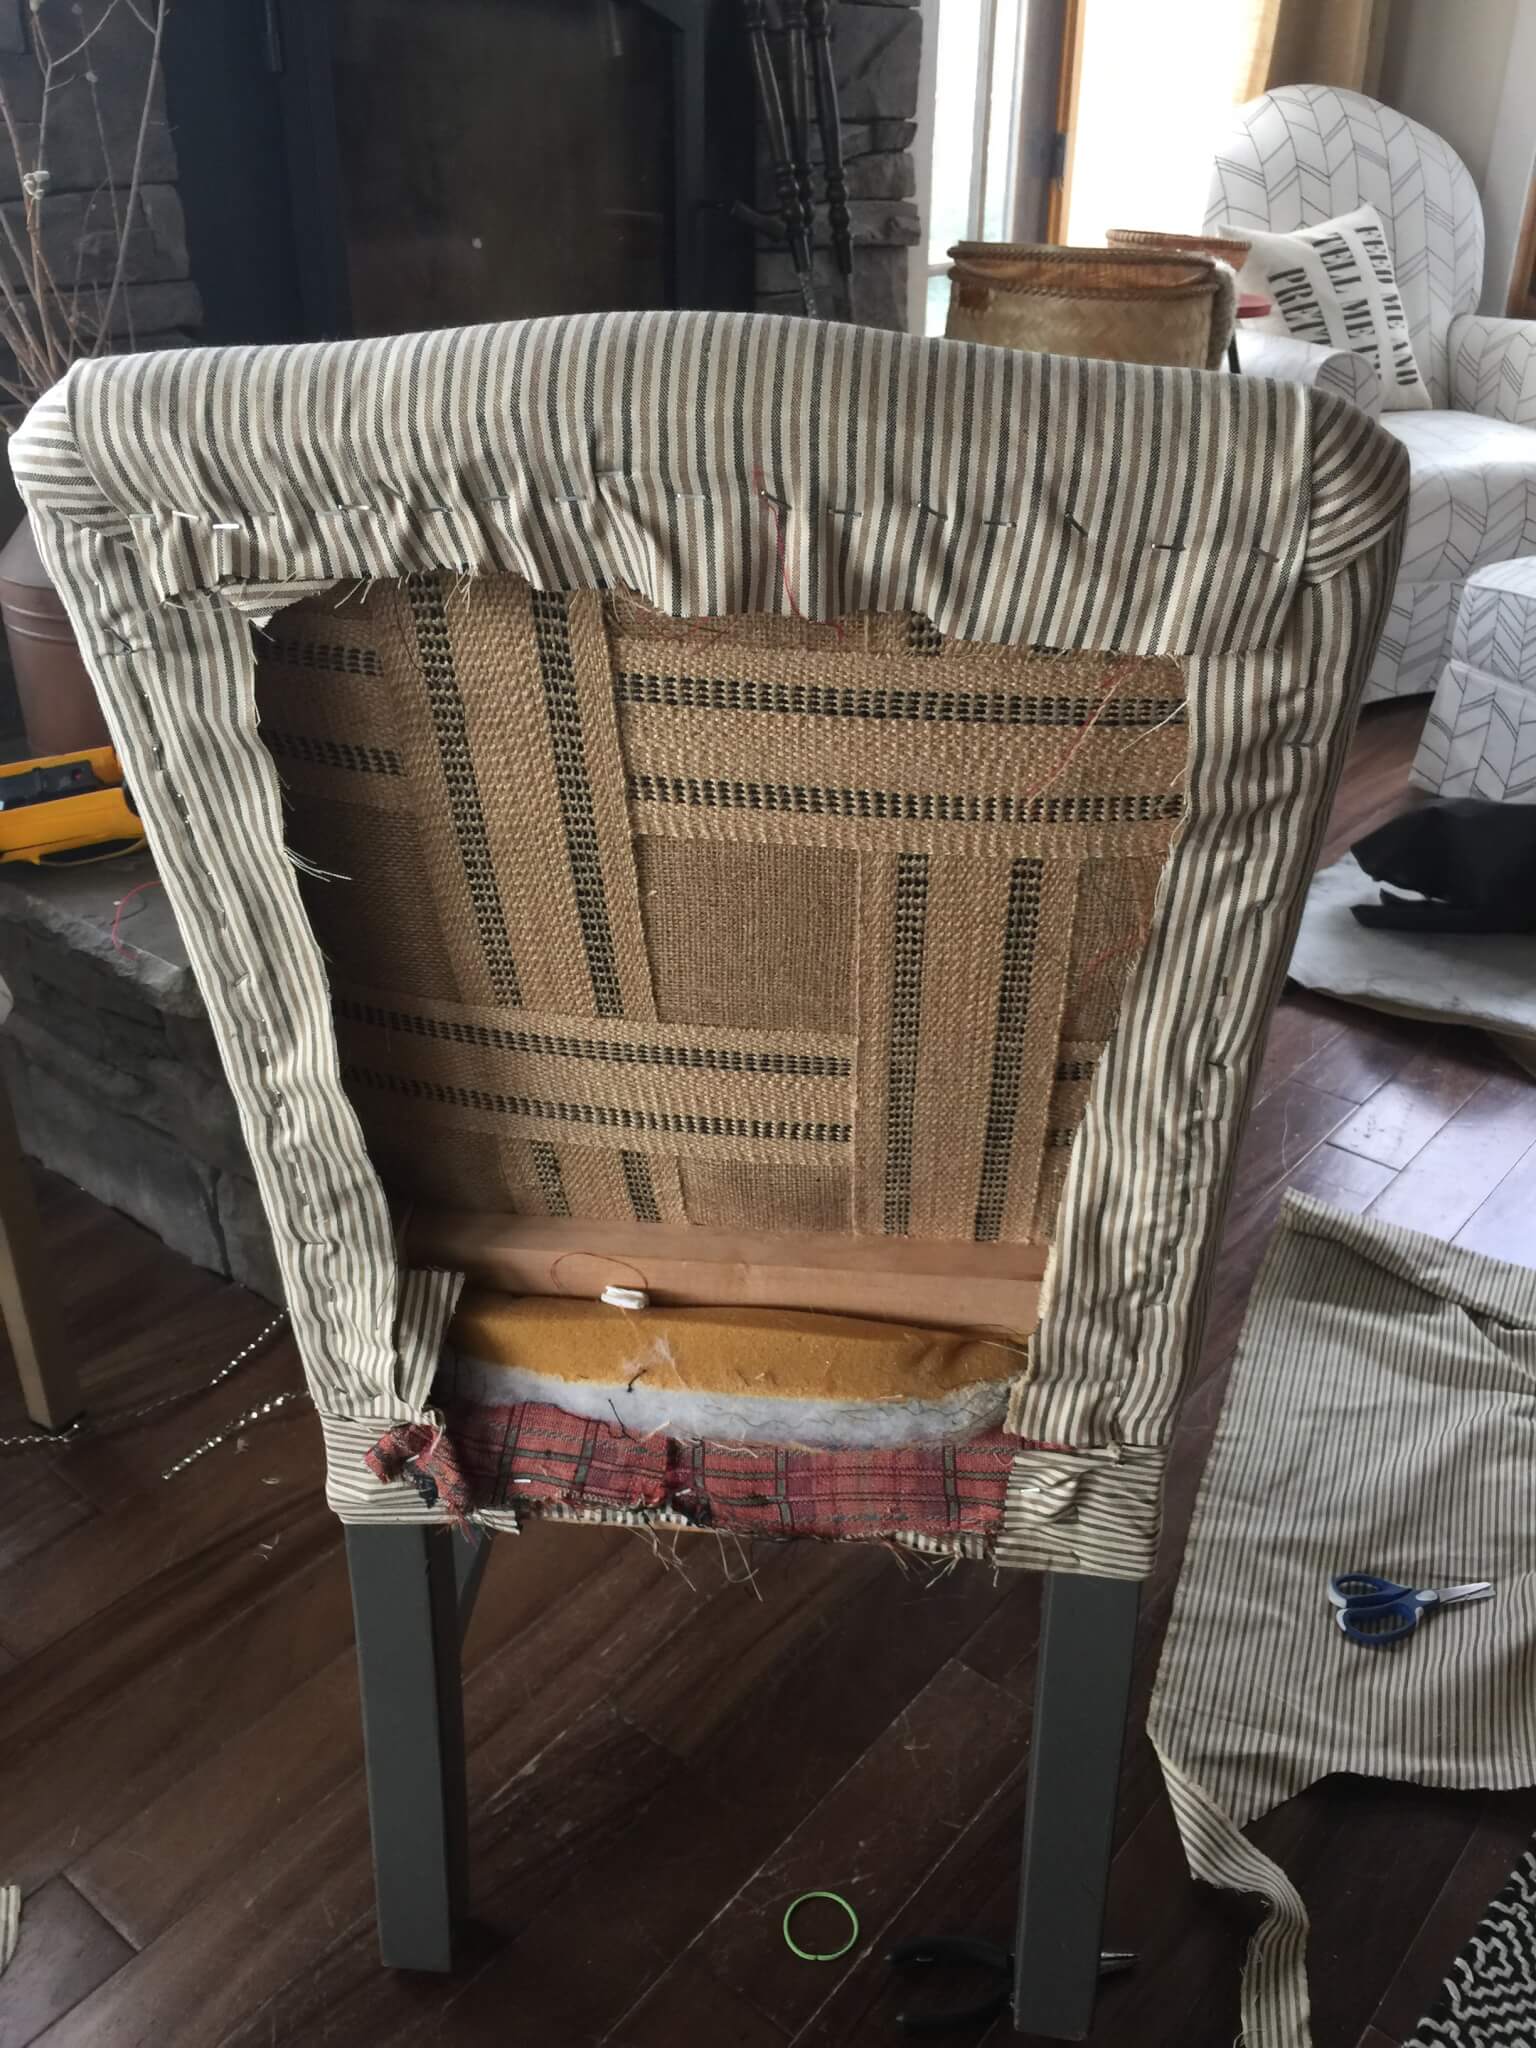 Once I reached almost to the edge I stopped there and started on the sides. When I got to the corners, I folded and placed it where I wanted it and then stapled it down. Once you have it all secure, I went back and added more staples to create a smooth line.
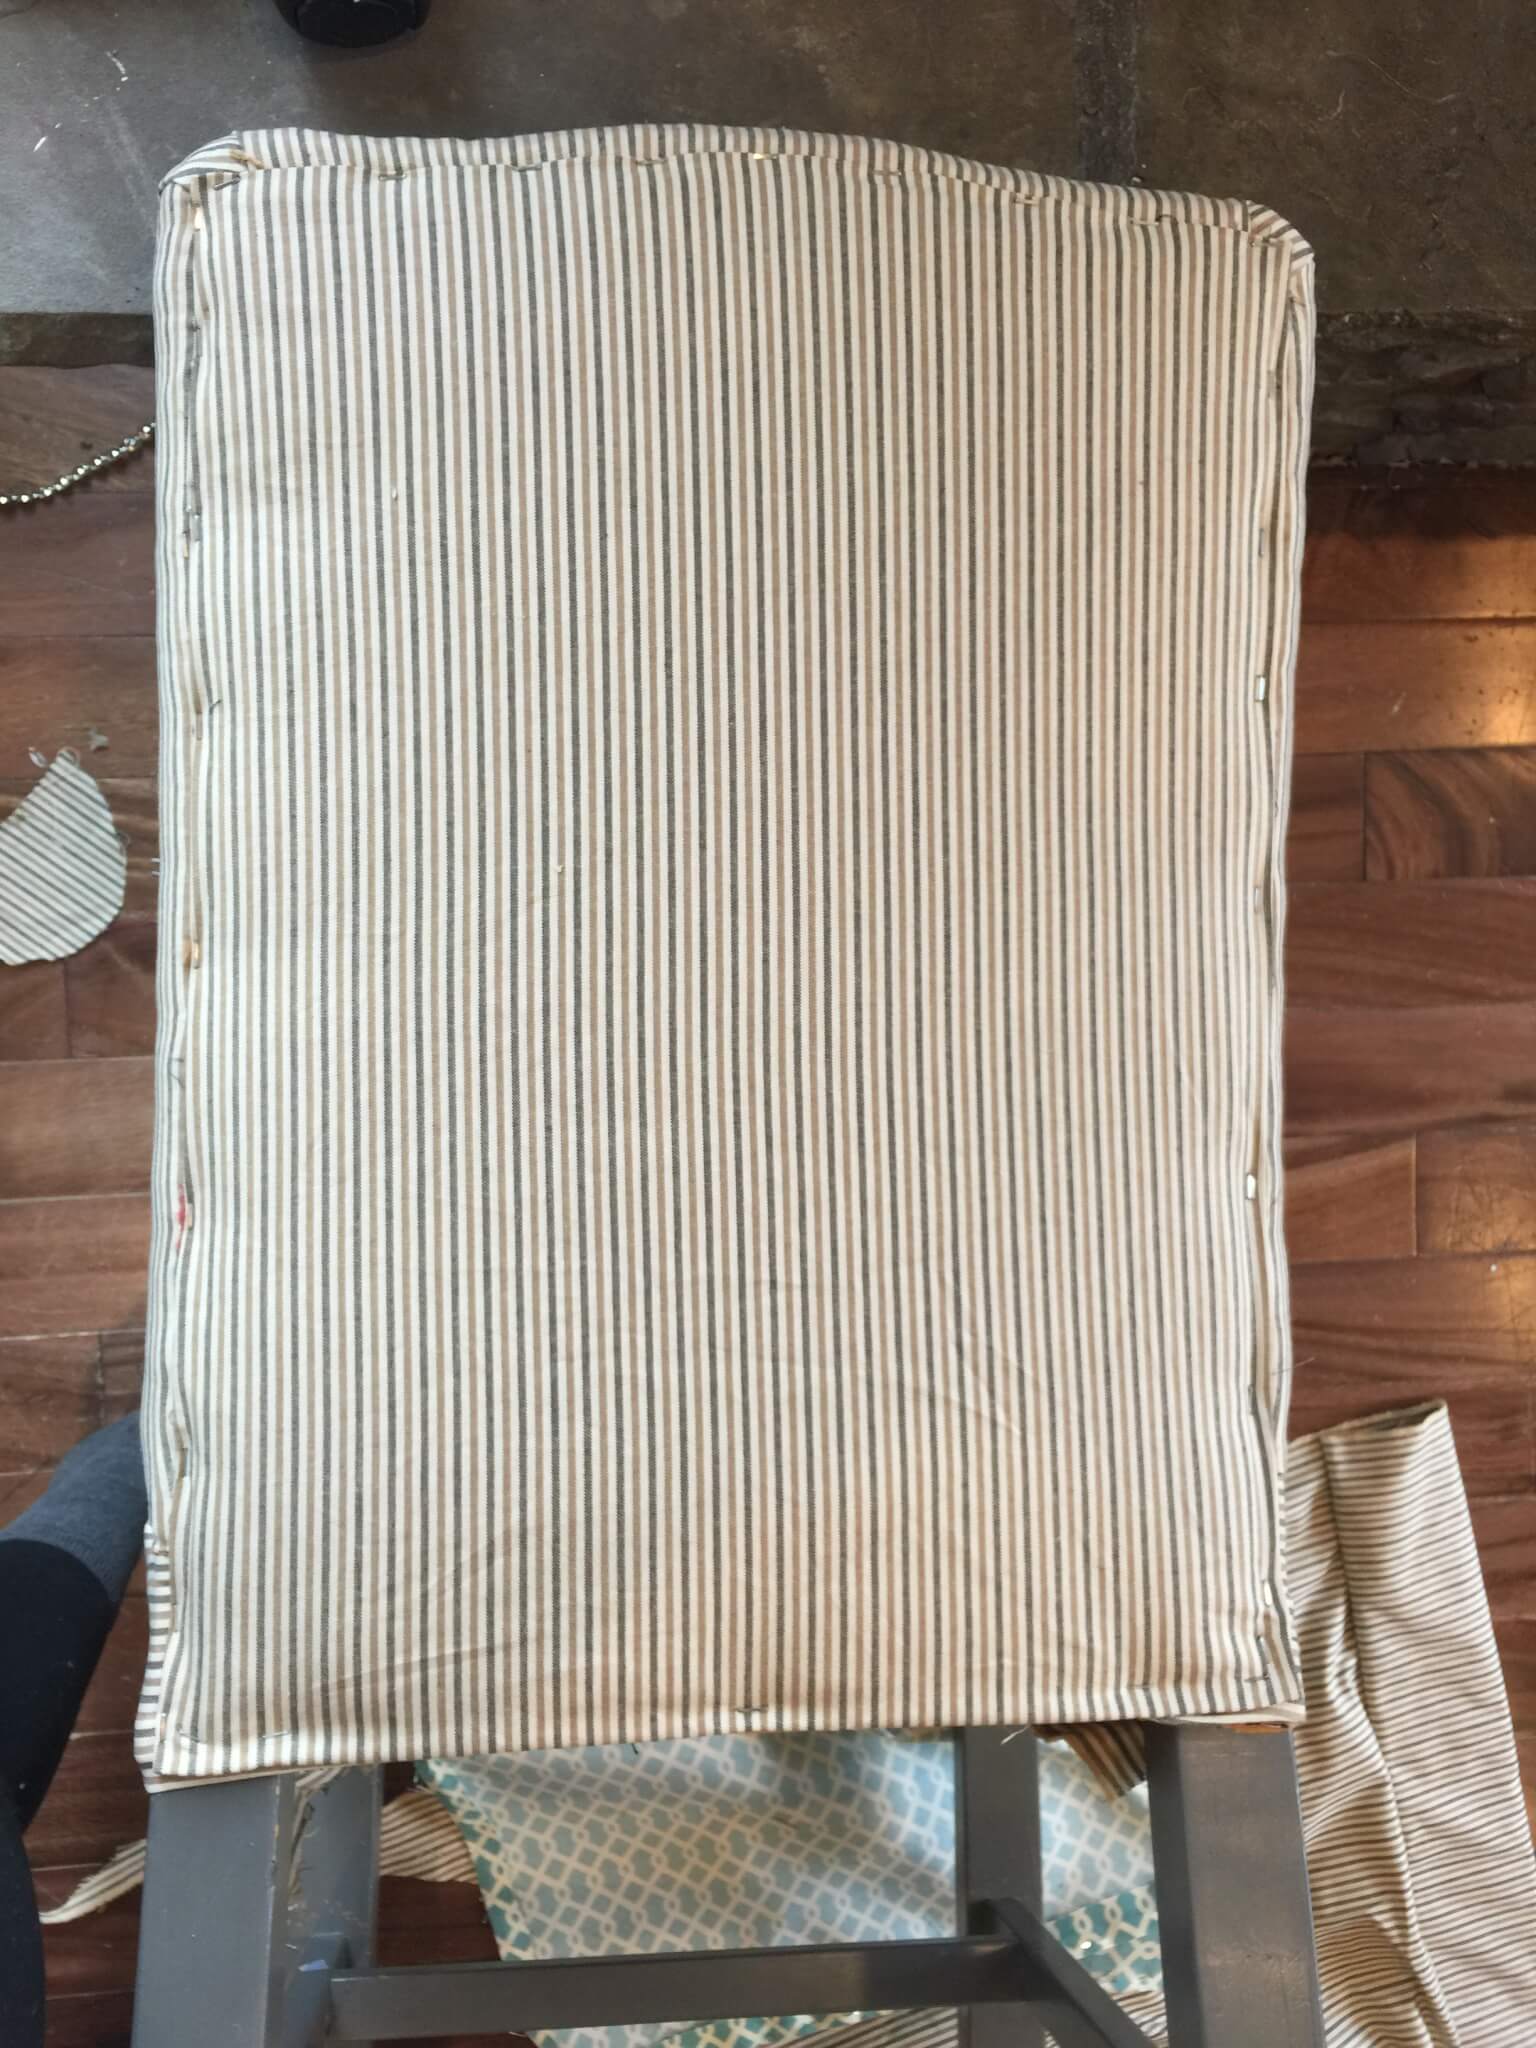
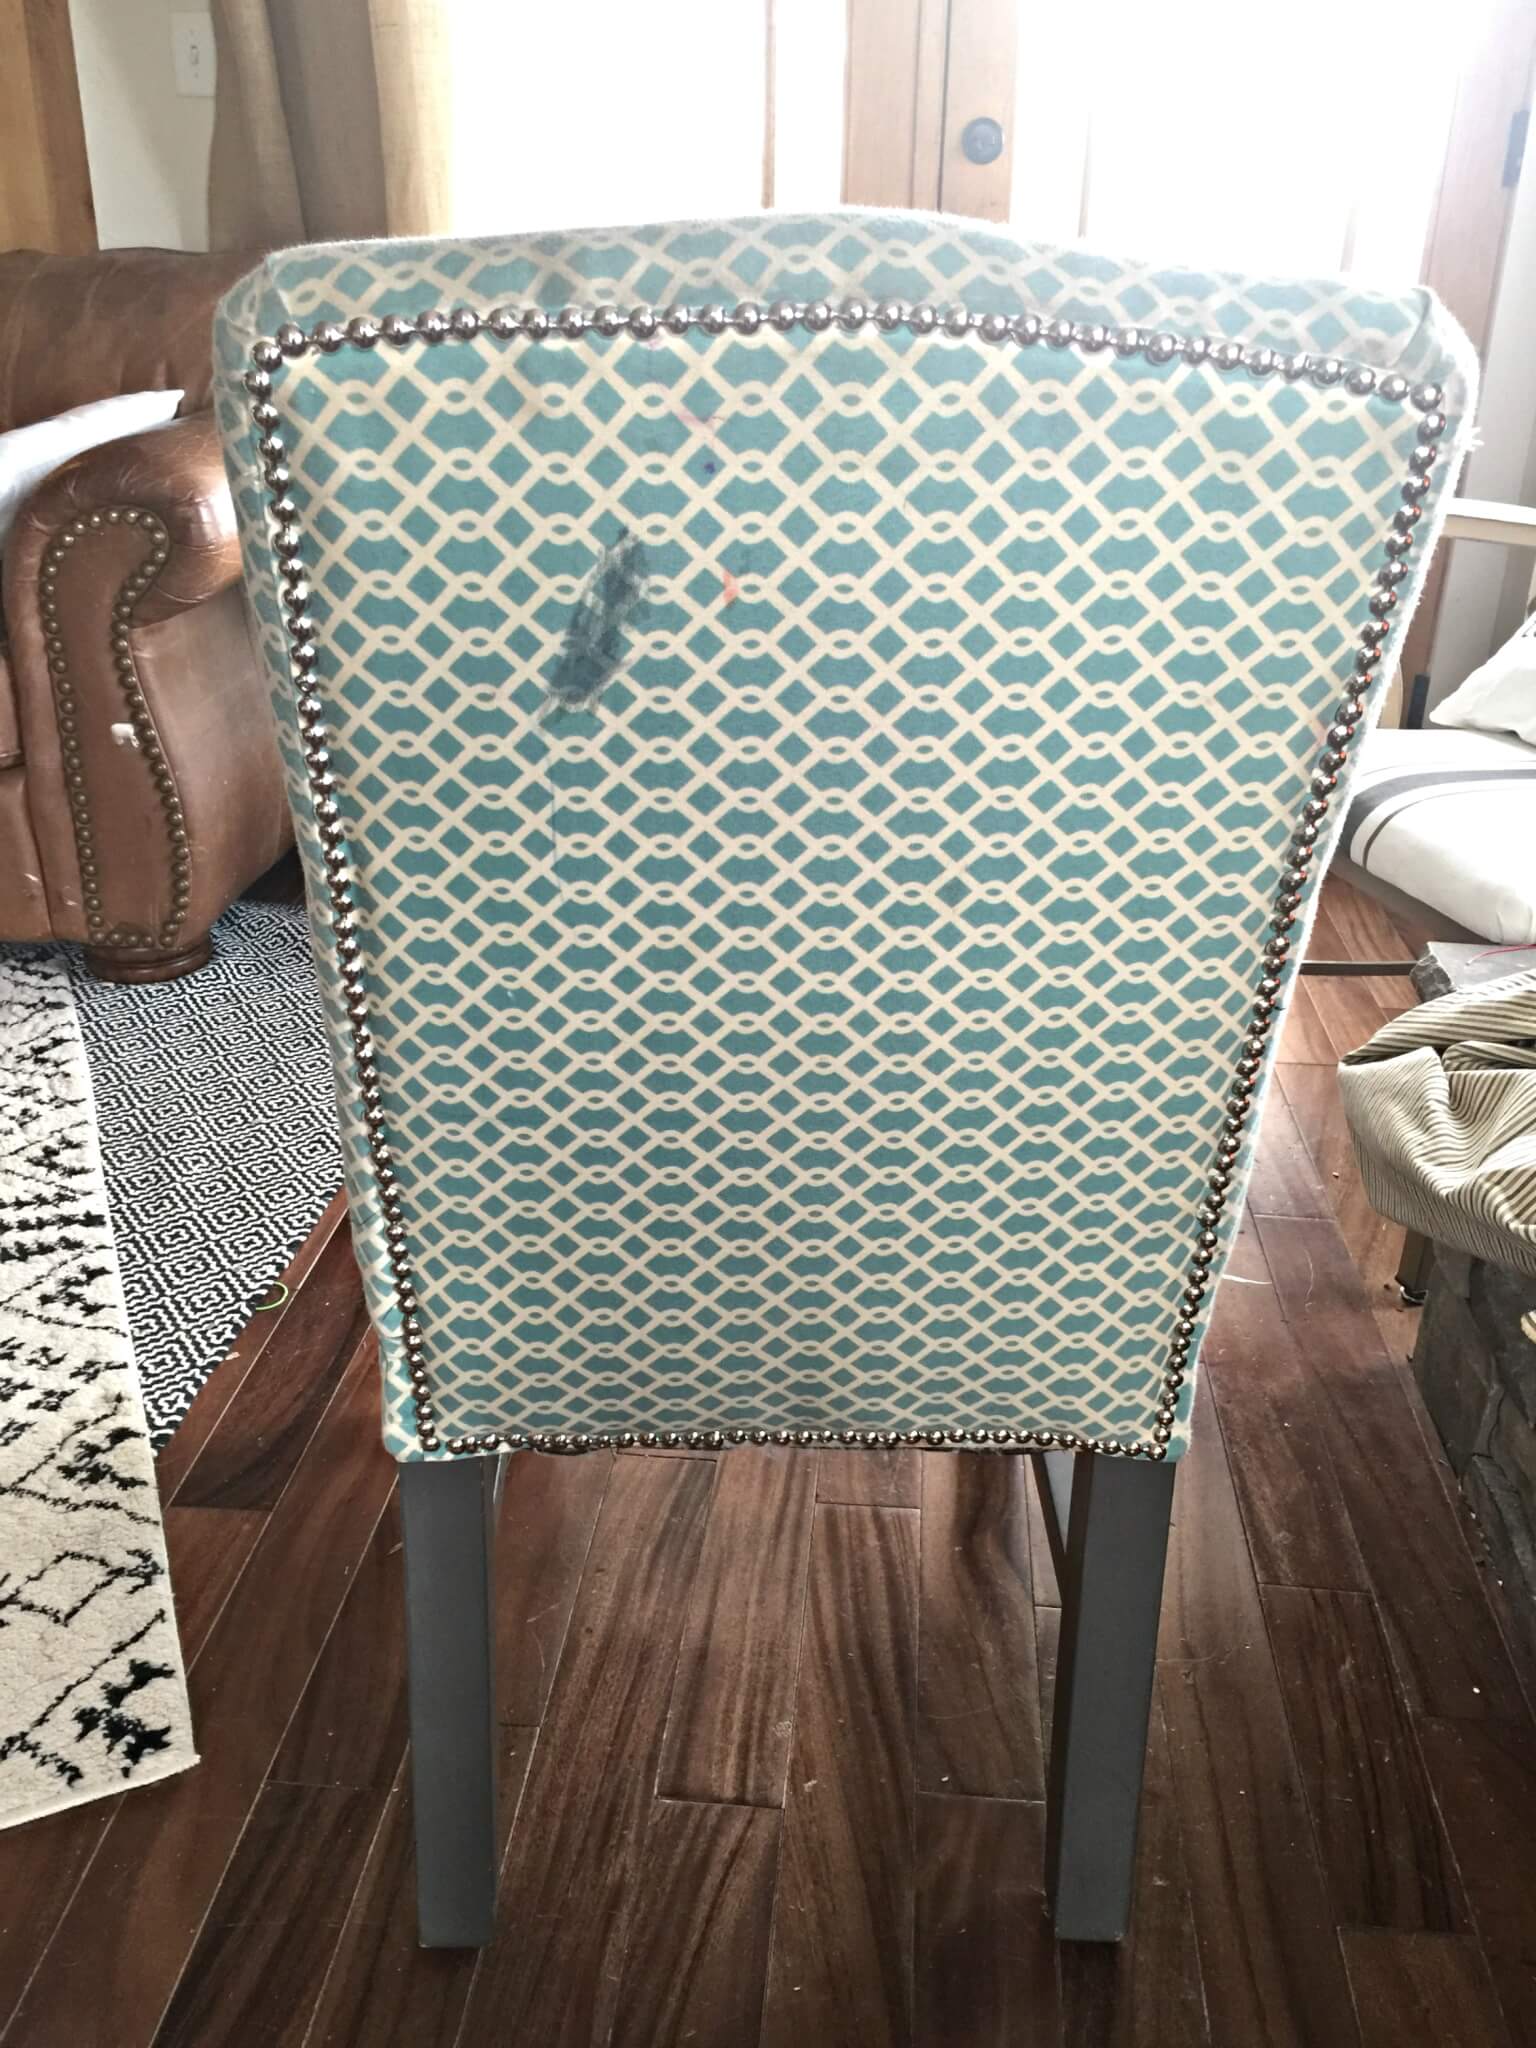
I then moved on to the back. There was a piece of burlap and batting attached to the chair that I left and stapled the fabric over it. I folded the fabric under to create a clean line. I used the same technique of starting at the top and bottom, adding a staple to each, making sure the fabric is tight. I then moved towards the edges. Repeat the same for the sides. Meeting at the corners, I folded it under and made a nice edge.
I then went back and stapled more to create a clean line.
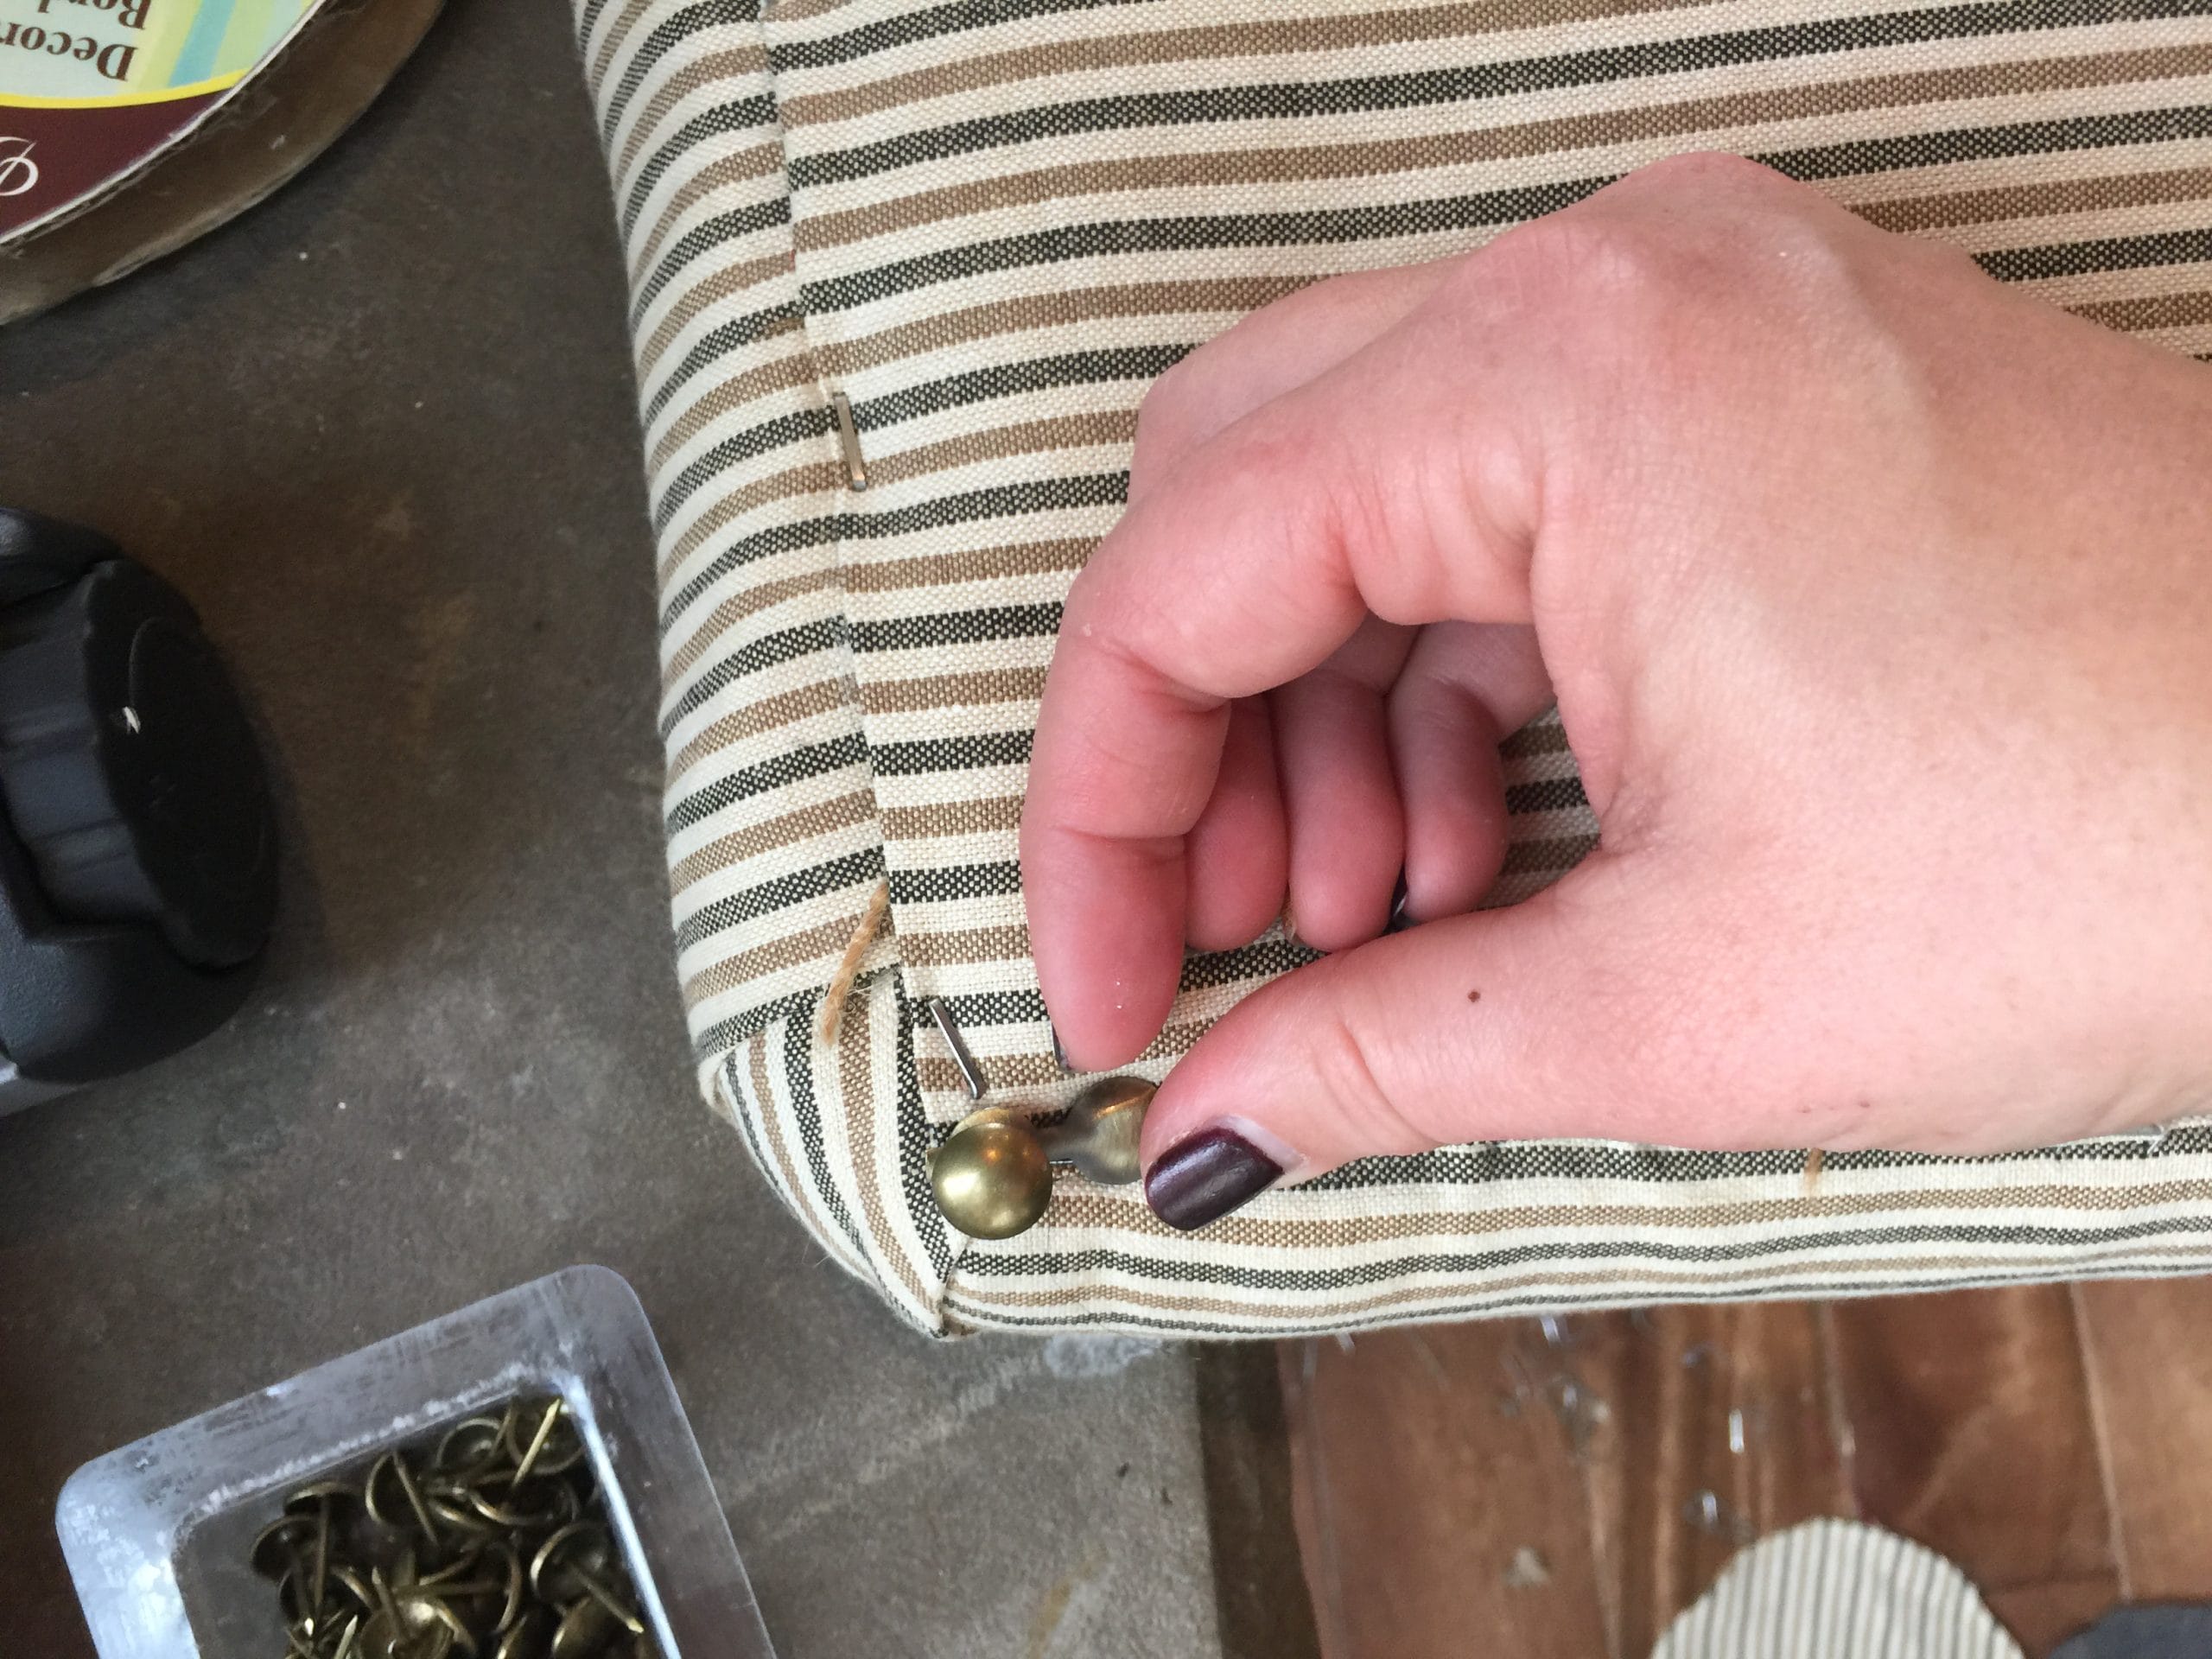
I then started applying the nail head trim. I used the nail head rope, if that’s what you want to call it. About every 5 or 6 nail heads there is a spot to nail a single head to secure the rope.
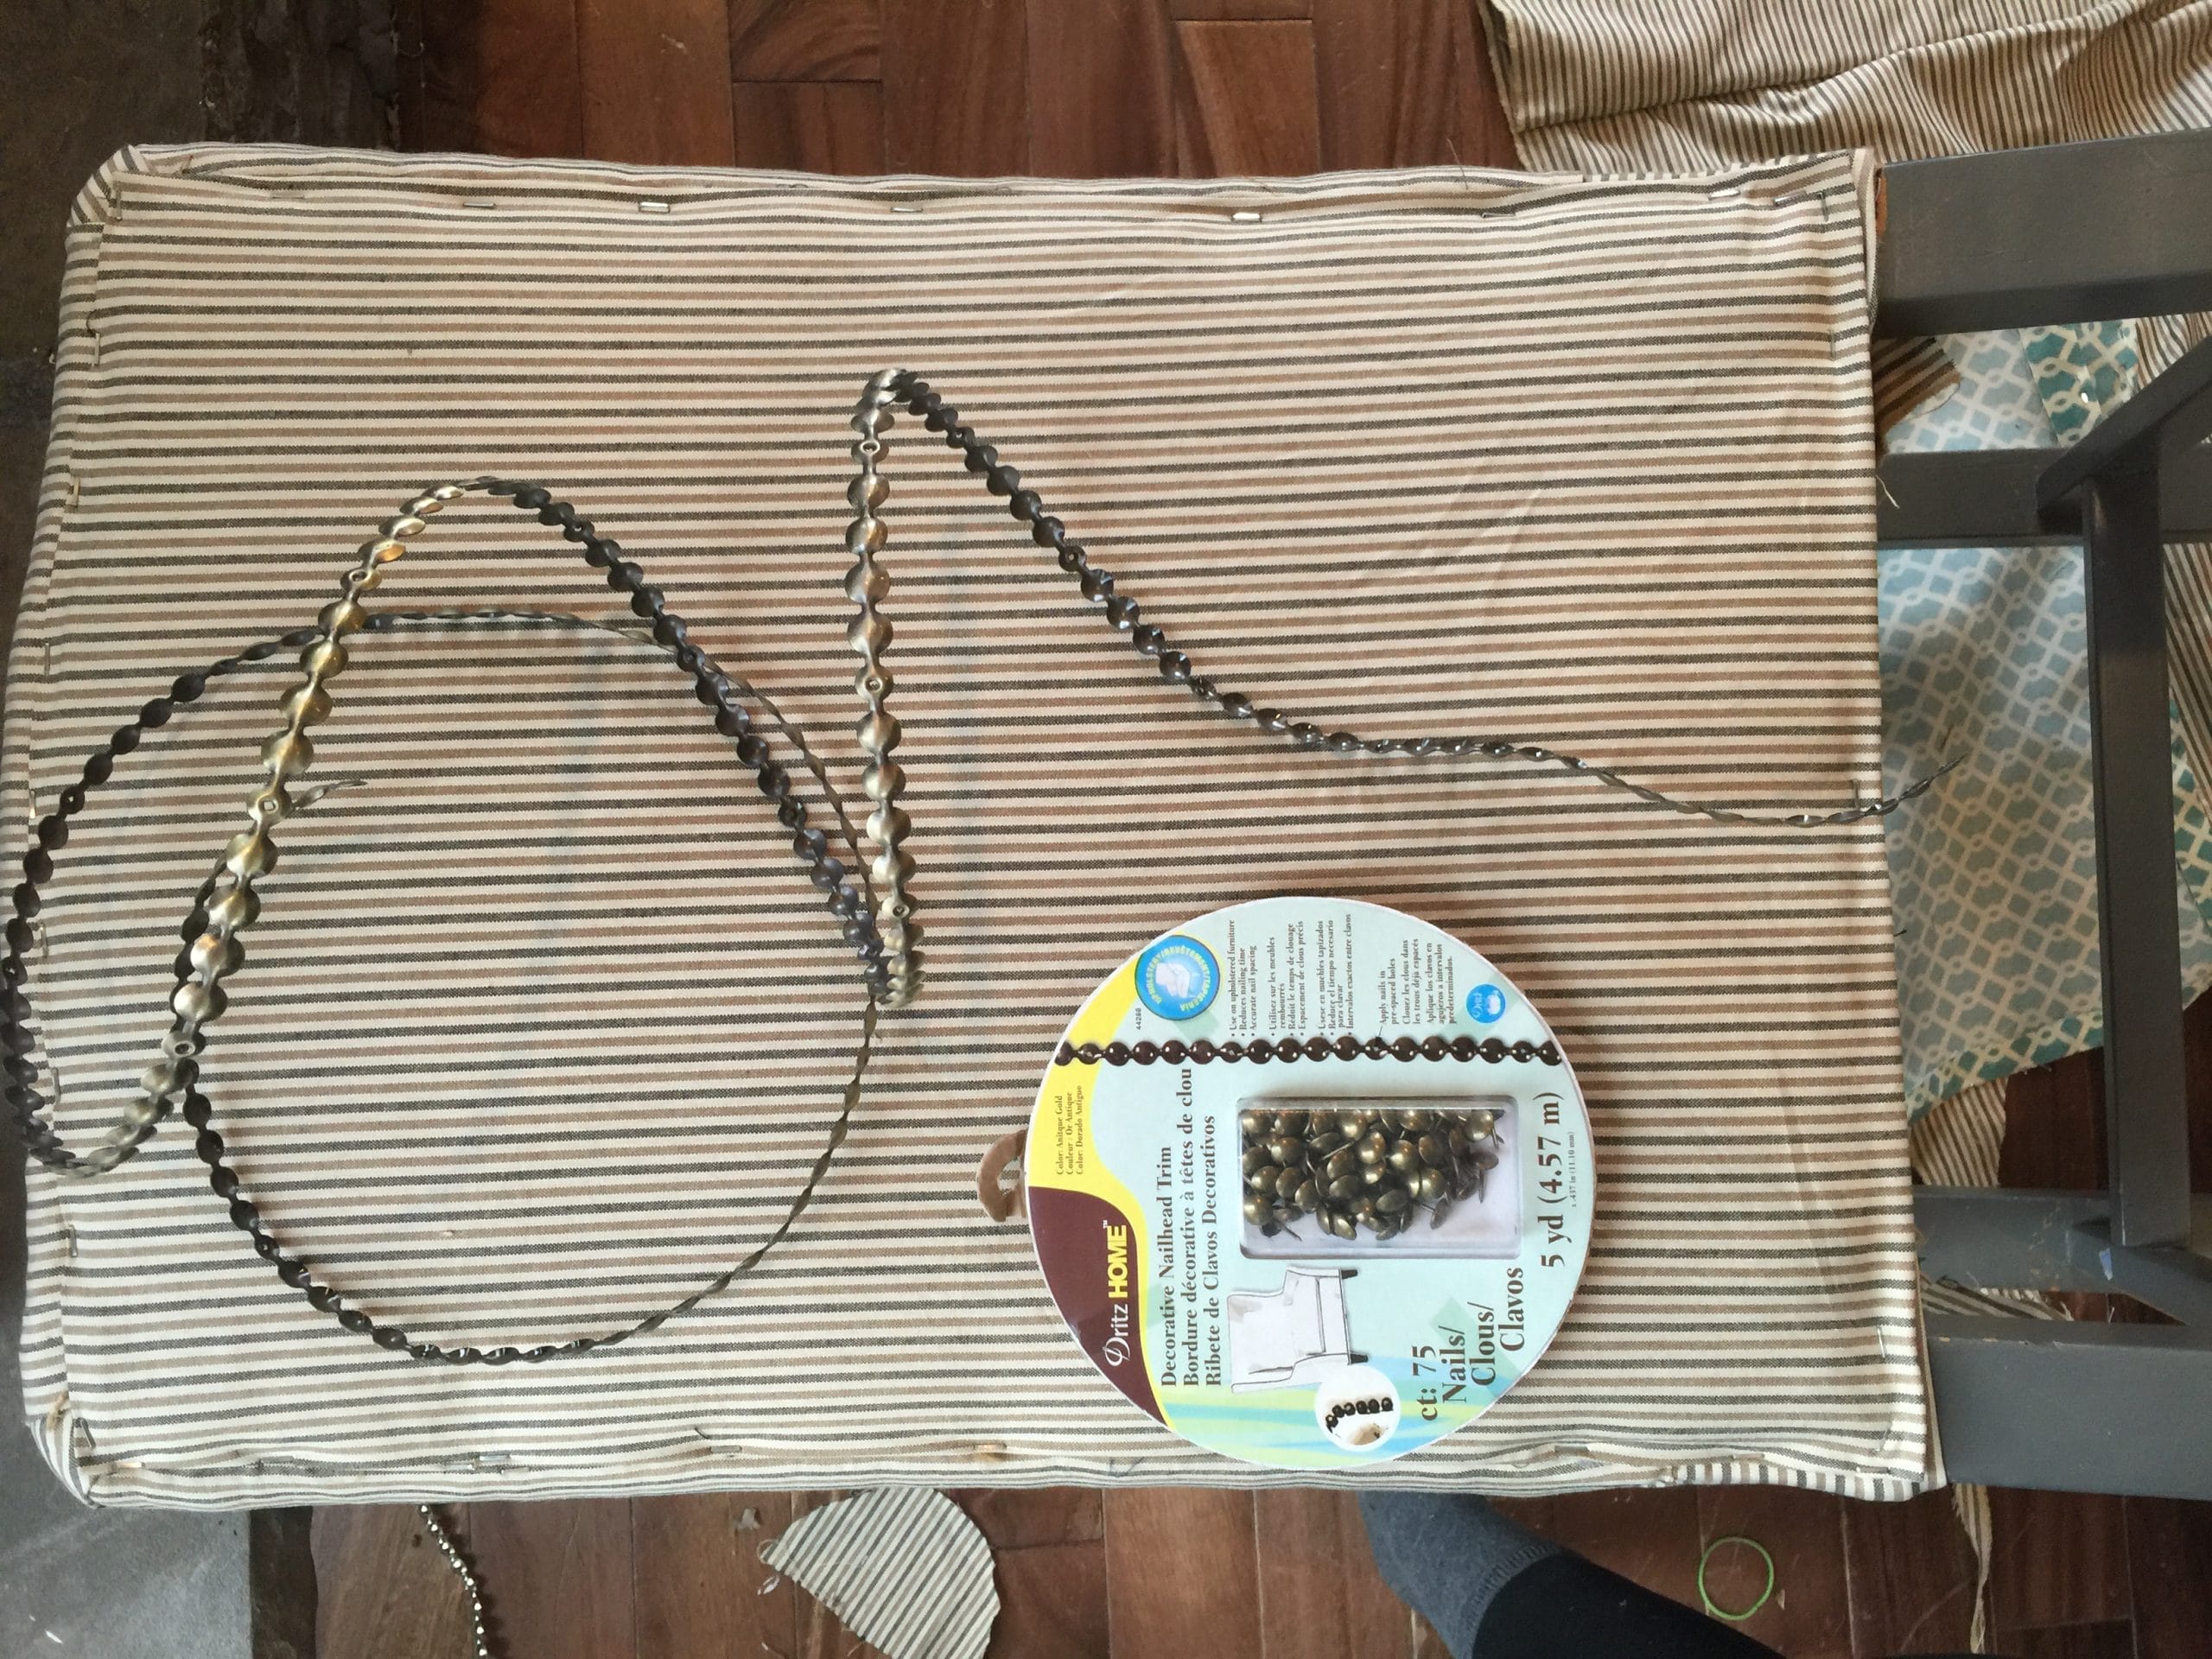
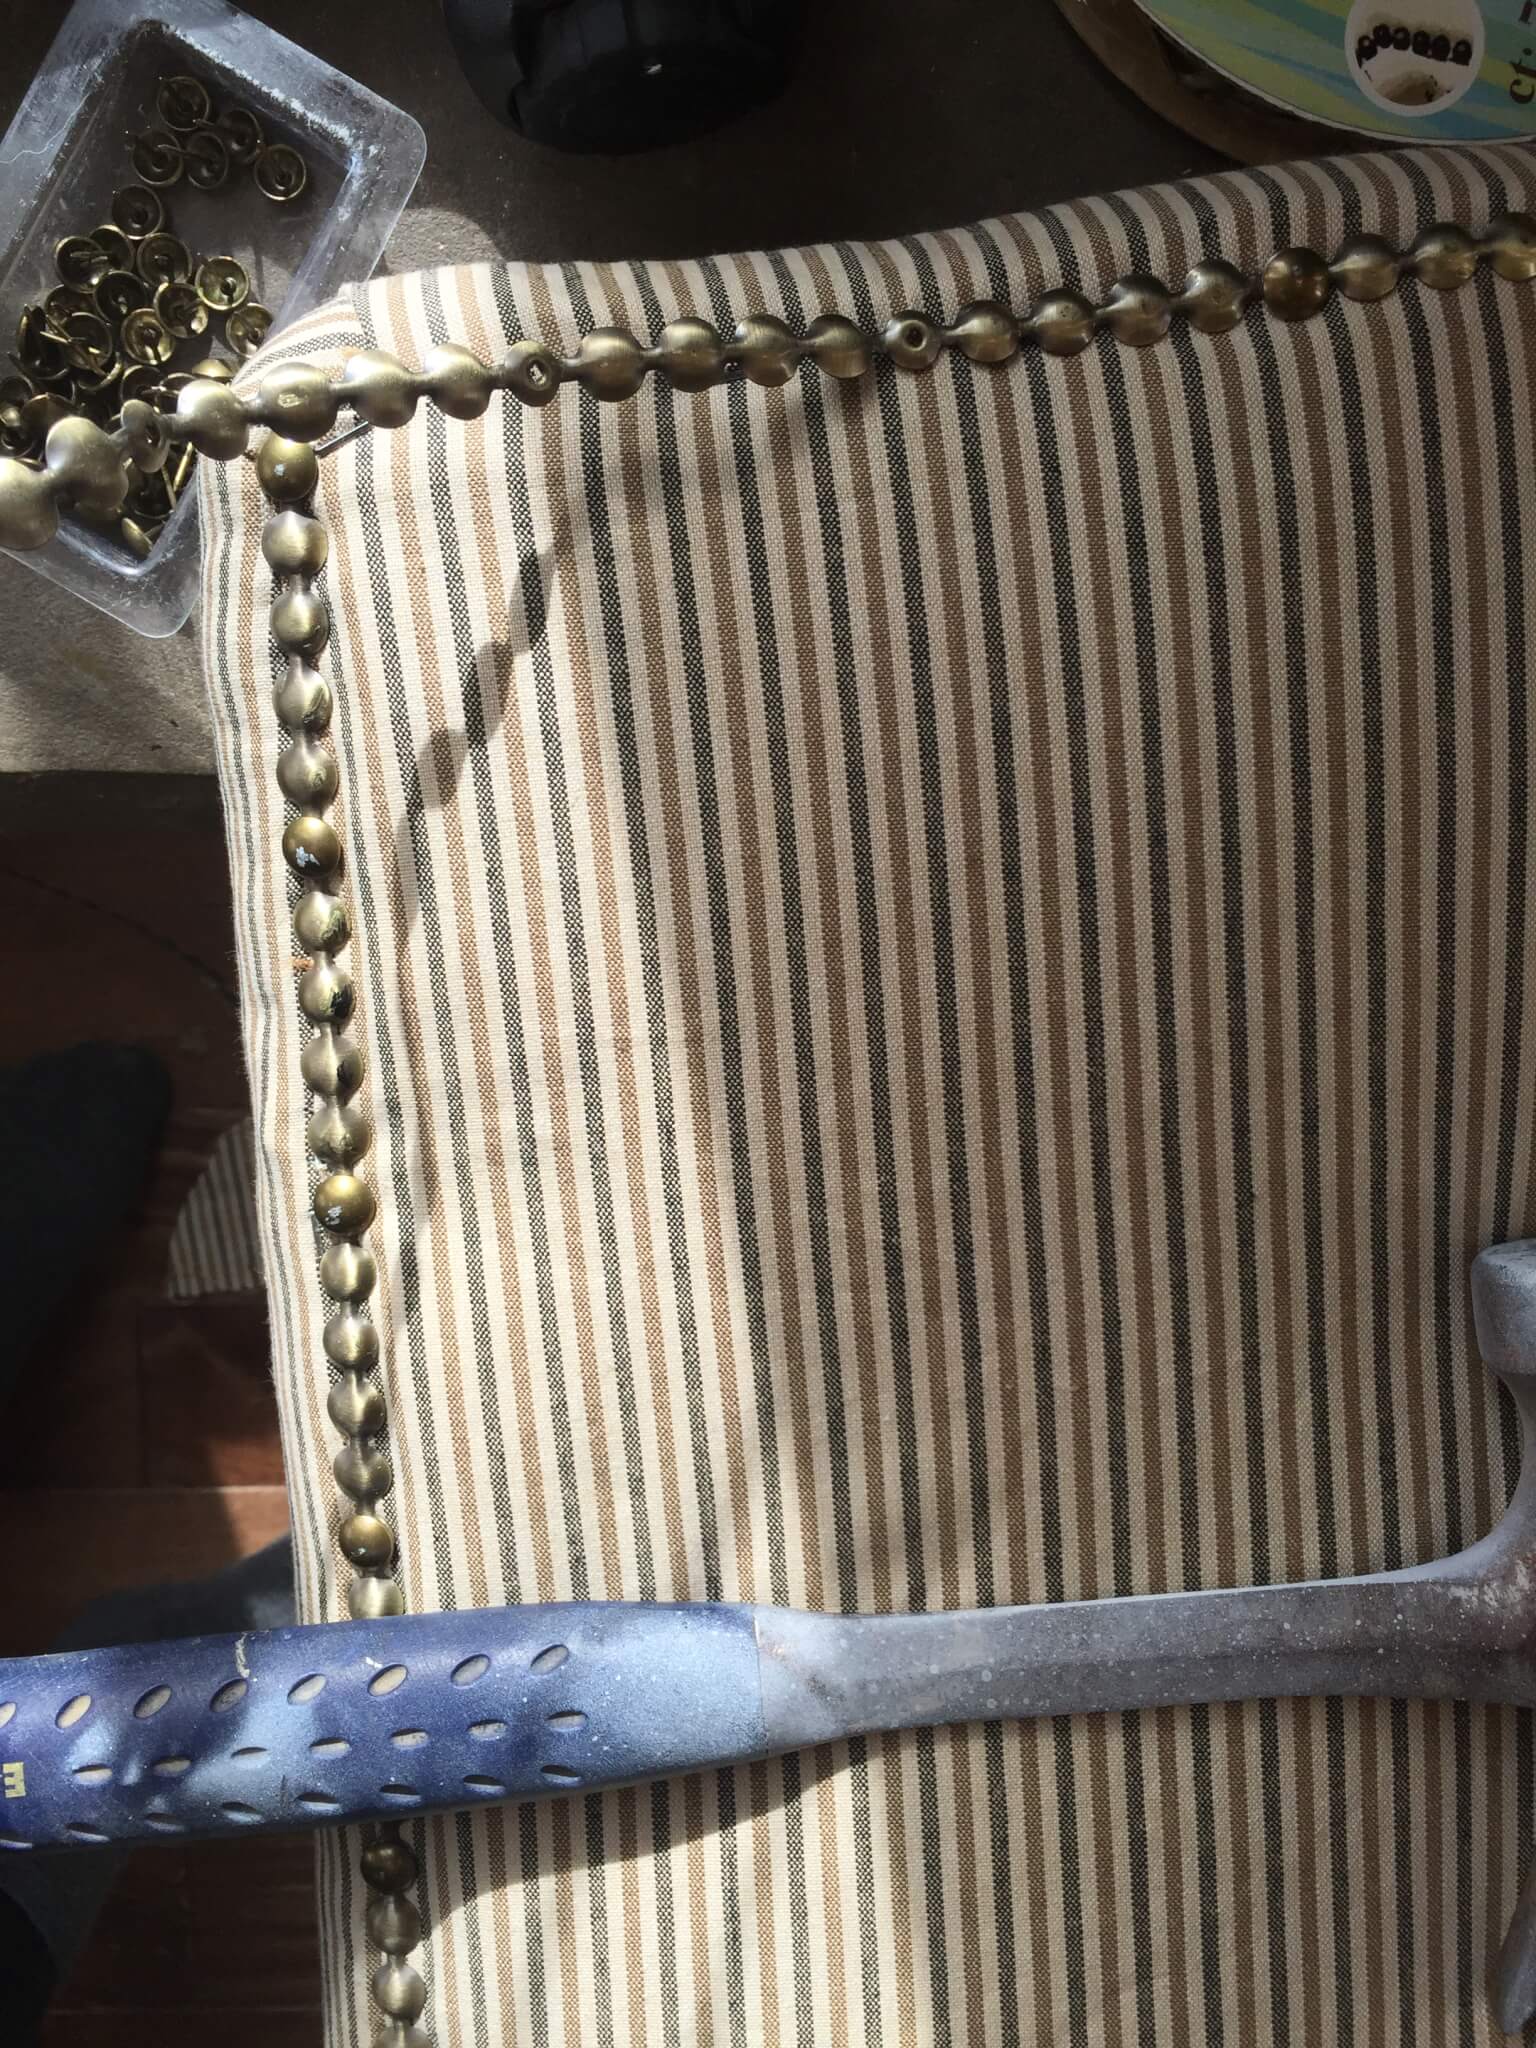
This stuff is pretty flexible and I was able to cut it with scissors when I needed to. The nail head comes in a kit with about 5 yards to trim and a package of individual nail heads to secure the trim with. At the edges, I would cut it as close to the edge and add a few individual nail heads to finish it off.
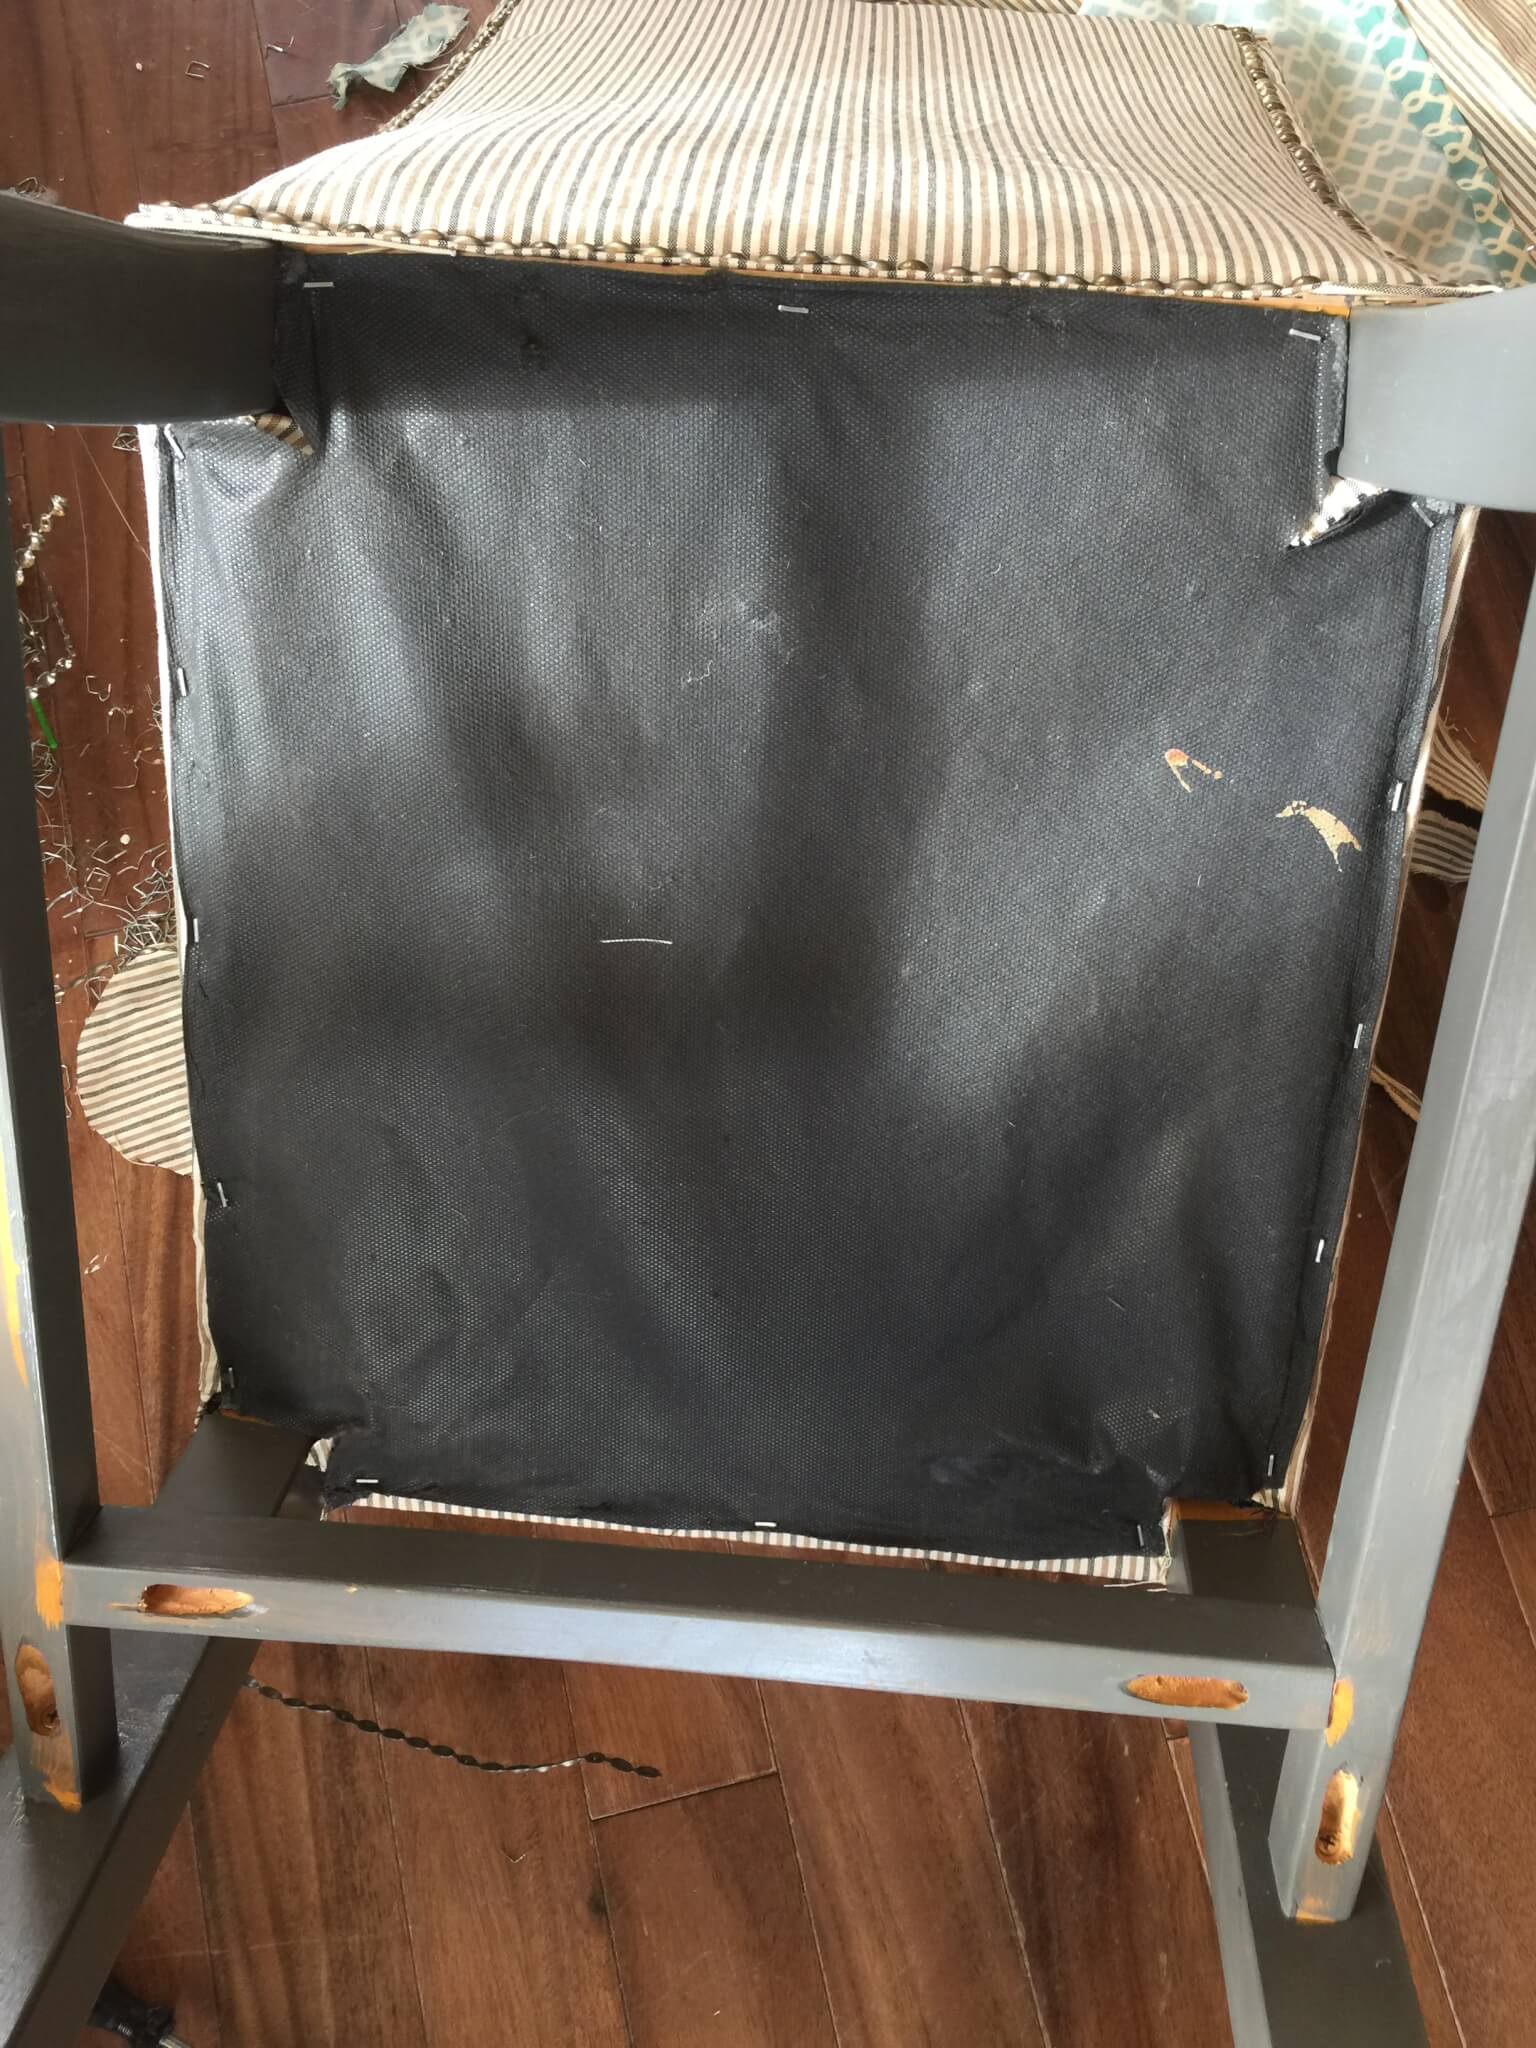
The last thing I did was reapply the black fabric on the bottom of the chair. That covers all the unsightly messes I left. I plan on painting the legs white, but I was so excited to show you my updated chairs I’ll deal with that tomorrow.

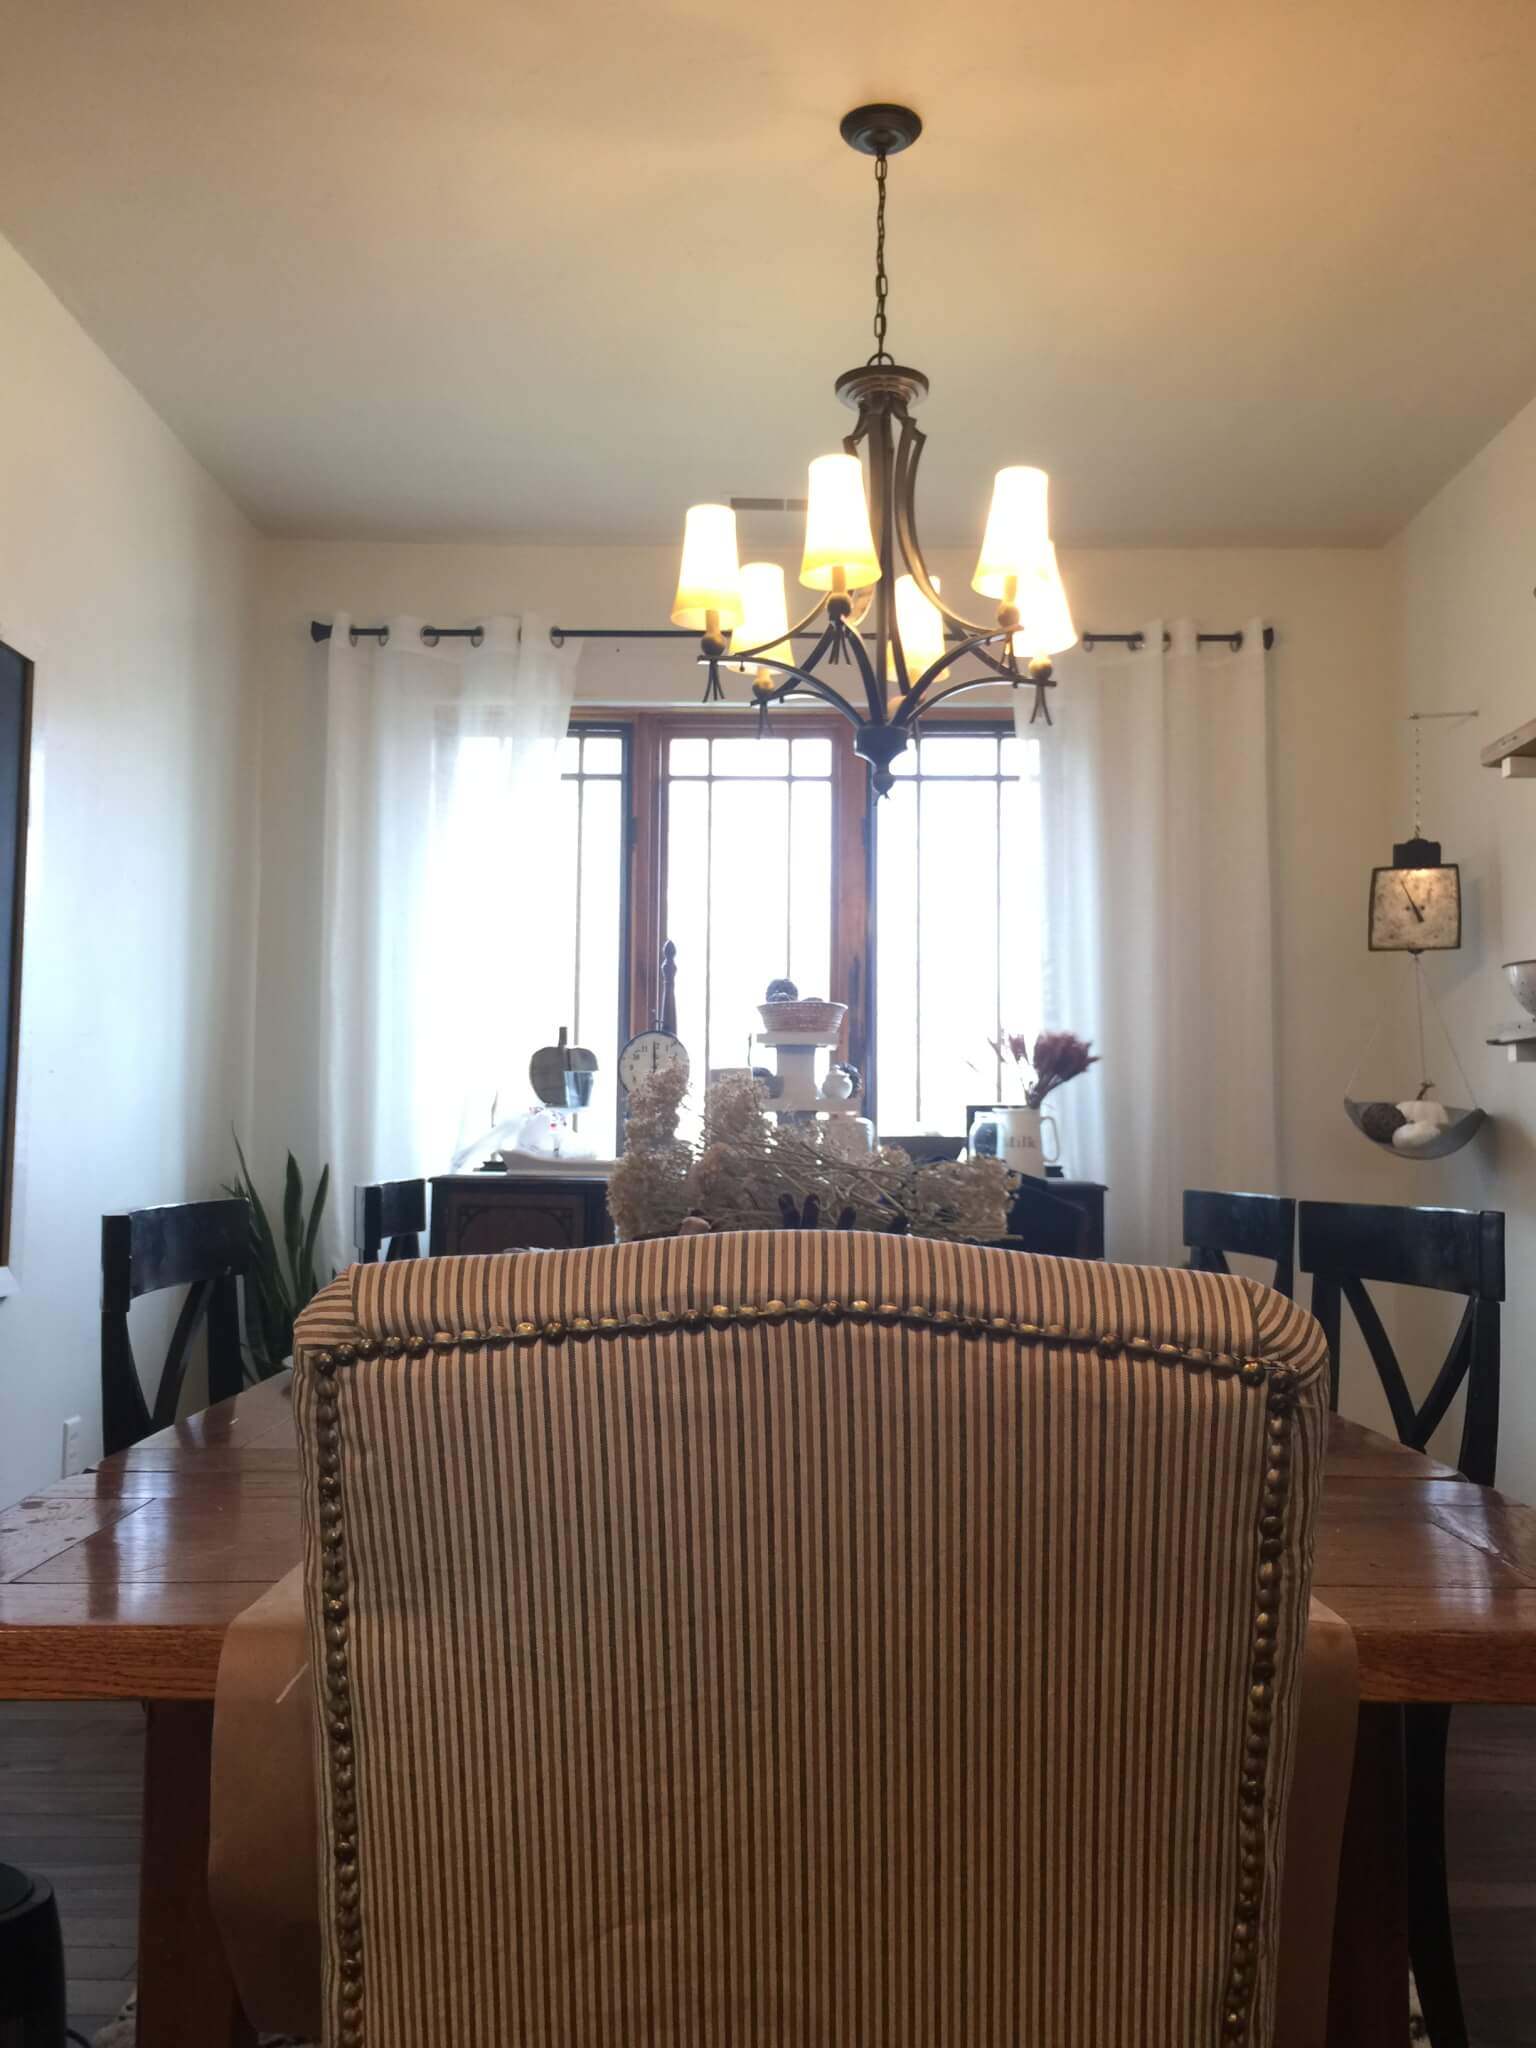
That is all there is to it! I will tell you, a roaring fire and some good old Cougar Town on the TV makes these projects much more pleasant. With the colder weather, I am hunkering down in my home, excited about the coming holiday season and all the exciting projects I have coming up! I am so grateful that you stopped by!
Have a great day!