
How to Fill a Raised Garden Bed and Save on Soil
Hey there friends! Today is a really fun post! If you have gotten the gardening bug this year, this is just the right post for you. Today I want to share one of my most favorite gardening tips to creating a beautiful garden by learning how to fill a raised garden bed with organic materials while saving soil and money! This will guarantee your vegetable garden will take off and produce amazing results. There are so many benefits of raised garden beds and I want to share how I created this easy tutorial to fill them for less.

Having raised garden beds is pretty much a game changer in my life right now. We have really difficult clay soil, and we have spent years trying to improve it. We finally decided we needed to build some raised planter boxes so that I could grow the smaller vegetables with ease. Abandoning our ground garden and focusing on our raised garden beds completely transformed my gardening game.
I cannot believe how much better all of my plants are doing in the raised garden beds. I have a feeling it has something to do with the combination of organic composts, topsoil, and loamy soil that we combined. It is the best option for our area, water conditions and lifestyle.
I really wanted to focus on doing as much organic gardening as we could. When we started building our raised garden beds, we knew we could not afford to fill all the beds completely with this amazing rich and expensive soil, and I began to research ways to fill our garden beds.
I finally settled on a way that worked perfectly for us, with our resources. This is not a new thing, and its not something I invented, but I loved the concept and thought it would be helpful to share my experience with it. Its called the Hugelkultur Method. I have also heard it called lasagna gardening.
Its all about the layering. There is this thing you can do to help fill those garden boxes, without filling them entirely with nutrient rich soil and compost. There is a bonus to this, because the items you use in the bottom will eventually turn into amazingly mulched compost that will feed your raised garden beds for years.
Just think about it. You have layers of organic matter, being compressed by the weight of each other, getting water and heat to help decompose the material underneath. Over time, this will become a nice black nutrient rich soil and you will have the robust garden you have always wanted.
So, lets talk about how to fill a raised garden bed while saving money and soil.
*Want to see how we built these garden beds and saved money too? Check the tutorial out here.
What you will need to fill your raised garden bed:
First you need to figure out how many cubic feet you will need to fill. This will help you in the amount of cubic yards of soil you will need to use in addition to the other additions. I used many different items to get a nice fertile soil.
- sticks, twigs, or wood stumps(organic matter)
- landcape fabric (we got ours from Home Depot)You can also use a layer of cardboard
- gravel or rocks for drainage
- grass clippings and/or straw
- combination of sandy soil, vermiculite, organic compost, peat moss, potting soil or good garden soil
- compost (you can use homemade compost, worm castings, and more)
- animal manure
The first thing we did with our planter boxes is staple plastic sheeting as well as landscape fabric to the bottoms and sides to prevent weeds from coming up through them. For the best result, we made sure to use both and layer them. This will prevent weeds coming through. Take time to really get this right for best results to eliminate unnecessary weeds. Creating a strong base layer will benefit you for years.

For our next step, we laid down twigs, large rotting logs, and tree branches to the base layer of the raised garden beds. The kind of wood is not that important. I think a soft wood will break down faster than a hard wood, but that is just my opinion. We did this to the entire bed floor. What we wanted was to create a garden box that had good drainage, and over time, the wood will break down and turn into amazing compost. This is a great way to fill in some of those cubic yards with more affordable options that will also help improve your garden bed while giving you great healthy soil.

Next we added some larger gravel to fill in around the wood. You can add pea gravel or just some random rocks you have around the yard. Not too much though, you do not want to have a garden bed full or rocks! This will create some nice drainage in your raised bed garden. Drainage is important. You do not want your soil to be boggy and water logged. If it is boggy it will have poor drainage, and the gravel and wood will help improve you drainage and is a great option. Doing the hard work now is important to having a bountiful garden. On the flip side, you do want your soil to hold water and not all drain out. That is why we build soil with other materials that help with that.

We then added a layer of grass clippings straight from our back yard. We made sure that none of it had been sprayed with weed killer or fertilizer so that it would be as organic as possible. Over time these grass clippings will break down and help create some amazing garden soil. The soil level will depend on how much space you want for your garden plants roots. I would recommend filling it to the top, because over a short amount of time your soil will settle. If you want to plant root crops, make sure your soil will be deep enough to accommodate them. We wanted about 12 inches of good soil. Eventually the entire garden bed will be nutrient rich soil as the materials at the bottom break down, but for now we wait for the good stuff to transform.

Next, we added a layer of straw. This filled about 1/2 of the garden beds. So already, we only have to fill the garden beds with 1/2 the amount of dirt, and over time, the wood, grass clippings and straw will turn into a great compost. You can add more or less depending on your preferences.
After these were laid down, we added a layer of a sandy soil that we got from a local friend. We got a dump truck load! This served a couple purposed. First, it helped to fill in any holes or voids in the rocks/straw/wood combination. Second, it weighs down the material underneath adding a bit of pressure which will help with the process of decomposition. And last, it will mix with the organic compost, vermiculite and other garden soil and different materials to create a well balanced soil.

The last thing we did was add a thick layer of organic compost, vermiculite, organic mulch, animal manure, dry leaves and organic garden bed soil. This created a nice loose soil and also great soil quality. We also added more of the sandy soil in with the compost and garden bed soil. We mixed this all together, adding more of each if needed. The weight of the added soil will add pressure to the organic matter at the bottom and encourage decomposition. The excess water will drain through the gravel and wood at the base of the garden planters.

This made a really great combination and the soil was soft, loamy, and had so many great benefits to it. I would say this is a very good idea whether you plan to grow an herb garden, edible plants, root vegetables and so much more. This is an easy project for new gardeners, and created great growing conditions for your plants.

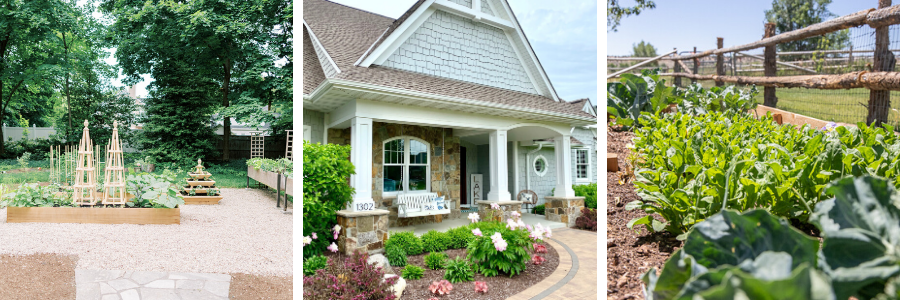
We built 11 raised garden beds and we saved a lot of money doing it this way, and as time passes, the layers underneath with break down and benefit the soil. The soil will settle and you may need to add more as things break down.
Its been about 1 month since I planted my seeds in my raised garden beds, and I cannot believe how amazing my plants are doing! I am on my way to a great garden.
The first year will be the hardest and you might not see the fruits of your labor quite as much as you hope. We want a productive garden
and I know that this is one of the best ways to get that amazing soil.
We will continue to add more compost and organic matter as we see the need. I find the best time to add it is in the fall so that it can have the winter season to break down and do its thing.

The soil is so easy to work with, it is workable, soft and has that dark, healthy look to it. And let’s talk about weeds? I haven’t had any! With little effort, I have been able to be successful in my garden growing this year. By layering organic matter to the bottom of the raised garden beds, you do not have to use as much soil, which can save you quite a bit of money. You can create your own high-quality soil that you can control what goes into it.

It is very obvious to me this year, that the change in the soil has made a huge difference in our garden production so far. Last year, our native soil was difficult and we decided it was time to take a different approach to growing a garden without all the hard work. This may look a little different to begin with, but it has transformed my method of gardening.There are so many different methods so make sure to find one that is right for you. Create your own compost pile to throw your kitchen scraps in. Add leaf mold , worms, animal manure and more to create a nutrient dense compost to add to your soil.

For years I have tried to plant golden beets in the ground(they are the most amazing beets ever), in our difficult soil, and I have not had success yet…that is, until this year. They have produced like crazy and have burst into life, giving us a huge bounty this year. This is definitely the easy way to grow a garden in my opinion.
Some things to consider
- With the layering practice, you may experience some settling in the raised garden beds, especially after you begin watering, but this is easily fixed. You can gradually add more soil, or wait until the end of your harvest and you can add more then. If you plan to plant root vegetables such as carrots or potatoes, make sure your soil is deep enough. You can gradually add soil on top of your potatoes as they grow. We added more a year later and simply mixes it all together with a rake.
- You can use items from your own backyard or recruit your neighbors and offer to take the grass clippings and other items off their hands. We used the limbs from our peach trees, which we had to prune anyways. We also used spent straw from our goats and chickens that was full of that good organic fertilizer(manure).Coconut coir is also a great option to add to your garden beds.
- You can also find a local saw mill(and ask them for wood chips) or get a chip drop, which some large cities do. This can be the base of your layers. Old tree roots or discards from the lumber yard would work too. Just make sure not to use any treated lumber.

Want more great gardening tips and tricks? Check these amazing posts out below!
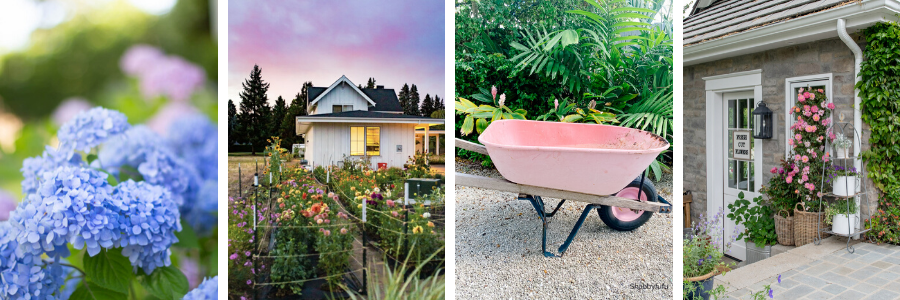
How to Start a Hydrangea Plant – Happy Happy Nester
Cut Flower Gardening – The Ginger Home
Most Common Garden Tools And Their Uses – Shabbyfufu
Unique Container Ideas For Garden Planting – Sanctuary Home Decor
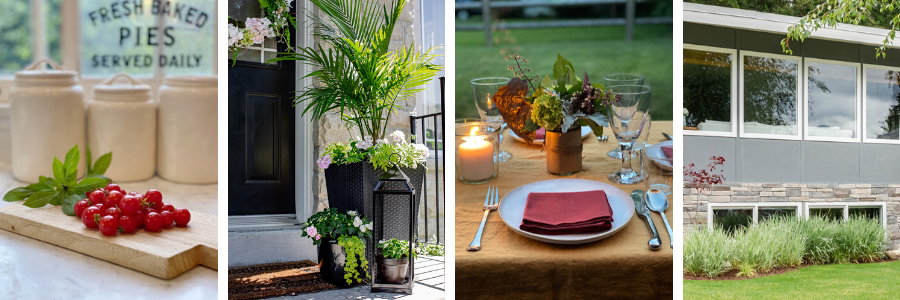
How to Grow Fresh Tomatoes – My 100 Year Old Home
Simple Tips from a Green Thumber – Craftberry Bush
Make the Most of Your Small Garden – Most Lovely Things
How to Use Ornamental Grasses in Your Landscaping – The Happy Housie
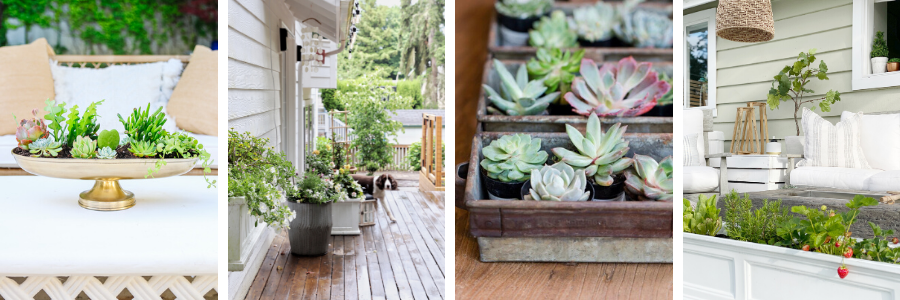
Anthropologie-Inspired Succulent Planter – Modern Glam
3 Tips For Creating Window Boxes and Planters – Lemon Grove Lane
DIY Succulent Garden Cake – My Sweet Savannah
Small Space Gardening – Dreaming of Homemaking
Garden Design and Trellis DIY – Finding Lovely
Lake House Garden with Peonies – Styled With Lace
How to Fill A Raised Garden Bed and Save Soil – Twelve on Main
Want even more great gardening stuff? Check out these posts:
How to Make Easy DIY Cedar Planter Boxes
Super Easy DIY Hanging Planter
Super Easy Pallet Compost Bin DIY
How I Turned A Pallet into Planter Boxes
These are great tips for garden beds! Soil is such an important part of growing veggies and flowers! It’s the food for your plants. Your garden looks lovely!
We have wanted to create raise gardens, so of course, I love your post! Your garden looks fantastic!
Thank you!
Your garden bed looks great! We built a similar structure and added fencing to keep the deer out. Your garden looks great! We’ve had such a slow start to summer that my veggies are much smaller. We will get there!
These beds are so beautiful!! Thanks for the step by step!
This is such a great idea and makes so much sense. Definitely going to use this when we reconstruct our raised beds next year!
What a great idea! We built a raised bed at our last house, and it was great! I imagine, at some point, we’ll end up building some at our new home, and I’ll definitely keep this in mind. Thanks for sharing!
Hey! So glad it helped!
I have raised beds also. I use lots of cardboard at the bottom to keep the grass down. instead of large pieces of wood I’ve used all the branches and twigs that have accumulated after a year of winter storms. Other than that my raised beds are quite similar to yours. i forgot, i also added biochar at the 6 inch level then compost then a final layer of soil. I waited a couple of weeks for the biochar to “get charged up” and then planted. Had a great garden.