
Easy and Inexpensive Wood Raised Planter Boxes for the Garden
Hey friends, I am excited to share this new DIY project here on Twelve On Main. Last year during quarantine, we spent most of our time out in our backyard building and working on projects and the big ones were our new greenhouse and our raised planter boxes that we built out of cedar picket fence posts.
We built 11, 3 by 6 garden planters and only spent 300 dollars total. Now, as lumber prices continue to go up this year, building anything out of wood seems to be a bit daunting, but I have done a bit of research and found that these are still inexpensive to build and ours have held up really great. I want to show you how we build our raised bed garden affordably.

We have grown a vegetable garden for so many years they all seem to blend into one. We have consistently had very difficult soil and even with all the care and amendments to it, it still proves to be lackluster as well as ridden with more weeds than we can handle. That is why we decided to build some large garden boxes that we could use in addition or instead of our very hard, clay soil.
Creating wooden planters is a great way to get a bountiful garden whether you are using a small space or a large space. You can use these raised planter boxes in any outdoor space and a cedar garden bed like ours will hold up well to the elements outdoors since cedar is rot resistant.
Before last year I had never used an wooden planter box, and I did a bit of research to make sure I was optimizing everything to increase the success of our garden. Here are a couple things to consider if you plant to build or add a raised planter box to your garden.
Once you have addressed your needs, its time to get cracking and build you some raised planter boxes. I want to show you an easy tutorial of how we built our vegetable garden beds.
First, we got all the supplies that we needed to build our planter boxes:
- 1 by 6inch by 6 ft cedar dog eared fence pickets(you can use redwood as well, its just more expensive)
- 2 by 4 studs or 2 by 2 lumber, both will work depending on your budget.
- 2-3 inch wood screws (whichever will work best for the size of lumber you have for the inside frames 2 by4 or 2 by 2.
- Miter Saw
- Landscape fabric and landscape plastic
- measuring tape
The first step in building these raised planter boxes is to first cut the dog ear off your fence pickets.
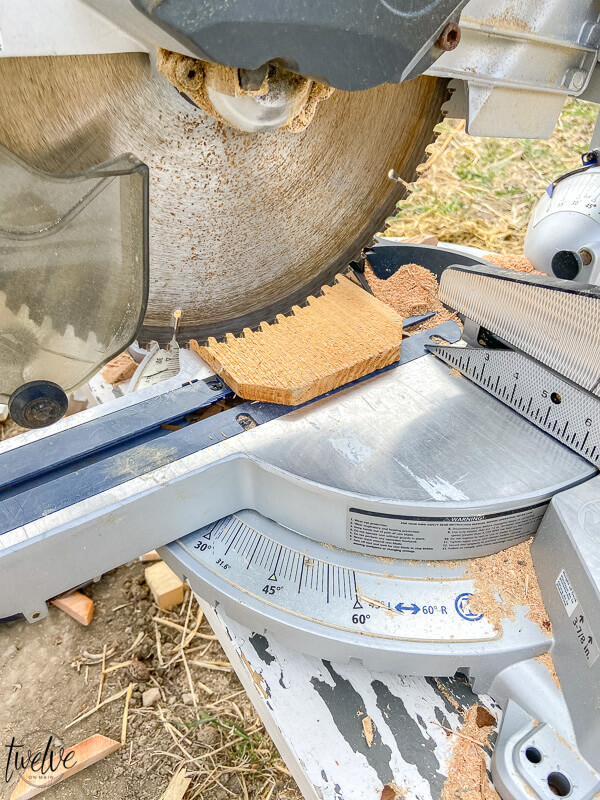
These cedar pickets are a very affordable option because they are fencing, but the dog ear at the top needs to be cut off. We decided to make our raised beds the same length of the picket which is just under 6 foot once you cut the dog ears off. We decided to take that measurement and cut it in half exactly and that would be the width of the garden beds. This way there is less waste of wood, which is at a premium right now.
So, to prep yourself, you can stack your lumber into groups for each planter box. We made the planter boxes 3 planks high which was about 18 inches. So for 1 raised box you will need:
*The dimension of your wood planter box does not have to be the same as ours. You can build them any size or shape that works for your backyard design.
- 6 – 6 ft (or just under once you cut the dog ear off) cedar fence pickets
- 6- 3 ft(or just under) pieces for the short ends. We take the cedar pickets and cut them equally in half for this.
- 4- pieces of 2 by 4 for the corners cut to approximately 18 inches. Make sure to lay out your pickets 3 high on the ground and get an accurate measurement.
- 4- furring strips cut at an angle to act as stakes which will be screwed into the inside of the planter boxes to give it more strength
- The last thing you will need is 1-2 pieces of 2 by 4 or 2 by 2 as braces that will be screwed into both sides. This will prevent the garden box from bowing.
What else are you looking for?
See how to fill a raised garden bed for less!
Using this method you can create a rich organic soil in your raised garden beds for less.
8 Tips to making gardening easier!
From organization to easy DIY projects this is a great resource for those that love to garden.
You can watch this video to see how we built our raised garden boxes it in super speed time:
*You can also double up your planter box and make an extra long one, about 12 feet long. If you choose to do this you need to make sure you add enough vertical strips to keep the plants secure and at least three different 2 by 4s running across to hold the planter box from bowing out.
Planter Box Instructions
To begin, you want to work one side at a time. We usually started with the long sides. Lay three picket fences (6ft long) on the ground and line them so that they would look like a wall if they were standing up.
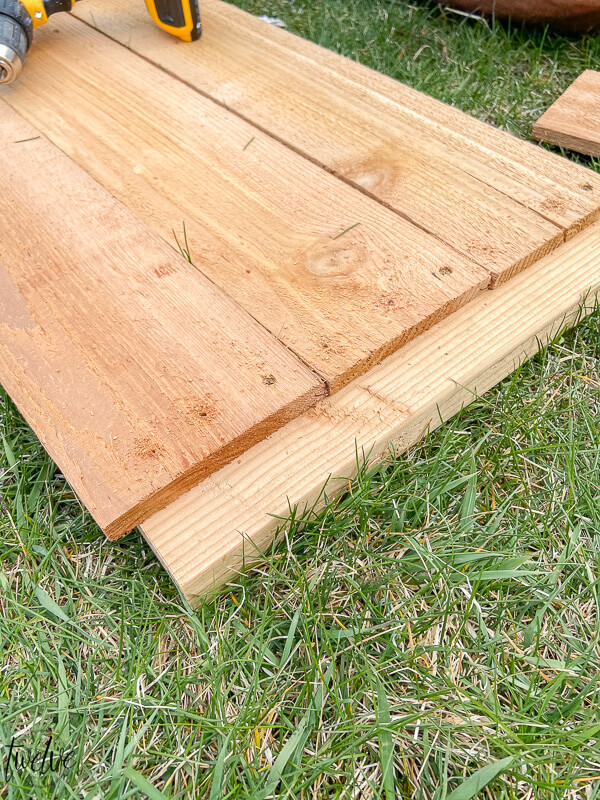
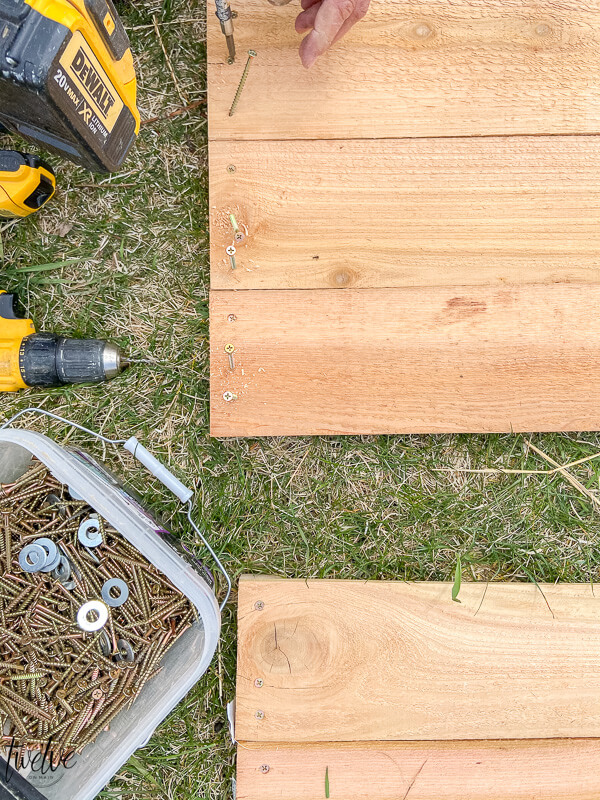
Take the 2 by 4 cuts and slide one under each end, lining up the picket fence pieces so they are parallel with the end of the 2 by 4 board. Drill pilot holes in each piece of cedar through to the 2 by 4 and then screw each one in, making sure they are lined up and secured tightly to the next board.
Next, do this same step to the opposite side of the 3 boards. Repeat these steps to the second side of the planter box. You now have the two long sides done. With another person(or even 2 more makes it easier), have them come and hold the sides up, measure out how wide they need to be to fit the end pieces and repeat the drilling of each board.
You will then screw one in at a time, starting from the bottom, and lining them up with the boards on the long sides of the planter. Screw each plank in, making sure they are level and secured closely to the previous one. Repeat these steps on the opposite side. You now have a planter box!
Once we were all done with all the planter boxes we added some small vertical strips to the inside of the boxes to give them more rigidity and to secure the side planks together.
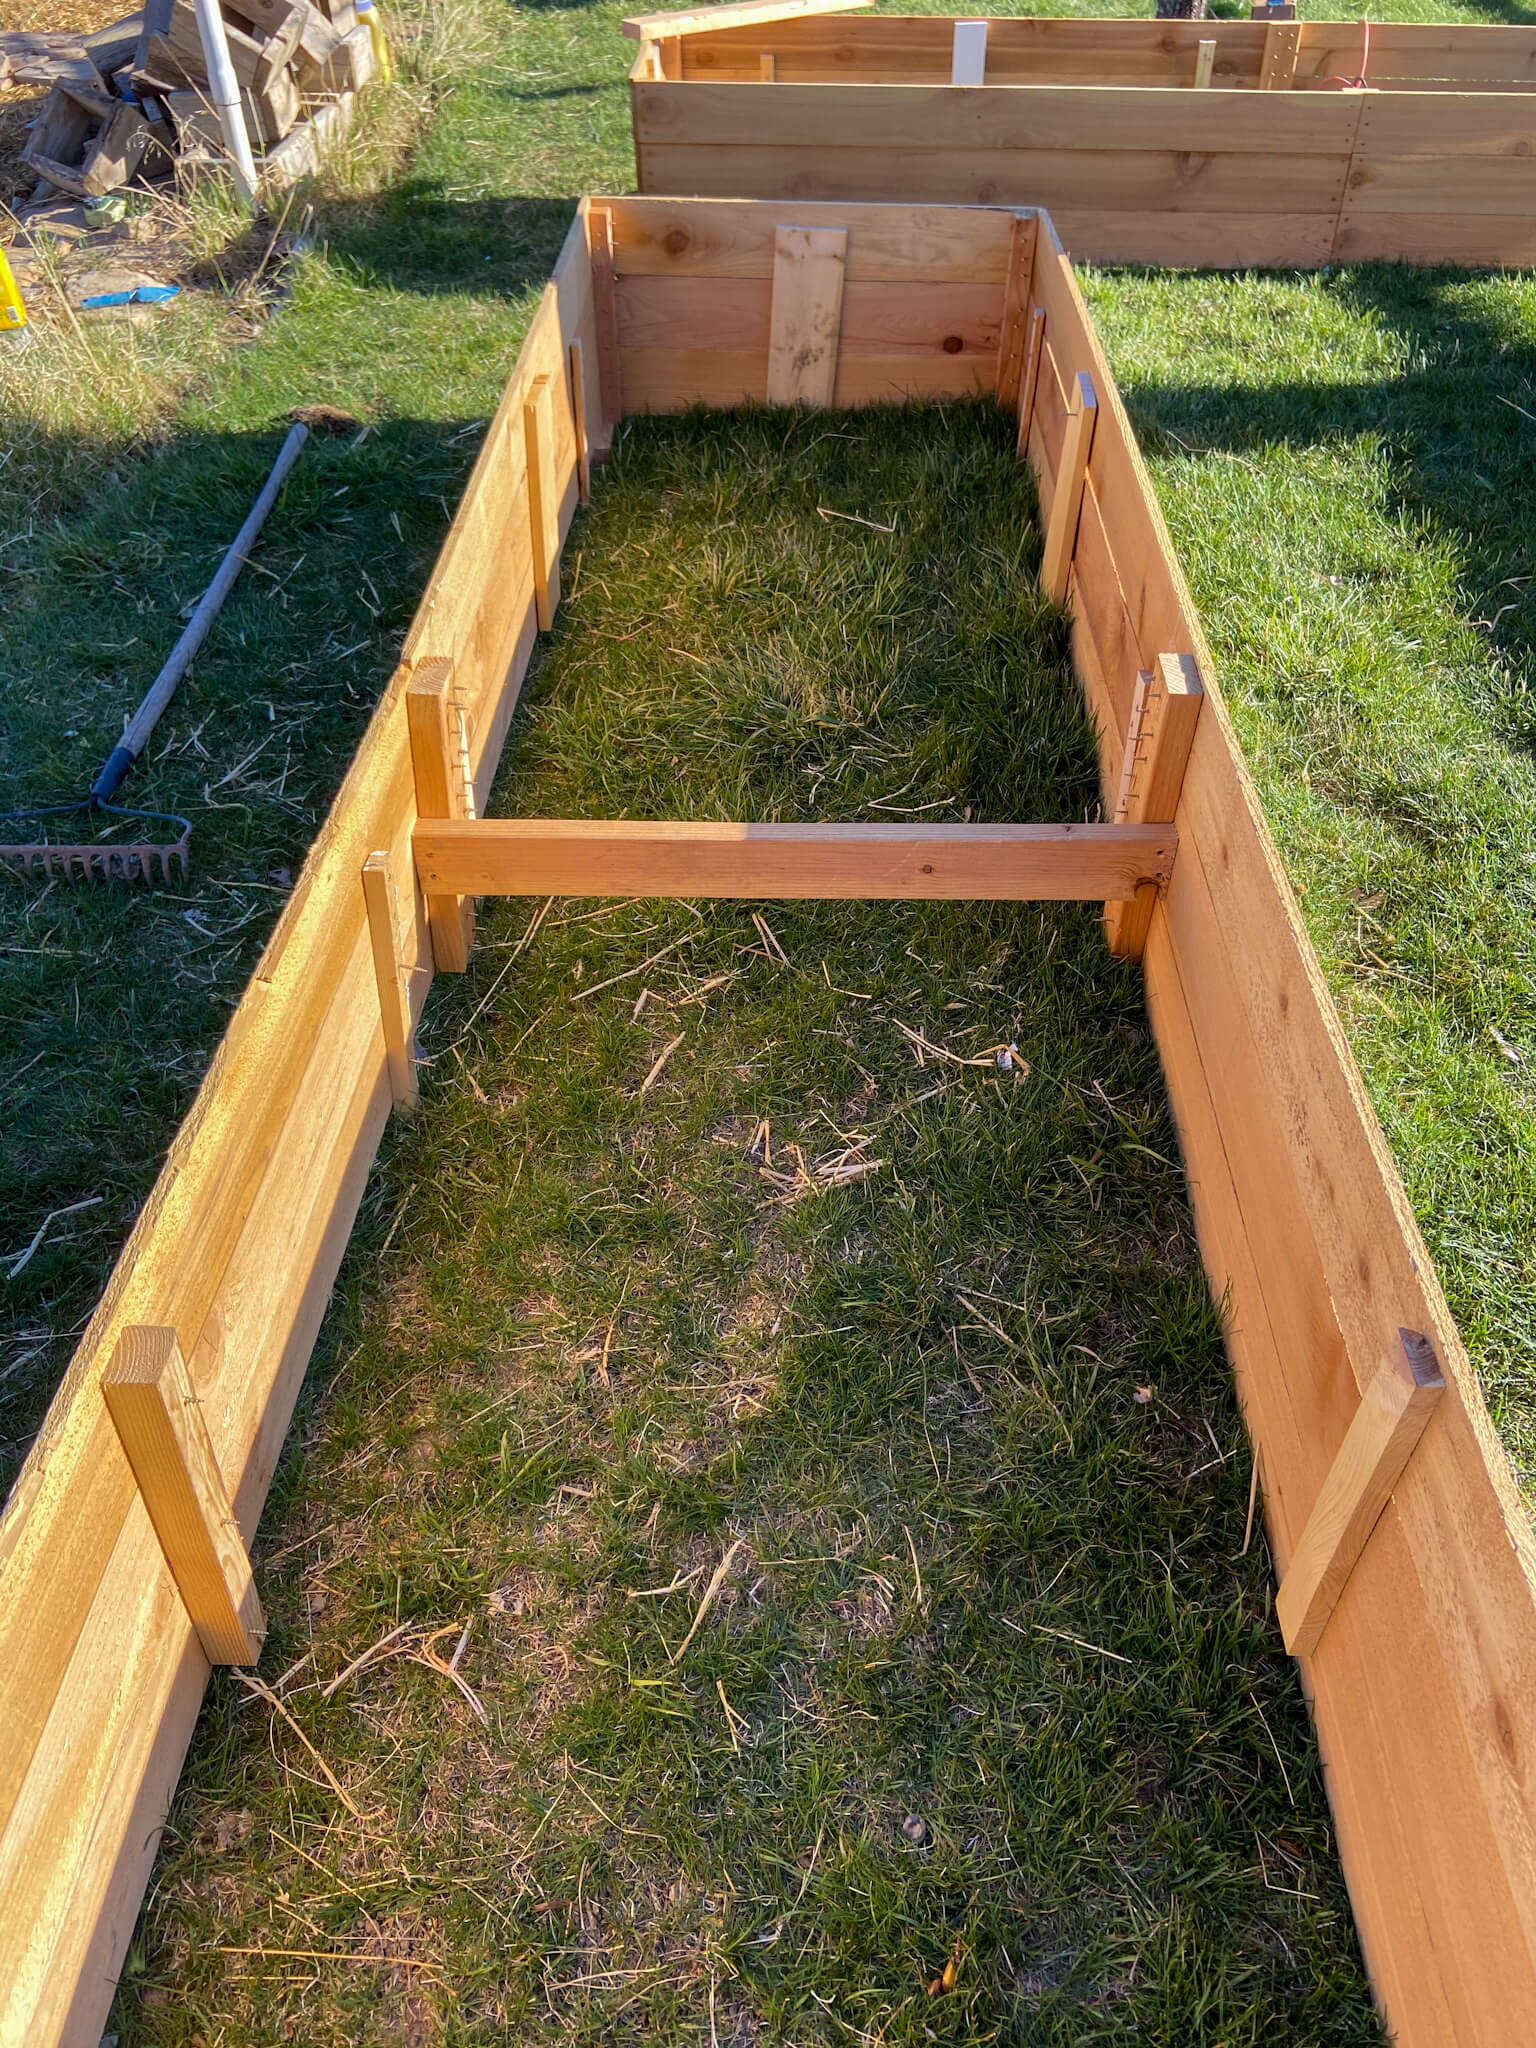
After we were done with that we added some cross pieces that connected one side to another. We screwed a 2 by 4 about 8 inches down, from one side of the planter box to the other. This will help it to prevent bowing of the wood once the dirt is inside.

OPTIONAL: We also added some of the thin strips to the inside with an angled end so that we could pound them into the ground and then screw into the side of the planter. This will secure the planters where they are. I don’t think this is absolute necessity.
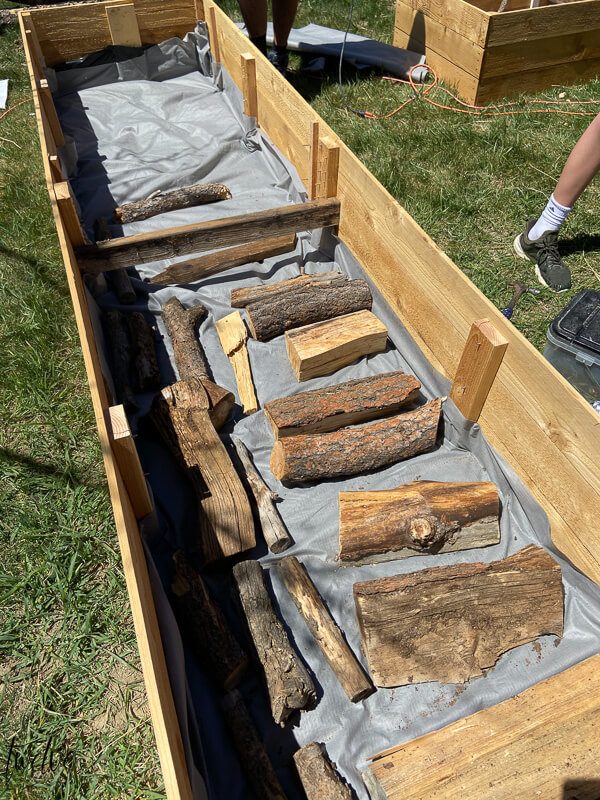
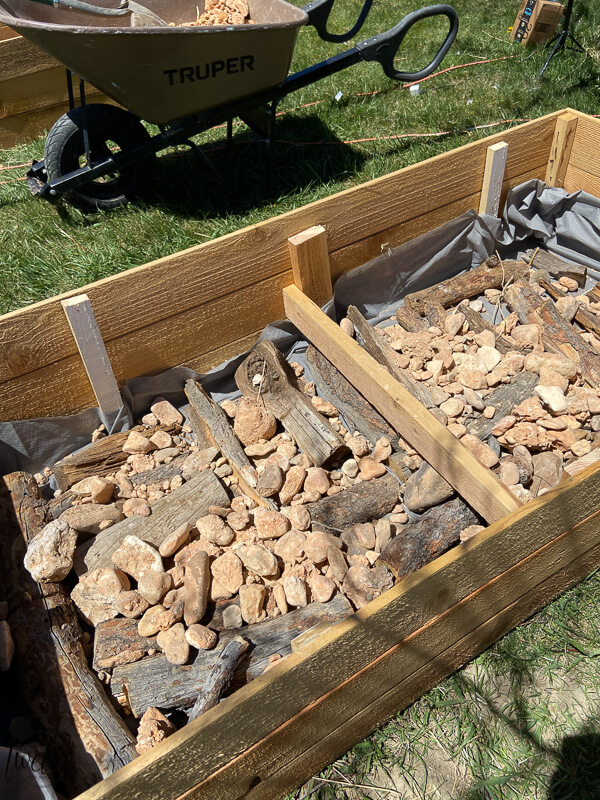
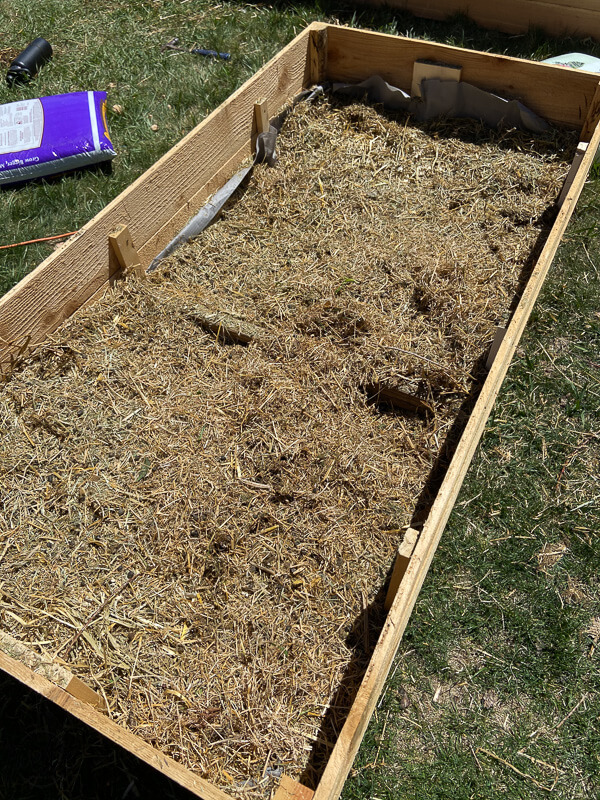
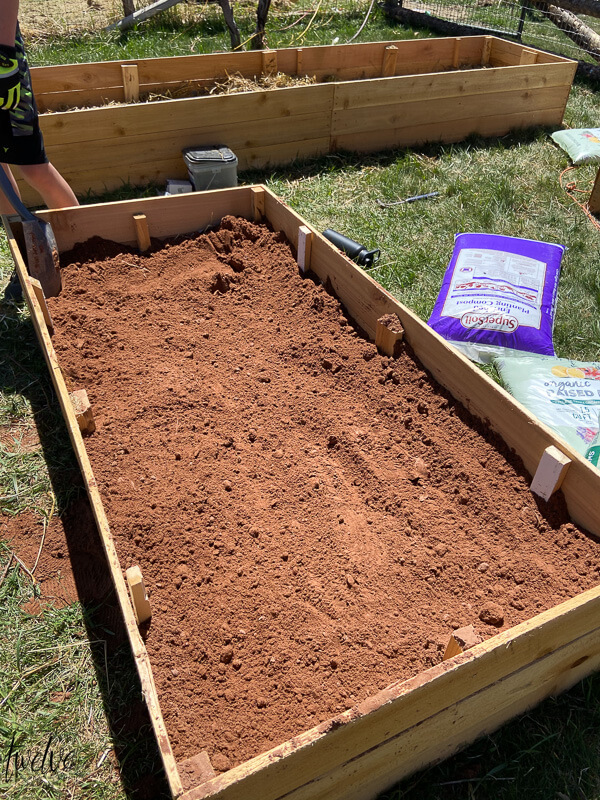
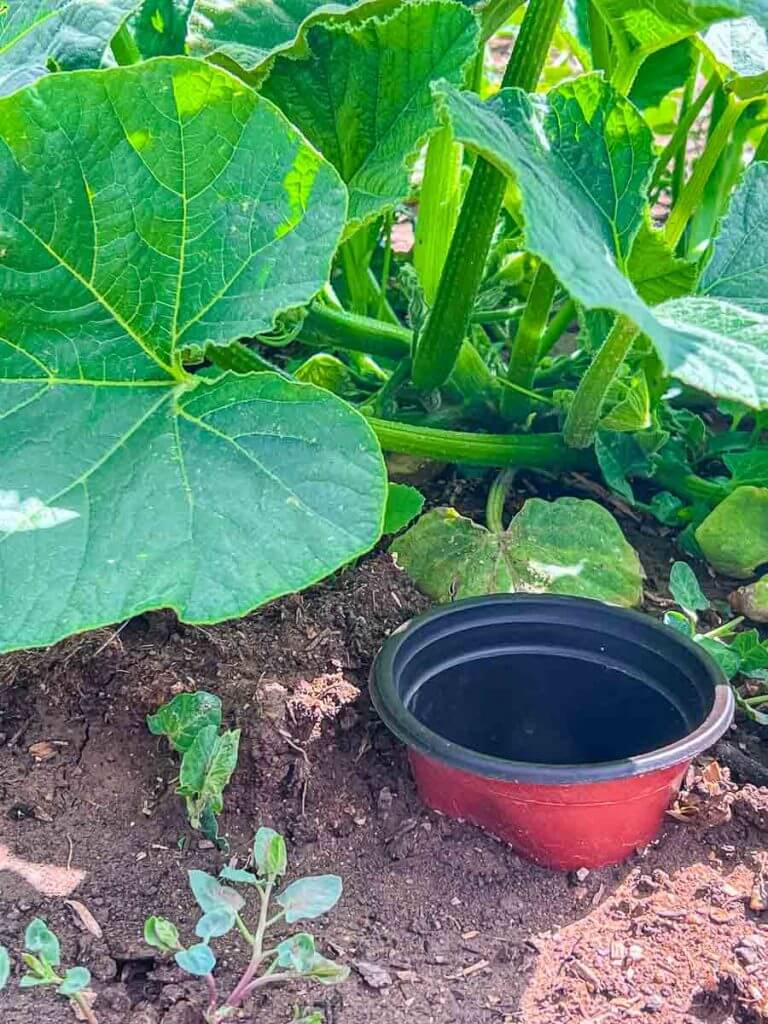
Once you have your garden planters finished you can arrange them where you want them and begin filling them with soil and organic matter. You can see how I filled mine affordably with amazing soil and organic matter here. Using my method you will not have to use as much soil and the best part is that it will turn into the most rich soil you’ve ever had.
Here are a couple pictures showing how we filled them:
First, we added weed barrier to the bottom of the planter boxes. We do not need any drainage holes since the weed barrier drains.

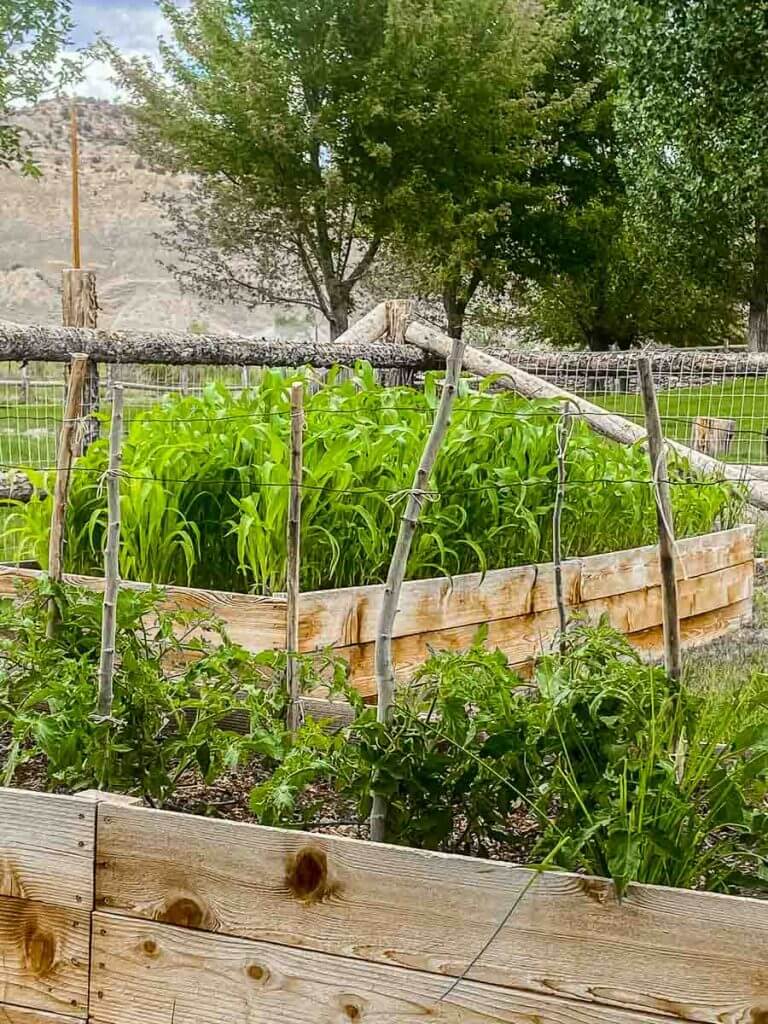
Overall I would say this is a pretty easy DIY, especially once you get the hang of it. Once your garden beds are established you will be able to grow amazing root crops or root vegetables, a flower garden, a small veggie garden, an herb garden, and more with very little effort.
There are ways that you can customize these planters by adding trim and other elements. Western red cedar is a great product to use and I love how well the planters have stood up over the past growing season.
These DIY planter boxes do not take up as much space as a traditional garden and they can be used for square foot gardening and area great option for wheelchair users.
The only thing I would do different is to build more! The hard work building raised planter boxes pays off when you are able to sit back and enjoy the harvest you will get from the plants you grow in them.
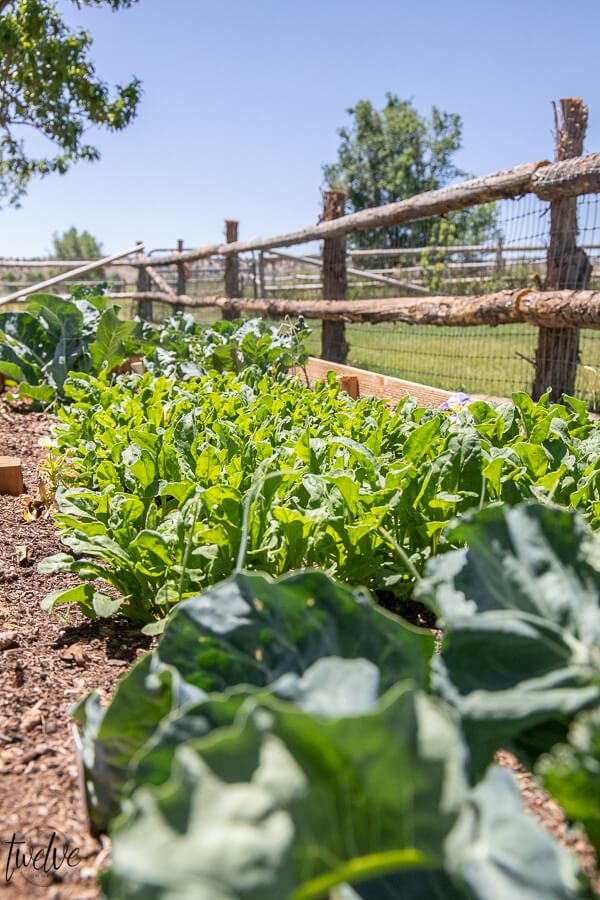
My favorite part of switching from traditional gardening to bed gardening is that we don’t have to till the dirt anymore. In the spring, when our ground soil is hard and uncooperative with the tiller, It is amazing to see how soft and loamy the soil is in our raised garden boxes.
I like to add compost from our goats and chicken coop in the fall and winter and let is mix in over the winter. I have been so impressed with how great our plants have grown in our planter boxes.
You can make different sizes of planters depending on what space you have to work with. If you have a small patio, you can make them smaller, and more narrow. Customize them to your space. Create the perfect size for your space.
another great post!
Easy Herb Planter Box Using Scrap Wood
Check out how I used my scrap wood to build these small herb/flower planter boxes too!
I never thought I would like using a container garden, but I have found them so much easier to use over planting in the ground. I think that even if you do not have a green thumb you can be a gardener. These days being a bit more self reliant is a good idea and even having a small garden is better than no garden.
We loves our raised planter boxes that we added more this year and totally abandoned the ground. We have the ground covered in compost as well as straw in hopes that one day it will become a more healthy and rich soil.
Who knows though, we may never plant in the ground again. We love our raised planter boxes and we did not have to break the bank to build them either. That is a win in my book. I look forward to all the yummy veggies we will be enjoying from our raised garden bed over the few years.
Are you ready to take a the plunge and try your hand at gardening? Start small, maybe build one and see where that takes you.

Check out these other great gardening posts:
Super Easy DIY Hanging Planter
How I Turned A Pallet into Planter Boxes
DIY Hanging Planter Boxes in 10 Minutes!
Over 40 Easy DIY Wood Projects For 2021
Over 60 of the Best Gardening Hat Options for 2021
Easy DIY Garden Markers Using My Cricut Maker
Summer Dining Ideas in the Garden
ohhh your beds are gorgeous! I am planning beds I will build for next year’s garden. I will definitely use your idea of filling bottom space in your bed with wood or natural debris. I don’t plan to put a ground barrier under it only because I have not had a good experience with Un natural fabric??? haha what can I expect if I don’t use the plastic? thanks
I absolutely love the ideas in this post! The designs are not only easy to follow but also budget-friendly, making them perfect for anyone looking to spruce up their garden without breaking the bank. Can’t wait to try building one of these raised planter boxes this weekend! Thanks for sharing such great inspiration!