Gorgeous DIY Pallet Planter Boxes with Full Tutorial
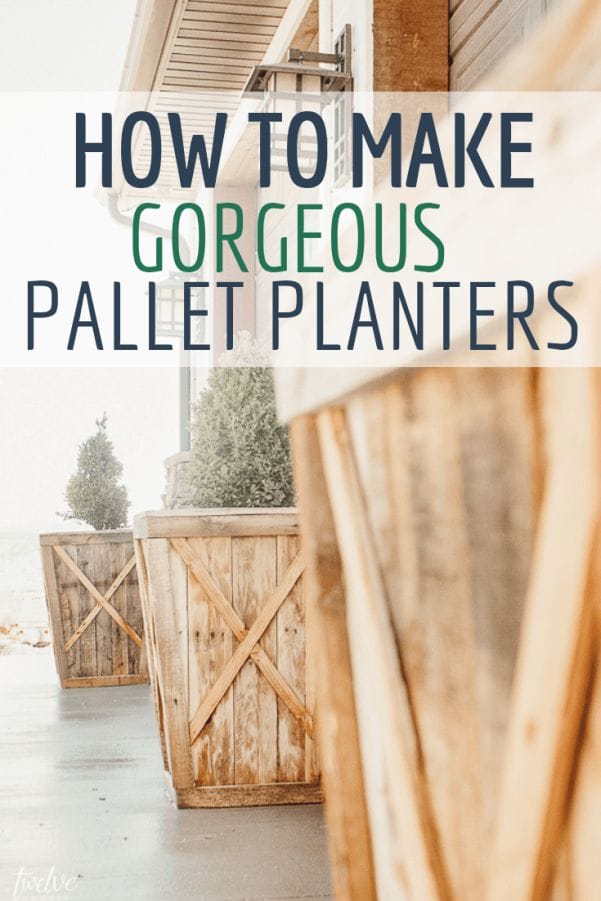
Want to up-cycle an old pallet into planter boxes? What about stylish, large planters that demand to be the center of attention. Well, then you need to check out my “new” planter boxes made from pallets!
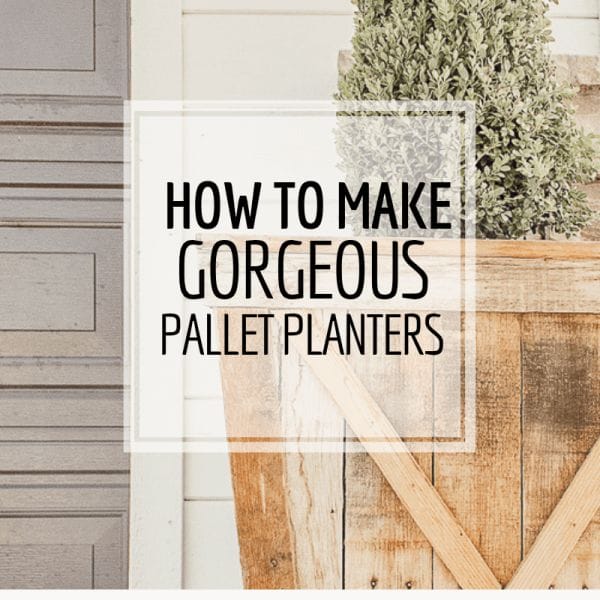
Its snowing right now…even as I type, the weather outside is dreary and miserable. But, that is what we expect during spring in our area. Even with all that dreary weather, today I am bringing you something so bright and cheery, you will not believe that just days ago, it was this gorgeous outside!
That is why I am laughing, as I write this post for a Spring I DIYed That bloghop…and yet its snowing! Haha! Well, I am thrilled to participate in this and thankful to my friend, Jennifer from Noting Grace for putting the whole thing together! If you are here from Rocky Hedges Farm, welcome!
I love reusing materials, and for a long time, we had a pretty good collection of pallet boards in our backyard. We have used wooden pallets for many different pallet projects including my cute dutch tulip crate, my pallet graveyard, a super easy pallet table, and more! I love a good re-purpose. Now, before you get all crazy about pallets, we need to talk about taking them apart, which can be more difficult that building something out of the wood!
I have written a post all about how to easily take apart a pallet. You can even watch my Youtube video tutorial here!
Make sure to check this post out as well! It has some really great tips and tricks. Now, once all the pallets are taken apart, its time to make sure you have what you need to turn a pallet into planter boxes.
First off, lets talk about what you will need to turn a pallet into wooden planter boxes:
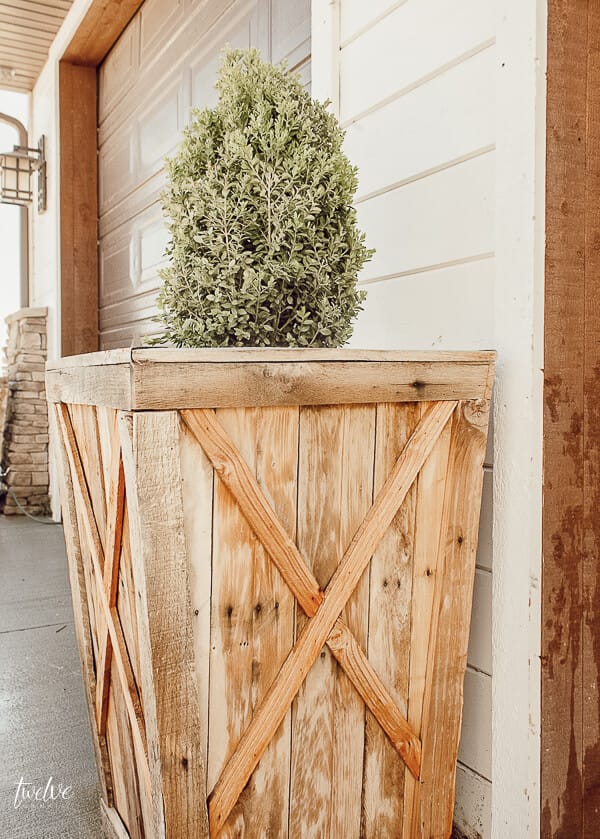
This is a large planter, also considered a vertical planter. It is slightly angled and has a wonderful shape.
(These are affiliate links, and I make a small commission off anything purchased through them)
- 2 by 4 pieces of wood in 8 ft lengths (we will cut them to size)
- Cordless drill/screwdriver/impact driver
- 1 1/2 inch 2 inch, and 3 inch wood screws
- Pneumatic brad nailer
- air compressor
- Miter saw or circular saw
- table saw
- measuring tape
- orbital sander
- Reciprocating saw (to cut pallets)
- Approximately 40 old pallets pieces
- Black plastic or landscape fabric
So, as we discussed, getting the pallets apart is the first step to making these pallet planters. Once the pallets are disassembled, it is time to get started on the frame of the pallet planter. You can adjust the size and dimensions of the planter to your own specifications. To make one the same size as ours, you will need to cut from the 2×4. The 2 by 4 will be used to build the frame of the pallet planter.
Here are the cuts you will need to make from the 2 by 4’s
- 4 pieces at 26 inches long and at 5 degrees on both ends (sides)
- 2 pieces at 20.5 inches long and 2 pieces inches at 17.5 and at 5 degrees on both ends(top)
- 2 pieces at 14 1/2 inches long and 2 pieces at 11.5 inches and at 5 degrees on both ends (bottom pieces)
These planks of wood are going to form the frame of the planter.
What you are going to do first is essentially build a box. If you do not want the tapered look to the planters you can easily omit the angles and keep the pallet planter completely square.
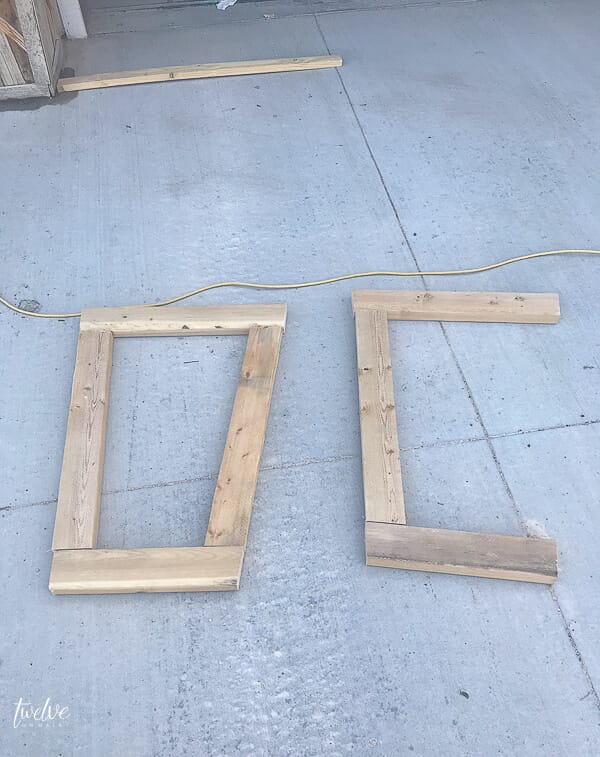
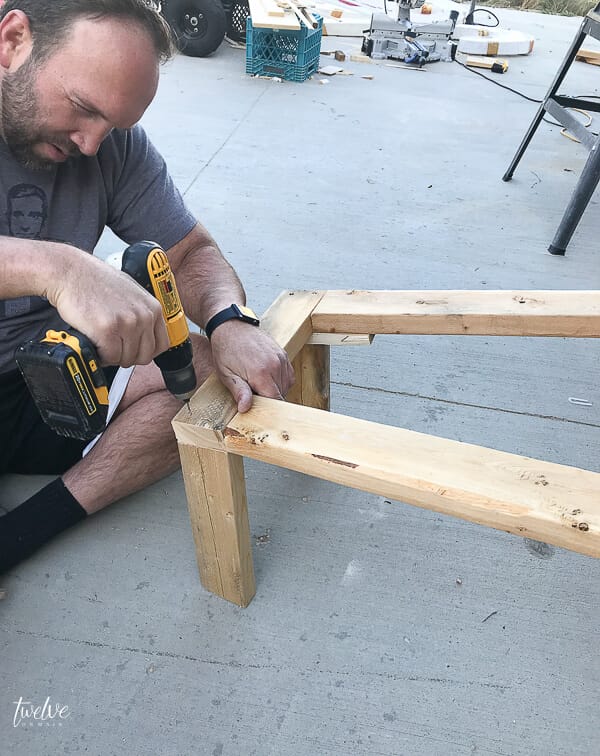
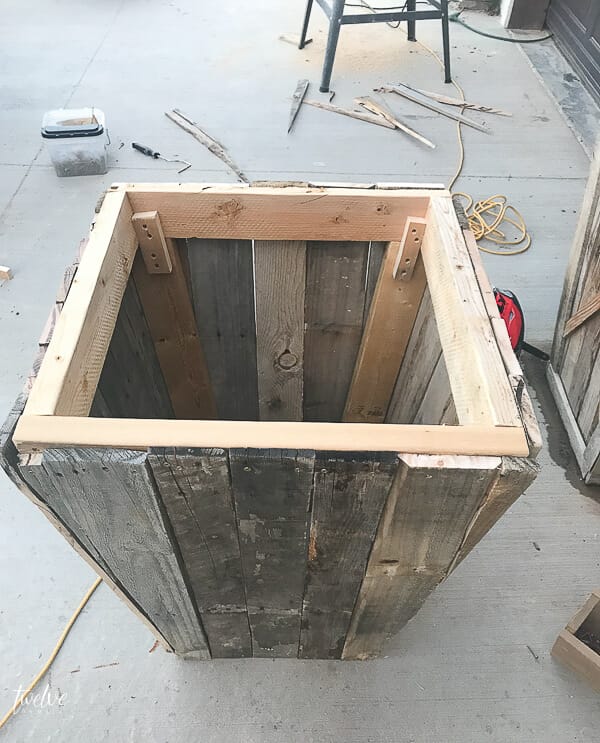
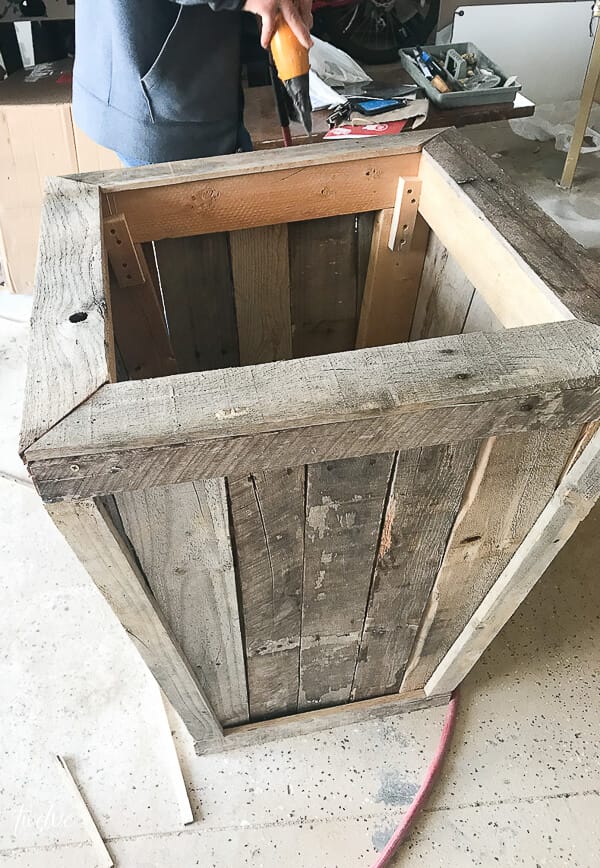
At this point you have 2 choices of what you can use to connect the 2 by 4’s. You can use a Kreg Jig to secure the pieces together, or drill holes and screw them yourself. We decided just to drill holes and screw them in and also use some blocks to secure the pieces together. Since you will not see this part of the planter when it is finished, it was not an issue or expense I wanted to worry about. Drilling holes will help prevent splitting in the wood, and make it easier to screw them together. Start by assembling the frame. We started by assembling 2 side pieces, using the longer of the top and bottom pieces:
This is pretty easy to do. Once these are assembled, the box will take shape very quickly.
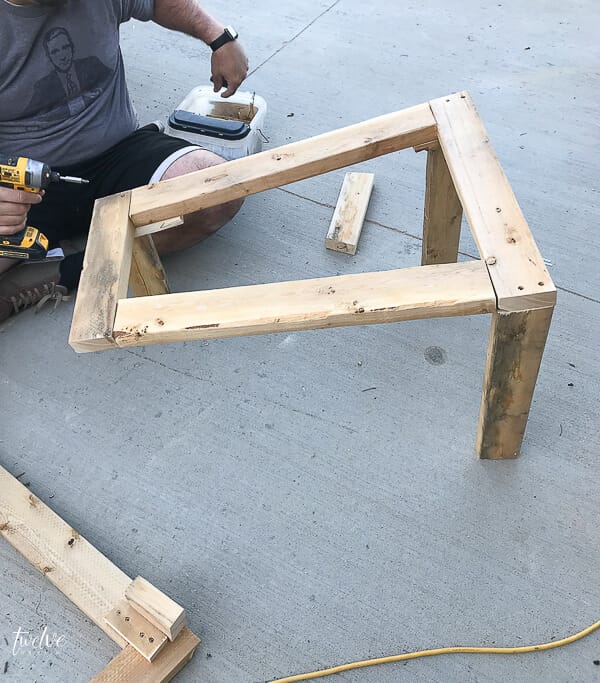
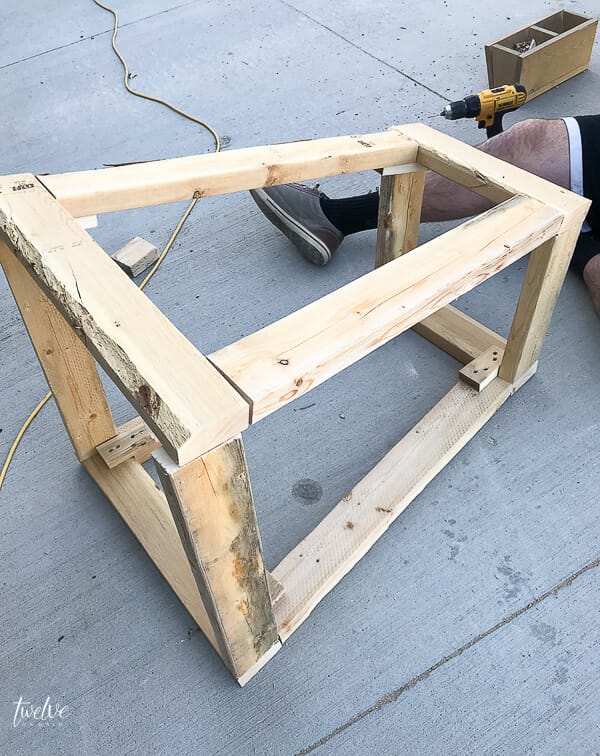
You will connect the two side pieces by adding another short piece on the top and bottom. If you have someone there to hold the sides that would be helpful.
We made sure to always pre-drill our holes and then screw them in. It really makes a difference, especially when drilling through a solid 2 by 4. And that is where the impact driver comes in handy. This tool will give you extra torque which will allow you to need less force or (behind as my husband puts it) to secure the screws.
Make sure to flip over the box and secure both sides.
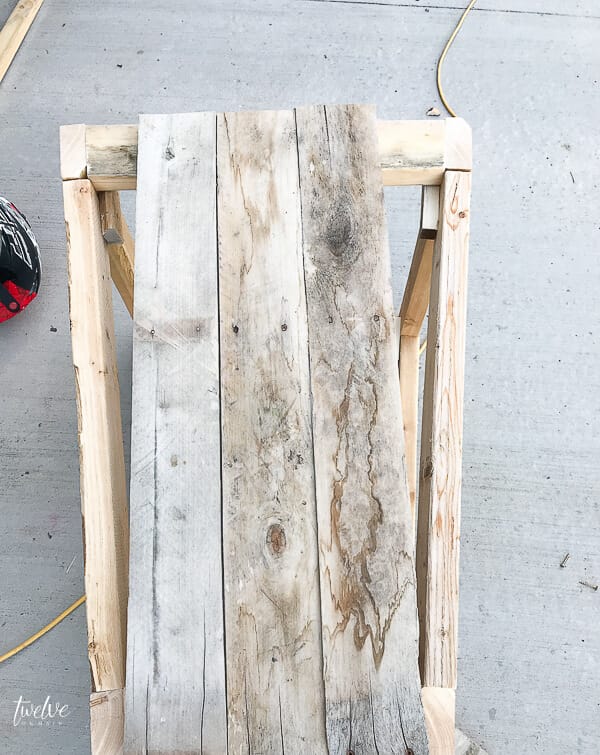
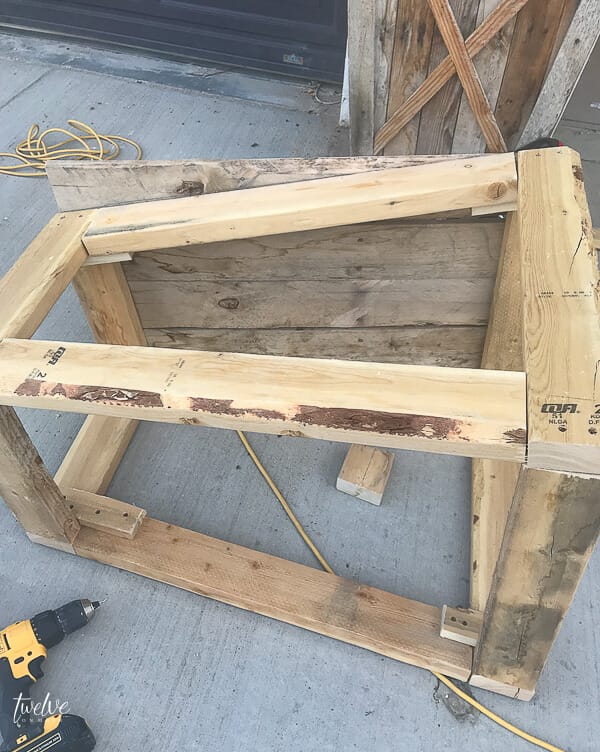
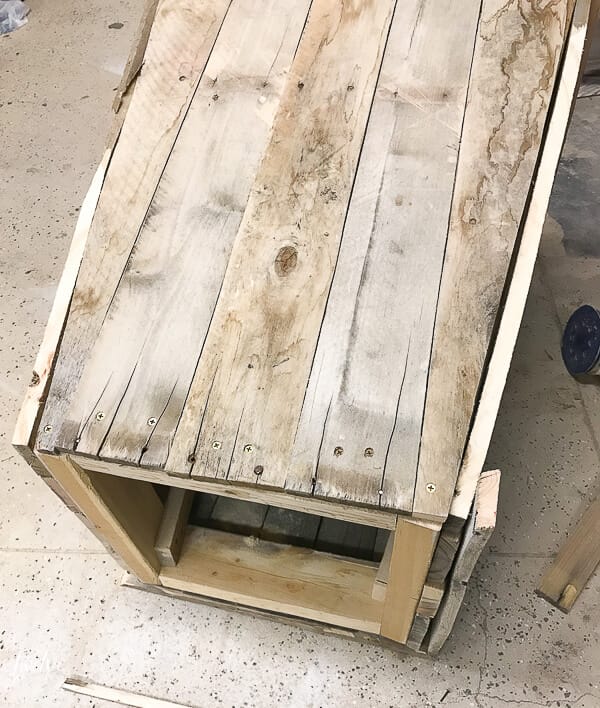
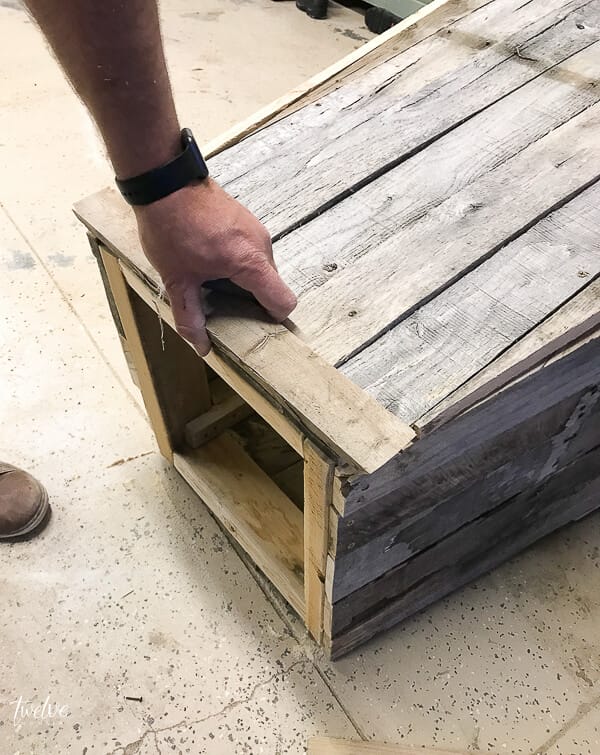
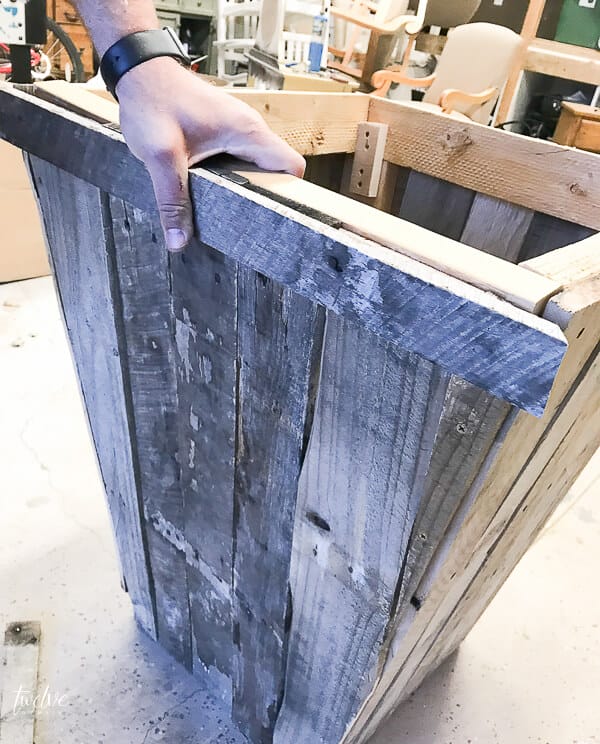
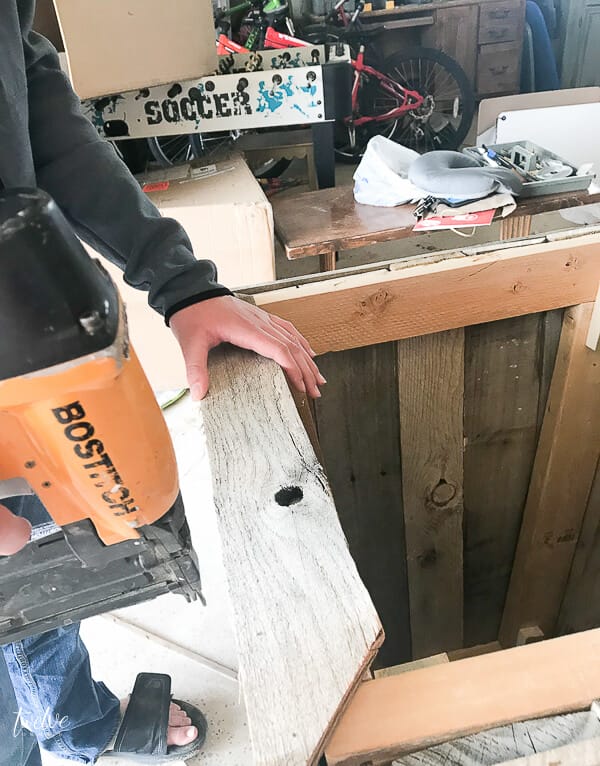
Once the box is assembled, its time to add the pallet wood to the exterior. We built this way so that we knew the planter would be sturdy. If we had only used the pallets to hold up the planter it would easily fall apart sooner. We started by nailing from the center out…making sure to leave no spaces as best as you can. I know using pallets does not give you the easiest wood to work with.
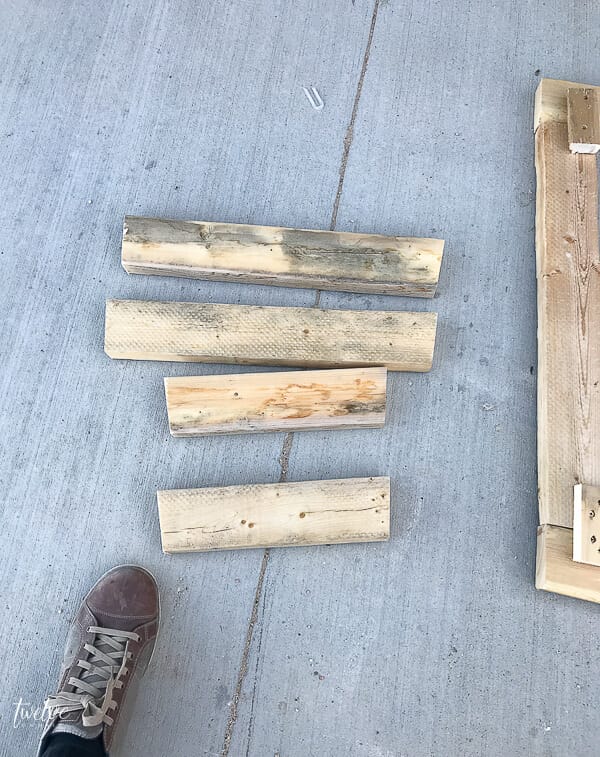
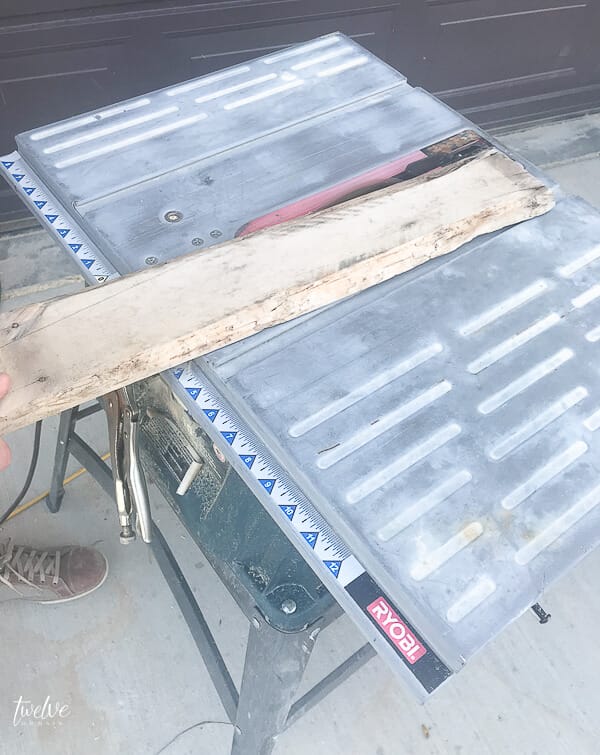
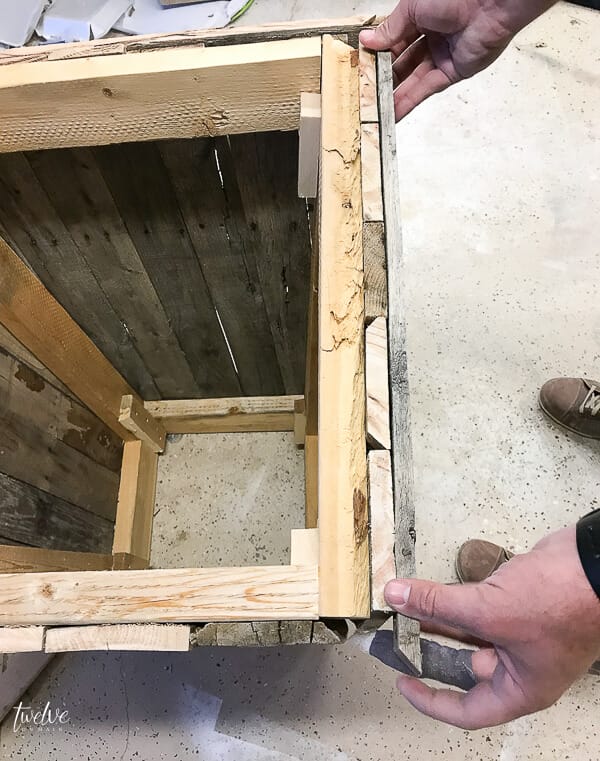
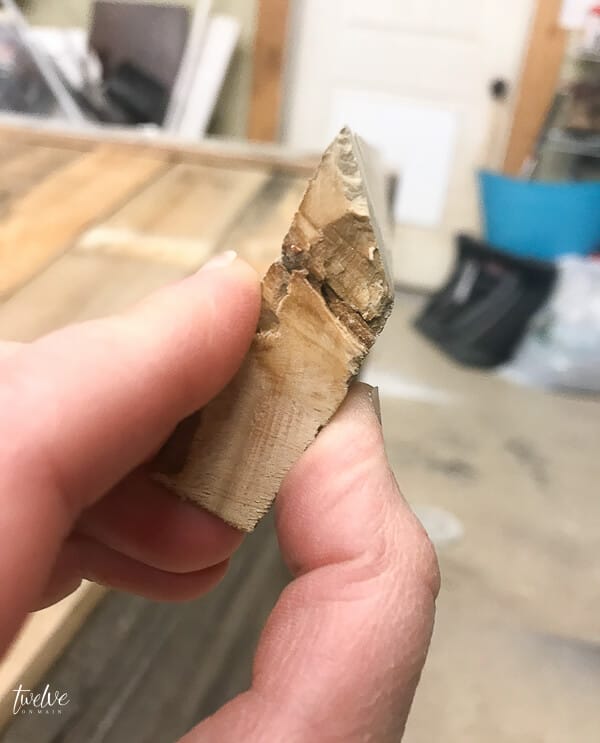
You want to cover one whole side with the pallets, and leave off the very last piece on both ends. First, you want to nail the center piece. We did this by measuring the center of the planter tops and nailing our first piece there. You can then add pieces on both side of the center piece until you reach the edge. The edge piece is a bit more tricky. You will want to lay your piece of pallet wood on the box, and trace the angle that it needs to be cut. You can see it above. That part is going to need to be cut off.
Once you have the line drawn, use your table saw to cut the piece of wood. *Make sure to wear protective glasses! You never know when you will hit a nail! Now repeat this step on all 4 sides of the planter.
This is what it will look like at once all the sides are done. At this point, it needs some trim work on the edges, top, and bottom. Lets talk about what we did on ours.
We cut down our pallet pieces into 2 1/4 inch strips using our table saw. We kept these same widths on all the trim, just to keep it consistent. I ended up needing about 15 pieces total to get the top, bottom and the corners of the pallet planter.
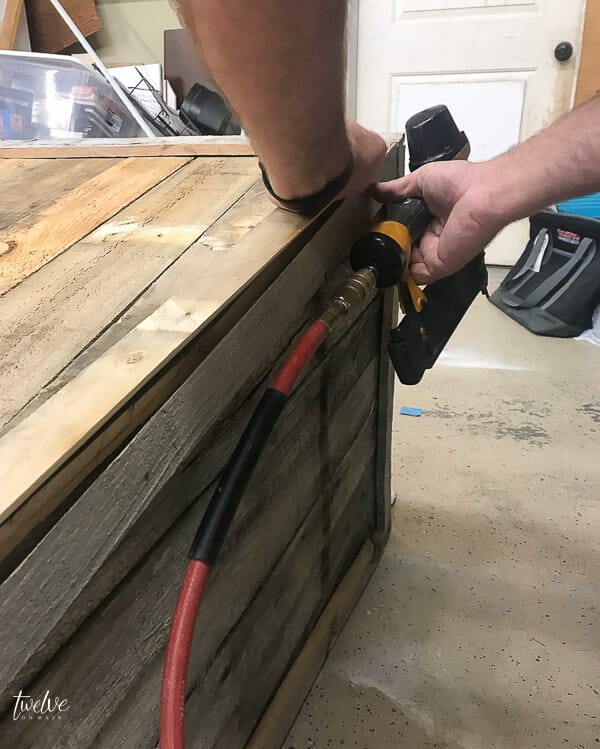
We mitered the edges with a 45 degree angle, so that they all came together with a nice angle seam. We just used our brad nailer to nail into the pallet sides.
We then repeated the same process to the top of the planter. We made sure to line up the trim with the top of the planter so that we could install a top piece that would sit level.
Once again, we nailed these on with our brad nailer.
Now, the corners were a little bit different. We cut a 45 degree angle along the whole length of the wood strip. We wanted a nice clean trim on the corners.
We nailed one side of the trim on and then matched it with the other side and nailed it one as well.
Once that was done, it was time to add the top trim piece. This piece will finish off the top of the pallet planter. I got my 14 year old son involved and had him to the nailing. We cut the corners on a 45 degree angle as well(like a picture frame).
Doesn’t that look pretty? I love the way old pallet wood looks. It has such lovely distressed tones and the really are so appealing.
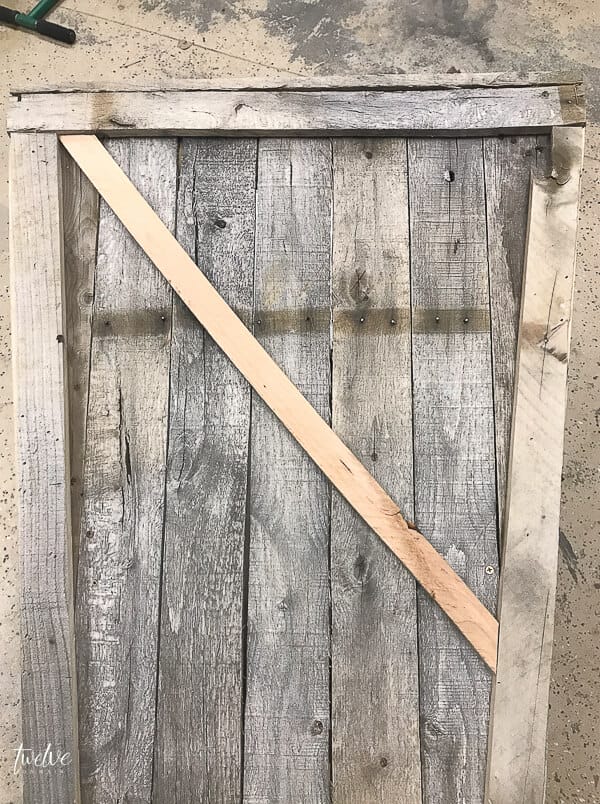
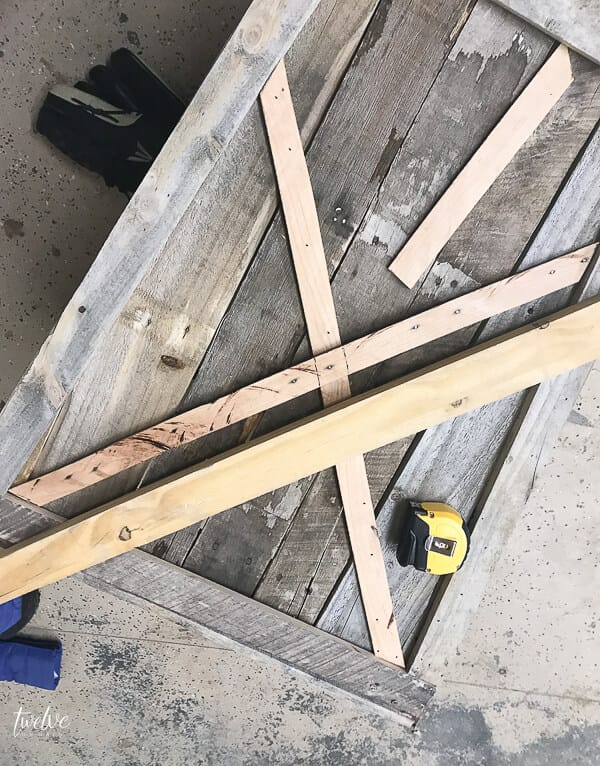
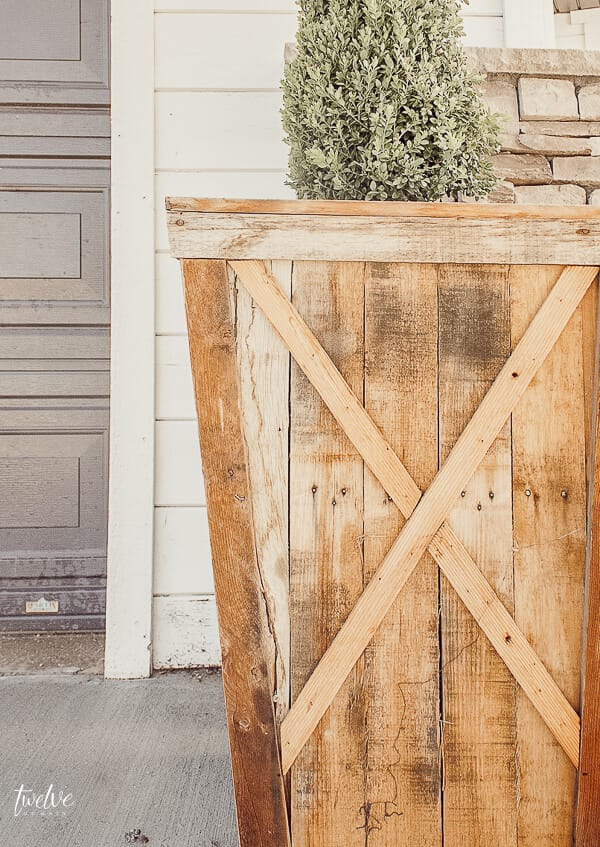
Now, the last thing we needed to do to the exterior is to add the X design to the sides of the pallet planter. We cut about 8-10 1/4 inch thick by 1 1/2 inch wide strips of pallet wood. We wanted this trim to be a bit smaller and more of a detail.
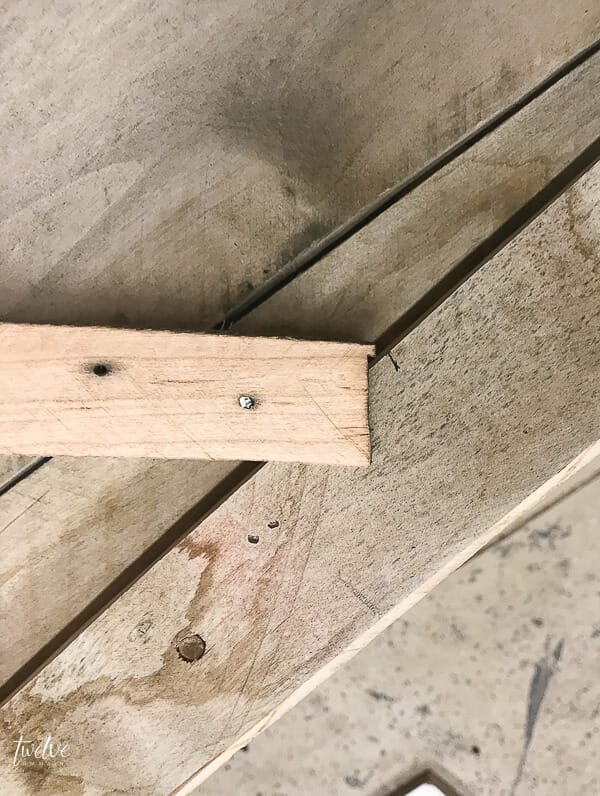
We decided where we wanted the first piece of trim, laid it on top of the planter side and traced the angle that we needed to cut the end of it.
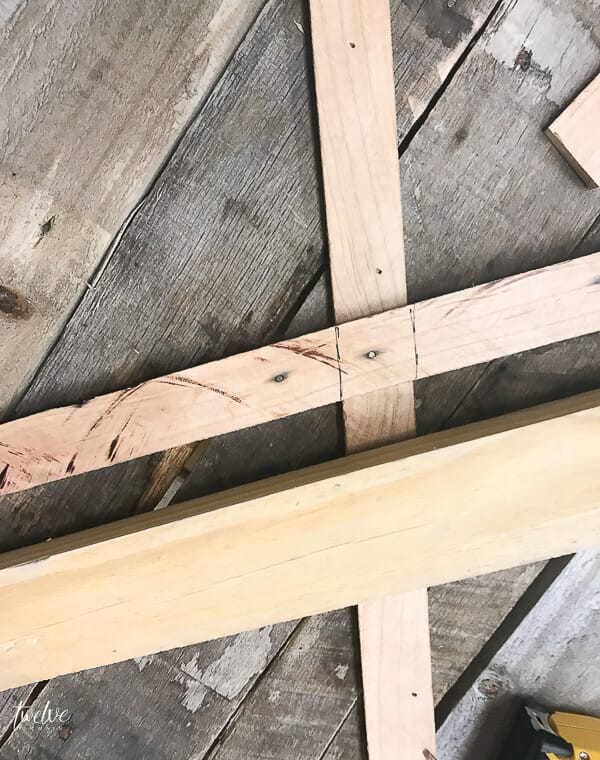
This is an easy way to get an accurate angle and not have to worry about getting it wrong. The next step is to lay the cross piece on top of the piece you have nailed in. Once it is exactly where you want it, you can trace where you need to cut it in order to install it correctly. You can see below how we did that.
Once the first piece was nailed in, you want to overlap the cross piece, mark where it needs to be cut, then cut it and nail them on.
After this step, I broke out my orbital sander and gave all the edges and surfaces a quick sanding so that we didn’t give ourselves any unnecessary splinters. The last thing you need to do is build a platform for your plant to be planted in.
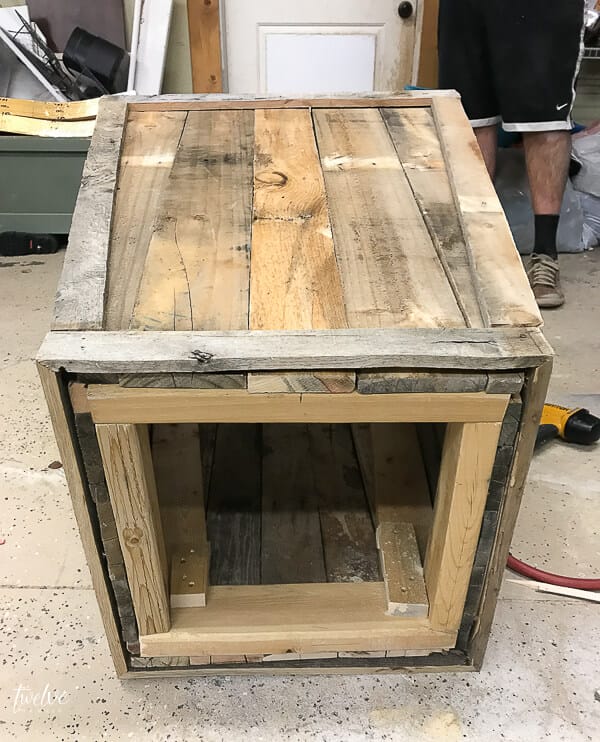
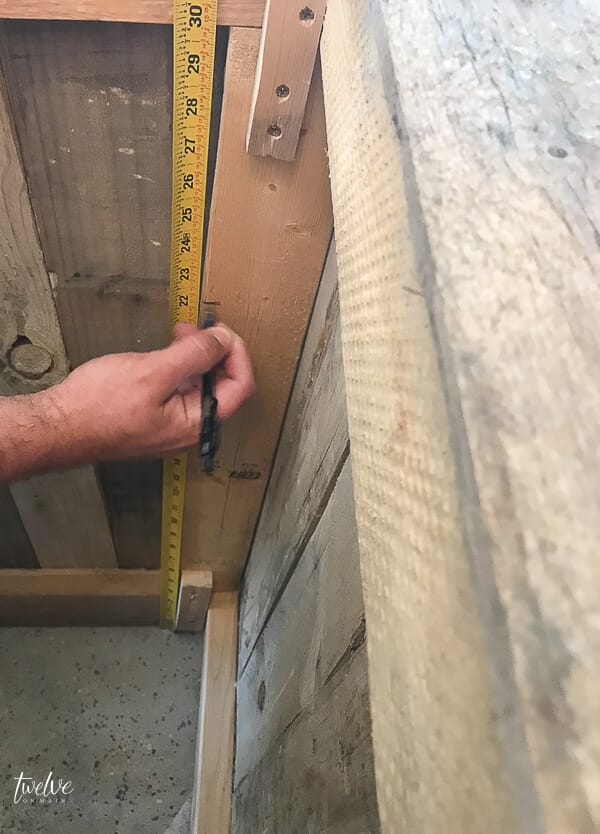
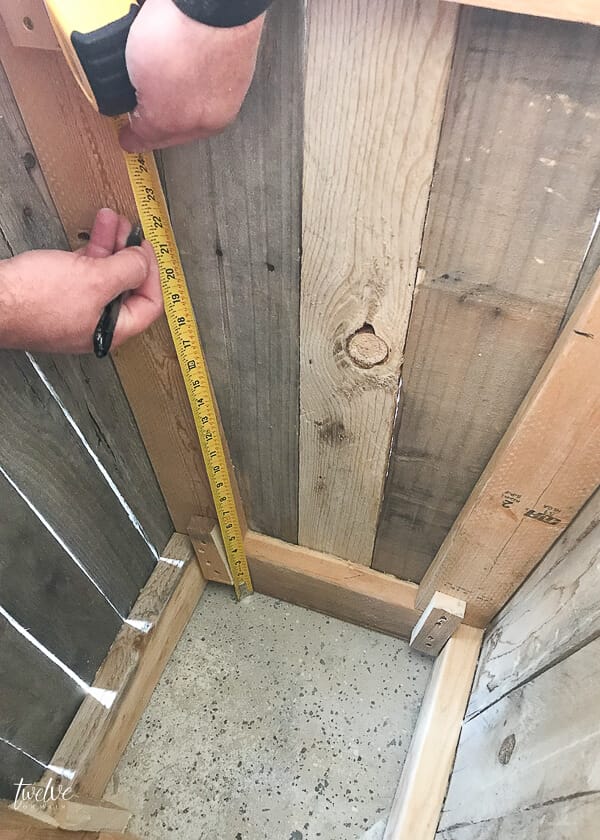
Nobody wants to fill this big of a planter with dirt. It would be impossible to move them! They are heavy enough on their own, without tons of wet dirt in them We measured down halfway and made a mark on all the inside corners of the planter.
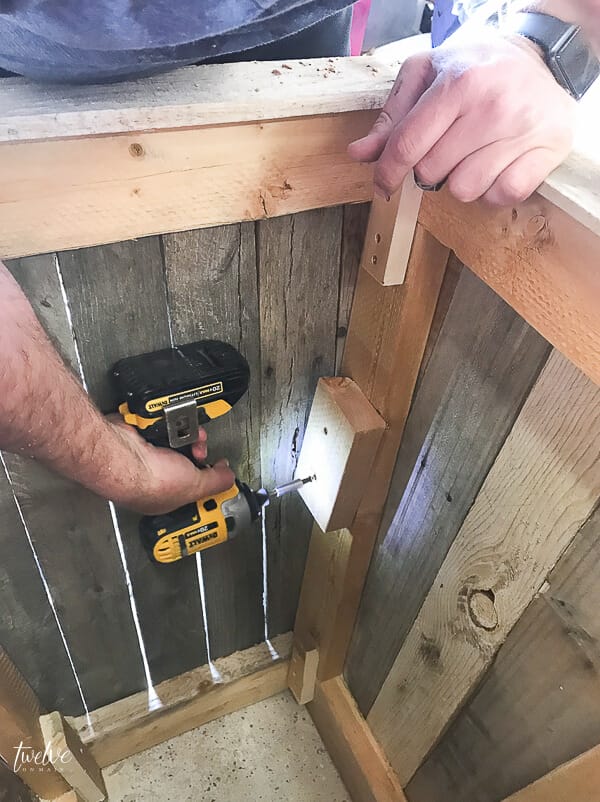
We then screwed in some 2 by 4 blocks of wood that would be very strong. We added at least 2 screws to it to ensure that they will hold.
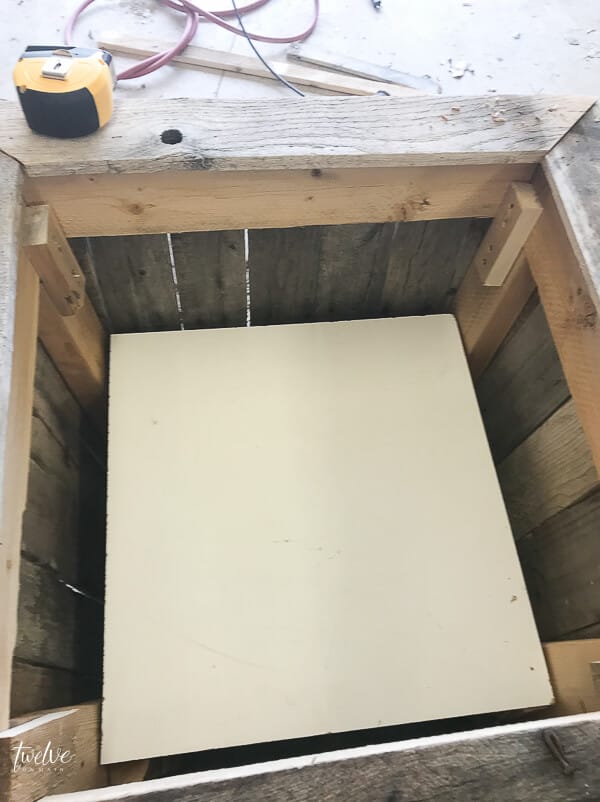
Once all the blocks are secured, you want to add a piece of plywood or melamine at least 3/4 inch thick. We used 1 inch thick to be sure it was strong enough.
We secured this to the blocks with screws. The last step is to use some black plastic or landscape fabric and line the entire inside. I used a heavy duty staple gun to do this. This will keep the dirt all enclosed and prevent it from ruining your planter.
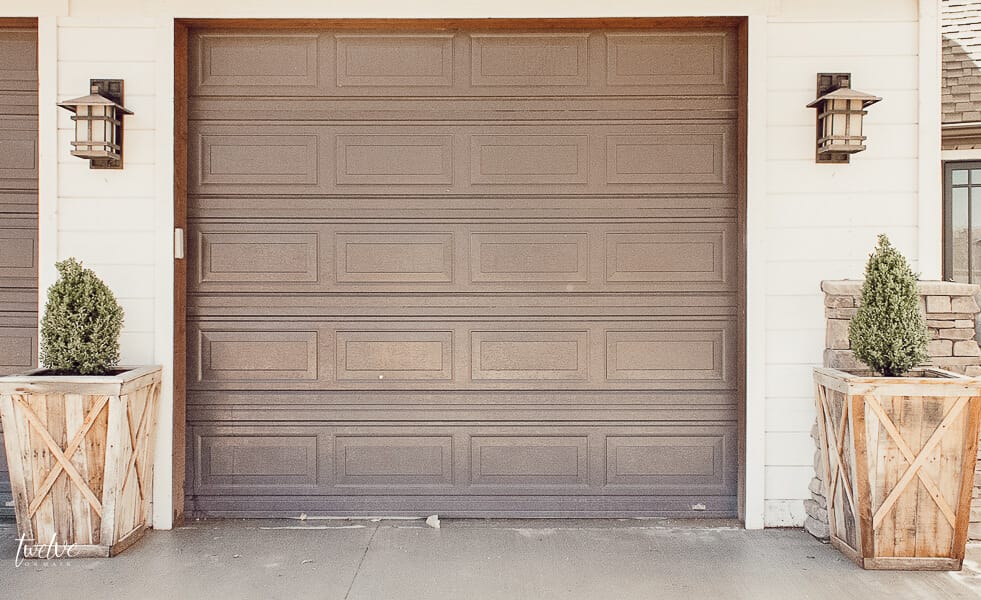
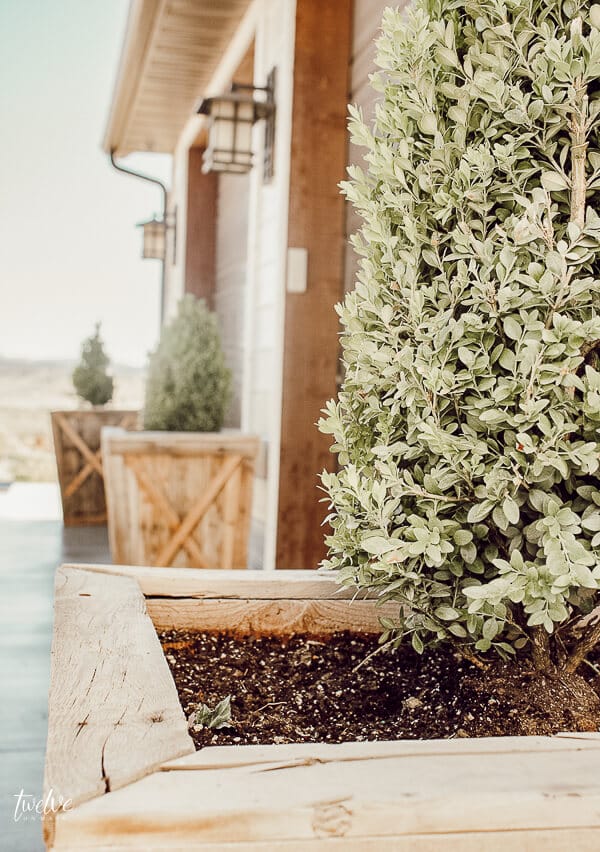
It really is an important step that you do not want to skip. After you have sealed the inside, it is time to plant your favorite cute little tree, flowers, or bush. I added some great boxwood bushes to mine. We ended up making 3 of these and using them by our garage.
Aren’t the cool? I just love them! They are the gorgeous planter box I was looking for.
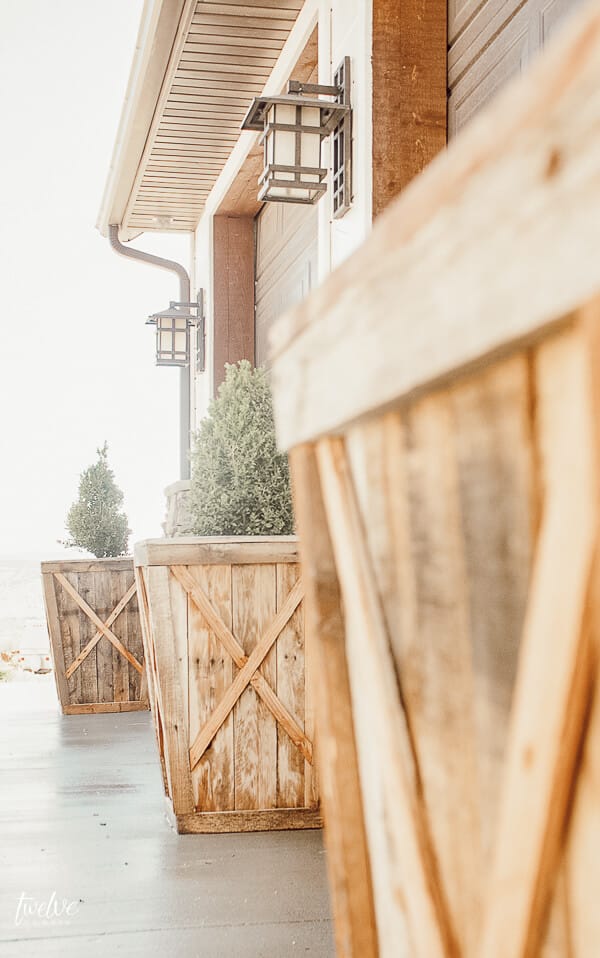
Here you can see that we lined all three up between our garage doors. The rustic wood with the white exterior and the green boxwoods are just about my favorite.
This was not a simple project, but it was so worth it! I just love them! Now if the snow would just stop so that we could actually enjoy them, that would be great! I guess its not spring here in Utah without a day of snow, rain, hail, and sun all in one day….and that day was today! What do you think of my process of turning a pallet into planter boxes? Is this a project you would take on? I had to beg my husband for my birthday to make these. And I sure am in love with them.
Want more wood planter box ideas? Check these out:
Now, make sure to hop over to Life On Summerhill, and for more inspiring spring DIY projects, make sure to check out all of the ones below!
I DIY-ed That Spring Blog Hop
MONDAY
Repurpose & Upcycle | Thrify and Chic | A Blue Nest | Noting Grace
TUESDAY
My 100 Year Old Home | The Tattered Pew The Homemaking Momma | She Holds Dearly | Seeking Lavender Lane
WEDNESDAY
Worthing Court Blog | Joy In Our Home | White Arrows Home Uniquely Taylor Made | Making It In The Mountains
THURSDAY
Beauty For Ashes Home | Cuter Tudor | The Red Painted Cottage The Honeycomb Home | Designs By Karan
FRIDAY
Deeply Southern Home | Rocky Hedge Farm! Twelve on Main | Life On Summerhill



I am a sucker for all things pallet wood and these are stunners!! I am redoing my exterior and this will have to be on my to do list to add to my home! Thanks for the inspiration an thanks for joining us for I DIYed that!
Yay! So glad you like them!
Love how tall your planters are. They look great.
Thank you!
These are amazing, Sarah!
Ah thanks friend!
OH..MY..GOSH! How perfectly imperfect! Love love love them…envisioning a lemon tree with rosemary cascading out of it.
A bit out of my DIY range but oh so happy for you and how they turned out!! G..g..gorgeous!
mic
Oh thank you! So glad you like them!
??????❤️Hi Sara , Thank You For Sharing ! ! These ARE COOL !! And I LOVE that You Recycled AND it DIDN’T go in the landfill AND they LOOK AWESOME in front of your house ?. G-d Bless
They are amazing, the workmanship is so good.
Maria
These are amazing! I love pallet projects and these don’t look to difficult and I even have some pallets. ?
How tall are these planters when complete? Thanks!
About 36 inches tall