
Farmhouse Style Reclaimed Wood Shelves Built In No Time!
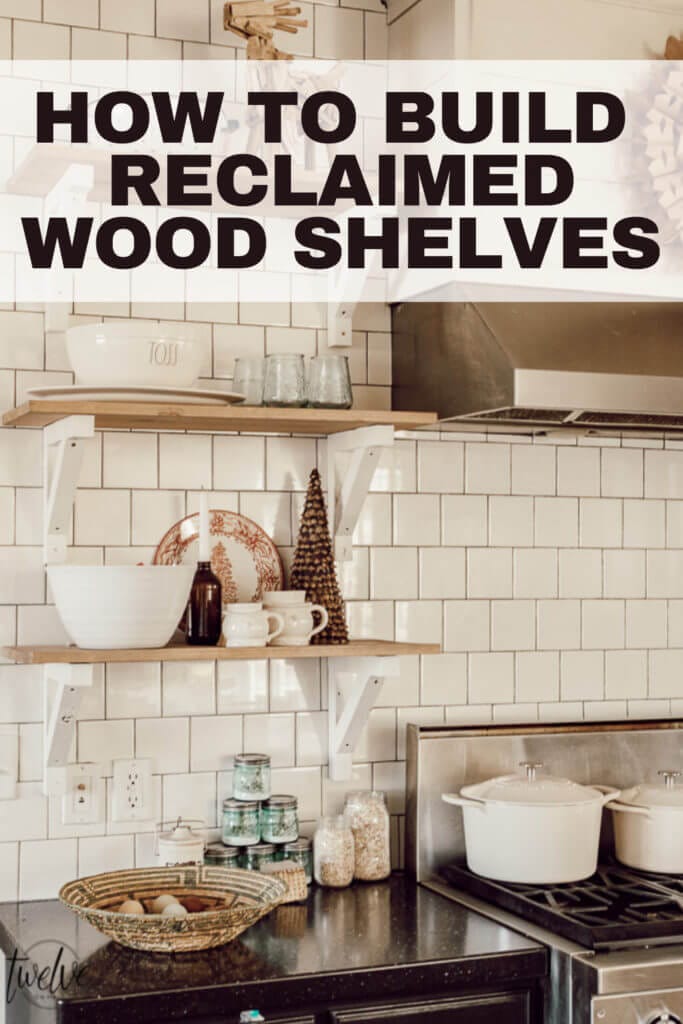
I am a huge proponent of reclaimed wood. Huge, like…huge. I am also a big fan of rustic shelves, and I have wanted some in my dining room for years. What I bring to you now is a story of how I built reclaimed wood shelves from some of the ugliest, and unloved discarded wood. This is why I do what I do. I love a good DIY project and adding a wood shelf or two to my dining room would make a big difference.
I have this secret spot I like to go to do some picking and salvaging. My husbands family owns some hotels in the area and we have a pretty good trash pile. Within the last few years, we had to replace the railings and staircases on one of our hotels. So, the old stuff ended up in the dump. Bonus for me! Imagine I am singing when I said that. It was the most undesirable wood anyone could imagine. There were large beams, smaller railing pieces, all painted with about 20 years of dark brown paint. Lets just say that the wood was definitely protected under all of the paint.
I knew I could use these reclaimed boards to make some rustic wood wall shelves. And I knew I wanted them in my dining room. I wanted a farmhouse shelf there
I have been wanting to do something in there for a while now. I decided I needed to do a little change up in my dining room. I have been collecting white ceramic serve ware and other decor items. The only problem? I was running out of places to display them. I decided I wanted to build some rustic shelves. The wheels started turning and before I knew it I had a design in mind. What materials was I going to use? Reclaimed lumber of course.
The morning my kids went back to school after the summer break, I went for a short little drive to my favorite secret spot. I guarantee if someone saw me out there, I am sure it was quite a show. Imagine a little girl dragging around 20 foot long boards, stumbling through the tree-like weeds that have taken back their land. When I had successfully relocated the lumber to the back of my truck, I did my happy dance and away I went. My husband took one look at my rustic reclaimed wood prize and shook his head. He does this often with me and my home decor projects.
Before I got started with my reclaimed wood shelves, I needed some supplies:
*Some of these tools we have slowly acquired over time.*
- Belt Sander
 ( we got ours at The Home Depot)
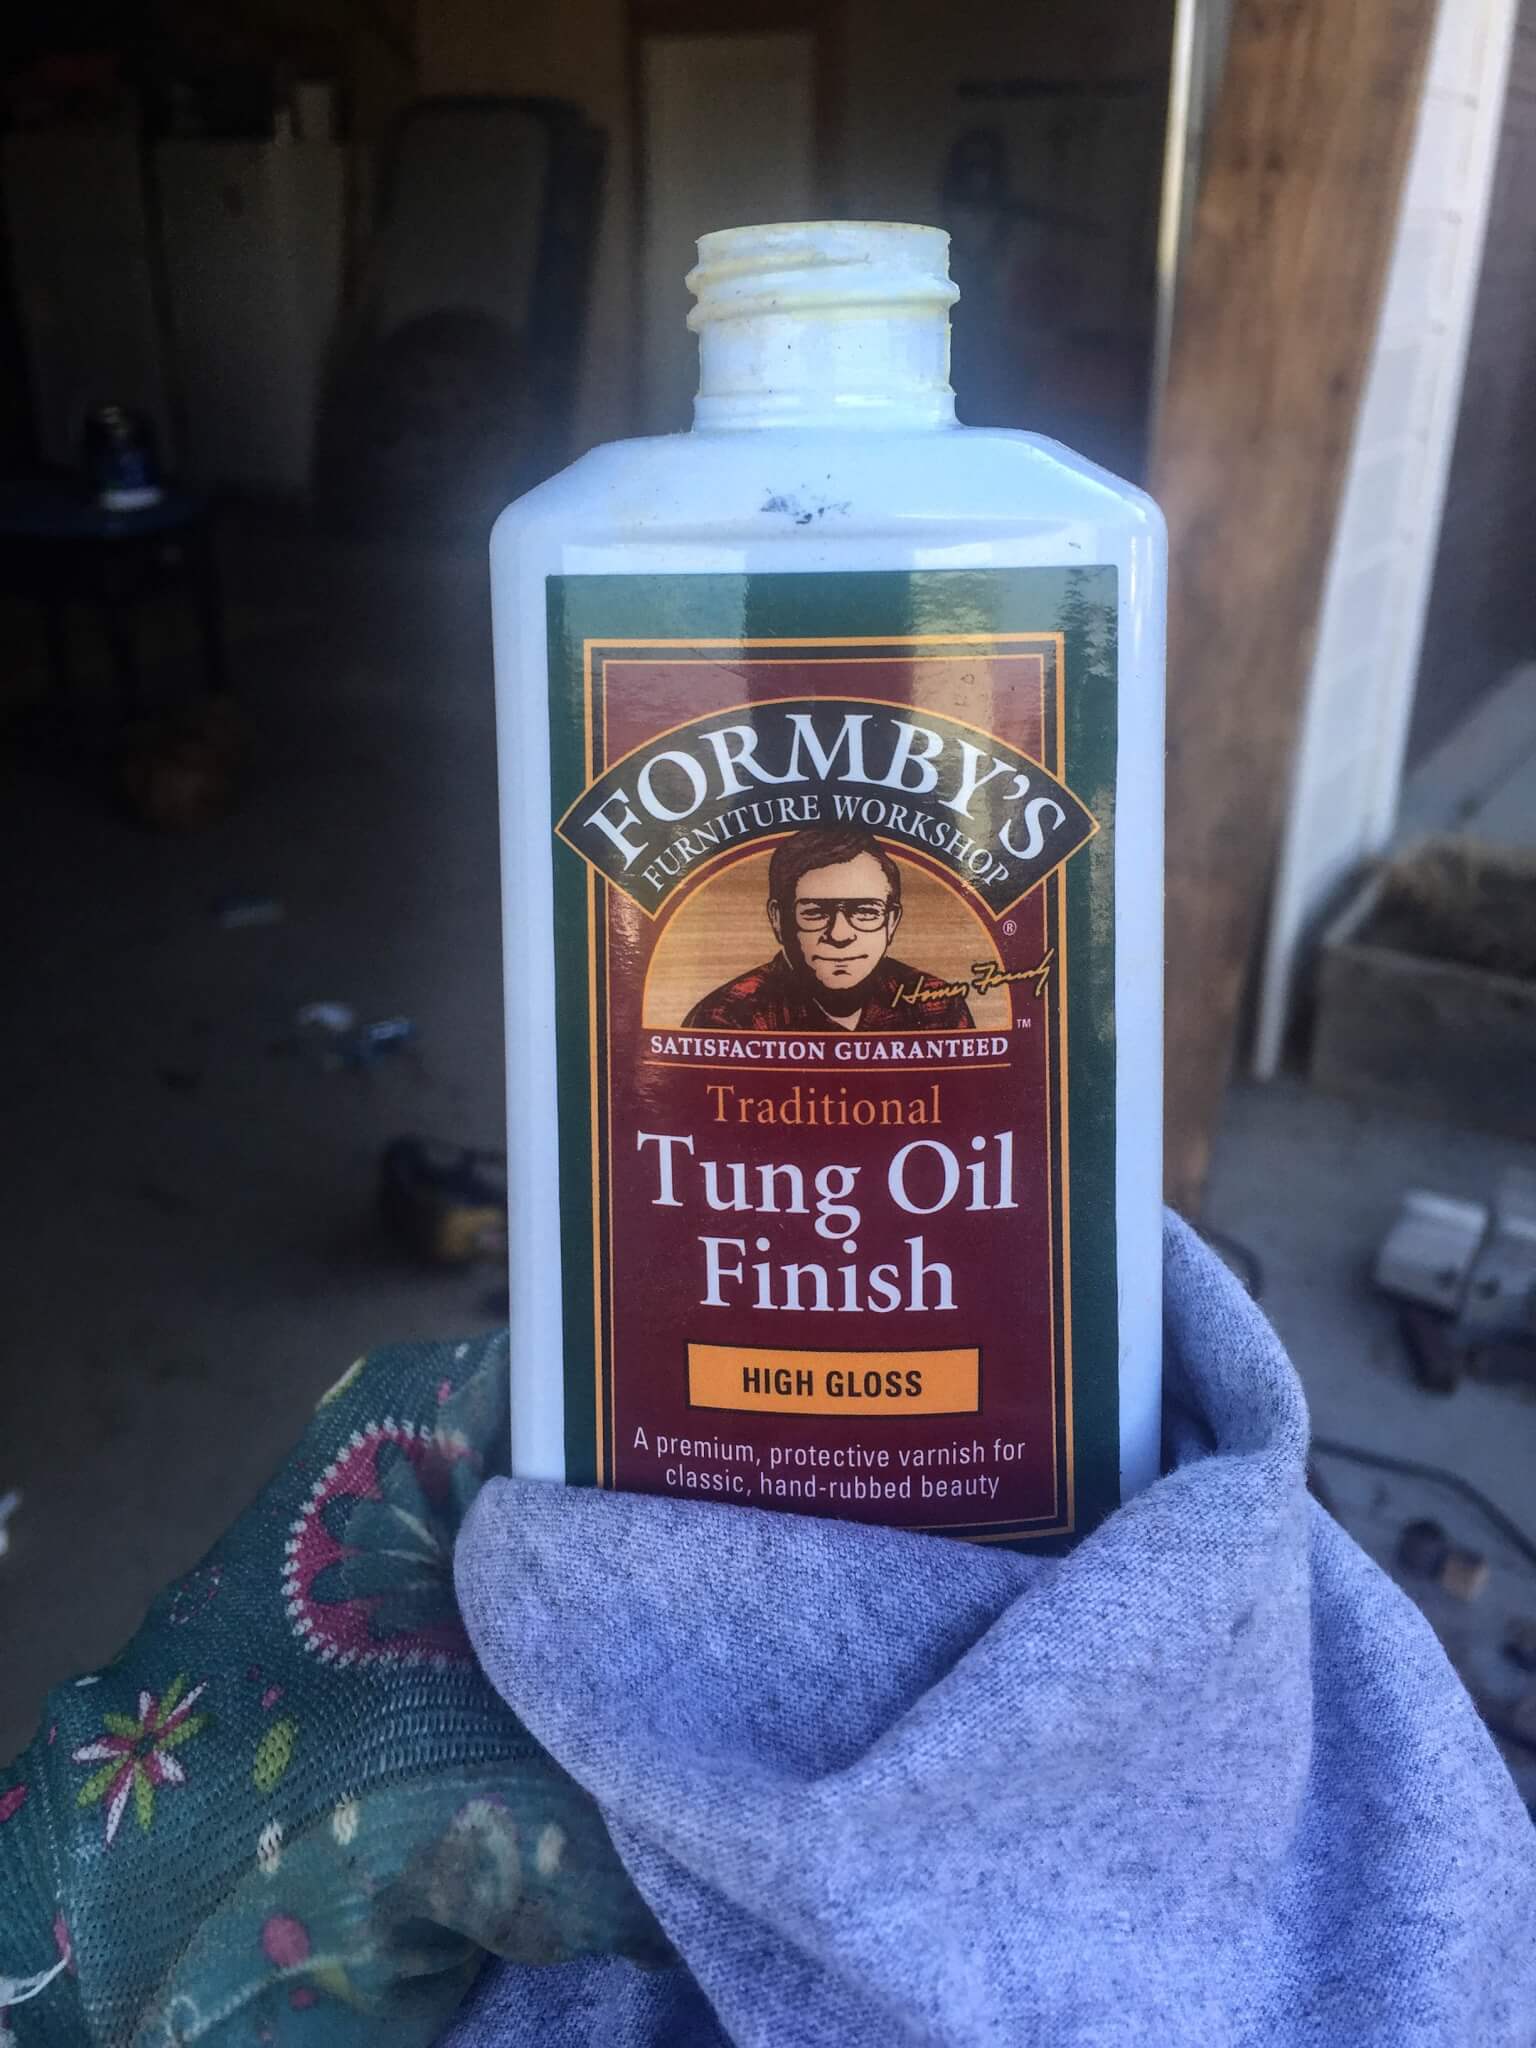
 - Tung Oil, 16-Ounce
- DEWALT DW715 Single-Bevel Compound Miter Saw
- 100 Grit Aluminum Oxide Sanding Belt, 10-Pack
- Dewalt 18-Volt Compact Drill/Driver Kit
- You can use metal brackets and mounting hardware if you choose that look, but we decided to use more of the barn wood to build the brackets. I have tons oof metal bracket options here.
The most important resource for this job was the reclaimed wood. I have been lucky enough to have come across some great product, if you cannot find reclaimed wood, you could definitely use stock wood from the store. It would definitely be easier and way less work…but I don’t do things that way. I choose the difficult way. Plus, since I already had the tools, these shelves cost me literally…nothing! A wooden shelf with tons of character is worth a little bit of work.

I think most people, when looking at this stuff would not even take a second look. Its not the prettiest wood, at least from the outside. Thick, peeling, brown paint covered the entirety of the reclaimed wood. But, I have been milling through many different ideas that I could use them for and I knew I could use every inch of it.
Okay, now to get down to it. The second thing I did after doing my happy dance was do a little draw up of how many reclaimed wood shelves I wanted, how long etc. I decided to go with 6 foot long shelves, and I wanted 2 shelves.
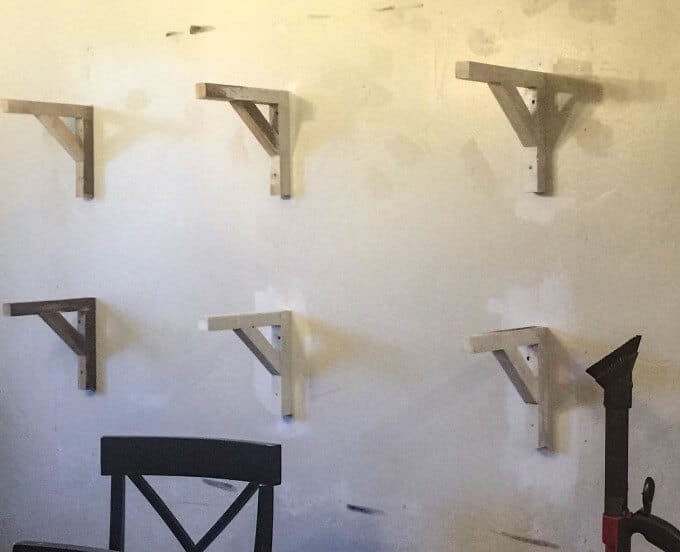
The next step was pretty simple because we got lucky. I had grabbed a few pieces of 2 inch by 2 inch lumber that was used as railings. I used these for the brackets. Brackets I picked a design and then we measured out how big we wanted them. I knew I wanted them slightly shorter than the actual shelf. The shelves were 10 inches wide, so we made them about 9 1/2 inches. The brackets consisted of two pieces of connected at 90 degrees, squared off. Its an L shaped bracket with an angled piece connecting the two. My husband actually built the brackets. I think he can do a slightly better job than I can.

We ended up needing 6 brackets total. It took my husband about 1 hour to put these together. We then attached them to the walls, measuring them out according to the size of the reclaimed wood shelves. We used just regular screws and made sure we were connecting with a stud. That could go two different ways:)
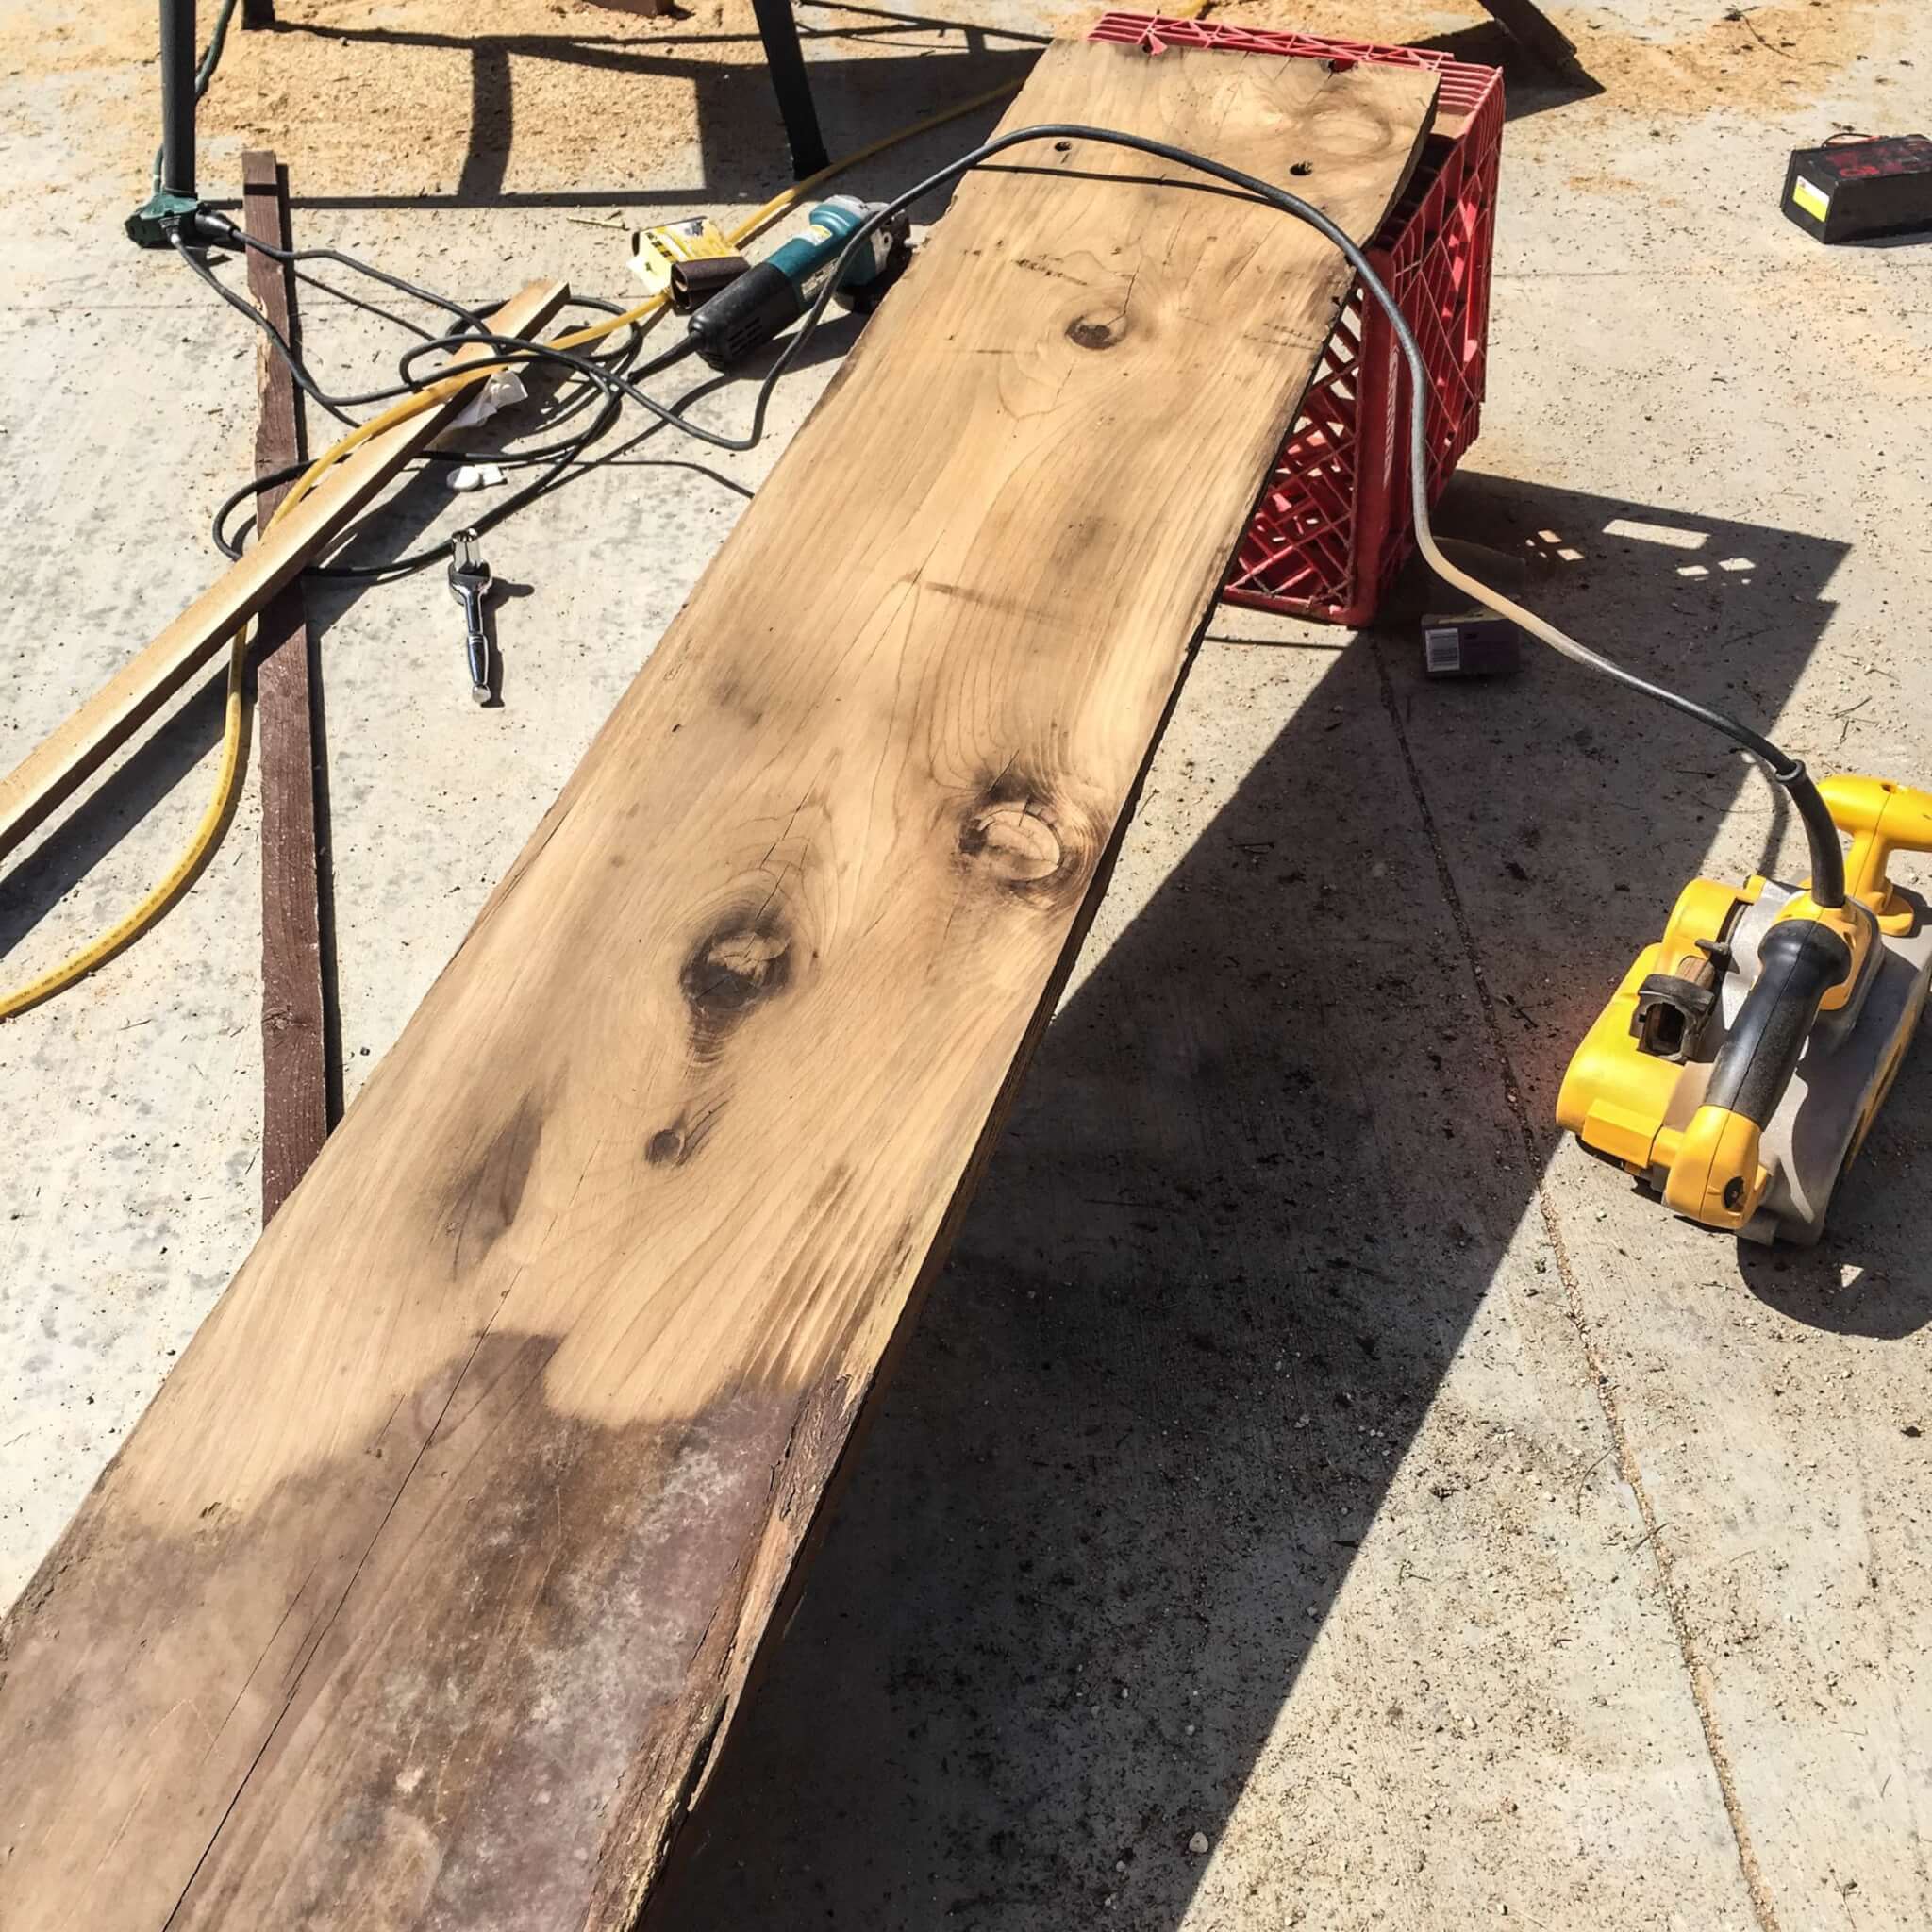
My main assignment was stripping and sanding the shelves. The wood I was working with was covered with a dark brown paint. It had multiple coats and was aged and chipping. I looked through the planks I had brought home and picked the two with the best characteristics for this project. I didn’t want very many splits in them, but they had some old holes where bolts were connected and I liked that.
I headed out to my trusty True Value store to grab some more belt sander replacements. When I arrived home, I for the life of my could not figure out why the belt would not fit! Little did I know that they came in different sizes and I had grabbed one that was too big. Hey, I never claimed to be an expert at everything. Finally home, with the correct belt installed, I set to it.
I spent about 1 1/2 hours sanding the old paint off the boards and smoothing them out a bit. I made sure to wear a mask since I wasn’t sure what kind of paint I was dealing with. Immediately after the sanding began, you could see the beautiful wood grain and character of it. Happy Dance, yes. This is what it looked like after I was done sanding them. This is why I love using reclaimed wood.
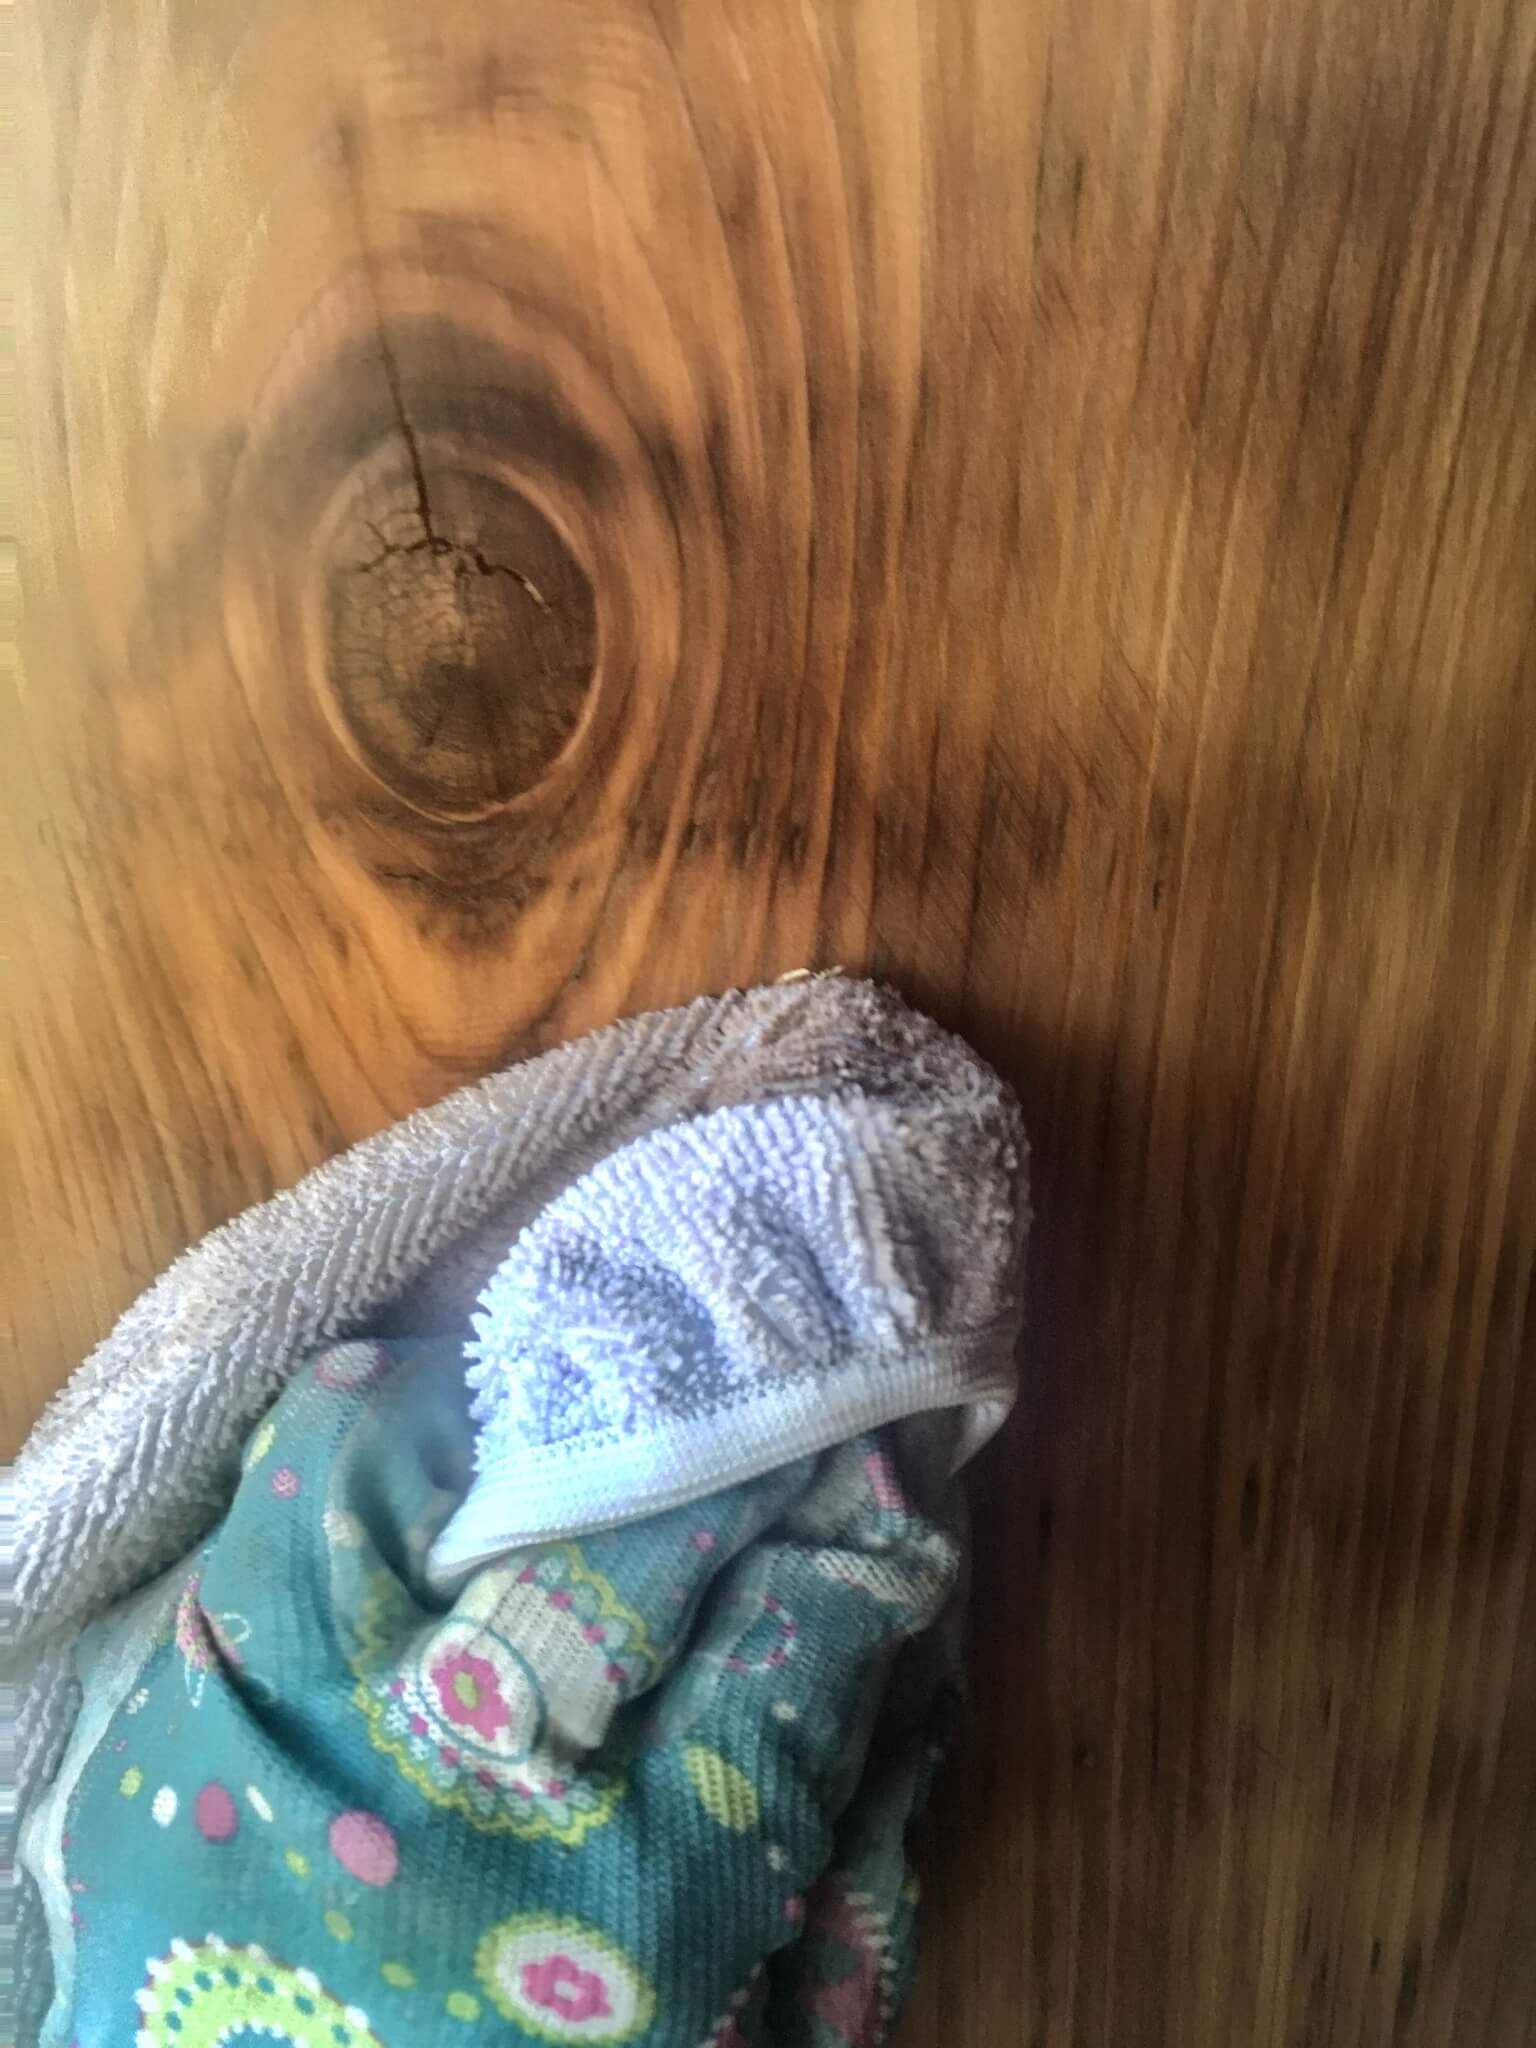
I then had to decide how I wanted to finish them. I tried a few different options. I picked a piece of wood and tried a wax on one part, Tung Oil on another section, and last I applied poly-acrylic. I was not sure if I wanted to leave the wood in its natural state or bring out the grain of the wood of the rustic shelf. They were all quite similar, but the Tung Oil won out. It gave the wood a bit of color and warmed the shelves up a bit without having to stain and try to match the wood to other things in my home.
You can see the slight affect here:

The Tung Oil was easy to apply. I just rubbed it in with an old T-Shirt kind of in a motion like you are waxing your car.
MAKE SURE YOU WEAR GLOVES!
Once I was done oiling the reclaimed wood shelves, I let them dry for a few hours. The instructions say about 12 hours, but when have I been that patient. Besides, it was outside, on a warm, dry day.
My next task was to paint the shelf brackets. I gave them a light sanding and cleaned them up. The paint I decided to use was my favorite white. It is a True Value color, right off the shelf called Antique White. I keep a gallon or two hanging around just in case.
Now, I’ll tell you a little secret. I have been wanting to repaint my walls in this color for quite a while so I decided now was the time to start. No sense in telling Lance. That would only cause him stress. So I painted the main wall that the shelves were hung on. But that is all for right now. I have a system for how I do this stuff. I plan on blogging my painting habits soon.
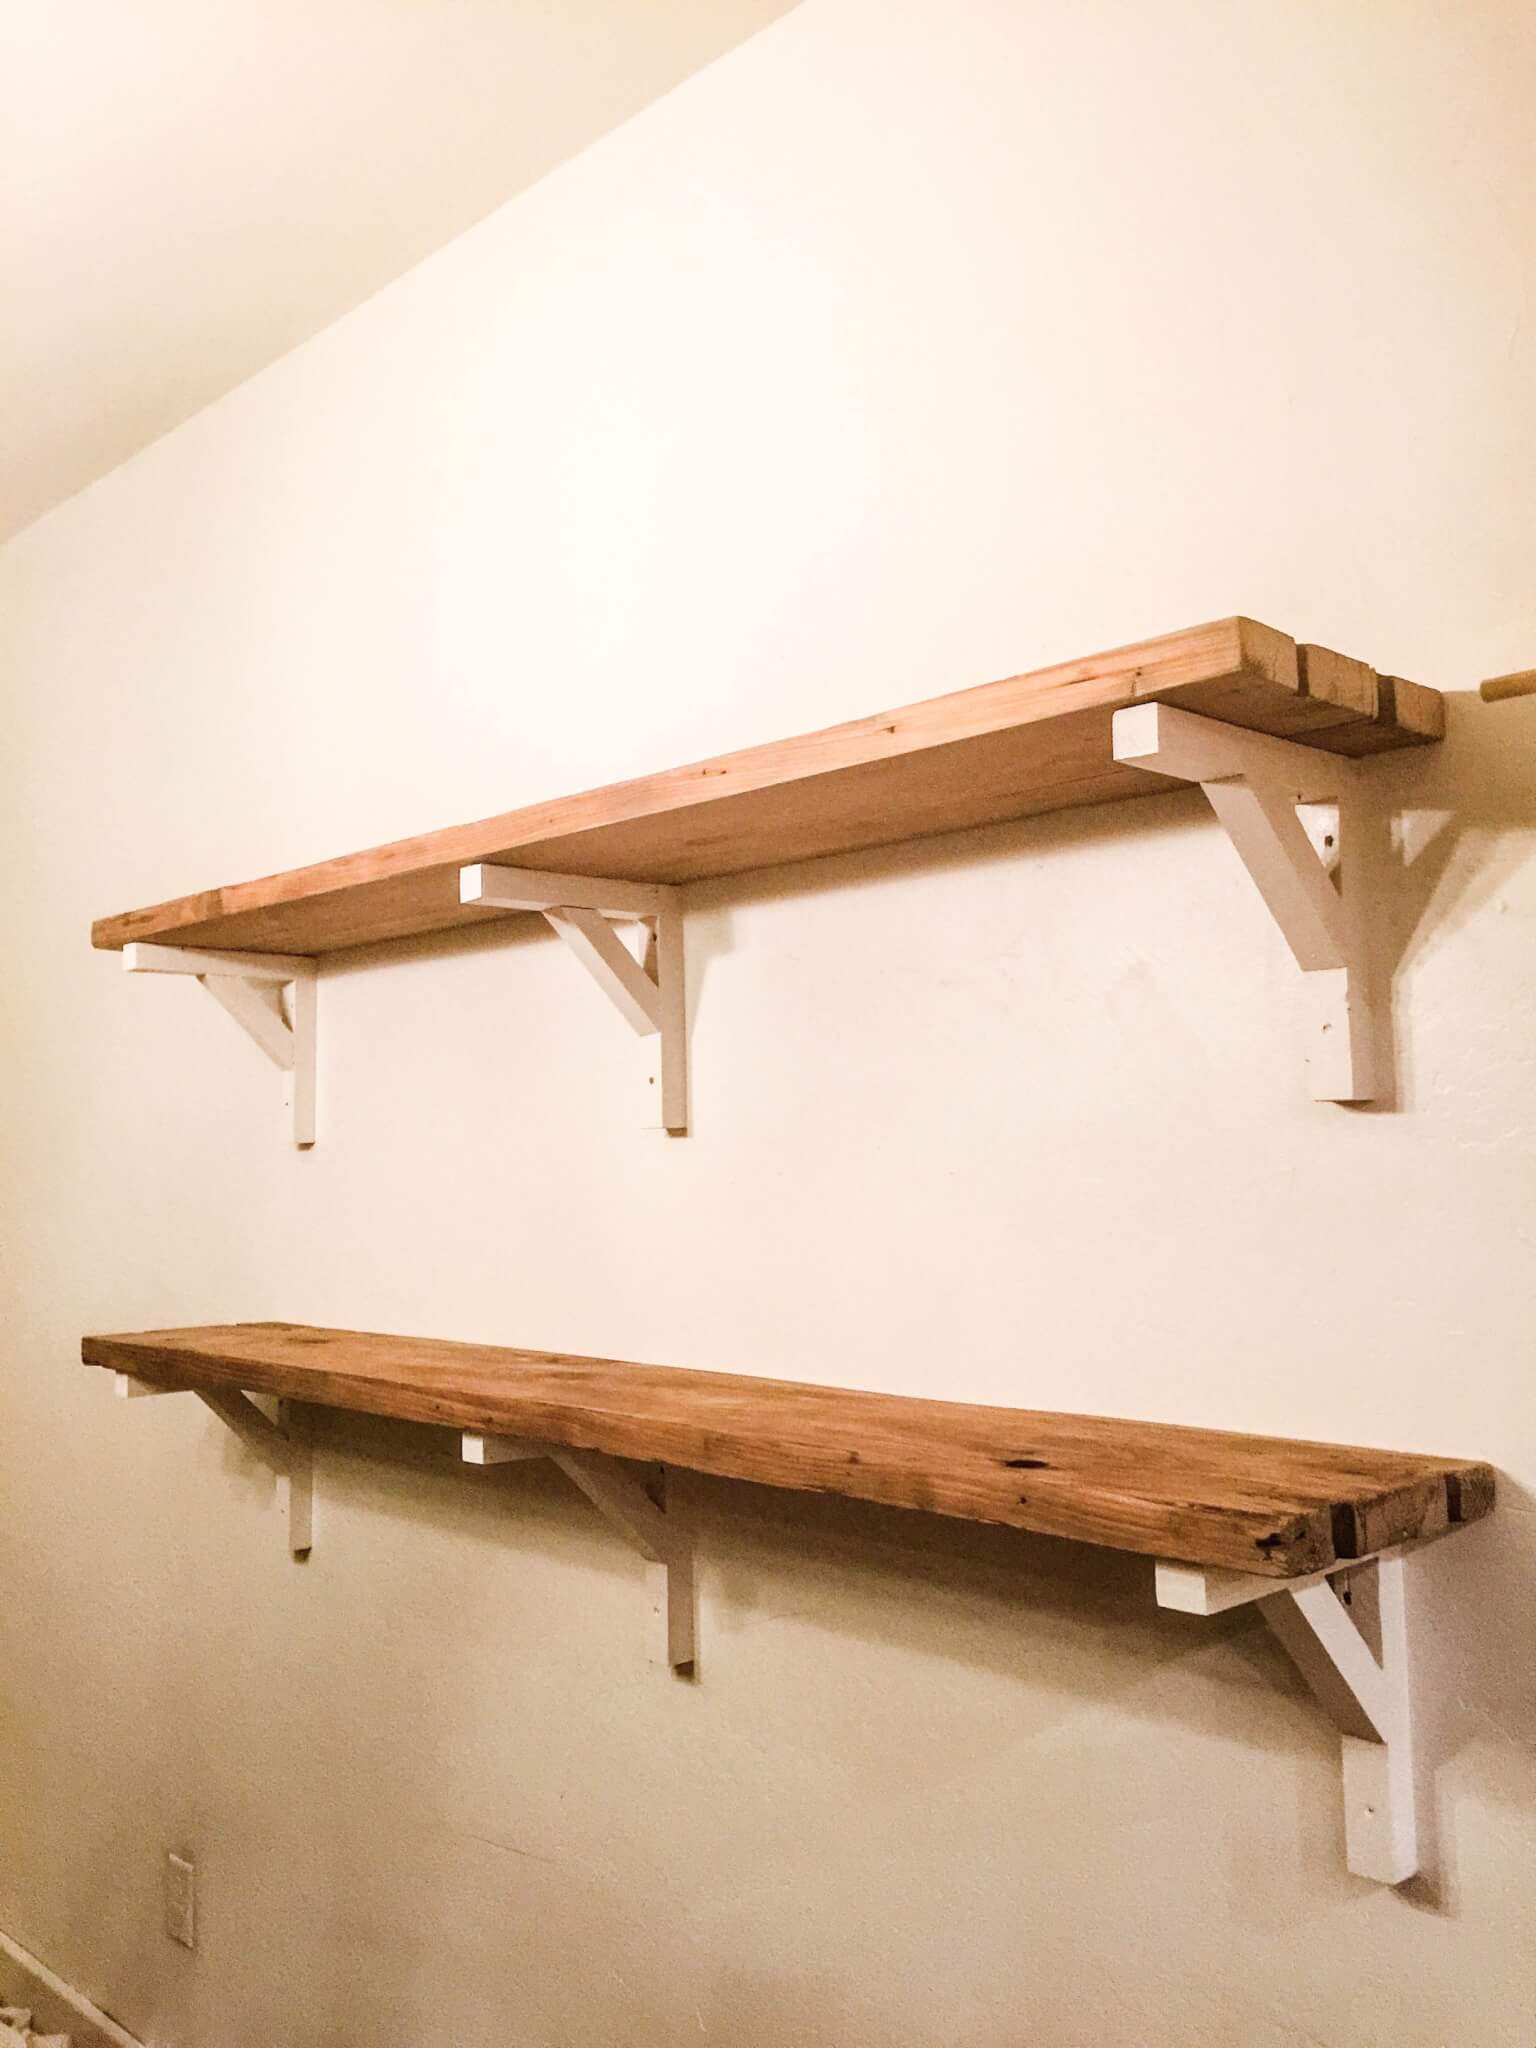
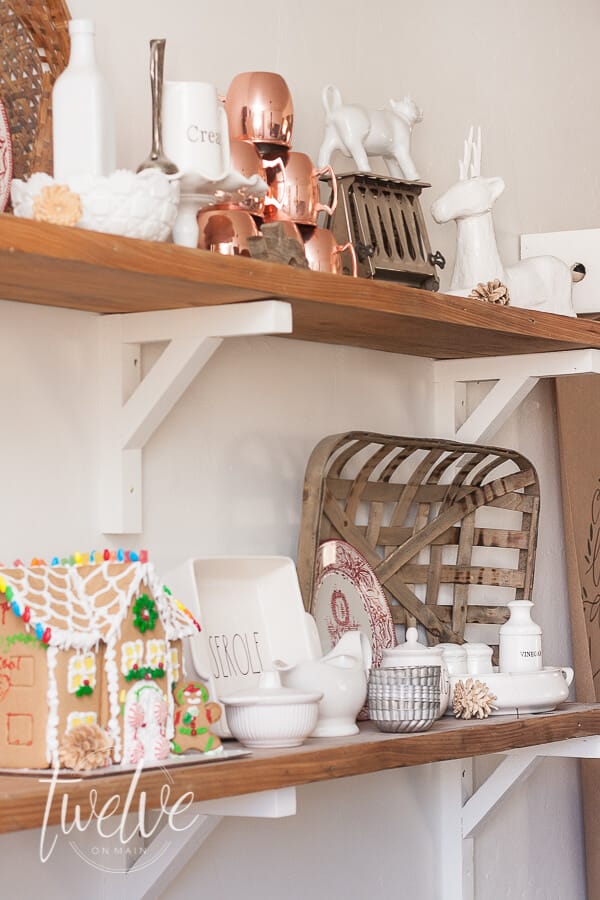
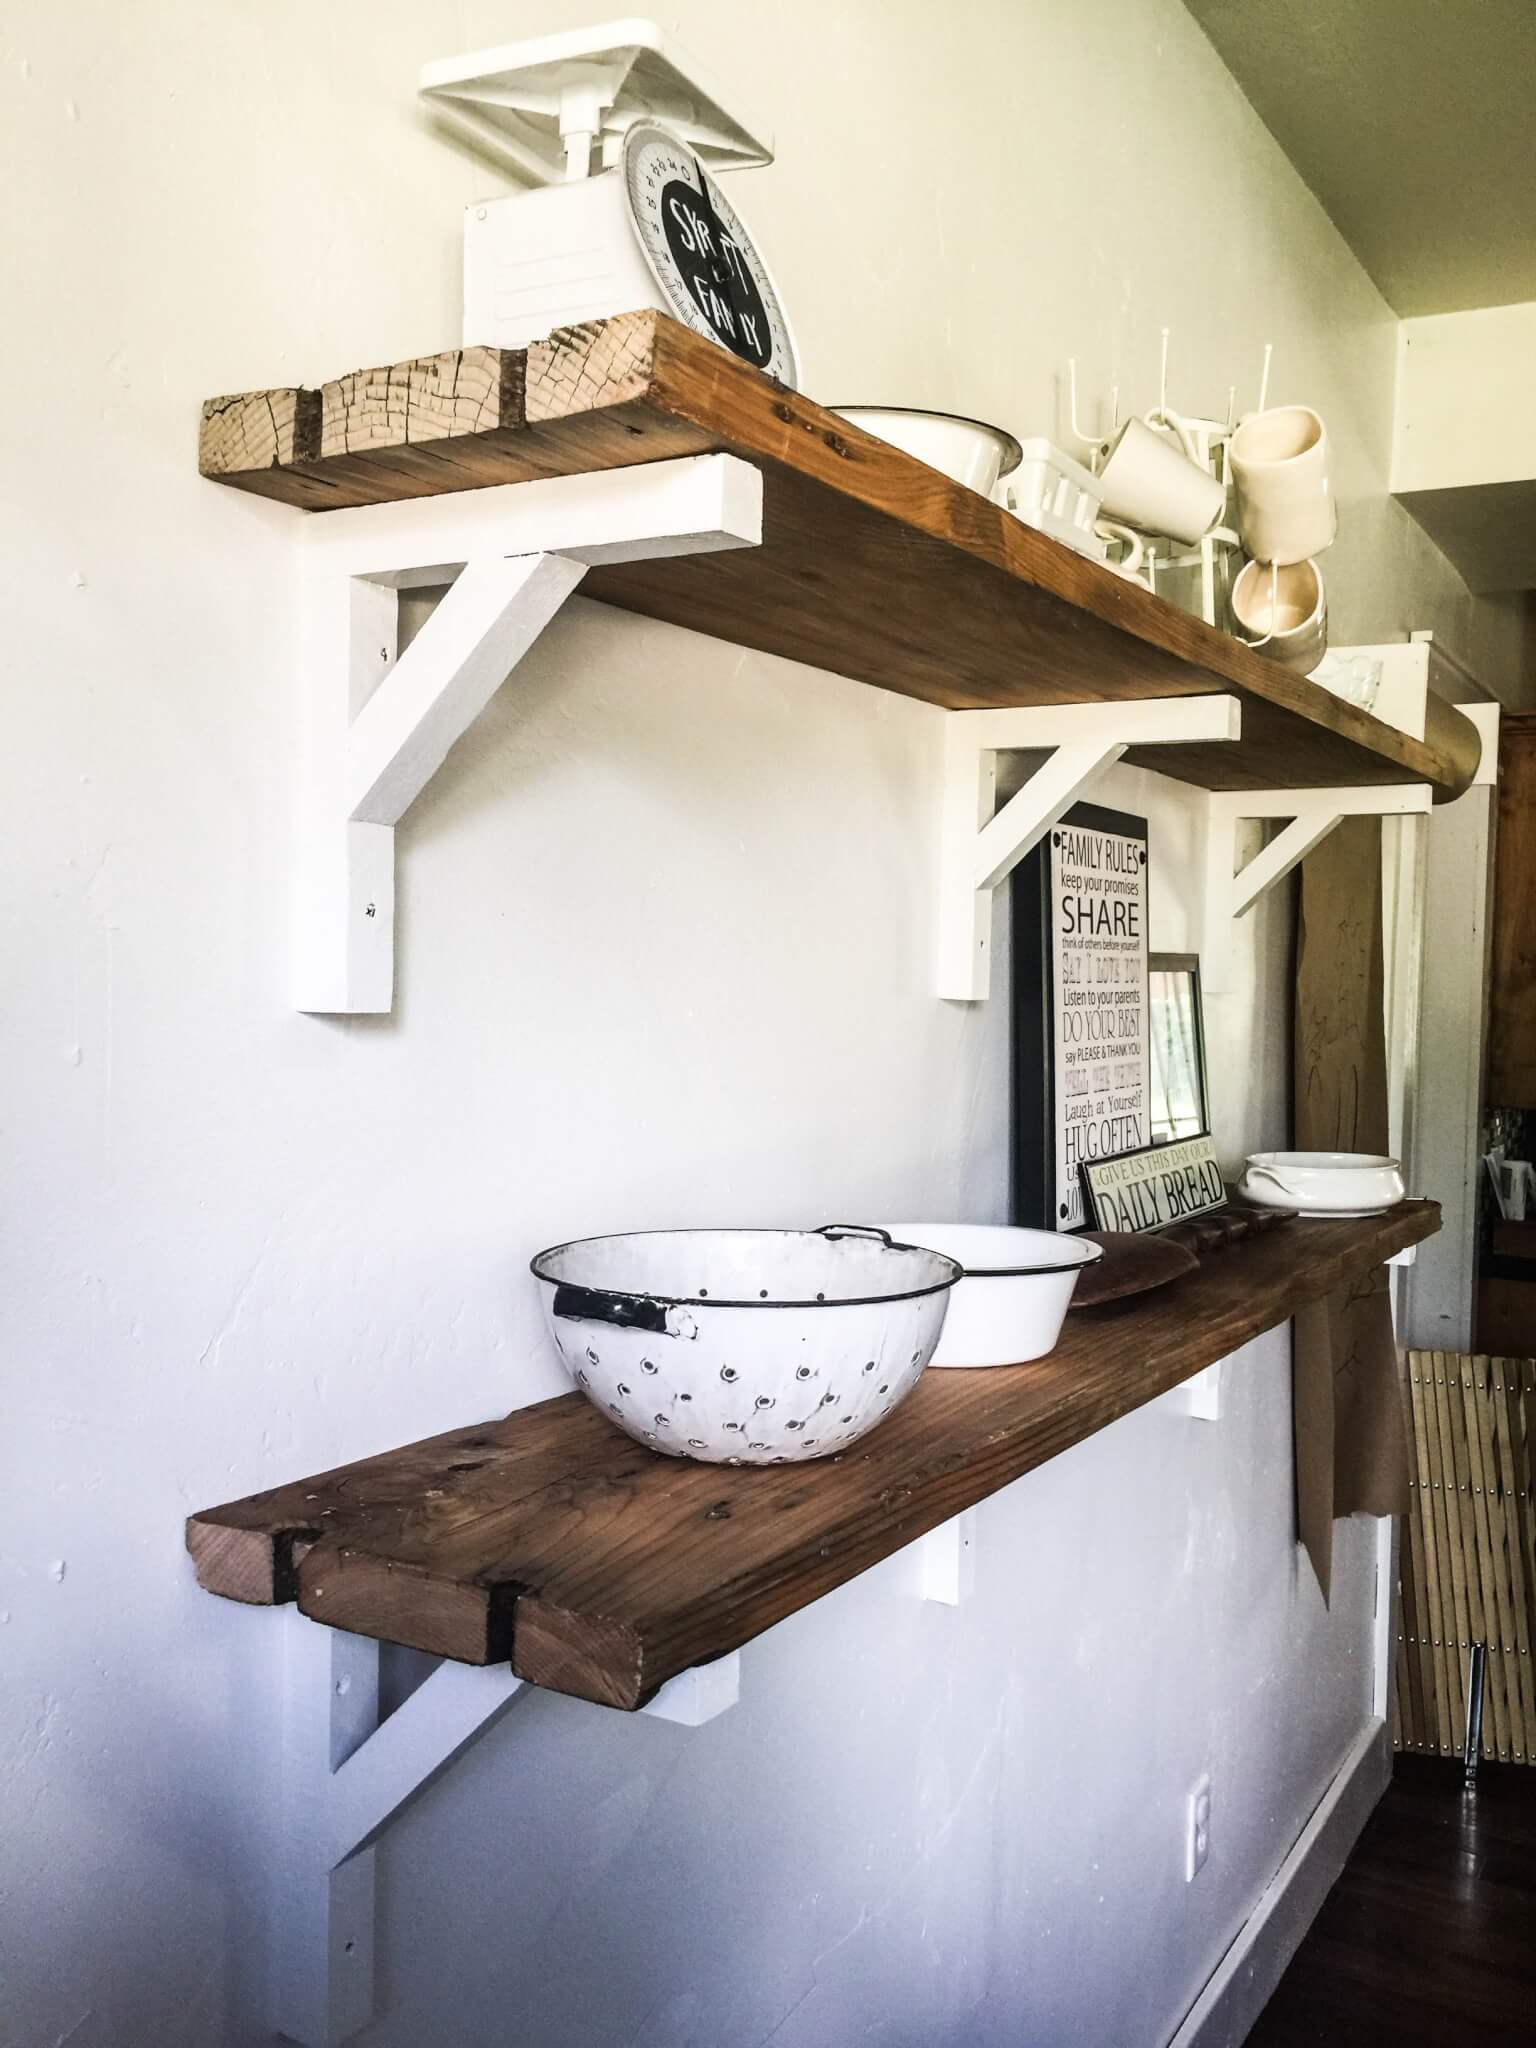
Once the painting was done, we brought the reclaimed wood shelves in and secured them to the brackets. Don’t they just look, you know, pretty dang good?At this point you can choose to fill the nail holes or screw holes with putty.
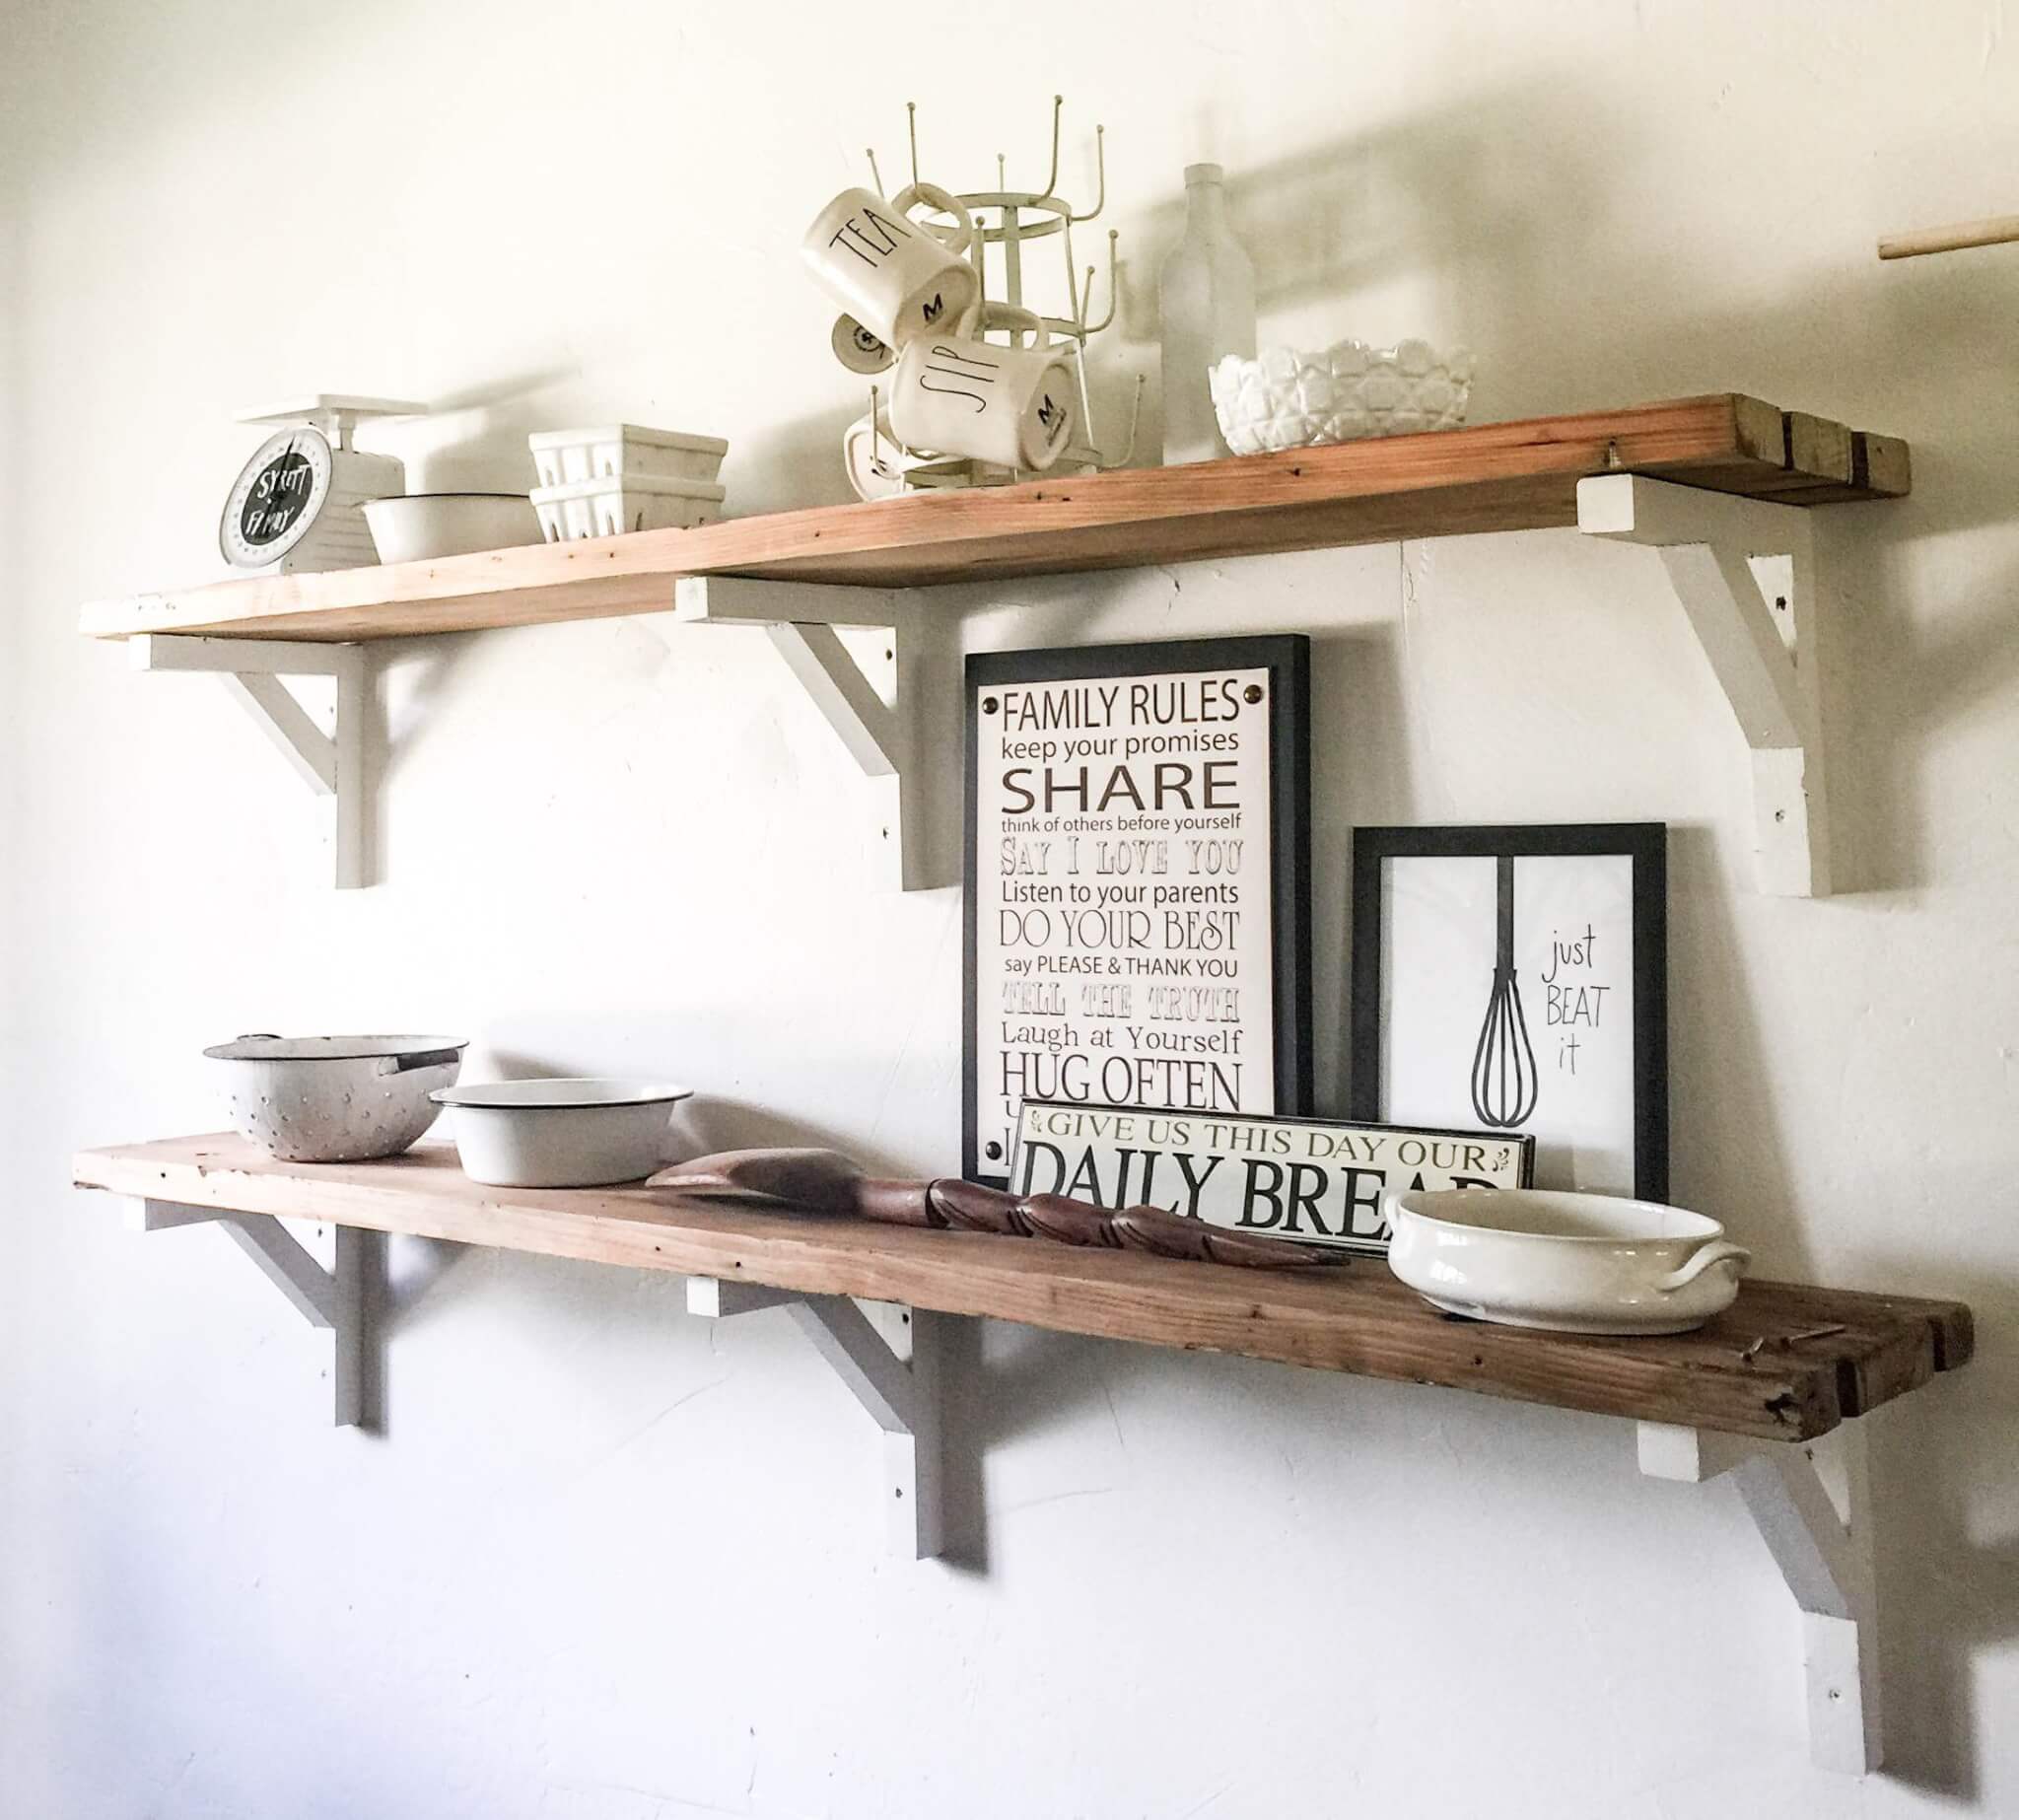
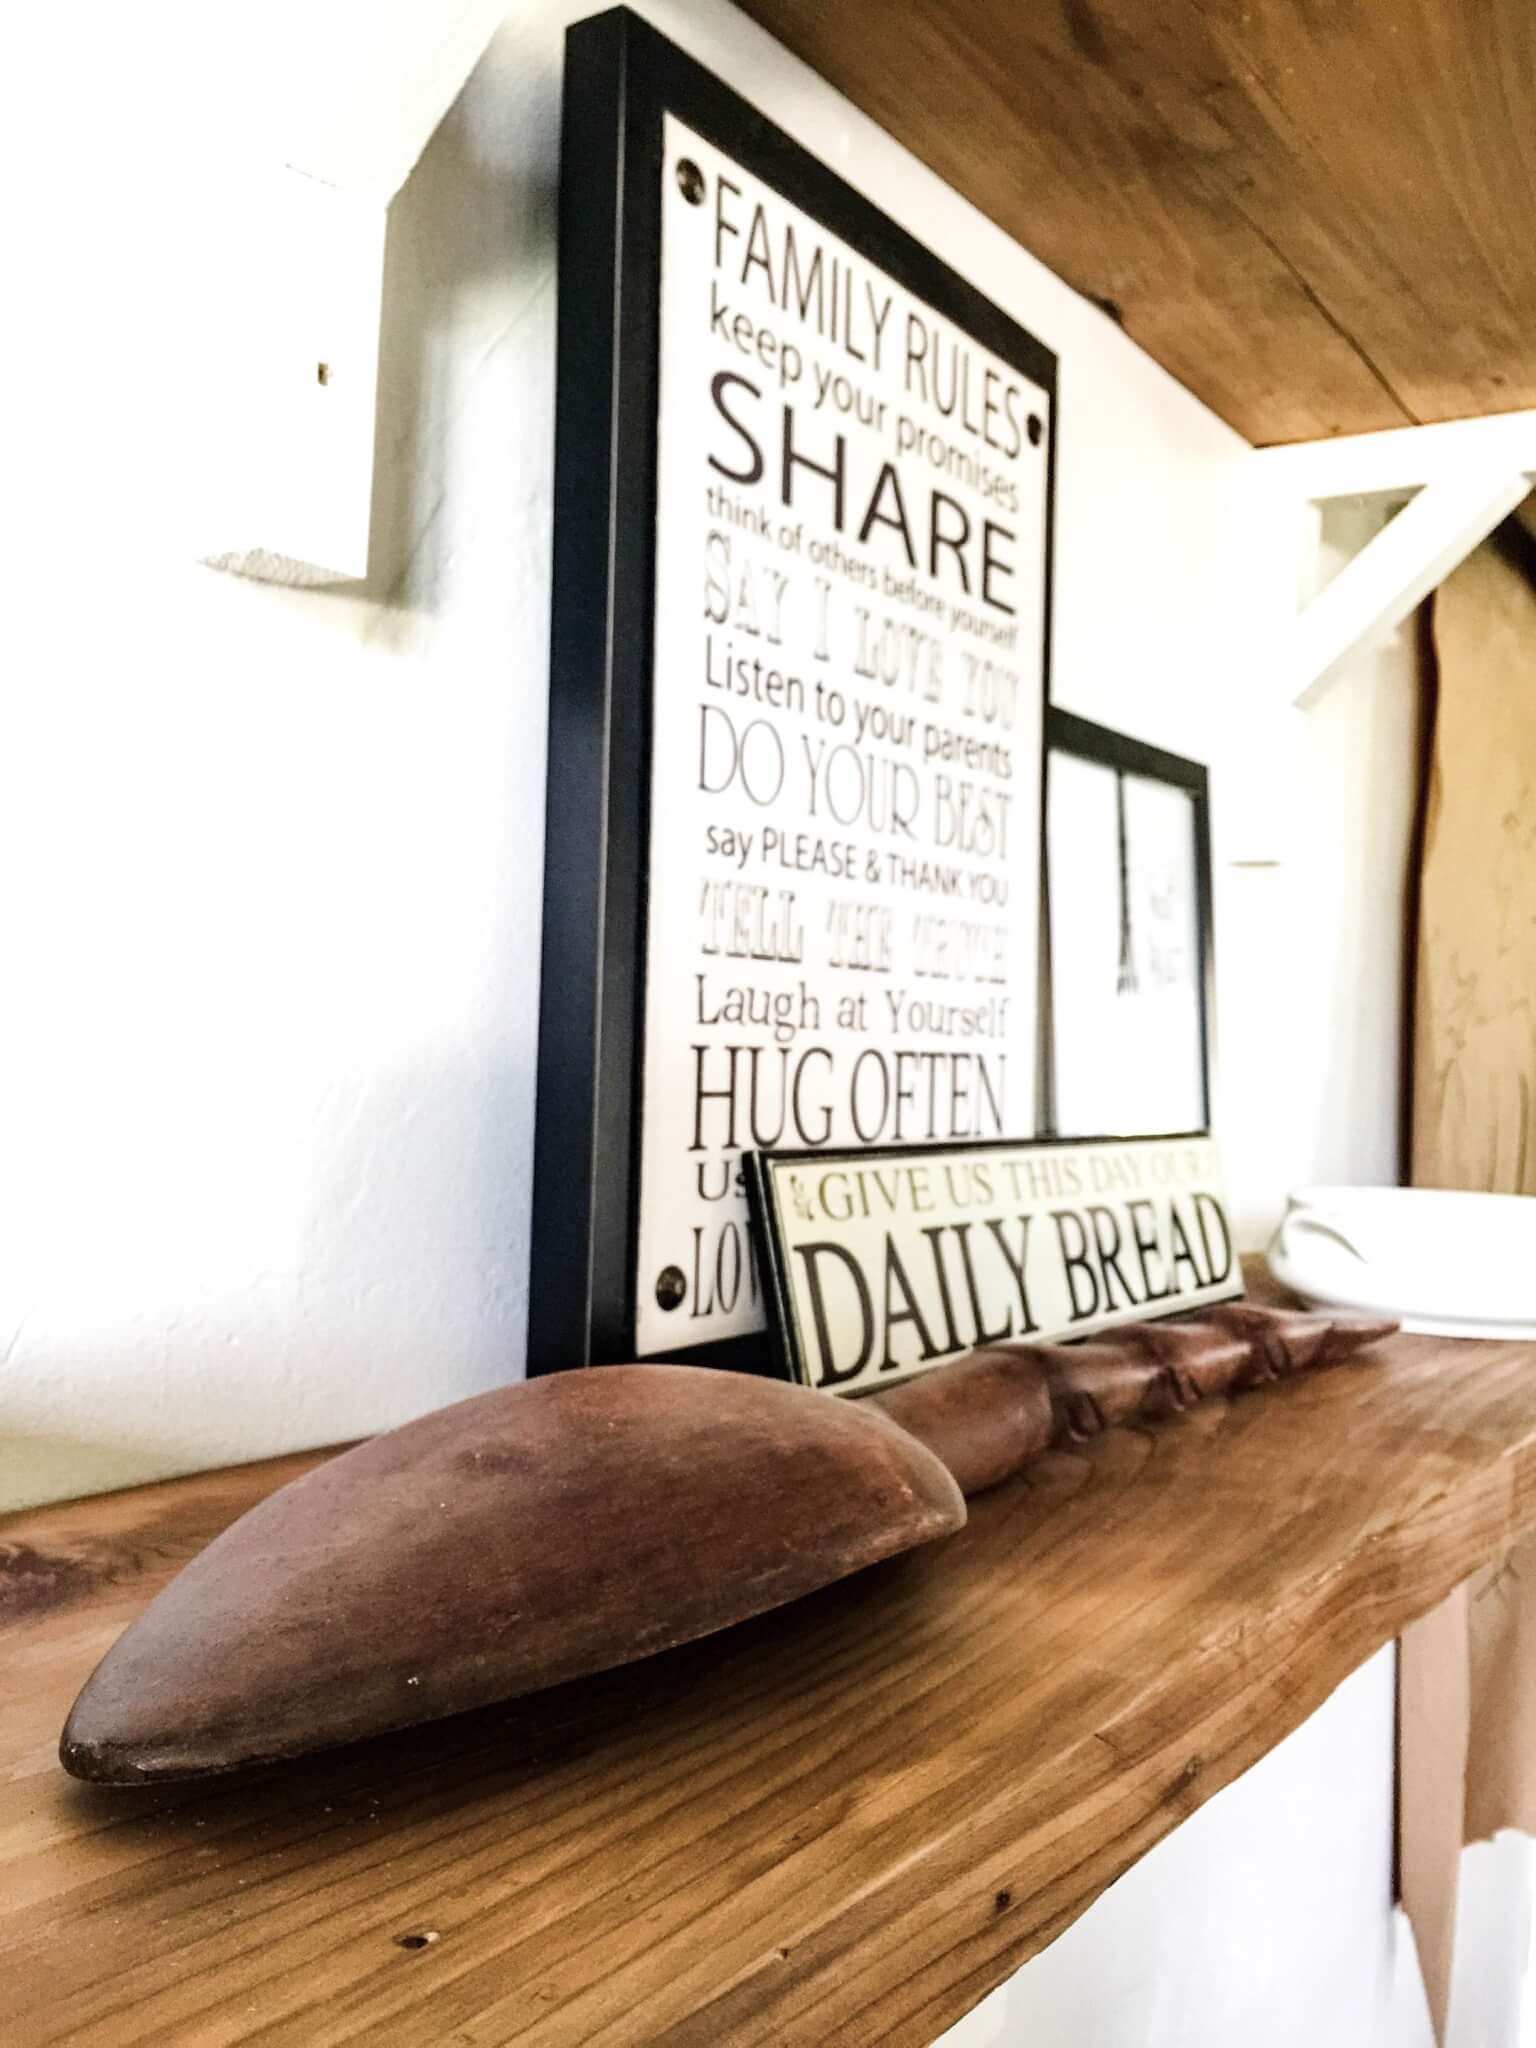
Now, the fun part. Or, I guess, the next fun part, since I think it is all fun. I know, cookoo right? I started to display my farmhouse ceramics collection. I could not wait to show them off right on our handmade shelf.
Since building these wood shelves we have used this same design in different spaces around the house including in our laundry room and as a farmhouse kitchen shelf design.
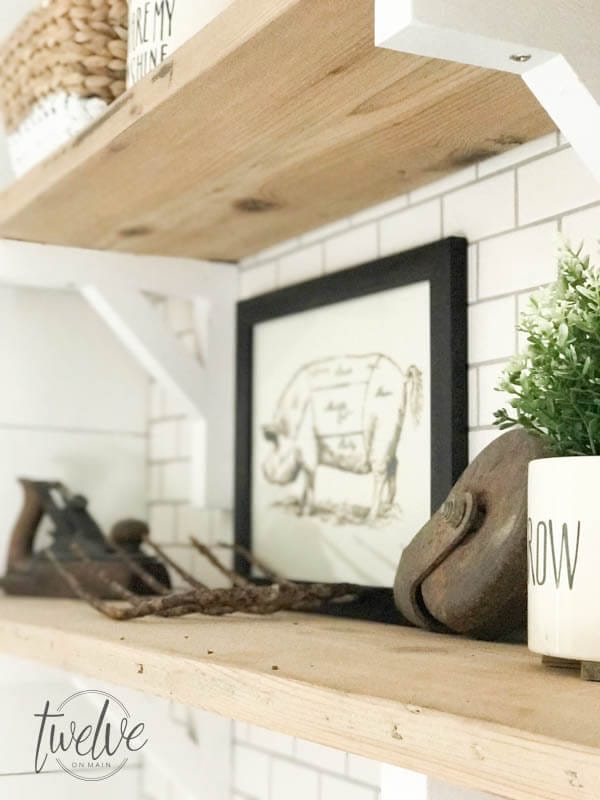
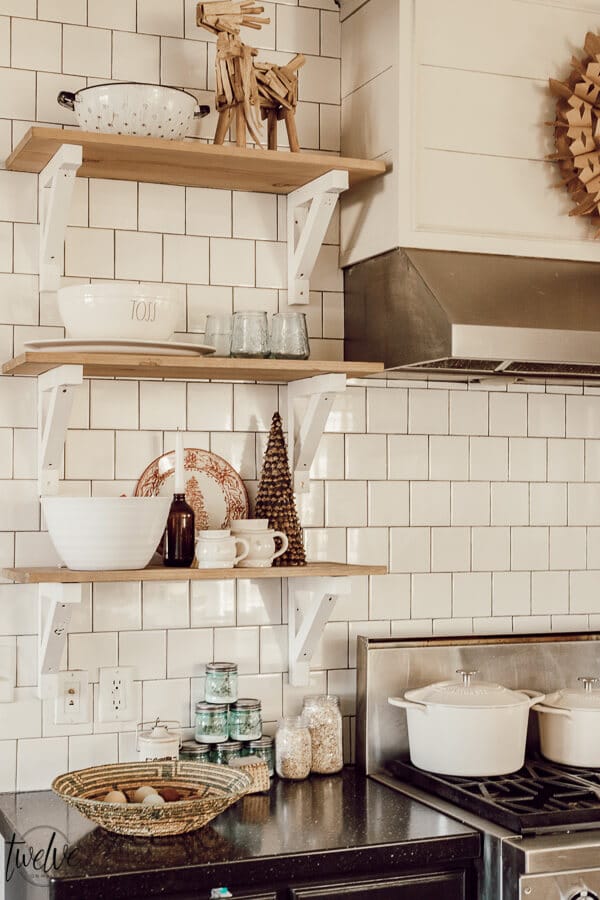
You could use these kinds of shelves in a living room or create rustic pantry storage.
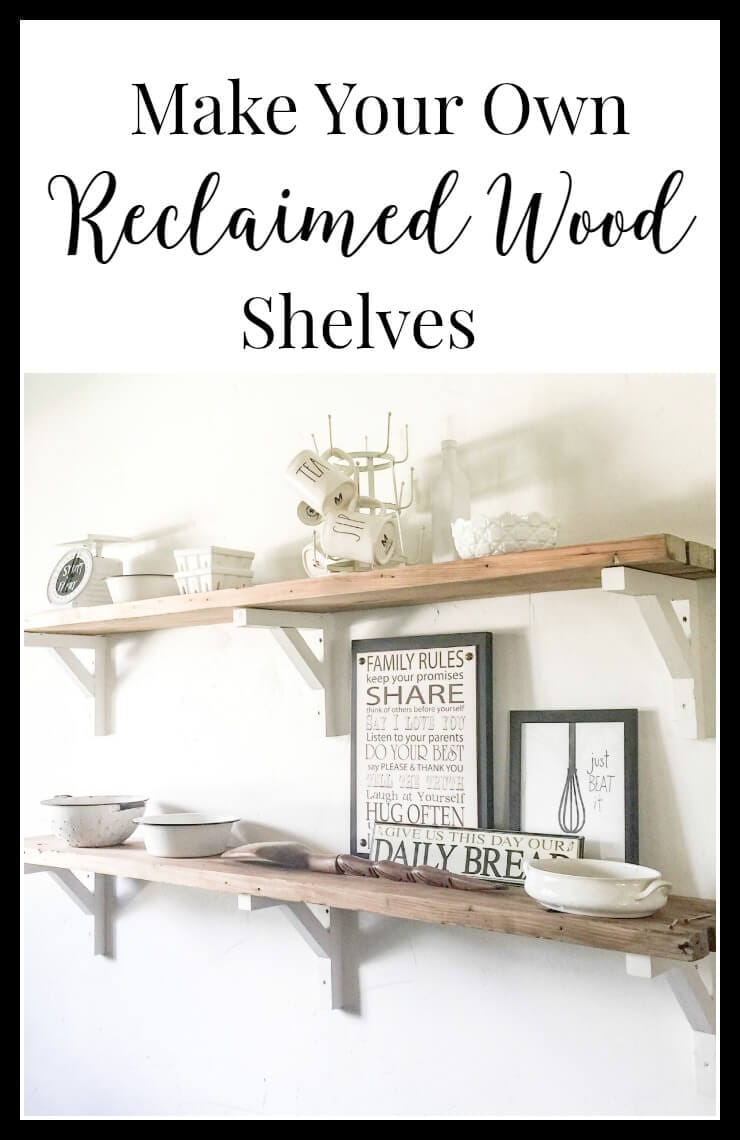
And there’s the final projects. What do you think? I am so, so, so over the moon with how these reclaimed wood shelves turned out! The cherry on top is the fact that this was all 100% reclaimed wood, given a new life! The texture, character, holes and dents, they all add to the great story that this wood can tell. If you ever get the chance and come across some old discarded lumber. Take it home with you! You never know when you might need it! And, if you don’t want it, let me know. I’ll take it. Thanks for stopping by!
Have a great day and remember….


If you liked this post you’ll love:
Build an Exterior Window Shelf
How to Make Stylish Rustic Shelves with 2 by 4s
Trash to Treasure Reclaimed Wood Table
*This post contains affiliate links. Thank you for your support*
I LOVE your reclaimed wood shelves! You were my pick for rock star this week at our Creativity Unleashed party, come by and vote for your project, invite your friends! Happy Easter!
Yay! Thanks so much! This made my day!
Little girl with the big wood you did great. Thinking my living room.
Totally crushing on your shelves right now! That reclaimed wood is gorgeous! Fist bump to you sister!
Thanks Lindsey!
I love how you used reclaimed wood to make these cabinets. The whol proces seems pretty exhausting, but the end product definitely looks worth the effort. Do you have any suggestions for finding a place to get reclaimed wood for a good price? I’m afraid I don’t have a secret spot like you do.
Thanks Silas, they were definitely worth the work. As far as finding a source for reclaimed wood, most larger areas or cities will have companies that work solely with rehabbing reclaimed wood. Otherwise, you can always use store bought wood in a 2 by 12 or whatever size you may like. Sadly, my secret stash is dwindling!
I love the way these look and how easy it was. They look super sturdy too. Thanks for sharing!
Thanks Brian!
Do you know how much weight a bracket like this could handle? I’m trying to build a similar shelf that can hold the old school-style glass canning jars (the ones w metal secure clips) but not sure how to factor in the weight. Thanks!
I dont know exactly how much weight, but the brackets are solid wood, secured into studs with large screws. They can hold a considerable amount of weight. I can guarantee that these would hold your canning jars, since mine is chalk full of jars, ceramics and other heavy items.
Love the shelves. Going to do it in my kitchen. Thanks so much.
Thats so great! Good luck!
Love your shelves and brackets to support them, great job. Wish we had a wall big enuf and empty to hang shelves on, have lots of goodies to put on them. Love how you styled your shelves. they look really cute. I enjoy styling shelves, to me it’s so fun, sometimes takes me hours as I keep thinking of things to put on them. We have a shelf in our living room made with a board, nice metal brackets and a shutter, subs for a mantel. We have a single wide mfg.home so no fireplace.
Your shelves looks so nice with 3 brackets under them for support, smart idea.. Always enjoy your posts.
Wow, this is some amazing looking reclaimed wood shelving. I love how it looks next to the white walls. It does seem like a good thing to get into a contemporary designed home. I wonder if it is hard to find reclaimed wood like this.
????????♥️ LOVE Your shelves???????? Hey LOOK AWESOME !!! ????Thank YOU for sharing them!! AND the decor IS SWEET TOO !!! VERY COOL !!
Thank You Again AND G-d Bless ♥️
I’m inspired! We’re restoring a 1914 farmhouse, & I have a pile of long rough cut boards that came out of the attic that I wanted to incorporate somehow & show them off. I’m thinking this is perfect for a couple of them, but would u leave the rough cut edge? They’re beautiful w some of the old square head nails left too.