
Amazing DIY Strawberry Planter -Large or Small Scale!
Hi friends! Its been a busy start to the summer months, with garden work and just working outdoors to fix and clean up all our outdoor spaces. Our most recent project is one that has been a long time coming. My husband has a separate area in our backyard for his raspberry and strawberry patch, and this year it was in need of some work. So, we ended up making some big changes and one was to create a new strawberry planter that will allow the strawberries to grow to their full potential while also looking good! Follow along to see how we turned some regular old wood into a great new strawberry planter! Strawberries really are the best fruits!

So, its kind of a funny story. In our backyard, we have our garden, which I take care of, and we have our berry patch, which my husband takes care of. That is his space, and the garden is mine. He has raspberries, blackberries and strawberries, and also a couple of pear and cherry trees. He has been babying his berry patch along for years, but the past couple of years the weeds have really choked out his berry plants.
He got extremely frustrated and decided to change things up. He spent about a month transplanting all of his raspberry plants to raised planter boxes, in hopes that they will not have to deal with the extreme weeds that our area has. Now, we have plenty of space, almost too much space for our gardening areas, but we needed to really take control of the situation with the berries.
He originally planted his strawberry plants directly in the ground, but after a year or two he realized this was not the best thing for us. What little strawberry yield we got, was usually a nice meal for the bugs and slugs in the area. This year, he was down to 1 plant! Everything else has been choked out by the weeds or other reasons. So, we started fresh and he spent a couple of days really researching and drawing up his strawberry planter plans.
Through much trial and error, he came up with a pretty great set of plans. This strawberry planter would not only be extremely functional for the strawberries but also look nice in my backyard which is always important for me!
We are not strangers to a DIY project and I have to tell you this is one of the easiest DIYs we have done in a long time. I like to think we are very efficient with our time when working together on a DIY project. Since we had plenty of space, he did not want to create a DIY strawberry tower or use strawberry pots. He wanted something that we could expand and make more of and also be something that would hold a ton of strawberry plants. HIs tiered planter box idea was perfect.
Now, I stated in the title that this can be a large scale or on a small scale because you could easily make this a smaller sized strawberry planter by simply cutting the length down. You could also make less tiers, I think we will probably be making another one next year in order to expand our strawberry crop. And guess what! We are already enjoying the fruits of our labors! Our plants are giving us amazingly flavorful fresh strawberries, and the kids are loving it.
Technically, I guess you could call this a vertical planter, or a vertical strawberry planter. I like to called it a tiered strawberry planter. Technically it is a wooden strawberry planter / raised garden bed.
Watch this video below to see how we built the entire planter!
Lets get started and talk about how we made this amazing raised strawberry planter.
First you want to gather the wood required for this project as well as other tools.
You will need:
- 10 – 8 ft 2 by 8 pieces of wood
- Impact driver
- Drill
- 1/8 inch Drill Bit
- 50-75 2.5 inch screws
- Miter saw or circular saw
Apart from that you will need good planting soil, as well as strawberry plants. You can use new plants or transplant old ones.
First, we laid out two 8 foot pieces of lumber parallel to each other on the grass.
You will cut 2 pieces at 43 1/2 inches. Next you will pre-drill three small holes in the 8 ft pieces. Drill these at the end of the boards. You can see in the image below.

Next, you will place the shorter pieces at the ends creating a rectangle. Screw these pieces together.
Next you will need to cut 2 more 43 1/2 inch pieces (these will be the braces for the next level on the strawberry planter.) Measure 7 1/2 inches in from the end and insert them into the planter, make sure to predrill a hole and then screw them into the wood. You may want to wait until you have the second tier built so you can make sure the braces will be in the correct spots. This way you can adjust in case they need to be moved left or right.
After this you will cut the lengths for the next tier.
You will need 2 – 6 foot 6 inch pieces as well as 4- 25 1/2 inches. You will repeat the process of drilling the holes into the side of the end of the longer pieces and then create a box by screwing the end pieces to it. You will also measure 7 1/2 inches in and add the additional 25 1/2 inch pieces.
Next, you will repeat the process for the top layer. The cuts will be 2- 5 ft long pieces and 2- 7 1/2 inch pieces. Repeat the steps by assembling this box as well.
You should now have three separate boxes lying on the ground.

Two should have the supports installed inside of them. The next step is to assemble. I would recommend assembling it where you want it too permanently be. We ended up having to carry ours and it is a tad heavy!
You will want to lay the largest box on the ground. Place the second largest box on top. The ends of this box should rest directly on the support pieces below. We then toe nail screwed the corners of the this box to the bottom box. (this means we screwed at an angle from the corner of the piece into the bottom piece.) You can also add small L brackets here to secure the planters.
You want to now add the next layer which is the top. This one should also rest directly on the support pieces that were in the middle box. The same thing applies, you will toe nail the corners of this top piece to the middle piece.


Now, you want to lay down some garden fabric or weed control fabric. The last thing you want is to have weeds growing all the way from the bottom through to the top of the planter. ake the time and invest in a good weed barrier. The next step is to fill this with potting soil.
If you want to save on soil, check this informative post on how to fill a raised bed affordably. You can easily fill the bottom of the planter with these items. I like to combine a nice organic garden potting soil along with a sand kind of dirt. Its worked out great for our area.
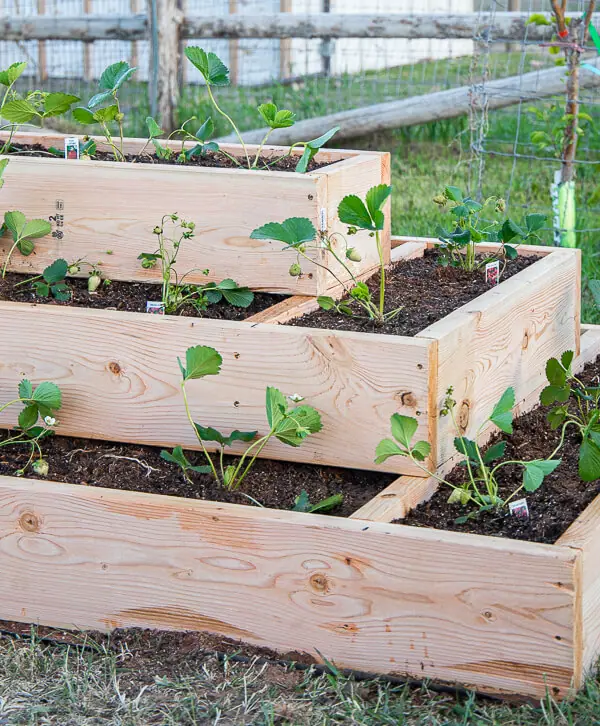
Once you have the entire planter full of soil it is time to plant your strawberries! You can plant small pants or larger more mature strawberry plants. We lucked out and found some mature plants for a good price so we added a bunch of these to the planter. The total number of plants we planted in this raised strawberry planter was 34. And guess what! we have already enjoyed tons of strawberries from them!

Now, I want to talk about why my husband chose this set up for his strawberry planter. Each measurement is specific to get an exact measurement for the planter space on each level of this strawberry planter. Each planter section is exactly 7 1/2 inches deep which allows ample space for strawberries to grow and but also just enough so that they can trellis down over the sides.

We wanted to make sure they weren’t going to have too much surface front and back so that they could grow out and hang down, which I think will help prevent insects from eating them as well as rot from sitting in wet soil.
He was very mindful when planning out the measurements of this strawberry planter and I might be biased but I think it is the best strawberry planter I have seen. Guess what though! This can also be a great planter to plant lettuces, beets, carrots and other non spreading vegetable plants! There are so many advantages to having this tiered effect, since you can use the vertical space, and grow more efficiently. We are already planning to add one of these to our vegetable garden so that I can plant the more delicate plants in it.

Now, at the end of the growing season, we are considering covering it all with straw or hay to keep the strawberry plants from freezing since we do have a harsh winter climate. Since they will be in a planter and not in the ground this might have some effect but we are not sure yet. We will find out if they survive the following spring.
I will tell you this though, homegrown strawberries are the best! We love growing strawberries and have found it to be a great way to get the kids involved. Strawberries do not require that much work as long as you keep them happy. This strawberry planter makes for easy watering, you could add a drip irrigation system if you want. We simple water by hand which takes only about 5 minutes. Since the top of this is deep with soil, it holds a good amount of moisture and I find I do not need to water it everyday in our very dry climate. Since we are short on our water supply because of a severe drought, being able to control the amount of water

I am excited about the idea of a constant supply of strawberries! This planter has worked out how well and I think it is the best planter for what we are wanting.
Now, are you thinking this might be a great idea but need a smaller version? You can totally do that! You can shorten the length of the bottom box, and then whatever length you cut off, make sure to use that same measurement to cut off the second and third levels. This way they stay consistent.
There are so many advantages to building this type of strawberry planter. The best part is that it is an attractive option. It looks great, while performing great! Juicy strawberries at our fingertips!


I think it is great that this 4 by 8 foot planter can hold over 40 strawberry plants! They have oodles of planting space and it really is a great thing. I think this is an efficient way to grow and expand our garden needs.
Look at those beautiful plants! I am thrilled to see all the new plant growth! I am very excited to see how these develop and grow.
I have given you detailed instructions on this strawberry planter project. I am also offering the building plans for these with drawings as well as detailed instructions and a material list! Its a great deal and full of great tips.
You can purchase the building plans for this strawberry/vegetable planter below!

Now, make sure to check out these other amazing outdoor gardening tips and tricks from some of my favorite bloggers! They have awesome ideas and tons of helpful tips too!
10 Summer Gardening Ideas
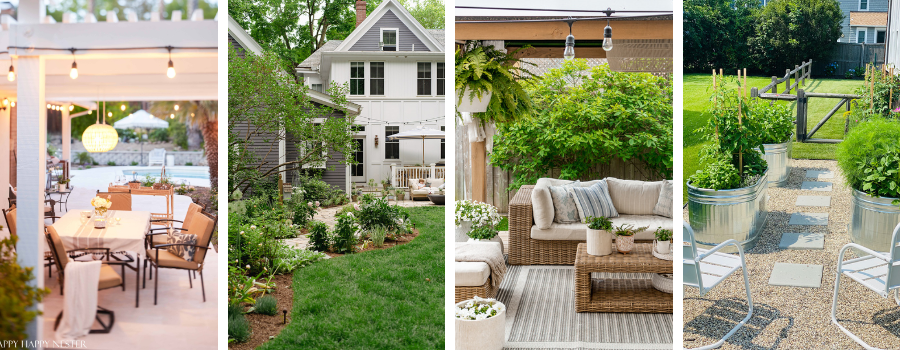
How To Hang Patio Lights // Happy Happy Nester
How To Pull The Yard Together // Finding Lovely
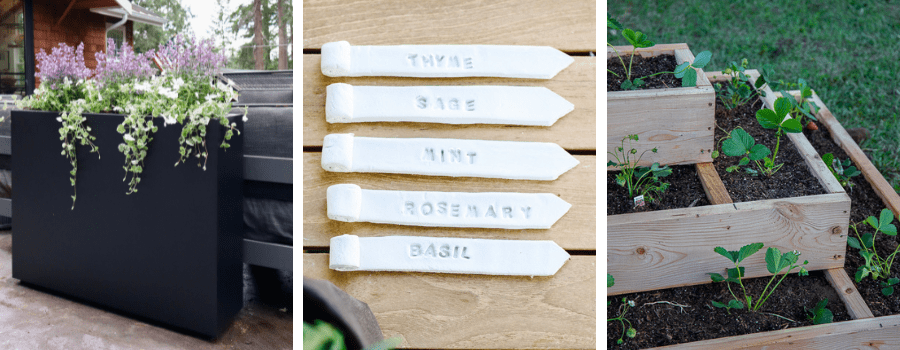
Backyard Deck Decor // Craftberry Bush
How To Make A Stock Tank Garden // Most Lovely Things
How To Arrange Garden Containers // My Sweet Savannah
Clay Herb Garden Markers // Modern Glam
Amazing DIY Strawberry Planter // Twelve On Main
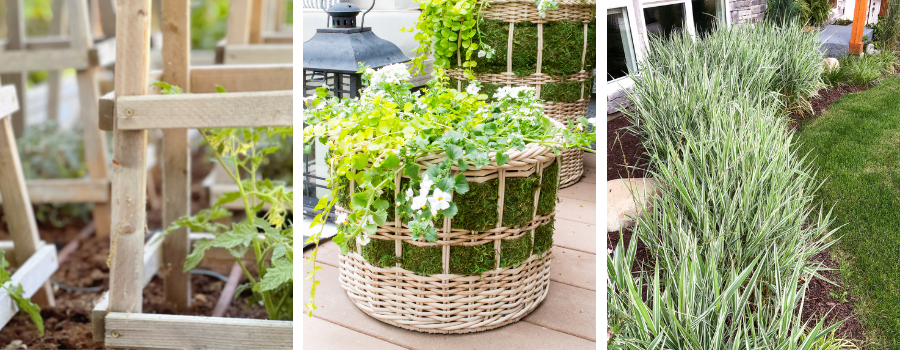
How To Grow The Best Tomato Plants Ever // My 100 Year Old Home
How To Plant Moss Basket Container Garden // Inspiration For Moms
Cheap Simple Front Yard Landscaping Ideas // The Happy Housie

I’ve got some great strawberry posts you definitely should check out!
How to Keep Strawberries Fresh For Days
Easy Strawberry Banana Cheesecake Salad
Easy to Make Strawberry Nutella Smores Recipe
Easy Strawberry Cheesecake Ice Cream Recipe
If you liked this post, check out my other great gardening posts!
My Functional and Eye Catching Chicken Coop Design
Super Cute DIY Mini Greenhouse Cloches
Our DIY Greenhouse Design and Reveal
Easy and Inexpensive Wood Raised Planter Boxes for the Garden
I love the look of your strawberry planter, but how cool is it that you have that many strawberry plants? You must use them for everything!
Such a cute planter!! We have ours in a pyramid and it works great! Such a big yield for a relatively small foot print! I hope you can make lots of strawberry goodies this year!
Such a great idea! I need to try this in our new garden.
This is so unique! Love it, thank you for sharing! Pinned!
Great planters! You are gonna be in strawberry heaven!
What a cool strawberry garden! I also love how it looks in your garden!